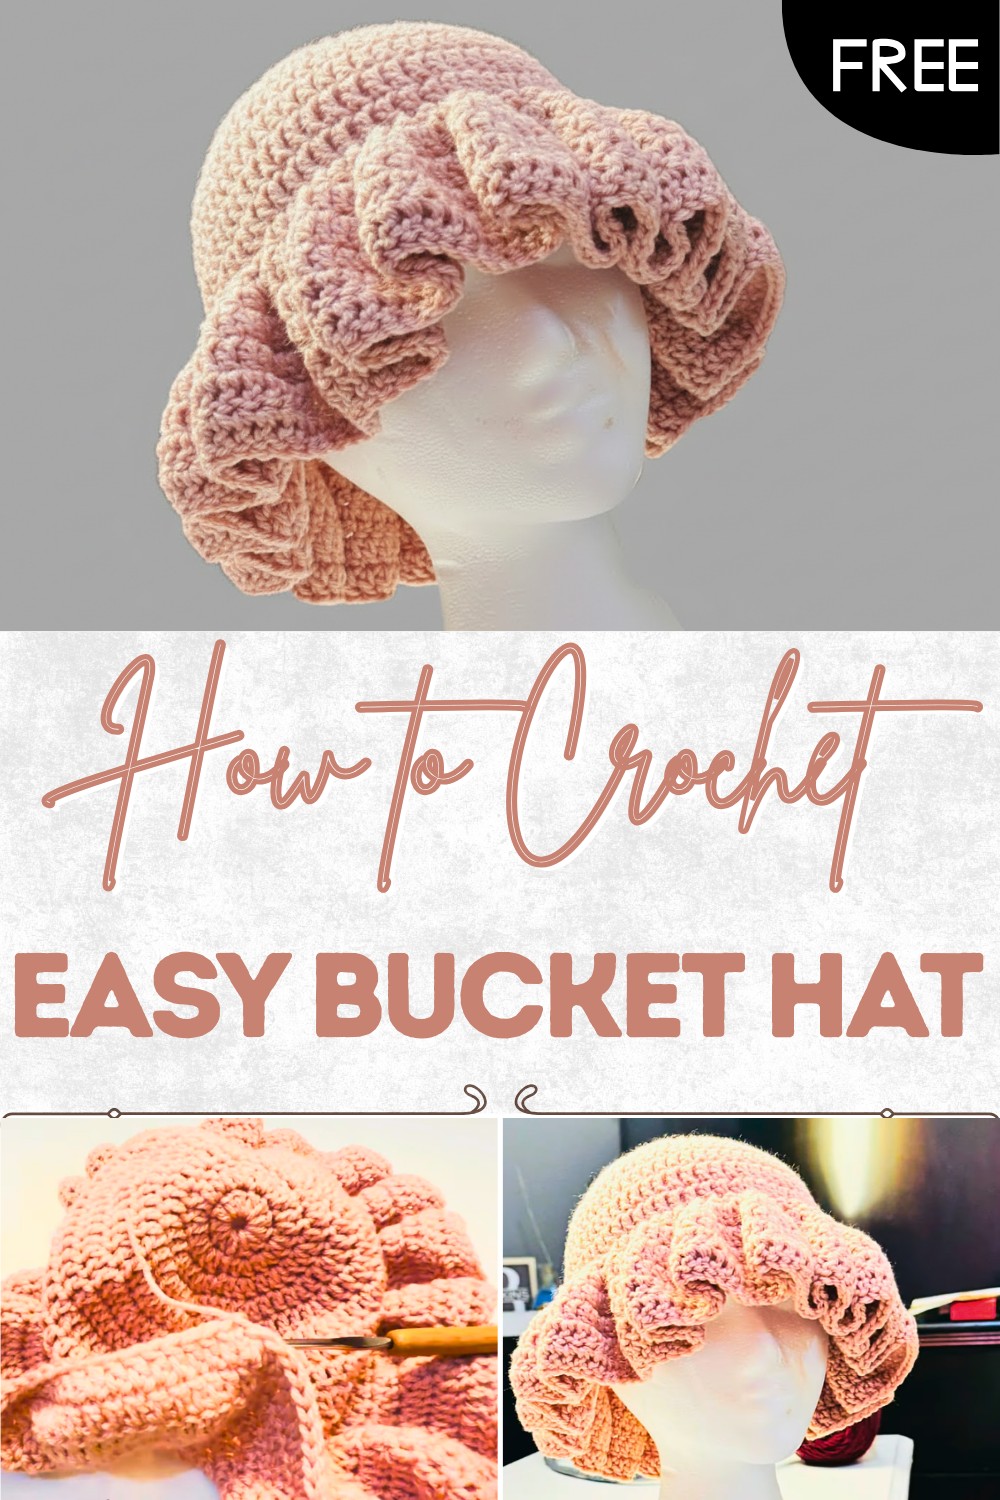
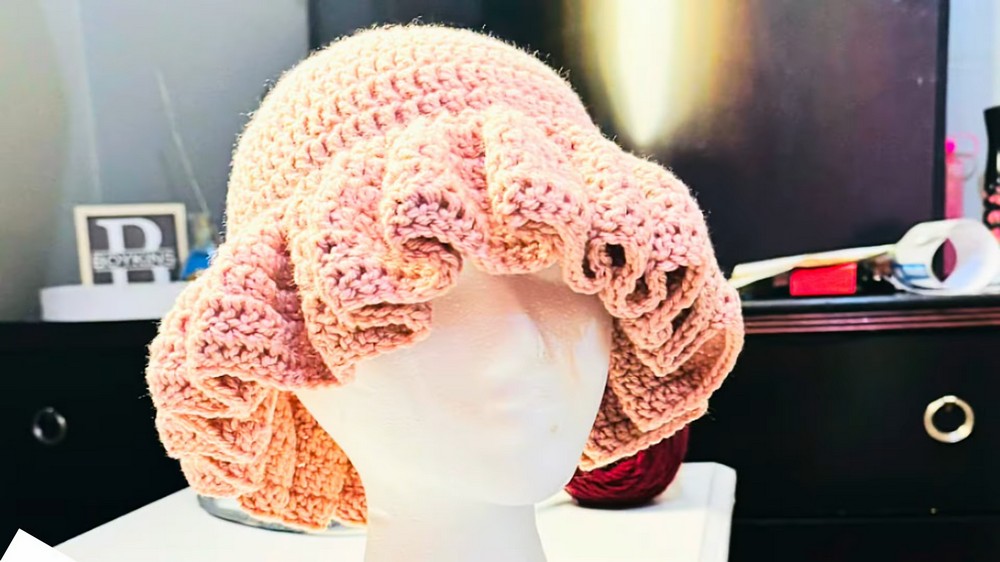
Stylish Free Crochet Bucket Hat Pattern – Step-by-Step Guide
Show your style with this free crochet bucket hat pattern and stitch a practical accessory that’s perfect for sunny days or casual outings.
People everywhere notice when someone walks by wearing a bright and fun hat made with loving hands. It might be a solid color, or maybe a mix of vibrant shades swirled together into playful shapes. Each cozy creation stands out in a crowd, and instantly adds a special charm to any outfit. A crochet bucket hat pattern allows you to bring this cheerful accessory to life in your own way, making each piece as bold or as gentle as you like.
Free Crochet Bucket Hat Pattern for Every Season
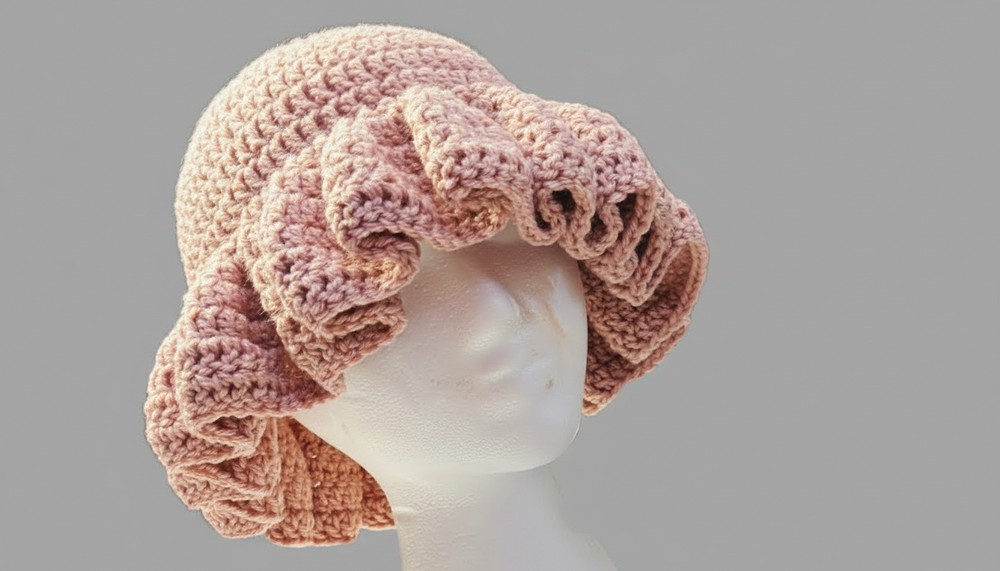
The wide brim gives protection from sunlight, and the snug fit keeps hair just where it should be. Whether heading on a walk to the market, spending time in the garden, or meeting friends just outside your door, this hat are always handy and comfortable. Designed for everyone, this simple idea offers a creative way to look stylish, stay cool or warm, and above all, enjoy a homemade touch with every wear. Plus, sharing your finished project often brings lots of smiles.
Simple Crochet Hat Pattern (Beginner Friendly)
Materials
- Yarn: Worsted weight yarn (#4), your choice of color
- Hook: 5.5 mm (I/9) crochet hook
- Notions:
- Scissors
- Tapestry (darning) needle
Abbreviations
- ch – chain
- st(s) – stitch(es)
- sl st – slip stitch
- dc – double crochet
- rnd – round
Special Notes
- Pattern is worked in the round, starting with a magic circle and increases.
- Adjust rounds and increases for larger or smaller sizes.
- Count ch-2 at start of each round as turning chain; does not count as a dc.
Instructions
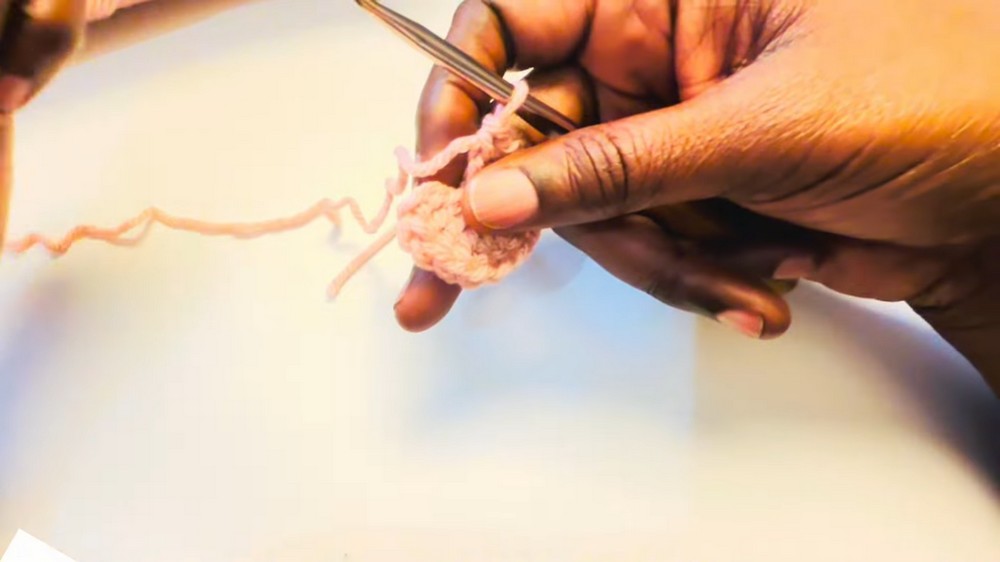
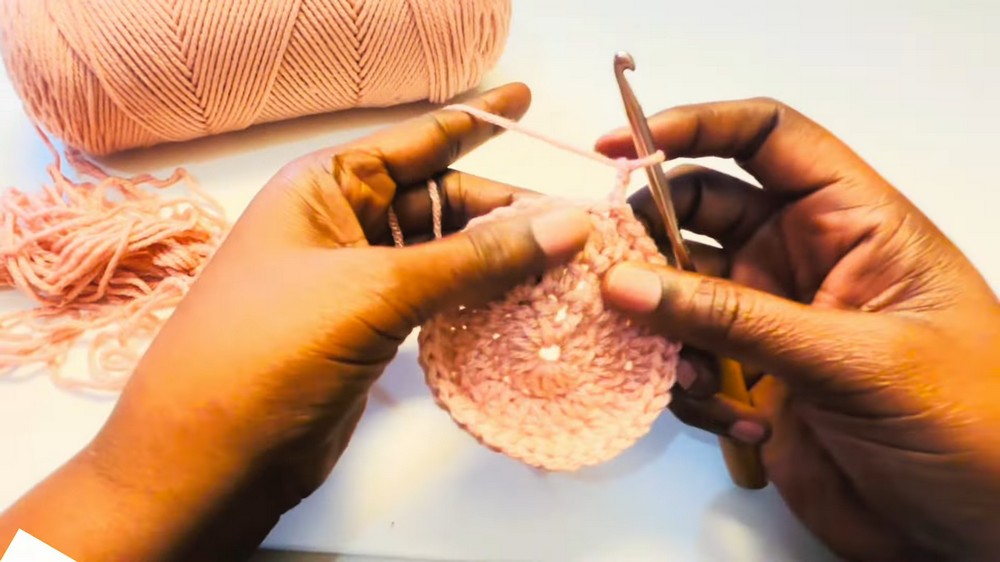
1. Crown
- Make a Magic Circle.
- Wrap yarn around your finger, insert hook under loop, yarn over and pull loop through, ch 1, remove finger and adjust loop.
- Ch 3 (does NOT count as a dc).
- Work 12 dc into the magic circle.
- Pull the circle tight to close.
- Sl st to the top of first dc to join.
2. Increase Rounds
Round 2
- Ch 2.
- 2 dc in each st around (increase row).
- At end, sl st to top of first dc to join.
- At end, sl st to top of first dc to join.
Round 3
- Ch 2.
- (1 dc in next st, 2 dc in following st)—repeat pattern around.
- At end, sl st to join.
Round 4
- Ch 2.
- (1 dc in next st, 1 dc in next st, 2 dc in following st)—repeat around.
- At end, sl st to join.
- At end, sl st to join.
Round 5
- Ch 2.
- (1 dc in next st, 1 dc in next st, 1 dc in next st, 2 dc in following st)—repeat around.
- At end, sl st to join.
Round 6
- Ch 2.
- (1 dc in each of next 4 sts, 2 dc in following st)—repeat around.
- At end, sl st to join.
NOTE: This sequence achieves a hat crown of approx. 7″ diameter before working even rounds. To size up/down, add or subtract increase rounds as needed for head circumference.
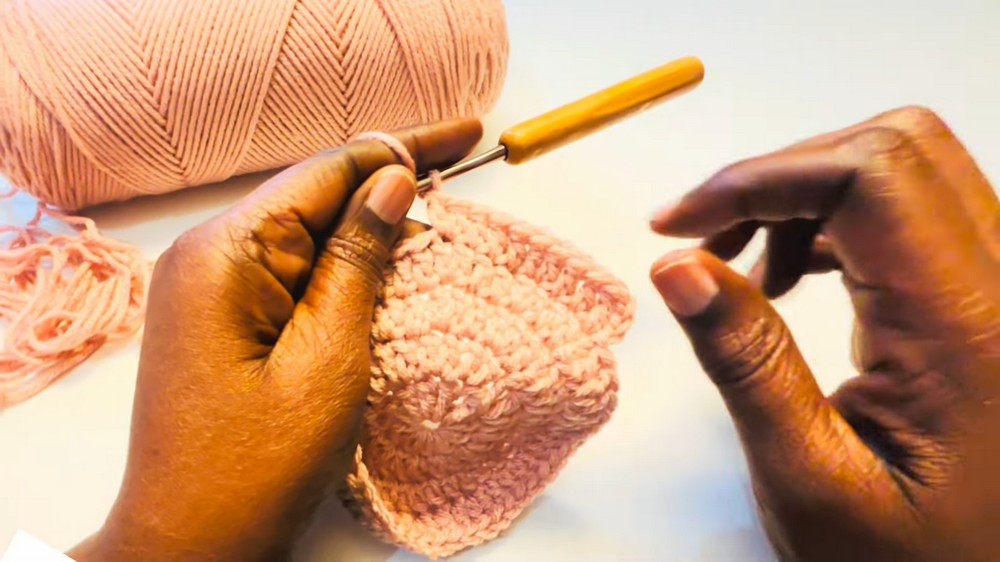
3. Body Rounds
- Ch 2.
- Dc in each st around (no increases) for 4 rounds.
- At end of each round, sl st to join.
4. Brim
- Ch 2.
- Work 1 dc in the front loop only of each stitch around (creates subtle brim texture).
- At end, sl st to join.
5. Brim Increases
- Ch 2.
- Work 2 dc in each st around (increase brim).
- At end, sl st to join.
- Repeat previous round:
- Ch 2, 2 dc in each st around, sl st to join.
6. Final Rounds
- Ch 2.
- Dc in each st around (no increases) for 2 rounds.
- At end, sl st to join.

- At end, sl st to join.
7. Finish
- Fasten off.
- Using your tapestry needle, weave in all ends securely.
Pattern Corrections & Tips
- Each ch-2 does not count as a stitch; always join to the first dc.
- To size hat for children or adults, adjust the number of rounds and increases to match head circumference.
- If adjusting, keep crown diameter approx. 1–2″ less than actual head size—the hat will stretch.
- For a shorter hat, omit rounds before brim; for longer, add more.
- If you wish, add ribbing or single crochet to the brim for extra texture.
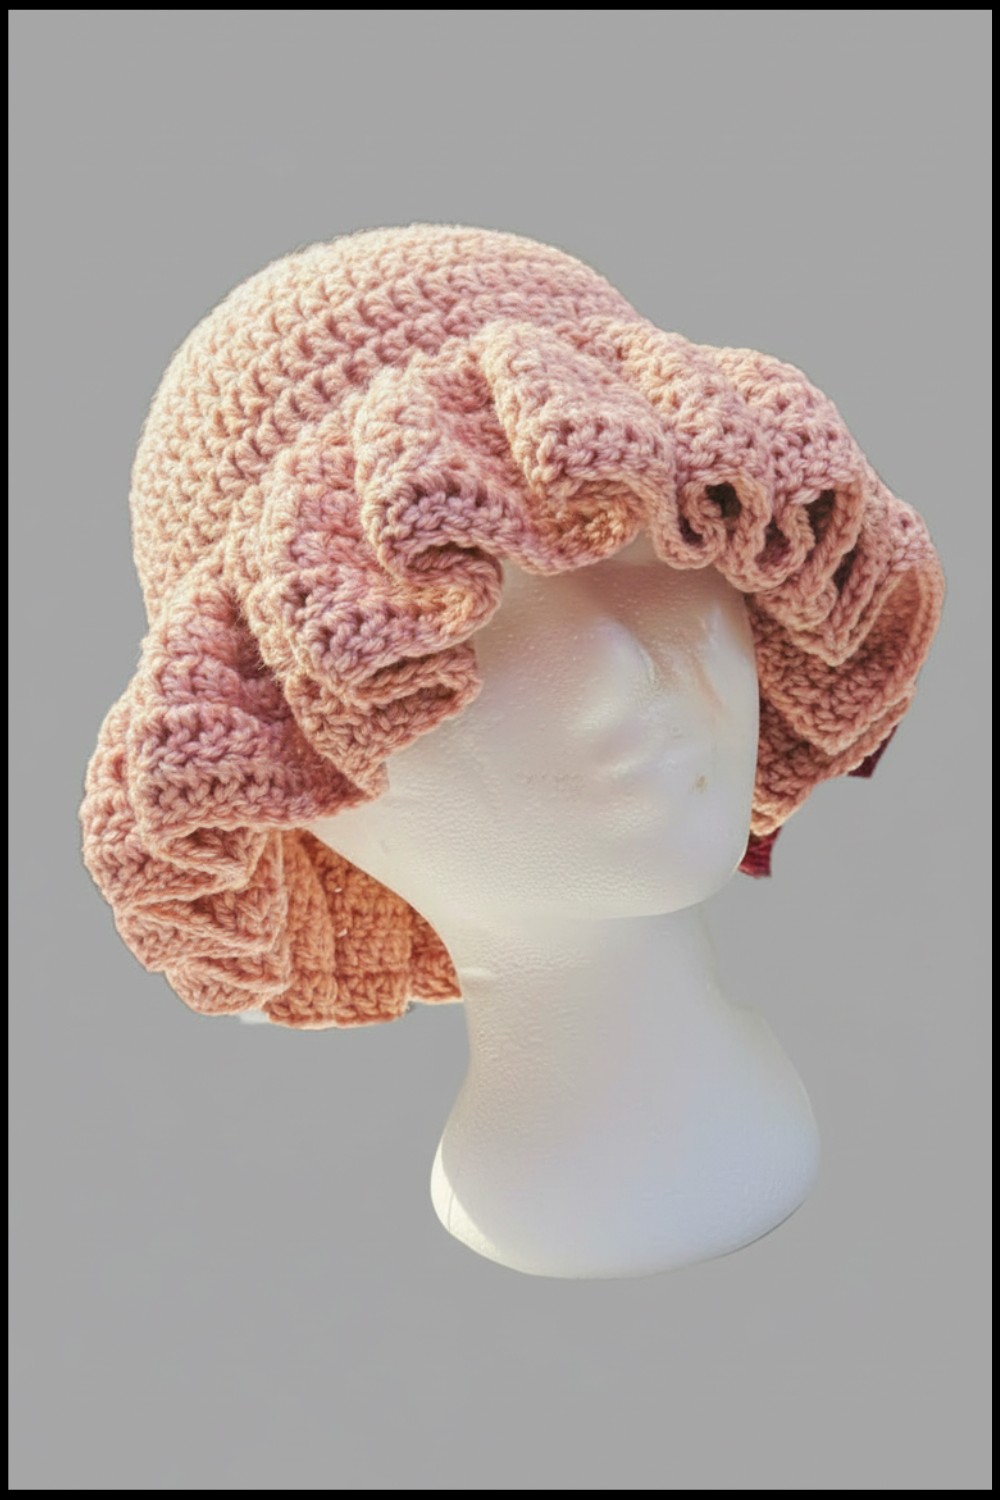
Conclusion
This easy crochet hat is perfect for beginners (and quick gift-making!). Soft increases create a perfect domed crown, and the brim is customizable. Enjoy making hats for all ages—this pattern can be adapted for any size, yarn, or style.