Handmade Free Crochet Heart Trinket Tray Pattern For Small Keepsakes

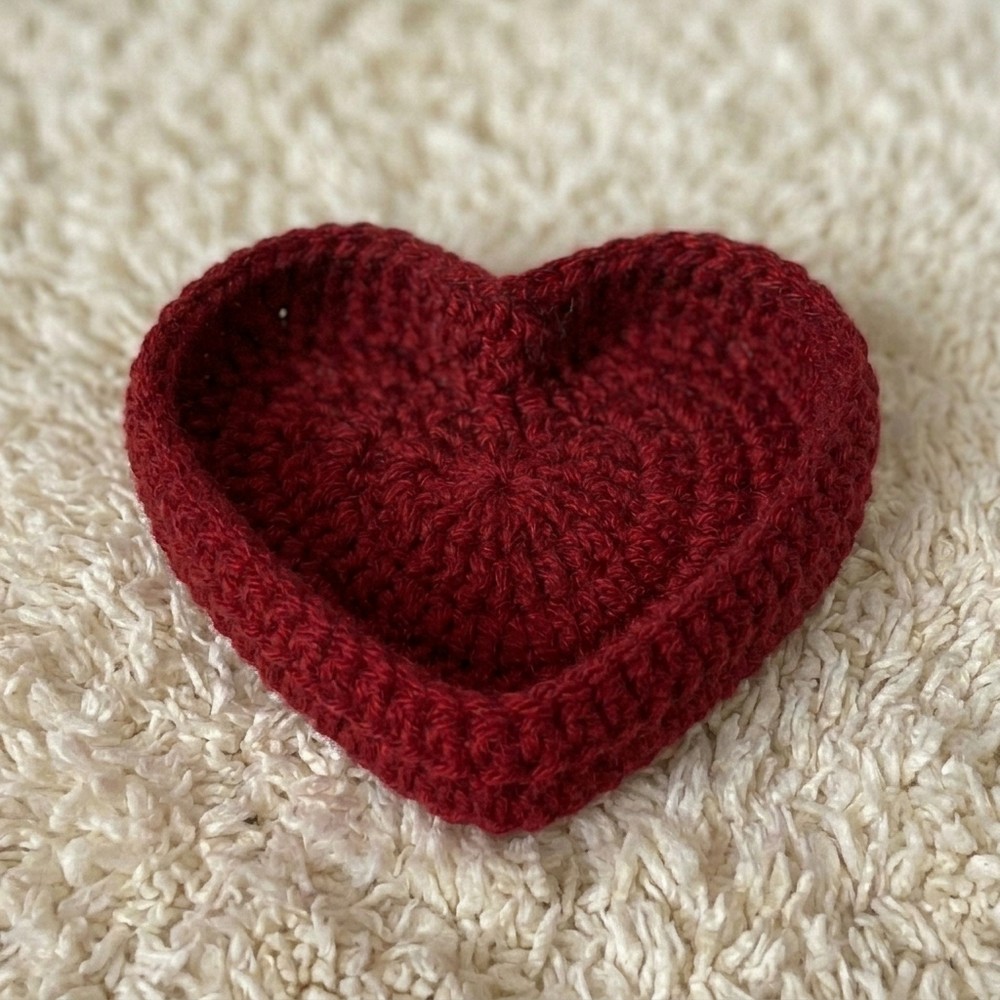
Making small crochet projects is always satisfying, especially when they can brighten up a room or hold tiny treasures. One such project is a sweet little dish shaped like a heart. This project is perfect for holding rings, keys, or other small items. By making a few simple changes, the same basic pattern can be turned into coasters, small bowls, or even decorative accents. The free crochet heart trinket tray pattern offers a fun way to create something both pretty and practical.
This heart-shaped tray catches the eye with its charming design and soft texture. Made with cozy yarn, it has a gentle, sturdy feel that’s perfect for resting delicate pieces like jewelry or keepsakes. The shape is a clear, simple heart, a timeless symbol and the edges are neat and slightly raised to keep things from sliding off. Its style is playful yet elegant, making it a lovely addition to any bedroom dresser, bathroom counter, or office desk. The standout feature is definitely the heart shape itself, which adds a personal touch to practical storage.
Crochet Heart Trinket Tray Free Pattern
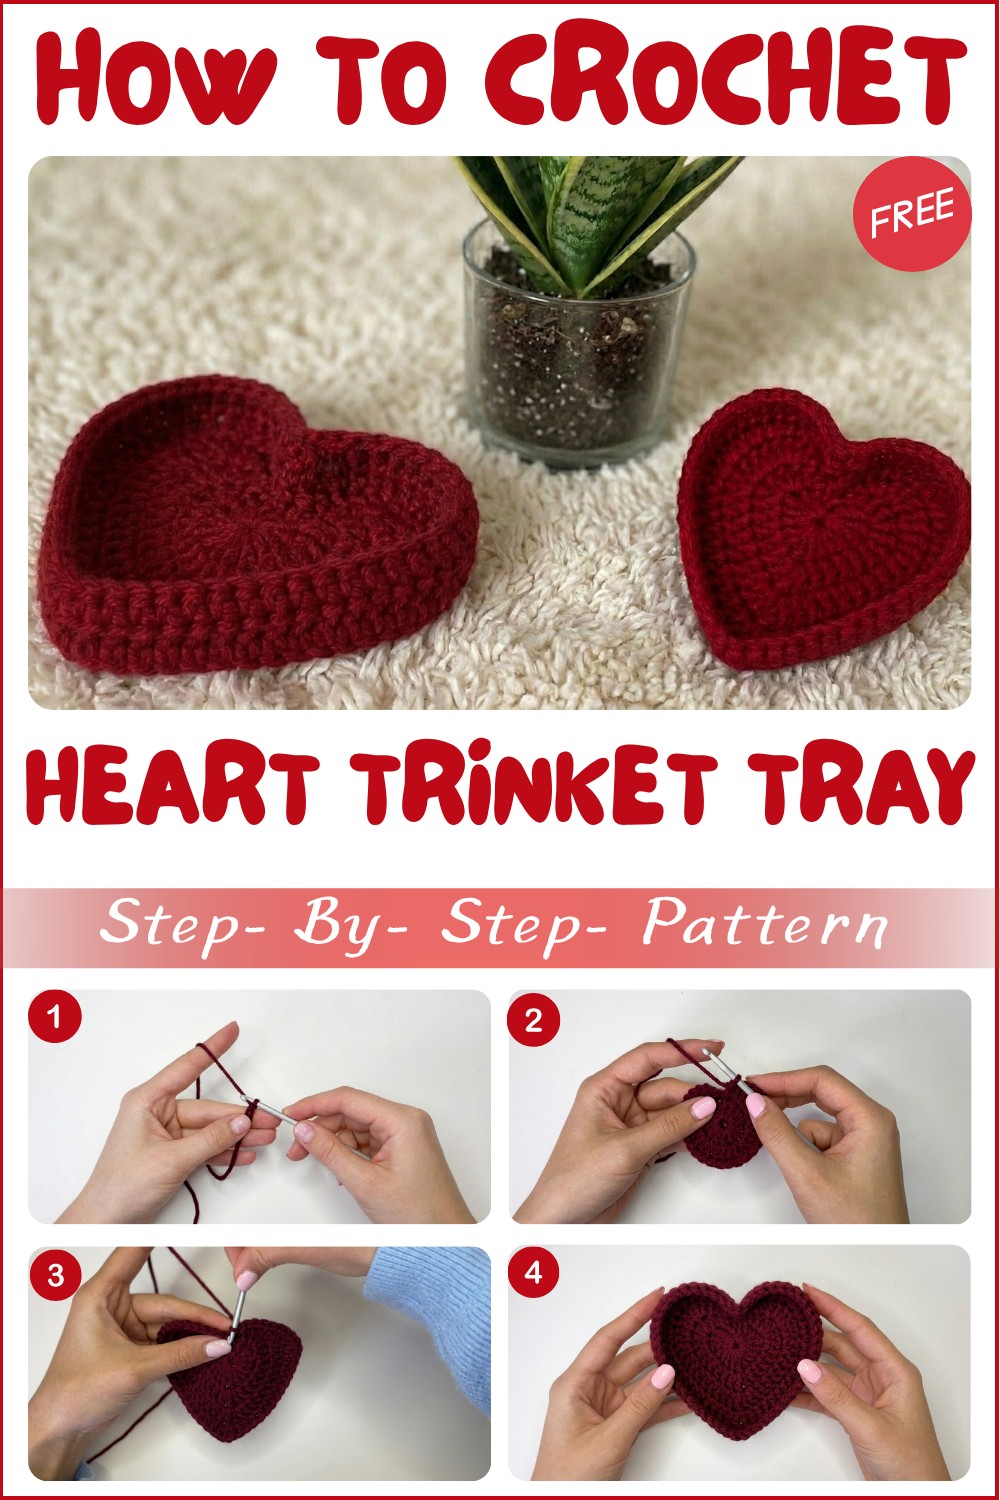
This pattern is great for beginners, as it uses simple crochet stitches and straightforward shaping. The main stitch is usually the single crochet, known for creating firm fabric that holds its form well. Working in rounds helps shape the heart and build up the tray’s thickness, while basic finishing techniques give it a clean look. It’s a wonderful project to practice essential crochet skills without feeling complicated.
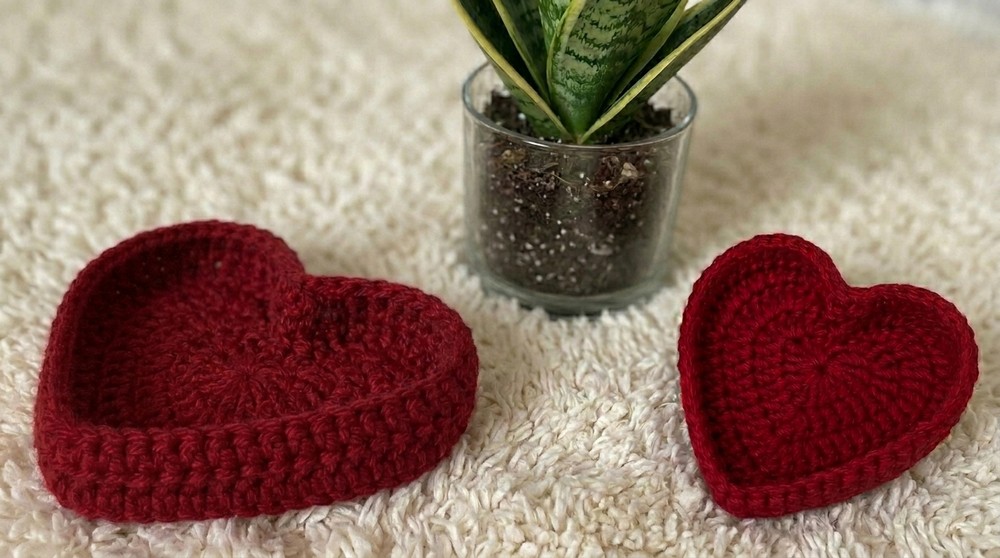
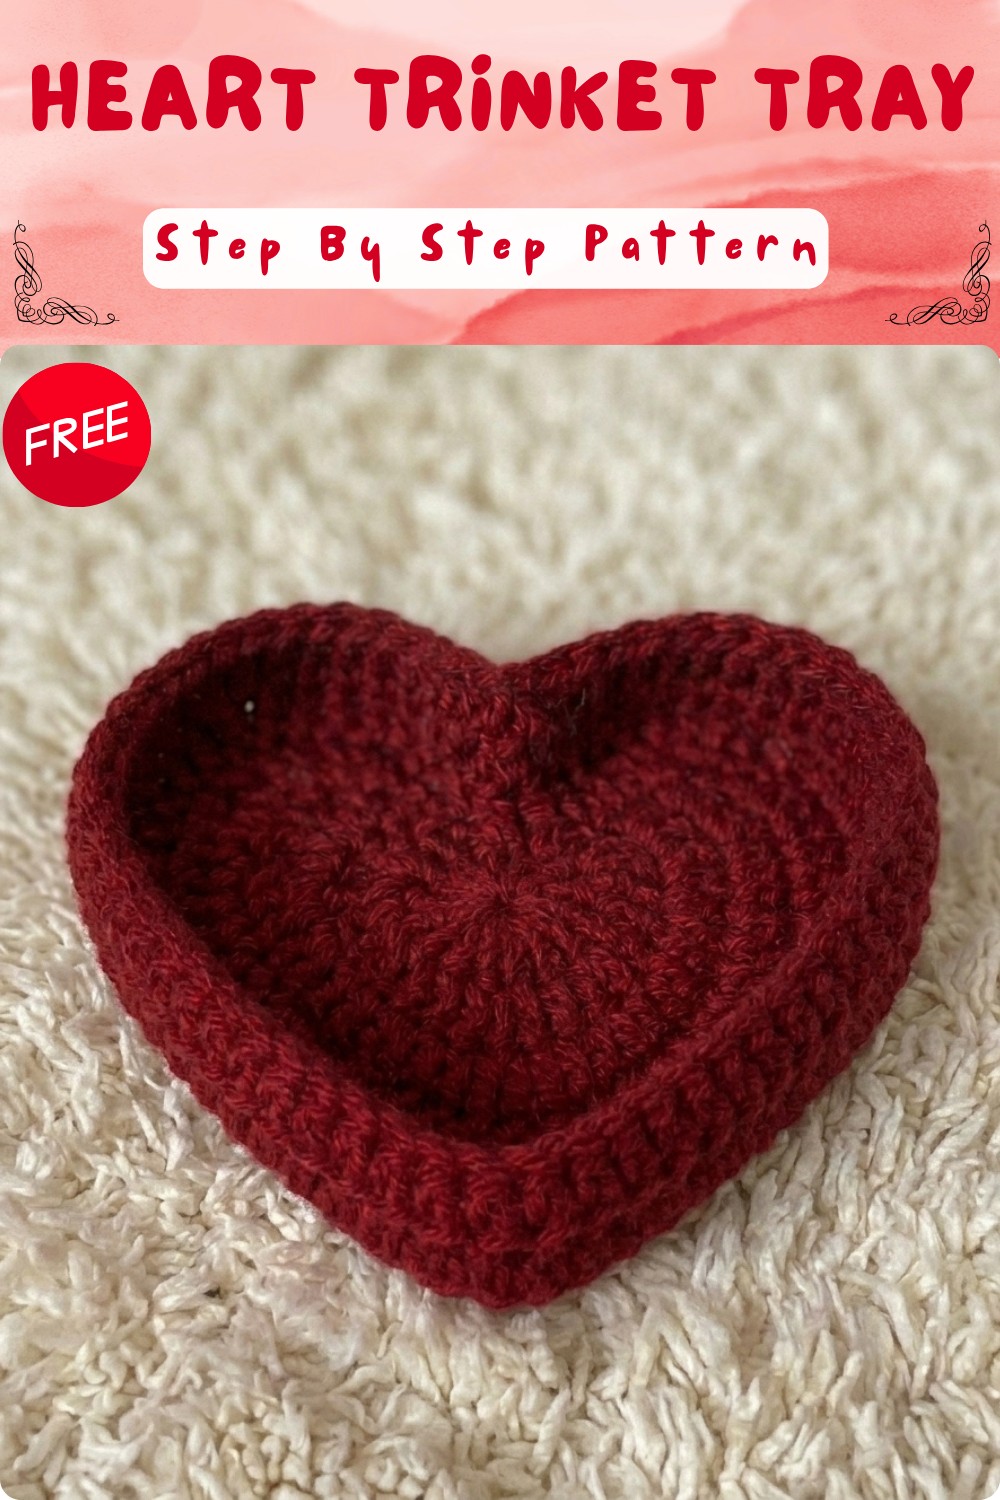
Heart-Shaped Crochet Trinket Tray
This charming heart-shaped trinket tray is a practical and decorative crochet project, perfect for storing lip gloss, small jewelry, or keys. It stands upright on its own and features a sturdy border to hold your treasures. The tray uses basic crochet stitches with some variations to sculpt the heart shape, making it a great beginner-intermediate project. The tray is quick to make, delightful to display, and easy to customize with your favorite yarn color.
Materials & Tools
- Yarn: Medium weight (10 ply/Category 4) acrylic or cotton; sample uses Red, but any color works
- Hook: 4 mm crochet hook
- Others: Yarn or tapestry needle for weaving ends, scissors
Gauge
Gauge is not critical for this project, as size is not exact. However, to match the sample:
- 8 hdc × 6 rows = 2″ × 2″ (5 × 5 cm).
If your stitches are looser, tray will be larger/floppier; if tighter, smaller and sturdier.
Abbreviations (US Terms)
| Abbreviation | Stitch |
|---|---|
| ch | chain |
| sl st | slip stitch |
| sc | single crochet |
| hdc | half double crochet |
| dc | double crochet |
| tr | triple/trabecrochet |
| MR | magic ring |
| st(s) | stitch(es) |
| FO | fasten off |
Special Stitch Instructions
- Magic Ring (MR): Wrap yarn into a loop, insert hook into ring, pull up a loop, and work stitches into the loop. Pull tail to close tightly.
- Triple (Treble) Crochet (tr): Yarn over twice, insert hook into stitch, yarn over and pull up loop, [yarn over and pull through 2 loops] 3 times.
- Work Front Loops Only: Insert hook under the front loop (the side closest to you) of stitch only.
Finished Size
- Finished tray width: approx. 4.5″ (11.5 cm)
- Height (including upright tray wall): approx. 1″–1.5″ (2.5–4 cm)
How to Start & What Stitches Are Used:
You will begin with a magic ring foundation to create the heart’s center, then work in rounds using chains, slip stitches, single crochet (sc), half double crochet (hdc), double crochet (dc), and triple (treble) crochet (tr). The border is built up with rounds of single crochet for strength and shape.
Skill Level & Terminology
- Skill Level: Beginner-Intermediate
- Terminology: US Crochet Terms
The Pattern
BASE – ROUND 1 (Heart Center)
- Begin with a MR.
- Ch 2.
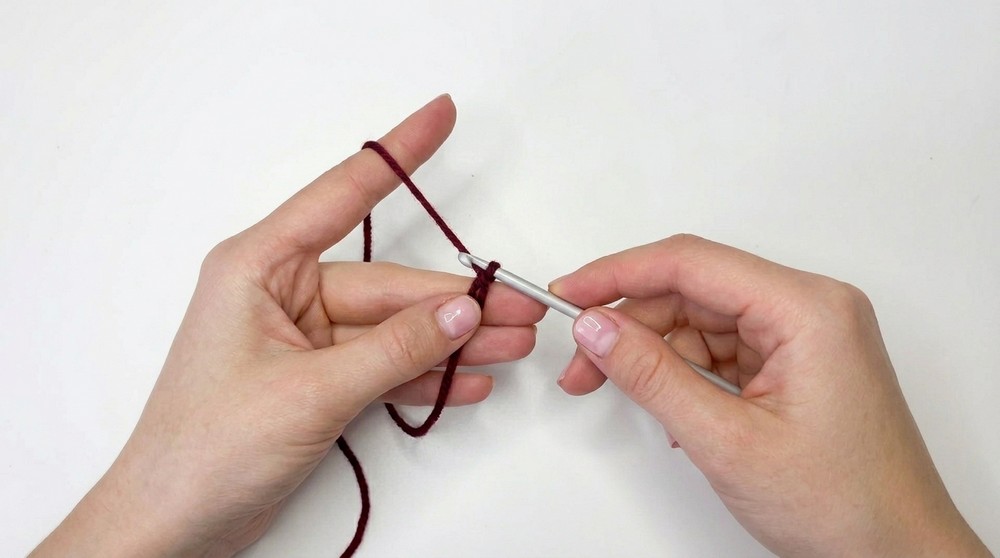
- Make 3 tr into ring.
- Make 4 dc into ring.
- Make 1 tr into ring.
- Make 4 dc into ring.
- Make 3 tr into ring.
- Ch 2, sl st into ring.
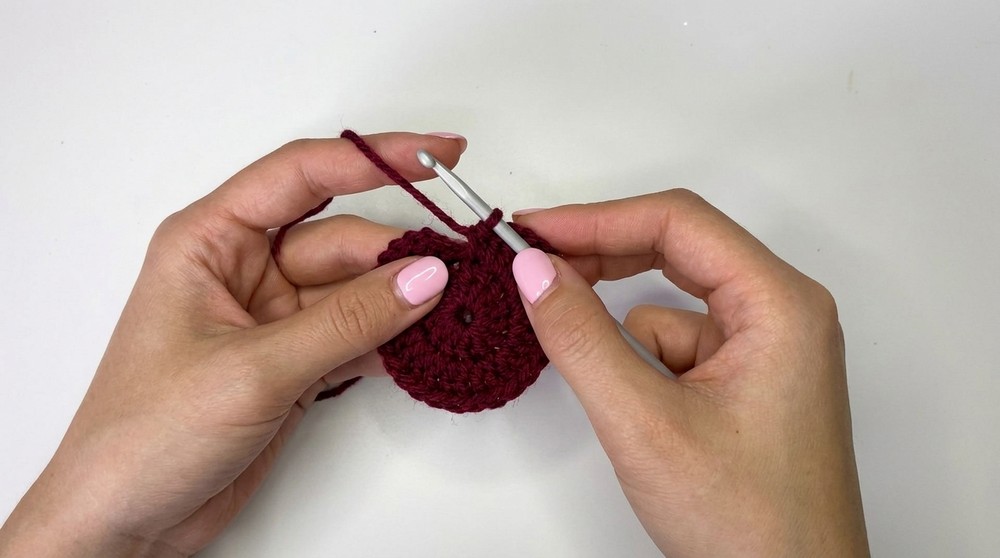
Tighten MR. You should now have a symmetrical heart shape.
This round builds the symmetrical heart base. Triple crochets make the round sides, doubles shape the heart, and chains/single triple crochets make the bottom/indent.
ROUND 2 (Heart Shaping)
- Sl st into the next ch-sp (at center dip of heart).
- 2 hdc in next st, 1 dc in same st.
- 3 dc in next st.
- 2 dc in next st.
- 1 dc in each of next 4 sts.
- In next st: dc, tr, dc (all into same st).
- Repeat (reverse) pattern up opposite side:
- 1 dc in next 4 sts.
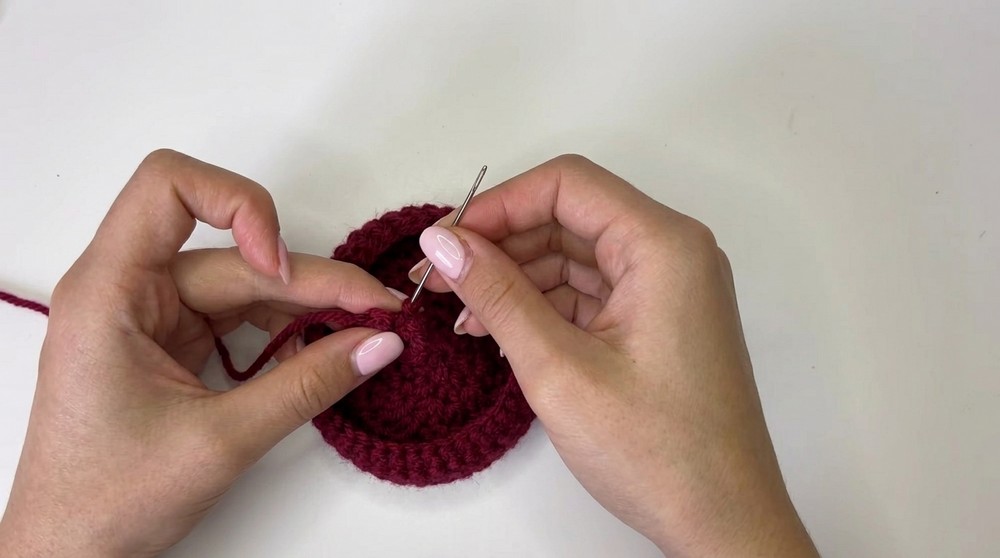
- 2 dc in next st.
- 3 dc in next st.
- 1 dc, 2 hdc in next st.
- 1 dc in next 4 sts.
- Sl st into ch-sp at indent to finish round.
This round emphasizes the top bumps and point of the heart by using triples at the peaks/valley and doubles/hdc for rounded sides.
ROUND 3 (Heart Shaping and Smoothing)
- Sk previous sl st and chain, sl st in top of first hdc.
- 1 sc in next st.
- 2 hdc in next st.
- 3 dc in next st.
- 2 dc in each of next 3 sts.
- 1 dc in next 5 sts.
- In next st: dc, tr, dc (all into same st).
- Repeat up opposite side:
- 1 dc in next 5 sts.
- 2 dc in each of next 3 sts.
- 3 dc in next st.
- 1 hdc in next st.
- 2 hdc in next st.
- 1 sc in next st.
- Sl st in top of first sc to join.
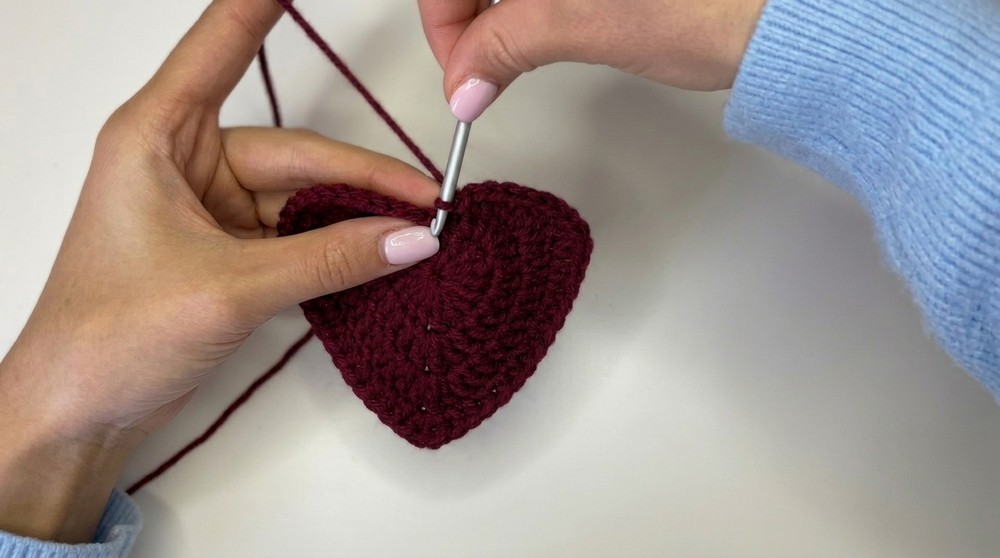
This round adds thickness and defines the heart’s curves, smoothing the point and rounded top with increases.
BORDER – ROUND 4 (Tray Wall Setup)
- Work this round in front loops only.
- Sl st tightly in first st of round.
- Ch 1.
- 1 sc in same st and each st around the heart. On the point (bottom center): 2 sc into same st.
- Continue sc once in each st along edge, except at the point and central dip (add 2 sc at each for smoothness).
- Sl st tightly in first sc to close.
By working in front loops, the stitches stand vertically, creating the start of the “wall” for the tray.
ROUND 5–6 (Build Border Upwards)
- Ch 1.
- Sc in each st around (both loops).
- Sl st to first sc to close.
- Repeat for 1–2 more rounds for desired wall height.
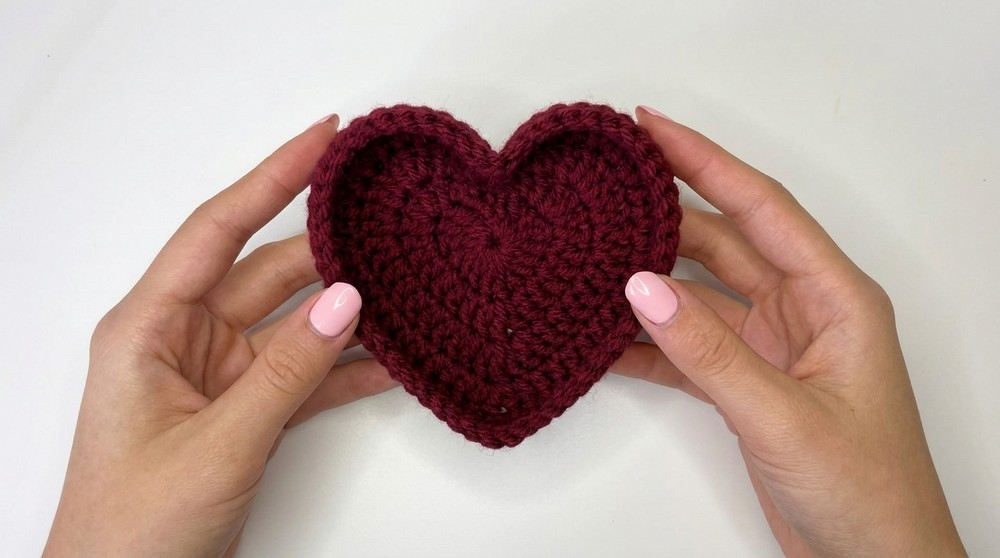
These border rounds create height and sturdiness; add more rounds for a taller, sturdier wall.
FINISHING
- Sl st in next st but don’t pull too tight.
- Cut yarn with a 4″ (10 cm) tail; fasten off.
- Use yarn/tapestry needle to weave in tail, shaping curves as you adjust.
- Optionally, knot short sides beneath the dip and at the point to exaggerate the heart’s shape.
- Tuck and weave in all tails; adjust points and edge by hand to “mold” the heart.
Your heart-shaped tray is ready to hold jewelry or trinkets!
For Those Who Prefer Explanations:
Begin with a magic ring and build the heart with rounds of basic and tall stitches in a symmetrical order. Each round further defines the heart. The border is built with single crochets, worked first into front loops to create the upright ‘wall,’ then stacked with more single crochet rounds for strength. Finish by weaving in tails and shaping the edges by hand or with a little knot for extra definition.
Assembly & Details
- No separate assembly—piece is made in one.
- Use yarn ends to knot or reinforce the central dip or point for a strong shape (optional).
- Weave in ends with a needle.
Customize Your Tray
- Make it larger: Add more rounds (increase regularly).
- Stripe it: Change yarn color each round.
- Add surface embellishments: Embroider stars, initials, or small designs.
- Use thicker yarn for a bigger, chunkier tray; thinner yarn for delicate look.
What You’ll Practice & Learn
- Magic ring start
- Working in the round
- Stitch height differences (sc, hdc, dc, tr)
- Working in front loops
- Tray-making and shaping