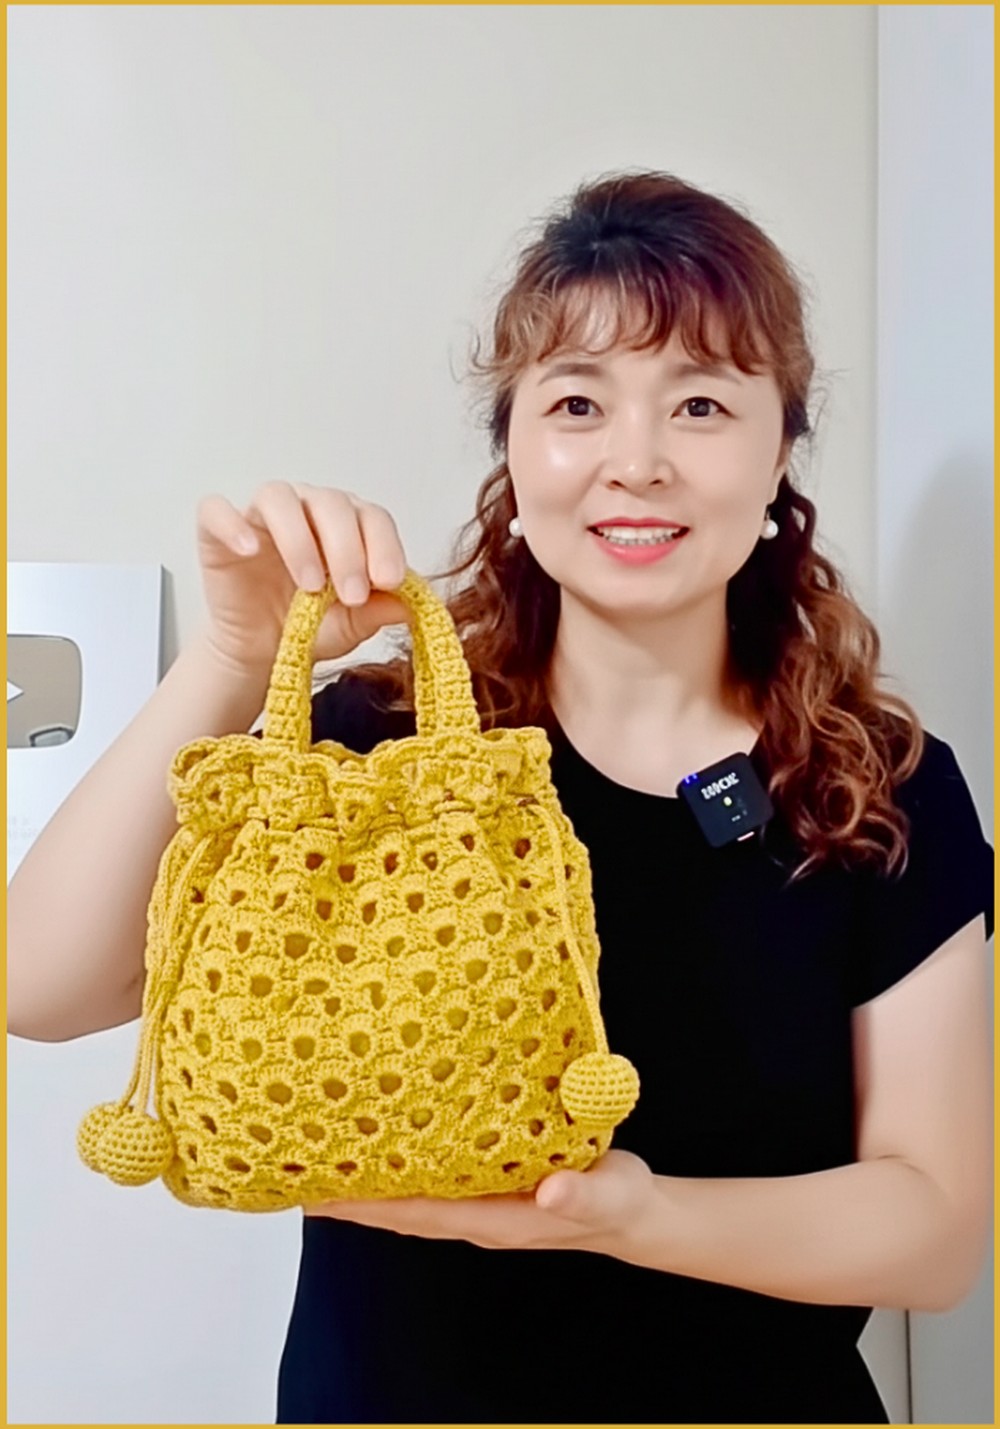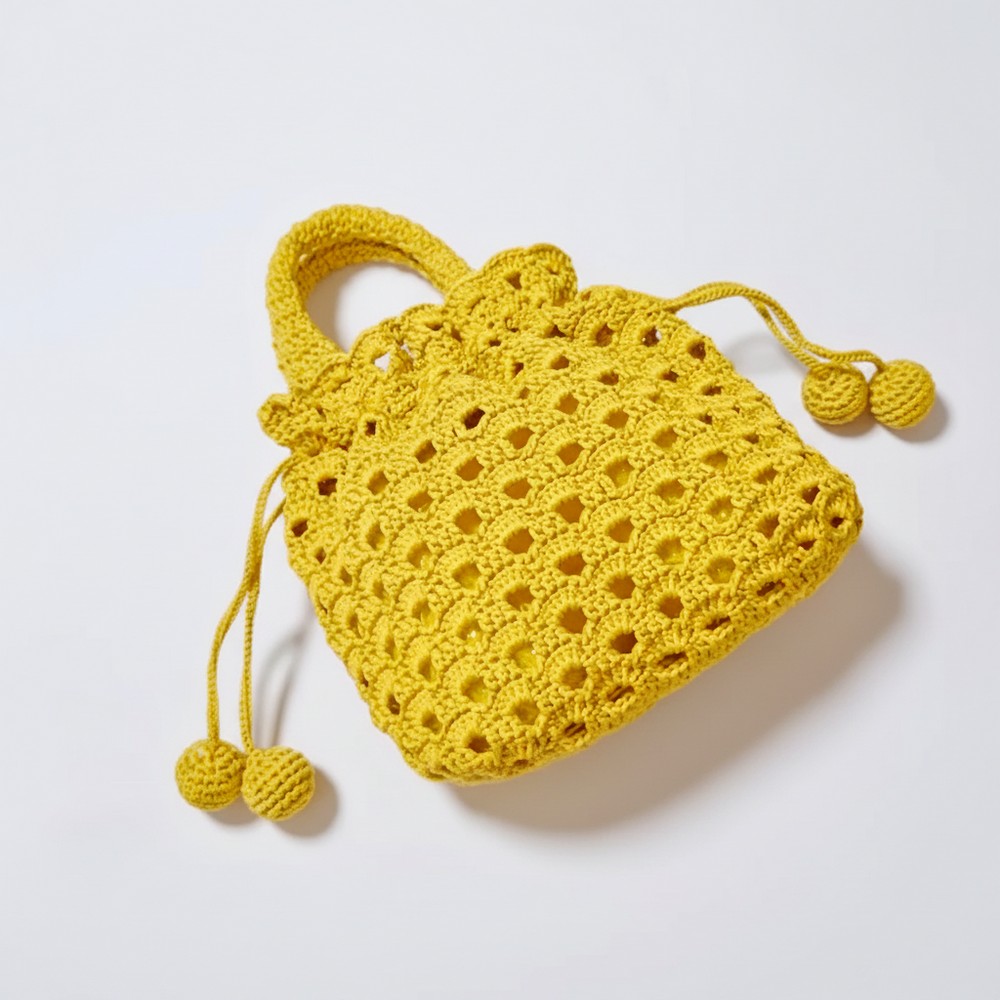
Minimal Crochet Punching Netbag Pattern for Summer Errands
Style daily errands with this easy Crochet Punching Netbag Pattern perfect for carrying any essentials while adding charm to every outing.
Strong and stylish this bag catches everyone’s attention with its simple look and fun design. It has open spaces like a net so air can flow through letting you see your things and keeping them fresh. Bright colors or soft shades both look great with this bag and every stitch feels special because it is made by hand. People use it for shopping trips to the market for carrying books or even for beach days to bring snacks and towels.
Timeless Crochet Punching Netbag Pattern Fashion Meets Function
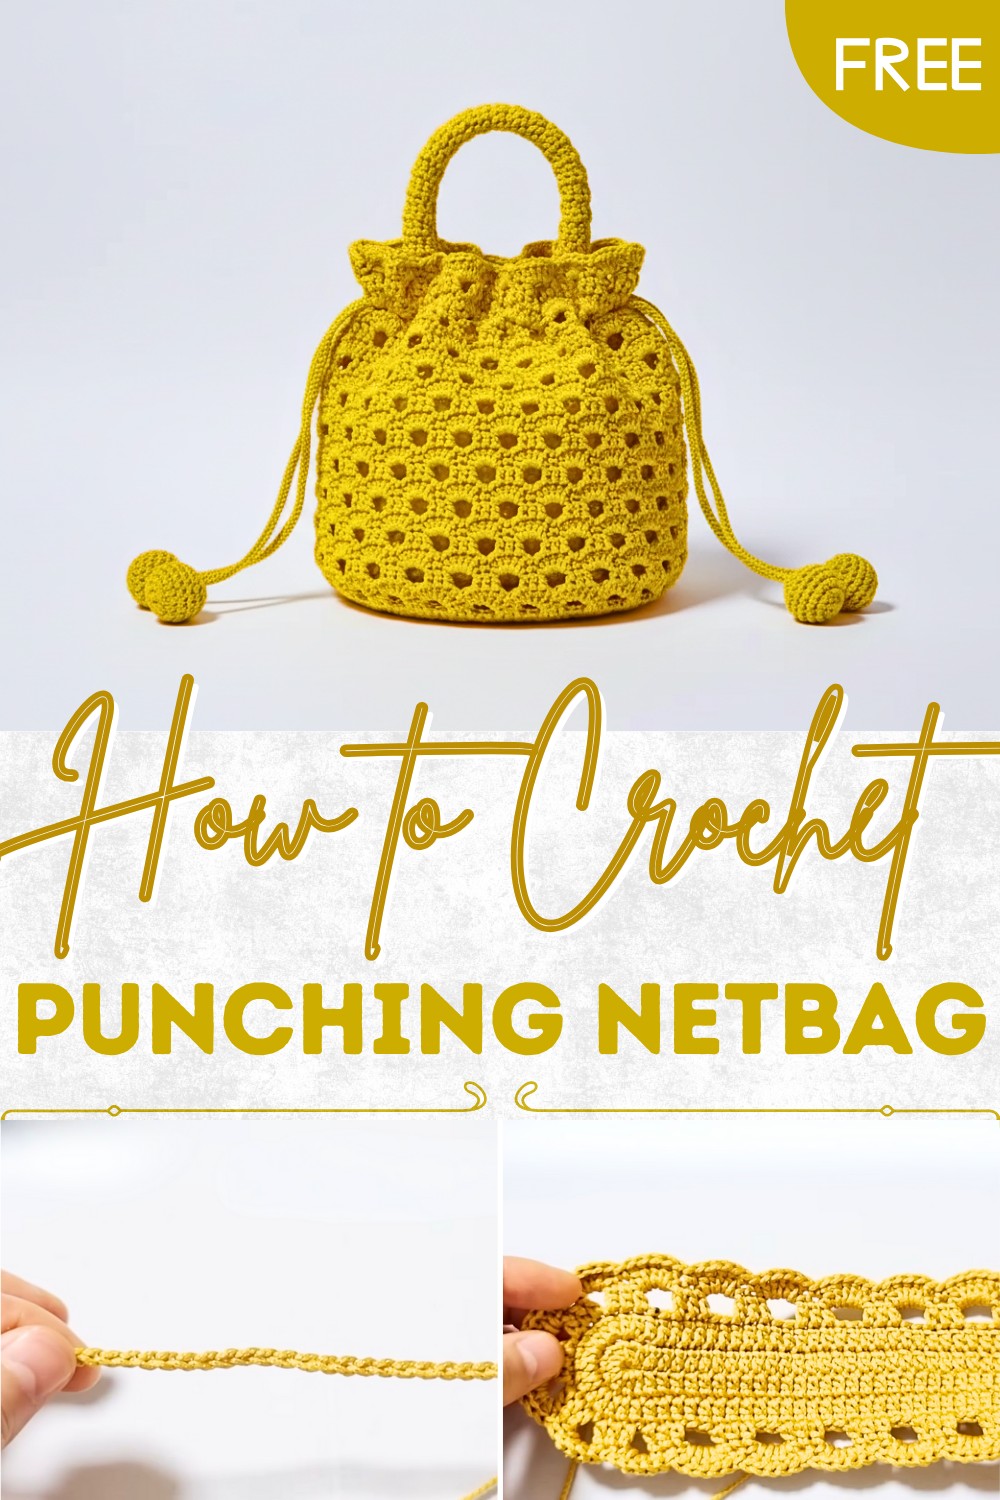
This bag does not just hold items it shows off your style in a gentle way. You do not need to worry about heavy things because the bag is tough and easy to carry. For those who want a personal touch the Crochet Punching Netbag pattern lets you make something useful and beautiful.
Materials
- Yarn: Latte yarn (similar to Macrame or sturdy cotton; sport to DK weight)
Alternative: Mochila, Tofu’s Sipa-ram cotton, or other firm macrame-style cotton (approx. 2 balls) - Hook: US Size B/1 or C/2 (2.5mm or similar, adjust for yarn thickness)
- Notions: Tapestry needle, stitch markers, scissors, measuring tape
- Optional: Polyfill or scrap yarn for “drop” decorations
Key Abbreviations (US Terminology)
| Abbreviation | Meaning |
|---|---|
| ch | Chain |
| sl st | Slip Stitch |
| sc | Single Crochet |
| dc | Double Crochet |
| sk | Skip |
| rep | Repeat |
| rnd | Round |
| st(s) | Stitch(es) |
| inc | Increase (2 sc in one st) |
| dec | Decrease (sc2tog) |
| BLO | Back Loop Only |
Special Notes & Tips
- A sturdy, non-stretch cotton makes the bag more durable and helps maintain shape.
- If a larger bag is desired, start with a longer foundation chain in multiples of 5.
- Always join rounds with a sl st unless otherwise noted.
- The “punching net” effect is created with chains and skipped stitches.
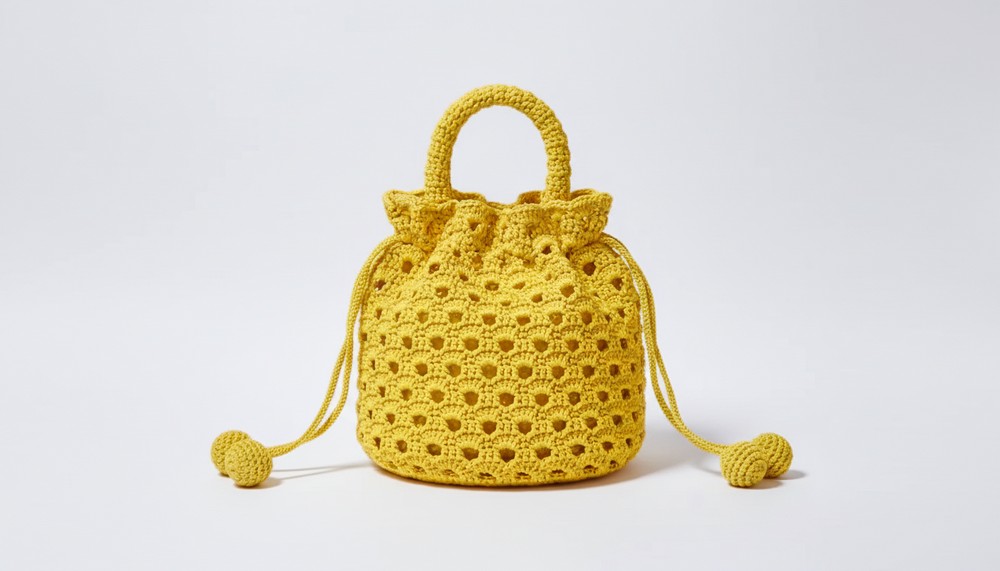
Bag Dimensions
- Width (flat): Approx. 22cm
- Height (excluding base): Approx. 18cm
- Base: Elliptical
- For different sizes, see modifications at the end.
Pattern
1. Elliptical Base
Foundation:
- Ch 31.
- Row 1: In 2nd ch from hook, work 1 dc. Dc in each ch to end (30 dc).
- In last ch, work 7 dc (this turns) into same st.

(Mark the first and last of those 7 sts for corner increases.) - Down opposite side: Dc in each ch back to starting point (30 dc).
- In final ch, work 7 dc (corner), sl st to top of first dc to join. (Total: 74 sts)
Rnd 2:
- Ch 3 (counts as 1 dc), dc in same st, dc in each st across to corner.
- Work 2 dc in each of the 7 corner stitches (total 14 dc on each corner).
- Continue dc evenly around, sl st to first dc.
(You may wish to move up stitch markers at corners.)
Rnd 3:
- Ch 3, dc in each st around, working [2 dc in each stitch at both rounded ends]. (You will keep increasing at corners to keep base flat.)
- End with sl st to first dc. (Total at end: approx. 90 sts)
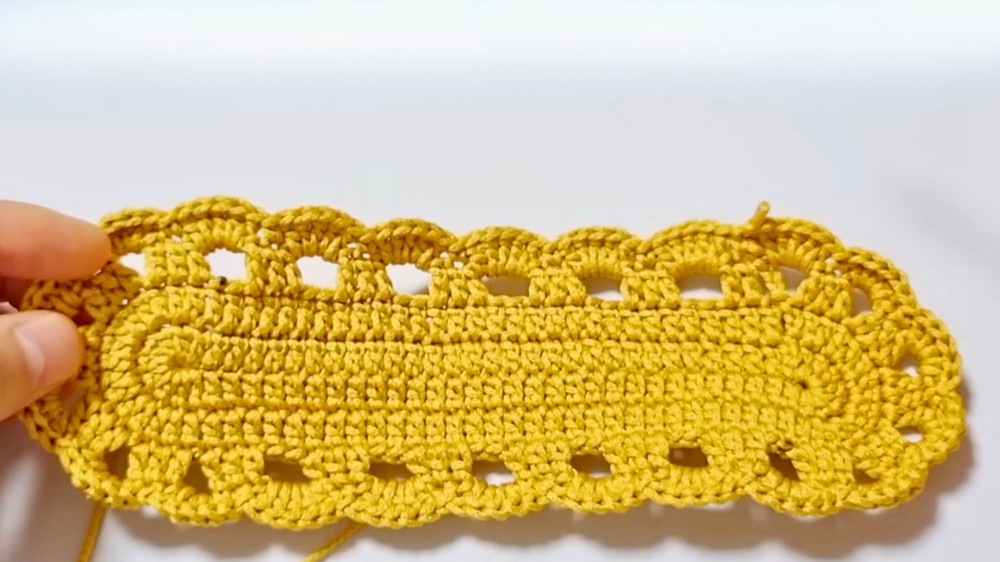
2. Body – Punching Net Pattern
Note:
Pattern is a two-round repeat creating mesh.
Rnd 1 (Punching Net Setup):
- Sl st 1 st to the left to offset for symmetry.
- Ch 4 (counts as 1 dc + ch 1), sk next st, dc in next st, ch 1, sk 1, rep * around.
- At the ends (corners), do not skip sts between dc to keep pattern even across increases.
- Sl st to 3rd ch of ch-4 to close.
Check: There should be 22 “windows” (dc, ch-1 spaces) around.
Rnd 2 (Solid Fan):
- Move to center of “window” (sc into ch-1 space), ch 1.
- (Dc in ch-1 space 5 times, sc in next ch-1 space) repeat * around.
- Fasten sc into the first fan base to join.
(You should now have 22 “fans” circling bag.)
Continue Pattern:
- Odd rounds (Net): Ch 3, dc in the center 3 dc of each fan with ch-2 between, sk 2 dc between fans.
- Even rounds (Fan): 5 dc into center ch-2 space of net, sc between fans.
- Repeat mesh and fan rounds, alternating, until work measures 18 cm from base (about 12 repetitions).
3. Drawstring and Bag Closure
Drawstring (make 2):
- Take approximately 2 meters yarn, fold in half, knot end.
- Work a double chain: With two strands, make a long chain (~50 cm), keeping it thick. Fasten off, leave tails to help threading.
Thread Drawstring:
- Fold bag flat, count the mesh holes. Insert drawstrings from each side, threading through every second mesh “window.”
- Each drawstring will emerge at the opposite ends. Tie knots or attach “drops” (see below) for an adorable closure.
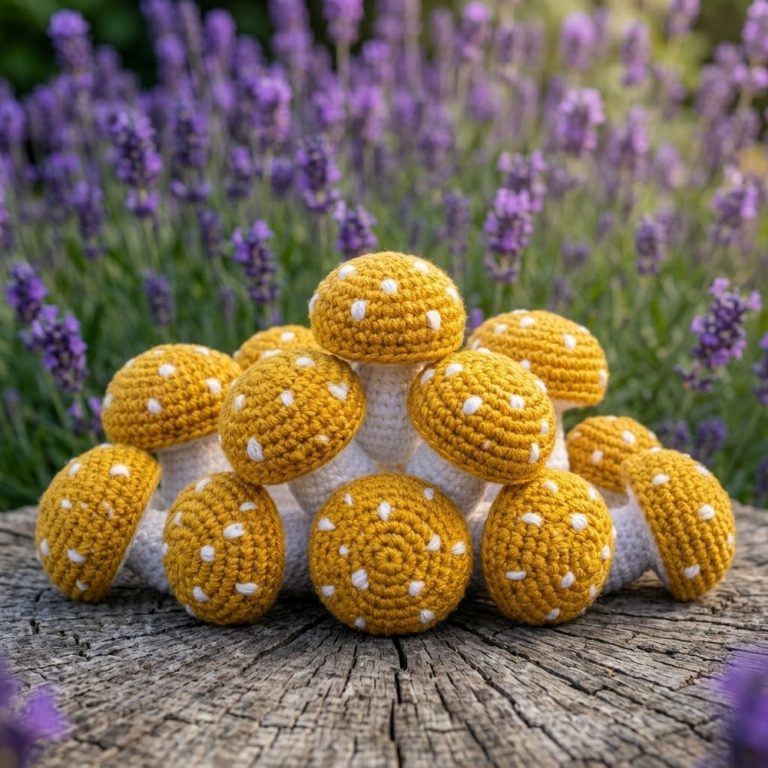
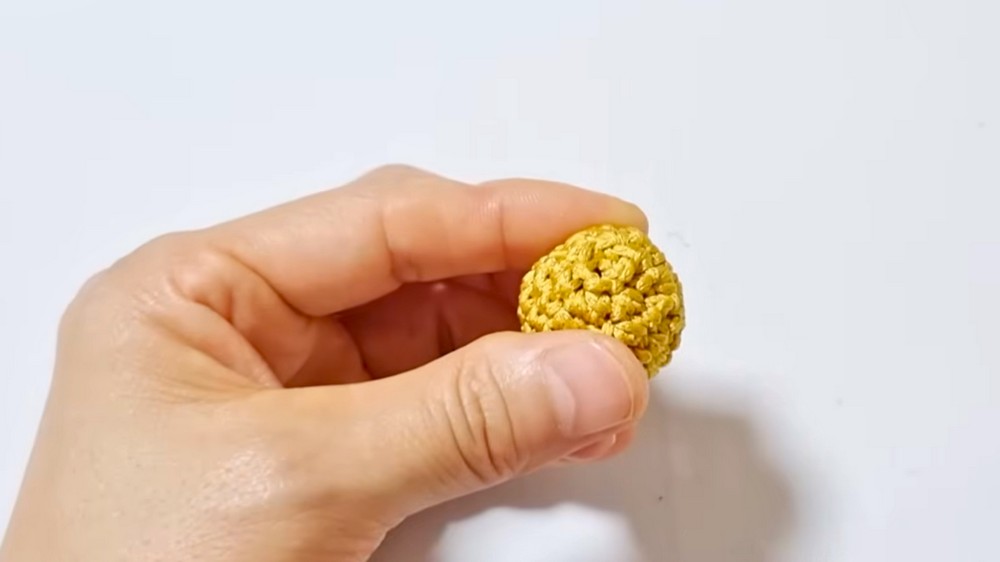
4. “Drop” Embellishments (Optional Pom-Poms)
With leftover yarn in matching colors:
Rnd 1:
- Wrap yarn twice around two fingers. Remove loop, sc 6 into ring, sl st to first sc.
Rnd 2: - 2 sc in each st around (12).
Rnd 3-5: - Sc in each st around (3 rnds total).
Rnd 6: - Sc2tog around to close, stuff lightly, fasten off, leave long tail to sew to ends of drawstrings.
5. Handles/Straps
Short Handles (Make 2):
- Ch 8, sl st to form ring, ch 3.
- Work dc in each st around (8 dc), sl st to top.
- Continue working in spiral (do not join) until 22 cm desired length.
Crossbody Strap (Optional):
- Make as above, chaining 90 and working in a circle, to 110 cm (or as long as desired – remember the strap will stretch a bit).
Sew handles securely to inside of bag at each side.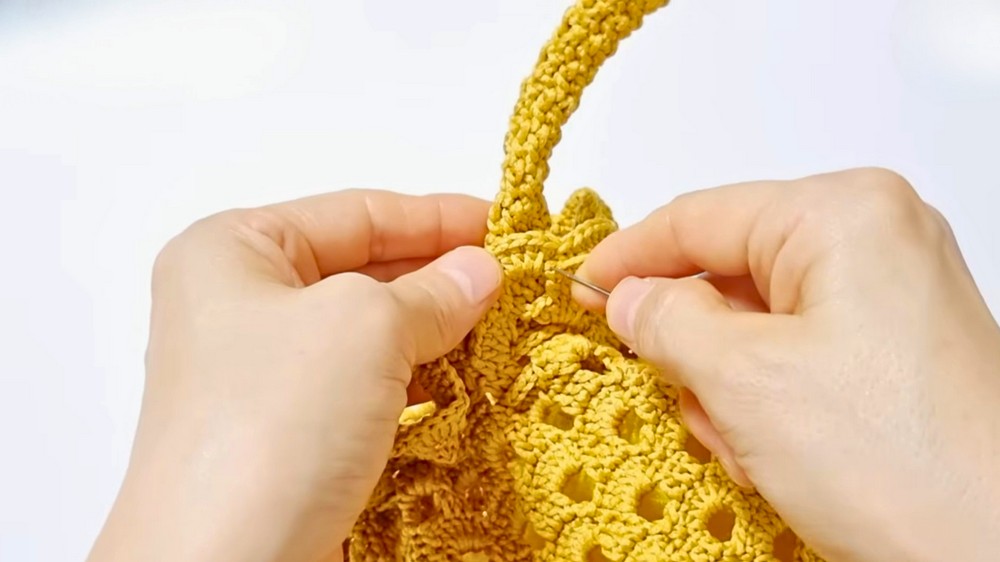
Conclusion
The Mini Punching Net Bag pattern results in a versatile, cute, and practical accessory. Adjust the size by changing the initial chain or overall number of repeats. Sturdy yarn ensures the bag holds shape, and optional drawstring “drops” add a whimsical finishing touch. Use crossbody or hand handles as preferred.
Pattern Correction & Tips
- Pattern Correction:
In forming the ovals and fans, remember to consistently check stitch counts—ensure that increases only happen in marked corner stitches for a flat, non-curling base. - Tip:
Block the finished bag lightly (mist with water, shape, let dry) for best finished appearance.