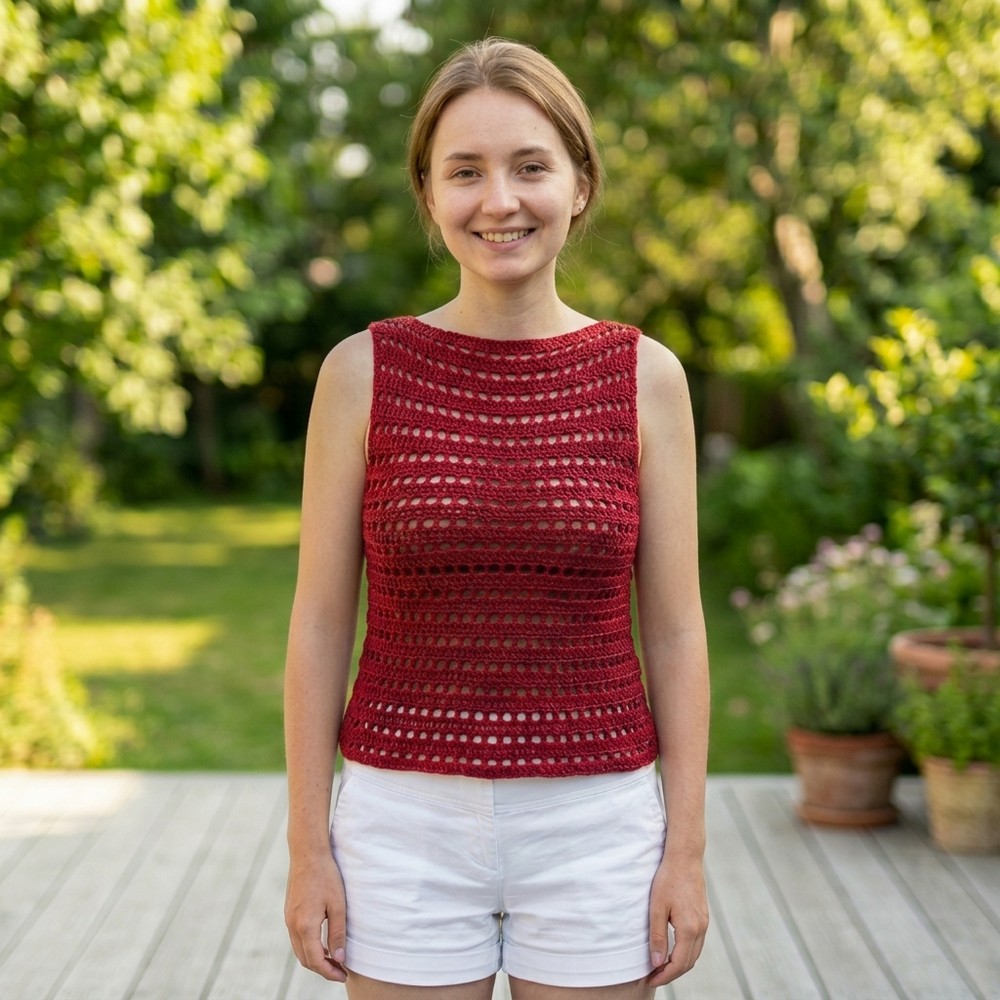
Versatile Crochet Tank Top Pattern to Customize Your Style

Slip into handmade comfort with this Crochet Tank Top Pattern that guides you to a cozy, stylish, and perfectly fitted summer essential.
Crochet is a great way to create personalized and practical items, combining simplicity and flexibility to meet different needs. In fashion, crochet provides both function and style, and the crochet tank top is a perfect example. It’s a classic piece that’s cozy and breathable, ideal for warm summer days or layering under a jacket. This tank top is a mix of elegance, comfort, and versatility, making it a great addition to any outfit.
How to Crochet Tank Top with Custom Measurements
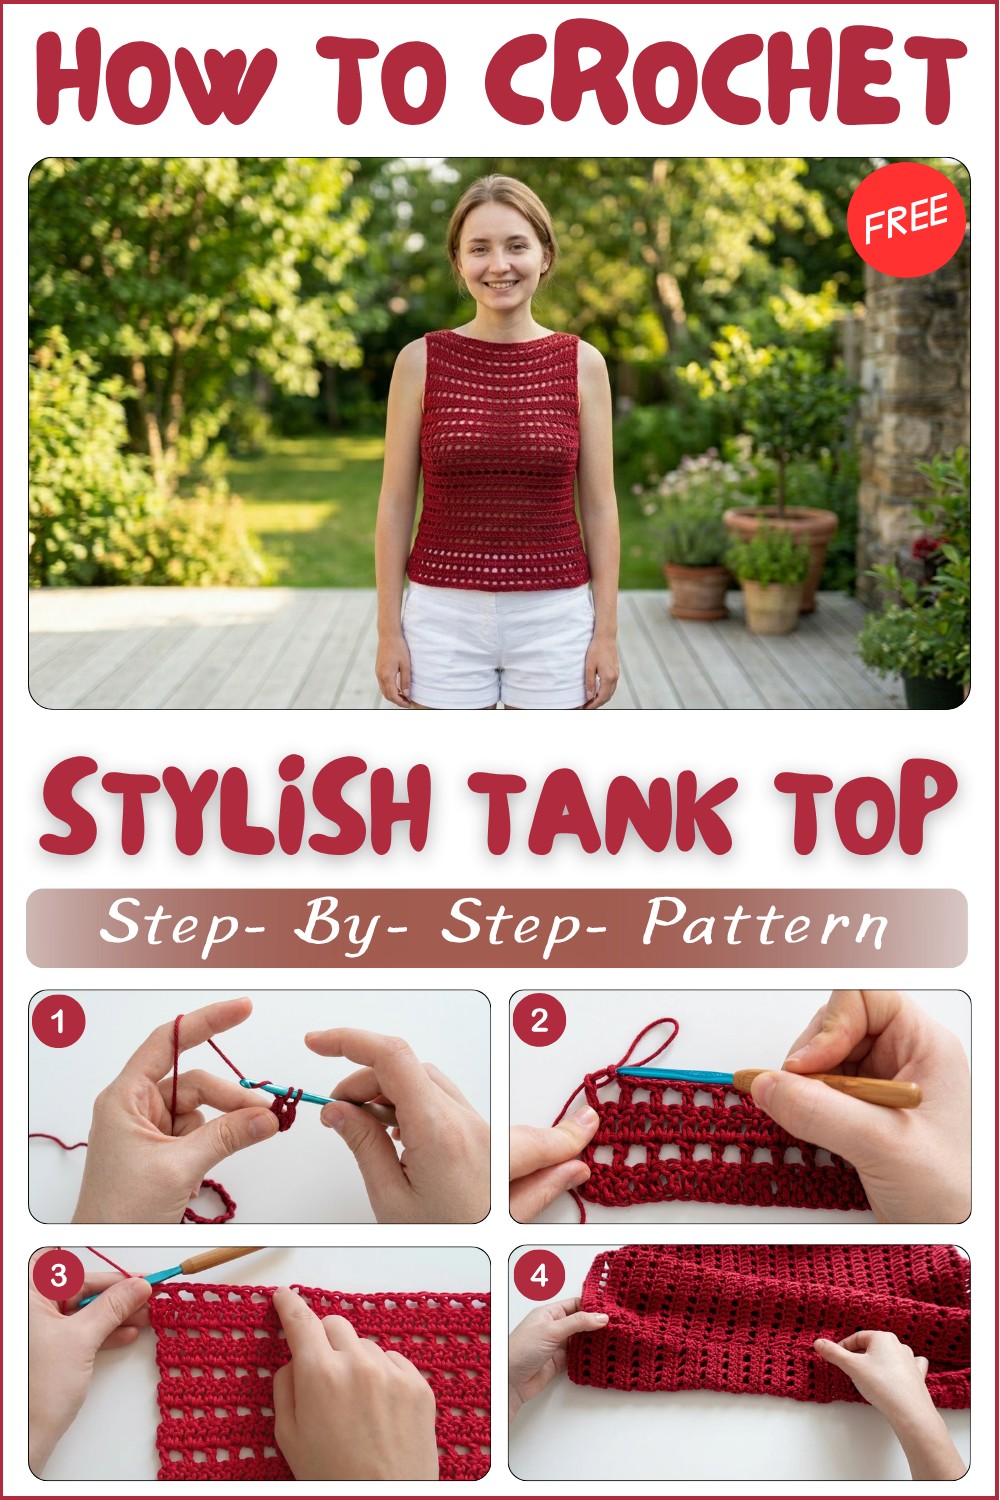
Materials
- Yarn: Modern Cotton by Baroko (weight 4), or any breathable cotton yarn—acrylic is acceptable but less cool for summer wear.
- Hook: 5 mm (as recommended for yarn).
- Notions: Scissors, yarn needle, a few stitch markers.
- A fitted top: Wear something snug while measuring to ensure accurate sizing.
Pattern Notes
- This project adapts perfectly to your body: you’ll measure across your shoulders for your foundation chain and try on as you go.
- The mesh stitch results from alternating double crochet stitches and chain spaces, making this a breezy summer garment.
- Increase rows allow for comfortable shaping at the underarm and bottom hem.
- Instructions tailor to any size—the foundation chain, body length, and seam adjustments are explained to match your proportions precisely.
- Steam blocking is recommended for best results (especially with cotton).
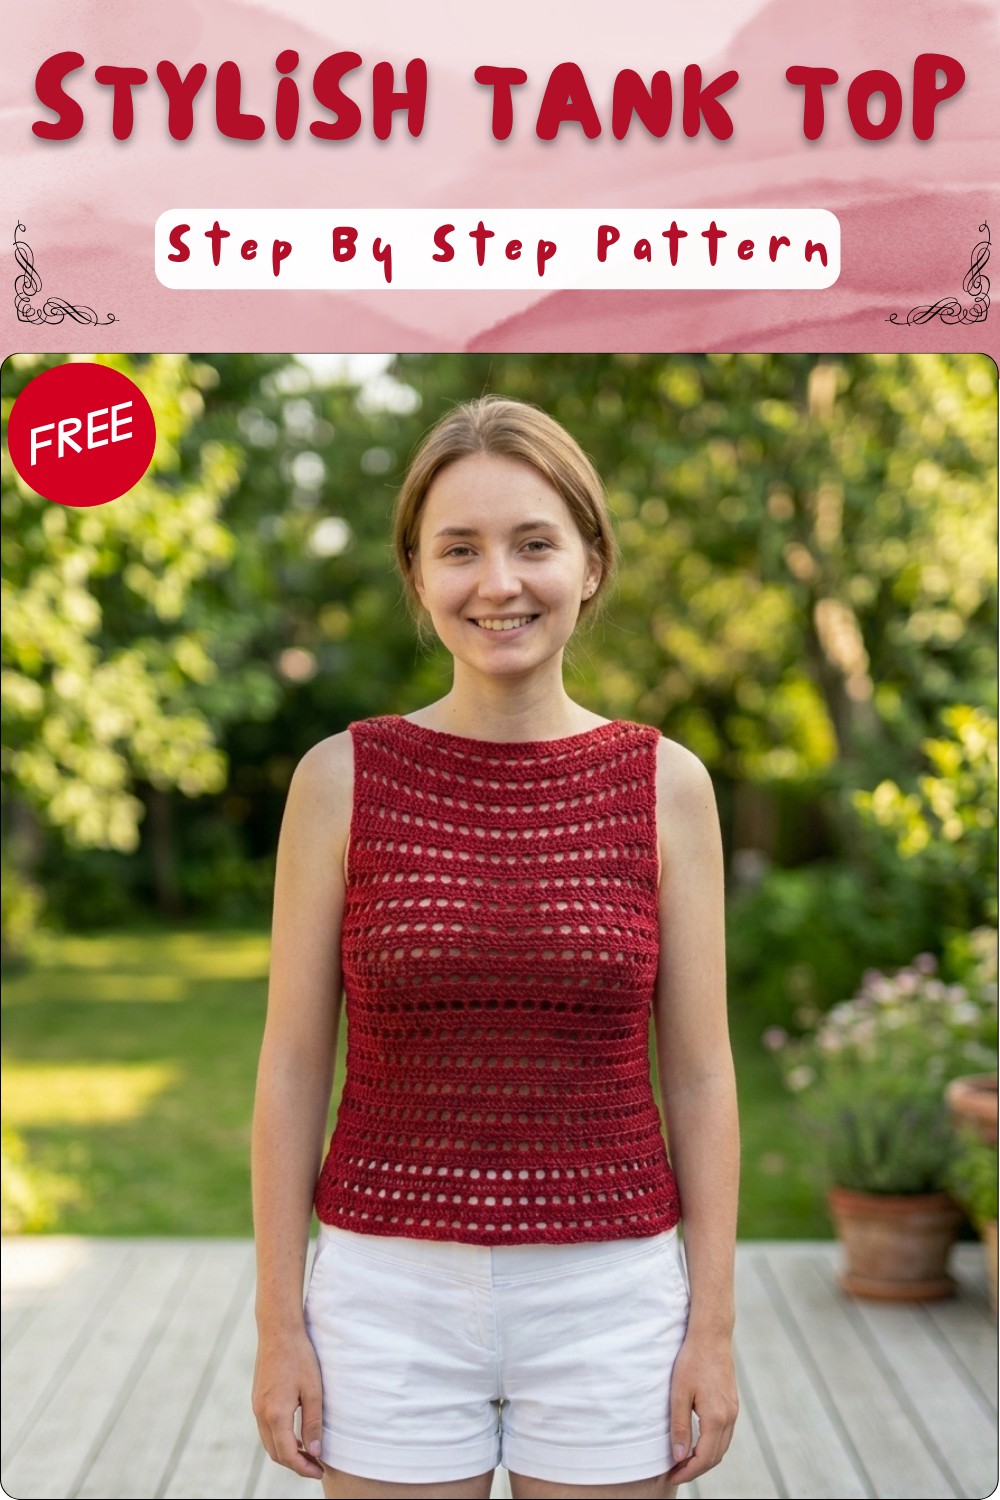
Custom-Fit Crochet Mesh Tank Top
Gauge (and Stitch Pattern if applicable)
- Gauge isn’t critical due to custom fit, but average swatch in mesh pattern should yield about 4 double crochets and 4 mesh spaces per inch.
- Mesh Stitch Pattern: Alternates double crochet and chain spaces.
- Solid Row: Double crochet into every stitch and space.
- Increase Row: Two double crochets worked into each stitch/space at sides.
Skill Level
Beginner-Friendly (Easy):
Perfect for those familiar with basic stitches (double crochet), chain spaces, and simple increases. No shaping charts needed; fit is determined by body measurements.
Stitch Abbreviations
- ch = chain
- dc = double crochet
- sc = single crochet
- st(s) = stitch(es)
- rep = repeat
- sl st = slip stitch
Measurements / Sizing (Optional Schematic)
- Foundation Chain: Created to fit from bra-strap to bra-strap across chest.
- Mesh Panel Length: Work until piece reaches just below armpit (custom for your height).
- Back Panel Connection: Use seam placement as guide, then ensure head fits through opening.
- Increase Rows (Underarm/Bodice): Work until bottom edge flares comfortably to hip or desired length.
- Bottom Hem Length: Add approx. 10 rows, or until top hits waistband/pants.
- *Schematic: Standard tank shape, mesh pattern, solid double crochet rows at seams.
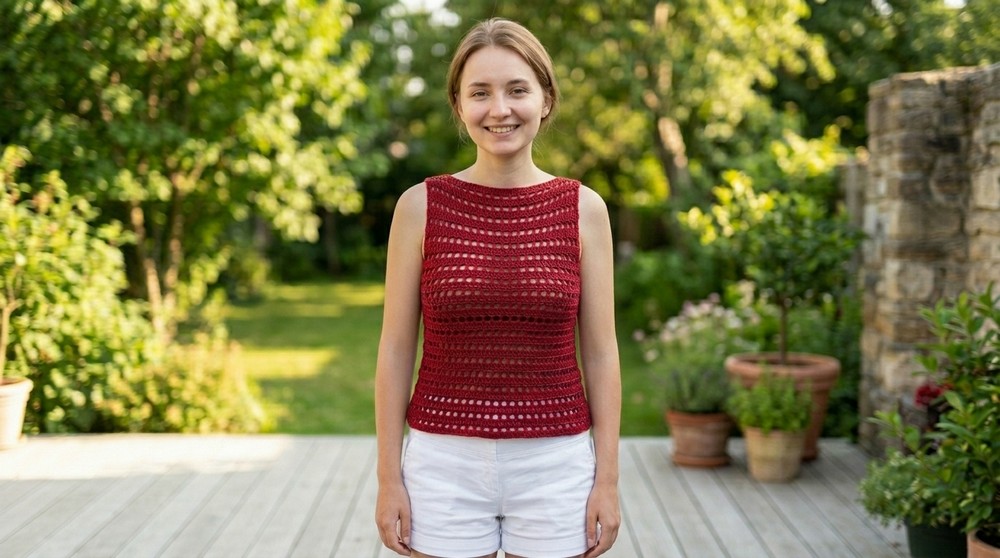
Special Stitches
Mesh Stitch:
(dc, ch 1, skip next st) rep across; creates open fabric.
Increase:
At row ends: (2 dc) in first st/space, (2 dc) in next st/space, rep at end for symmetrical shaping.
Blocking:
Steam block or wet block after finishing to stretch and even out fabric.
Summary
An airy, mesh tank top designed for personal fit, this project is all about simplicity and comfort. You’ll crochet two panels, shape them with increases and connect with relaxed seams. Try on as you go for precision and enjoy the result—a wearable, handmade staple for spring and summer!
The Crochet Pattern! (Complete, Step by Step)
1. Measure & Foundation Chain
- Put on a fitted shirt.
- Measure from bra strap to bra strap across your chest.
- Make a slipknot; ch the number needed to reach that distance, ensuring it’s even (e.g., 44 or 46).
- Add 2 extra chains for turning.
2. Row 1: Solid Double Crochet
- Work into the third ch from hook (or flip to “back bump” of chain for cleaner edge).
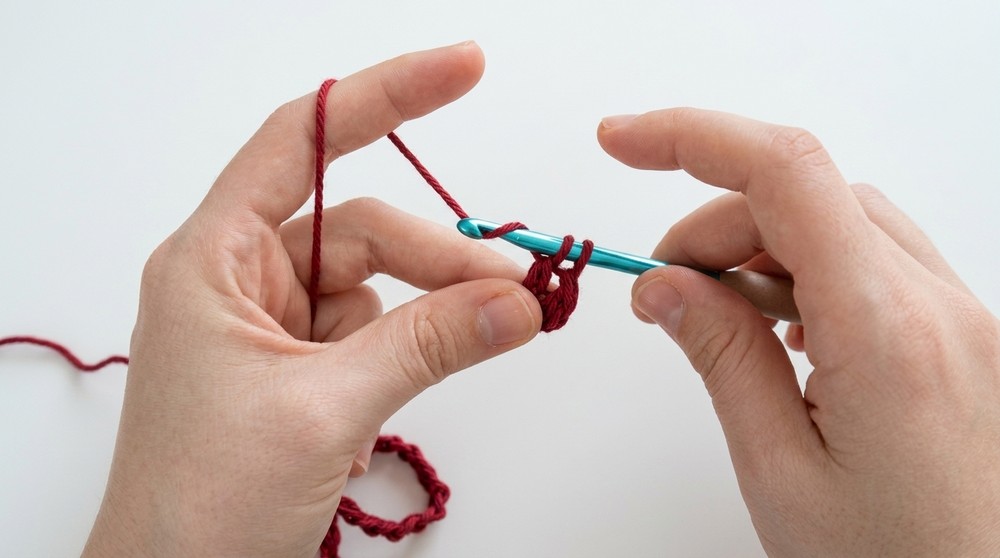
- dc across entire foundation row.
- At end, ch 2, turn.
3. Row 2: Mesh Stitch Pattern
- Ch 3 (counts as dc + ch 1).
- Skip first st, dc into next st.
- Ch 1, skip 1 st, dc into next st, rep across.
- (Use a stitch marker in the final chain space at row end for ease.)
4. Row 3: Repeat Solid Row
- Ch 2, turn.
- dc into each dc and each mesh space across, including last dc into marked chain space.
5. Row 4: Repeat Mesh Row
- Ch 3, turn.
- Skip first dc, dc into next.
- Ch 1, skip 1, dc into next, rep across.
- At end: two sts left; dc into final st.
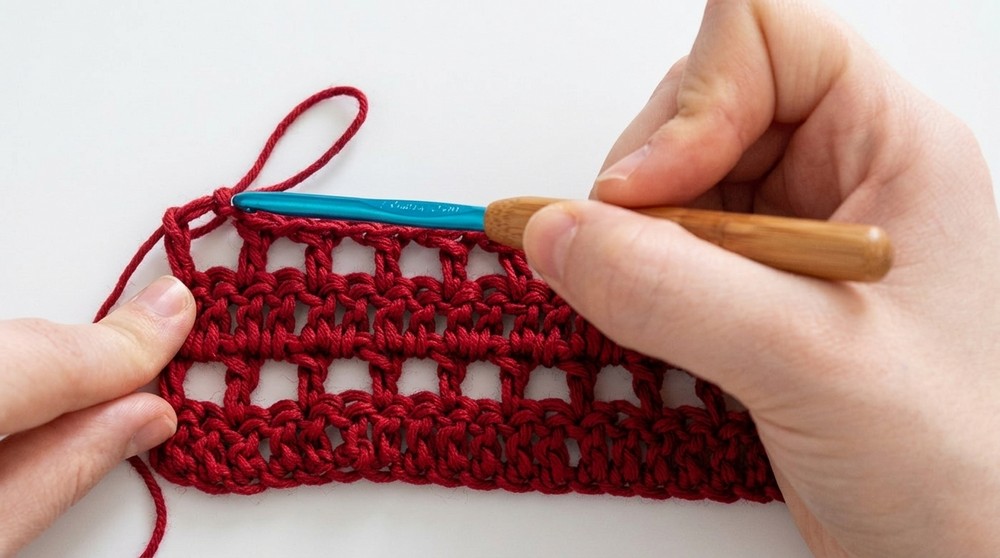
Repeat Rows 3 and 4 until panel reaches just below your armpit.
Try on as you go; end the last repeat on a mesh row.
6. Underarm & Bodice Increases
- Do increases only on solid dc rows, following mesh row.
- At beginning: 2 dc into first st, 2 dc into chain space.
- At end (last two sts): 2 dc into second-last st, and 2 dc into last chain space.
- Continue solid dc across remaining row as normal.
For larger sizing, increase more (e.g., four or six sets on each end).
- Next row: mesh pattern as usual (no increases).
- Repeat increase row, mesh row, etc., for desired length and flare.
- (E.g., do 4-6 solid rows with increases, 11 total rows added at bottom.)
7. Finish the Front Panel
- End panel when increases and length fit your shape (hold to body).
- Fasten off with ch 1, cut yarn, leave tail for seaming.
8. Back Panel & Neck Opening
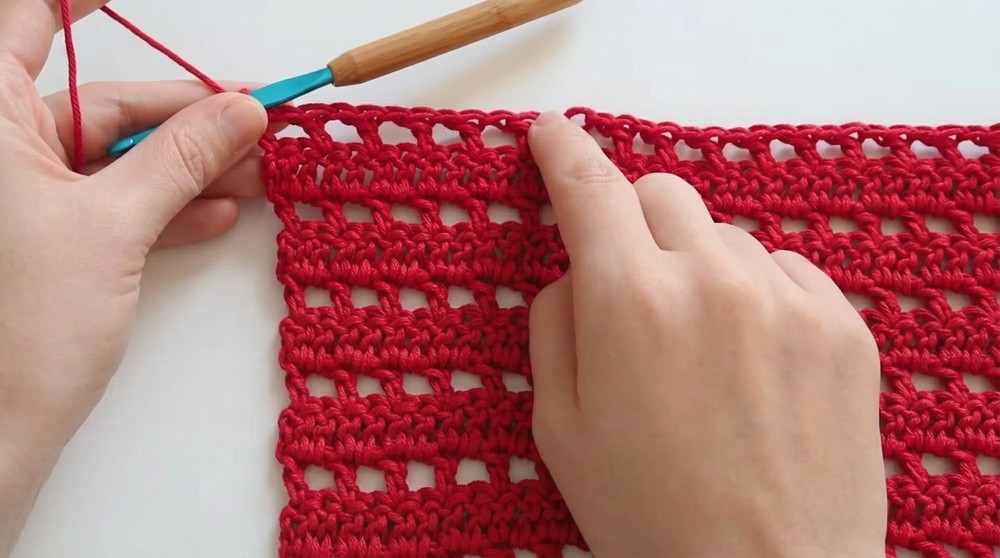
- With new skein, attach yarn at shoulder seam (right side).
- Ch 2, work 6 dc across (for left shoulder).
- Count stitches between this and opposite side; ch the number to span neck opening (e.g., 32).
- Attach stitch marker at start/end of neck opening.
- dc 6 for right shoulder.
- Confirm head fits through neck hole; adjust if needed.
9. Back Panel Rows
- Next row: ch 2, turn, dc into every st and chain space across.
- Work into “back bump” of chain for clean edge.
- Continue mesh and solid rows just like front panel, matching length and increases.
Assembly & Finished Size
- Turn panels inside out and seam sides together using slip stitch.
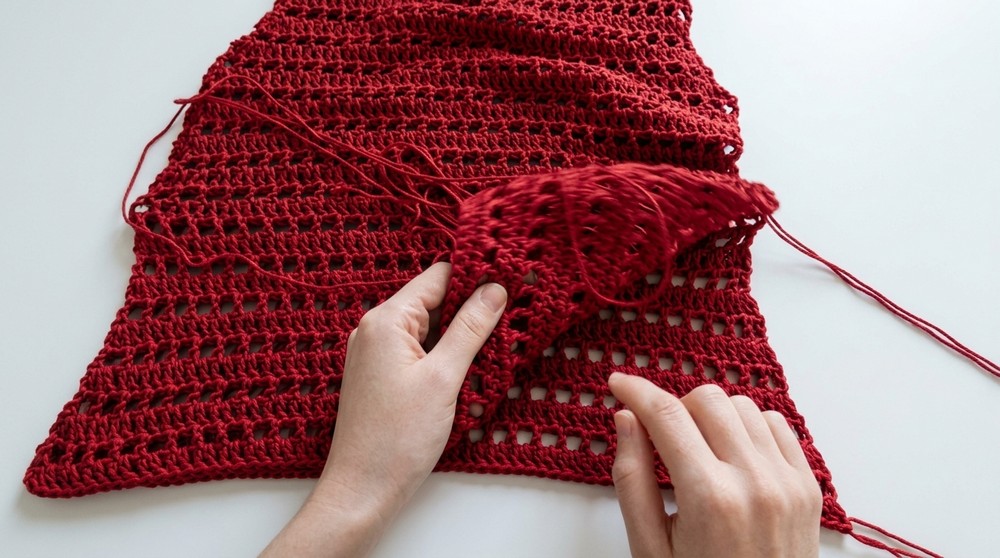
- Mark the first increase row (underarm) and stop seam just below it.
- Work slip stitches loosely through tops of dc and mesh rows for flexible seam.
- Add single crochet trim along edge, working into mesh/dc spaces with loose tension.
- Block garment: pin to shape, steam or wet block as preferred.
- Weave in ends with yarn needle.
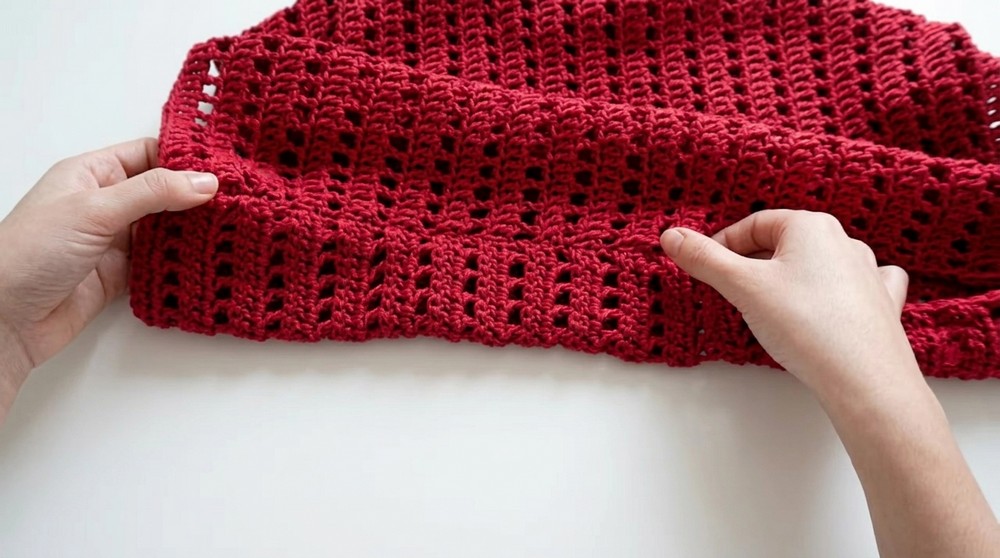
- Turn right side out; ready to wear!
Your finished tank top should fit close to your body, widen gently at the hips, and have a crisp neckline and armholes. Steam blocking will make the fabric more relaxed and comfortable, and give a professional finish.