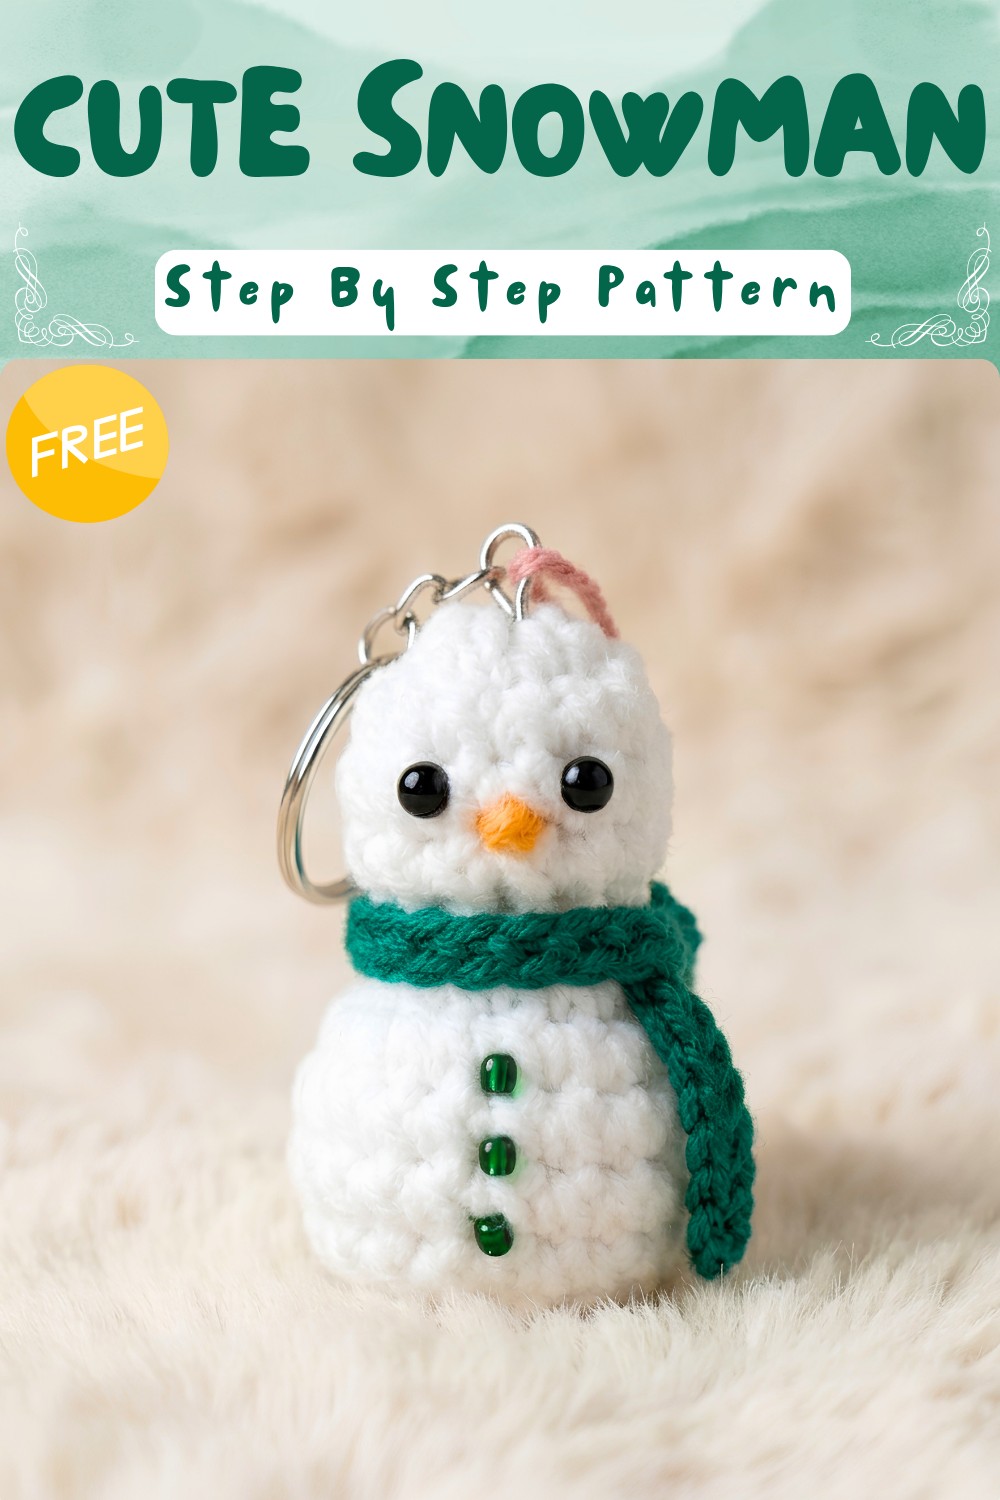
Adorable Crochet Snowman Free Pattern for Festive Decor
Spread festive cheer with Crochet Snowman Pattern that offers winter charm and playful style for holiday decor gifts and seasonal displays.
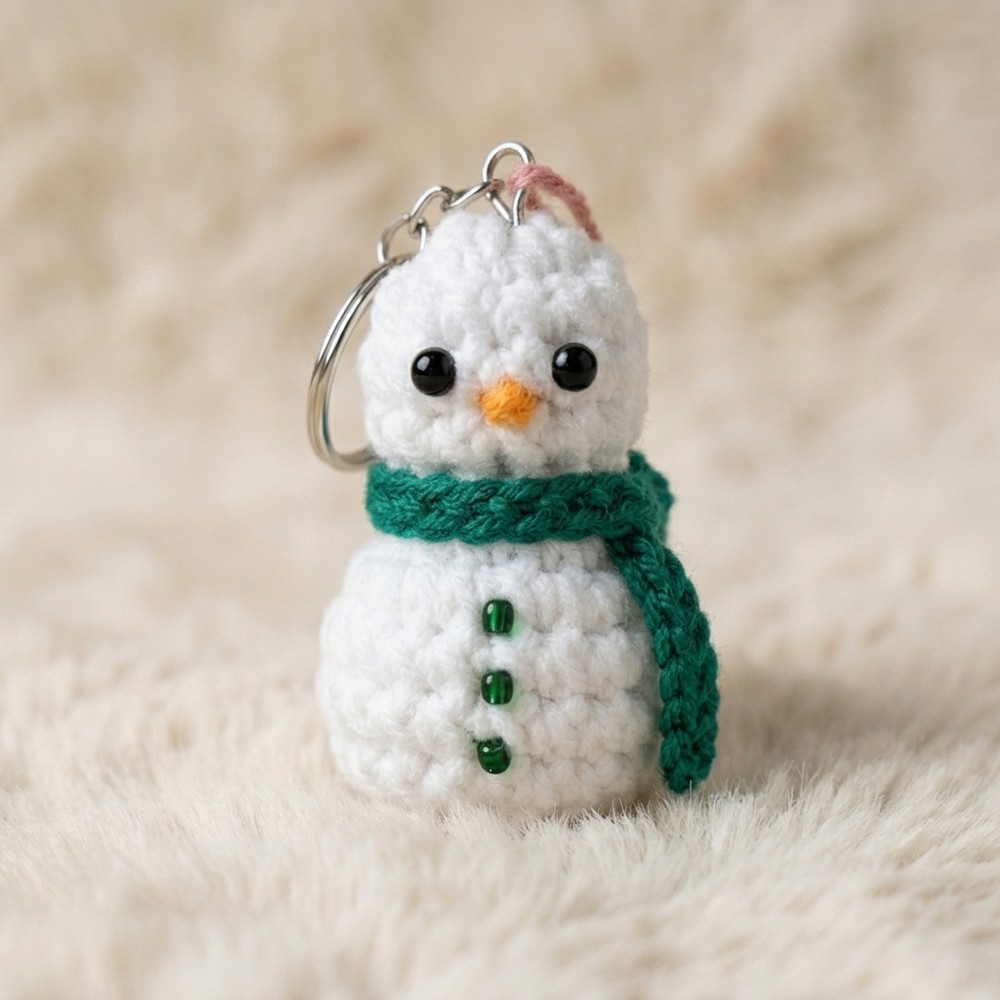
Walking into a room and seeing a sweet snowman smiling back at you, bringing happy winter feelings to your space. With a crochet snowman pattern, you can make your own soft snowman at home, using yarn in colors you love. Place your friendly snowman on a table, next to your bed, or in a window so it can greet everyone with cheer.
Free Crochet Snowman Pattern for Holiday Table or Shelf
Add a bright scarf or a small hat to give your snowman even more personality and charm. It is fun and easy to stitch together, perfect for adults or children who want a playful decoration. This snowman never melts, so you can enjoy it all season long. Friends and family will be delighted if you give them a handmade snowman as a gift. Using this simple crochet snowman pattern, you can fill your home with smiles, warmth, and the magic of winter anytime you wish.
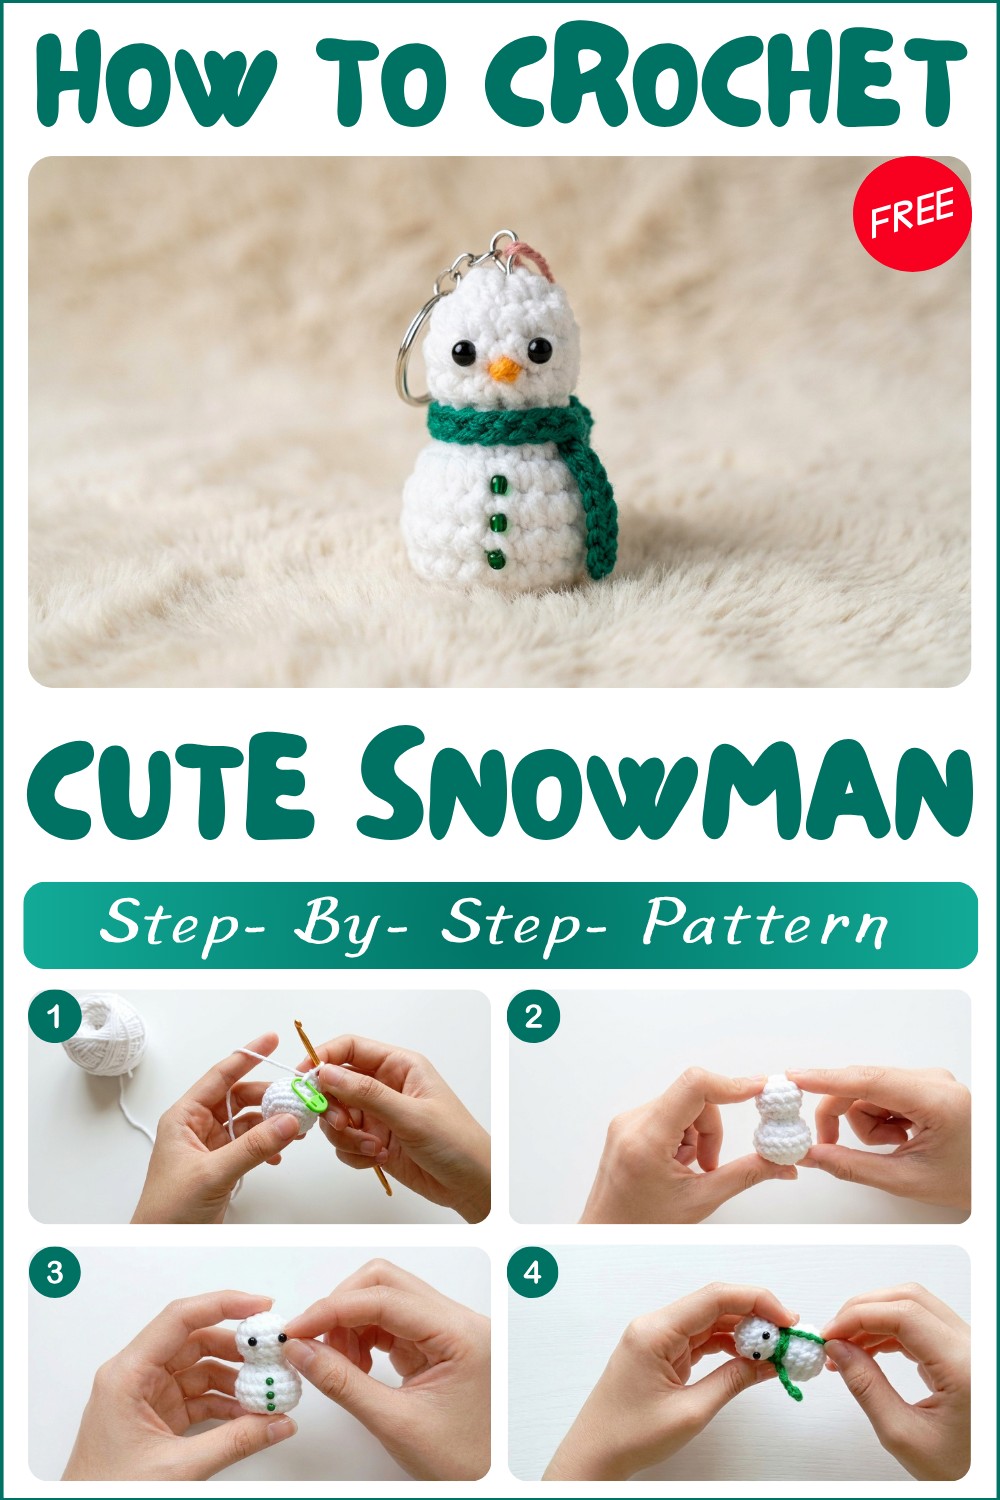
Mini Crochet Snowman Pattern
Gauge (and Stitch Pattern)
Gauge is not critical for this amigurumi snowman. Instead, aim for tight, neat stitches to keep your stuffing from showing. The main stitch used is single crochet (sc), worked in continuous rounds.
Materials
- White Chenille (Chanel) Yarn: approx. 3 mm thick, for the body and head
- Green Cotton Yarn: approx. 2 mm thick, for scarf
- Orange Cotton Yarn: approx. 2 mm thick, for nose/snout
- 3 mm Crochet Hook
- Stuffing: polyester fiberfill
- Stitch Marker
- Tapestry Needle
- Scissors
- 3 Small Beads: for buttons
- Glue: (any type, e.g., hot glue, silicon, or craft glue)
- 2 Safety Eyes (4 mm) or beads/flat-back eyes
- Key Ring (for ornament or keychain)
- Tweezers (optional, for placing tiny pieces)
Pattern Notes
- Work in a spiral unless otherwise specified (use a stitch marker to mark the first stitch of each round).
- When using safety eyes, insert them before closing up the head.
- Stuff the body firmly, but do not overstuff to avoid stretching stitches.
- The pattern is written in US crochet terminology.
- All color changes are completed at the end of a slip stitch, unless stated.
- This snowman is perfect for a tree ornament or a small gift.
Summary
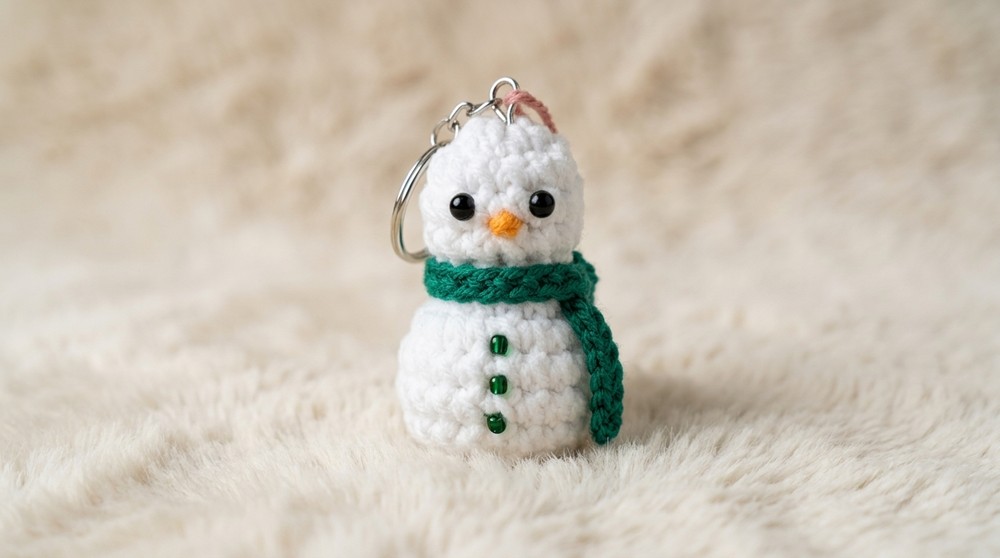
This quick and adorable amigurumi mini snowman is designed for crocheters seeking a festive project perfect for holiday décor. Featuring a plushy chenille body, cheerful button details, a bright red scarf, and a carrot-inspired nose, this sweet snowman makes an eye-catching keychain or tree ornament. With easy construction and minimal sewing, you’ll want to make a flurry of them for gifts and your own Christmas tree.
Stitch Abbreviations
- MR – Magic Ring
- sc – single crochet
- inc – increase (2 sc in same stitch)
- dec – decrease (see Special Stitches)
- sl st – slip stitch
- ch – chain
- st(s) – stitch(es)
Measurements / Sizing
- Completed Snowman: approx. 5 cm tall (about 2 inches)
- Scarf length: approx. 16 cm (adjustable)
- Designed as an ornament or keychain (key ring optional for finishing).
Skill Level
Confident Beginner/Advanced Beginner
- Simple shaping (inc/dec), working in the round, simple assembly and embellishment
- No advanced stitches required
Special Stitches
Invisible Decrease (sc2tog):
Insert hook into front loop only of next 2 stitches (2 loops on hook), yarn over, pull through, yarn over, pull through both loops.
The Crochet Pattern!
Snowman Body & Head (worked as one piece)
Round 1: With white chenille yarn, make a magic ring (MR), ch 1, work 6 sc into ring. (6 sts)
Pull tight to close and join to first sc with sl st.
Round 2: Ch 1, 2 sc in each st around (inc in every st). (12 sts)
Join with sl st to first sc.
Round 3-4: Ch 1, sc in each st around (no increases). (12 sts per round)
End each round with a sl st.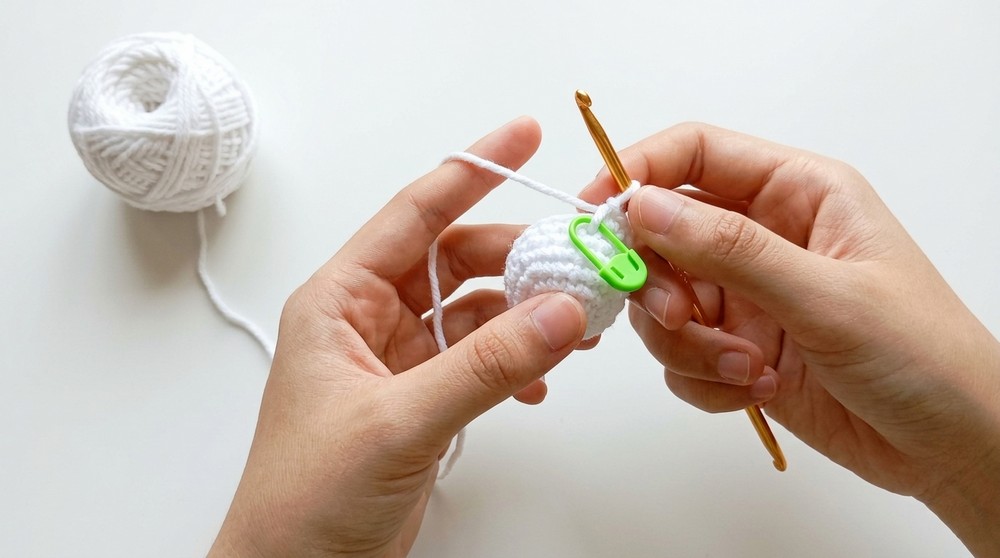
Round 5: Ch 1, (dec in next 2 sts) repeat around (see Special Stitches). (6 sts)
Slip stitch to first st.
Round 6: Ch 1. Stuff the head now.
2 sc in each st around (increase in every stitch). (12 sts)
Join with sl st.
Insert Eyes:
If using safety eyes, attach them between rounds 3 and 4 (before stuffing) about 2–3 sts apart.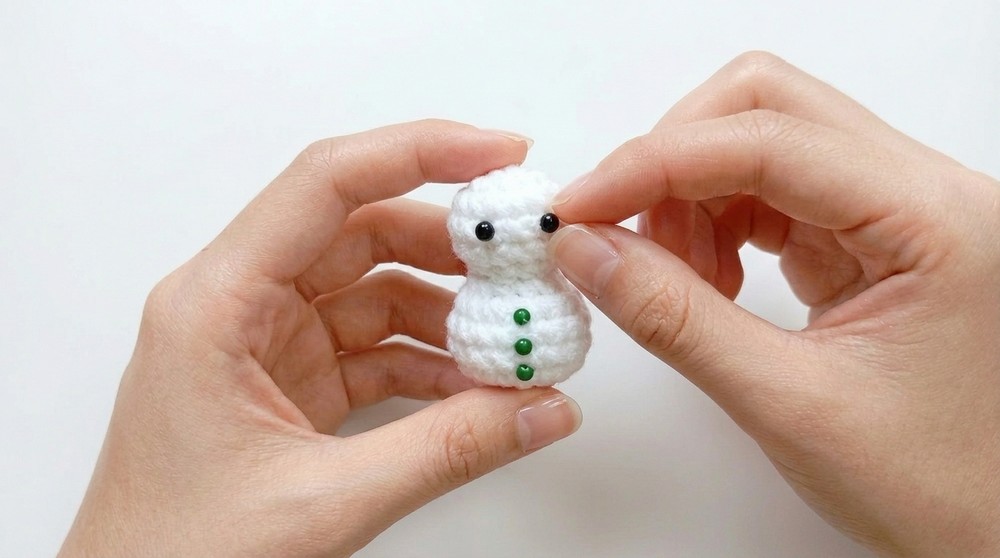
Round 7: Ch 1. (sc in next st, inc in next st) repeat around. (18 sts)
Join with sl st.
Rounds 8-9: Ch 1, sc in each st around. (18 sts each)
Join with sl st each round.
Round 10: Ch 1. (sc in next st, dec) repeat around. (12 sts)
Join with sl st.
Round 11: Add stuffing firmly. This is the final decrease row.
(ch 1 if you wish) (dec) around, 6 decreases (6 sts).
Finishing head/body:
Fasten off, leaving a tail.
Thread tail onto tapestry needle and weave through front loops of all remaining sts. Pull tight to close. Hide end inside snowman.
Assembly & Details
- Hide starting/ending yarn tails inside using your tapestry needle.
- If you used glue-on eyes instead of safety eyes, attach them to the head’s front, just above the midpoint.
- Glue (or sew) three small beads vertically down the “front” as buttons. Let the glue dry before continuing.
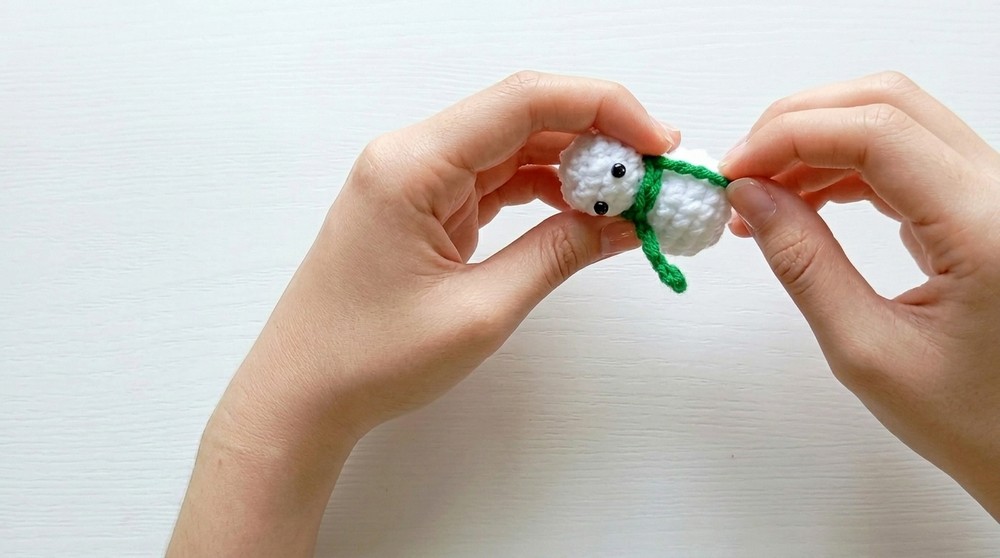
Scarf
- With green yarn and 3 mm hook, ch enough for a 16 cm long chain (number of ch not critical, approx. 23–25).
- Fasten off, weave in ends with tapestry needle.
- Wrap scarf around snowman’s neck, overlap ends at side or front, and secure with a small drop of glue or a few sewn stitches.
Nose (Carrot/Snout)
- With orange yarn, tie a double knot to create a small nub.
- Thread both ends through the tapestry needle.
- Insert the needle between the eyes, drawing the knot snug to the snowman’s surface to make the carrot nose.
- Pass needle ends through to back or bottom of head; tie off ends securely, trim, and hide in body.
Key Ring Assembly (Optional)
- Attach your key ring to the top of the head by drawing a loop of yarn or sewing securely in place. You may sew through a stitch at the snowman’s crown or use a small jump ring.
Assembly & Finished Size (Bulleted)
- Weave in/cut all yarn tails for a tidy finish.
- Beads are glued vertically for buttons.
- Eyes are glued or attached securely above nose, using glue or safety eyes as preferred.
- Scarf is wrapped and lightly glued or sewn in place around neck, ends can hang loosely or be overlapped.
- Nose is double knotted yellow yarn, tied and anchored between eyes.
- Optional key ring is attached at head’s crown for easy hanging or as a keychain.
- Snowman height: approx. 5 cm (2 inches). Adjust yarn and hook for different sizes.
- All embellishments permanently fixed; suitable for gentle use or display.
This miniature snowman is a perfect quick project for festive décor or heartfelt gifts. Soft, tactile chenille paired with classic details—beaded buttons, a simple scarf, expressive eyes, and a bright nose—bring the character to life. With basic stitches and approachable assembly, this pattern is a stress-free introduction to amigurumi.