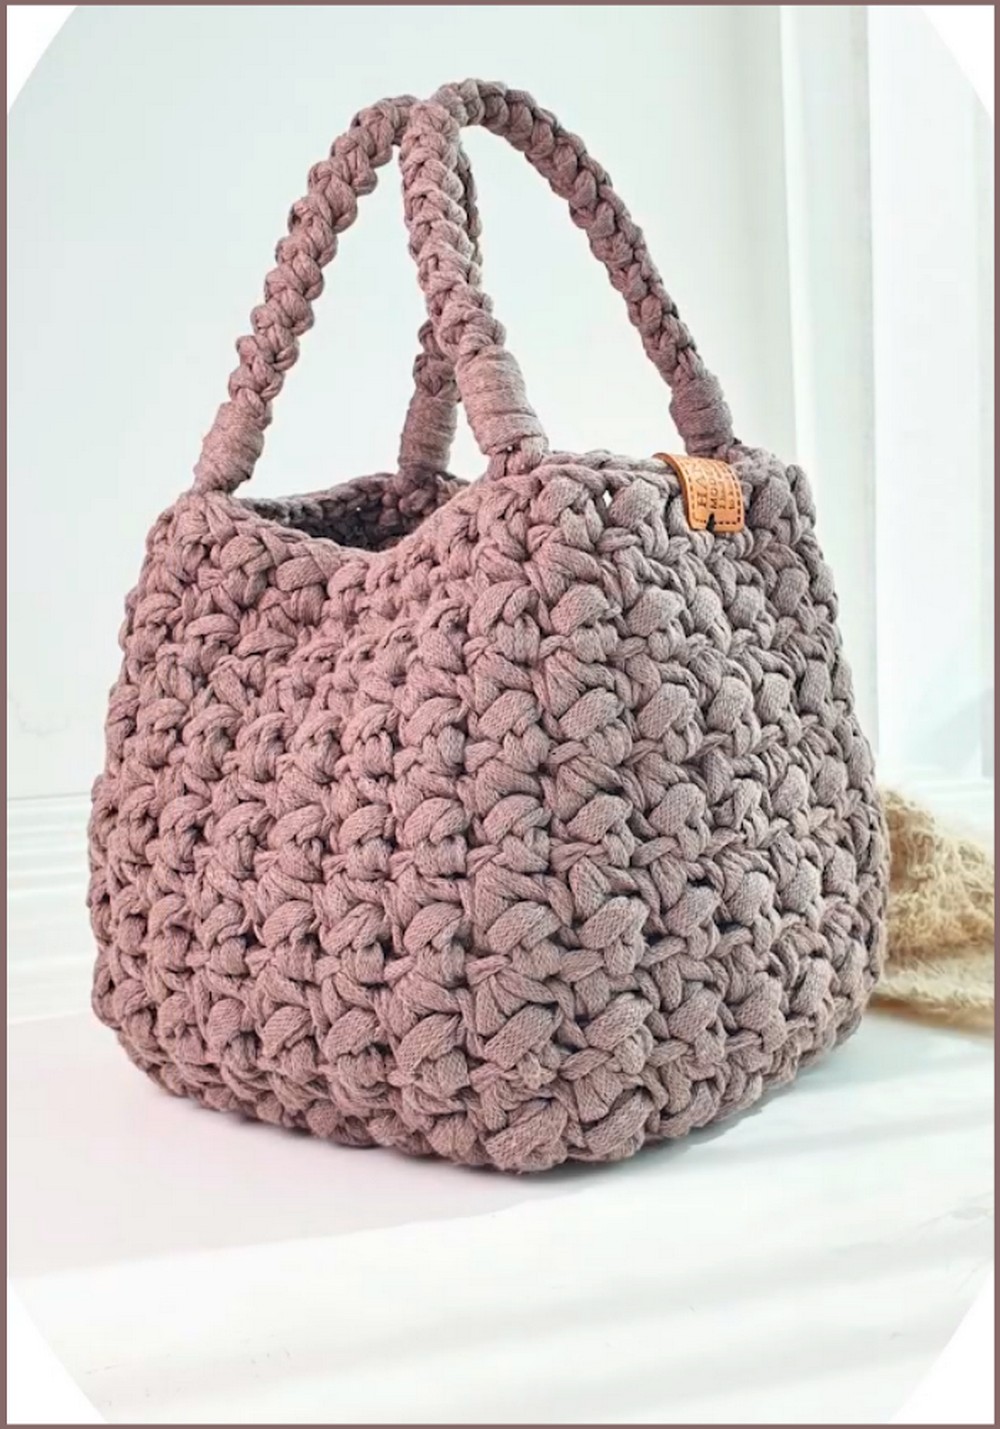
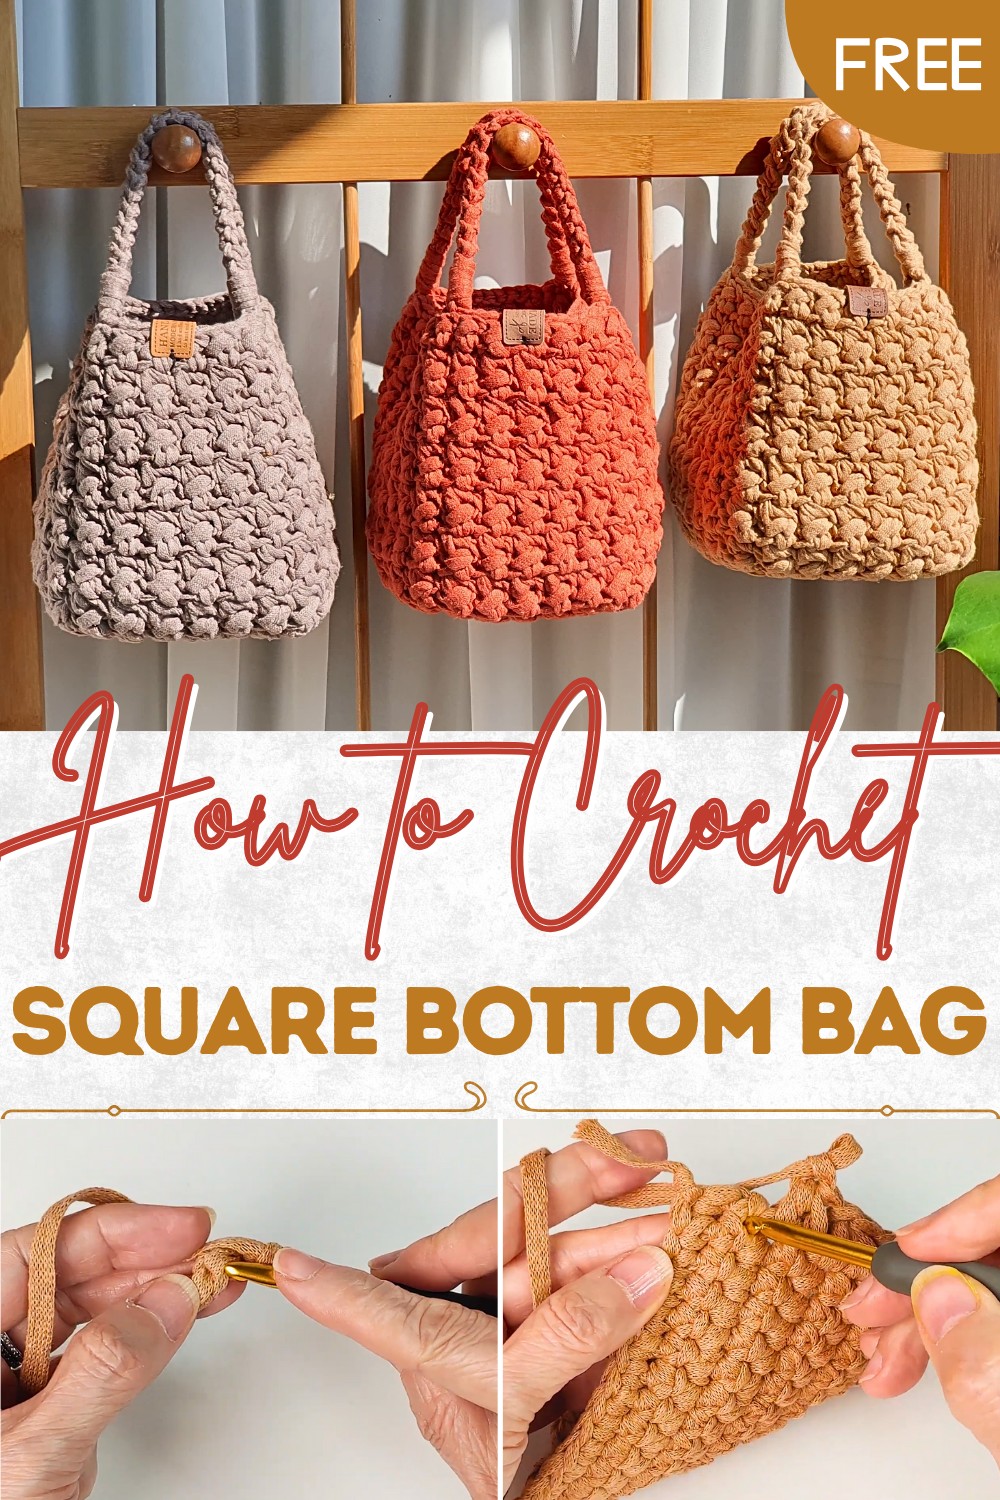
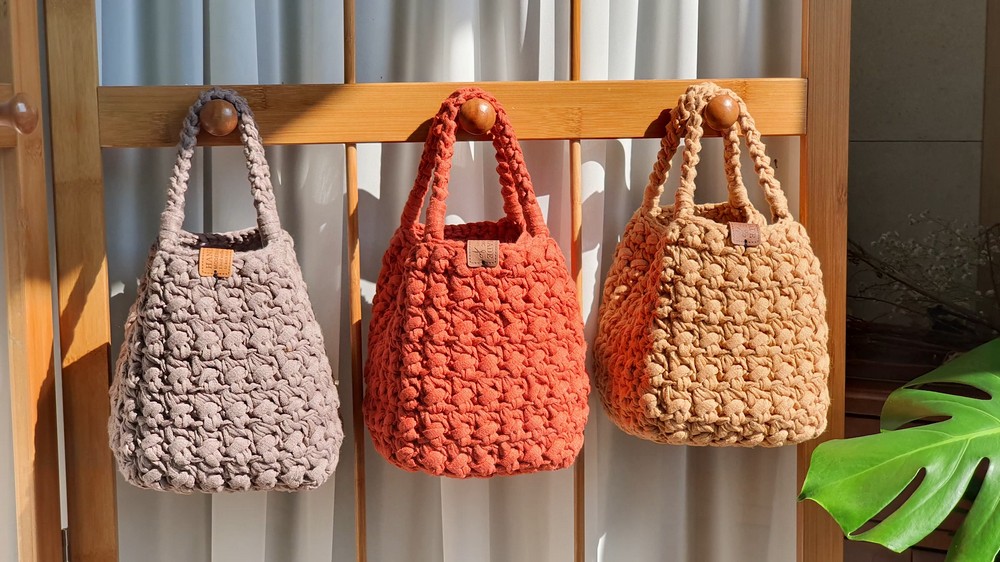
Spacious Crochet Square Bottom Bag Pattern for Maximum Storage
Choose your favorite style with this Crochet Square Bottom Bag Pattern for a stylish accessory perfect for shopping, errands, and daily needs.
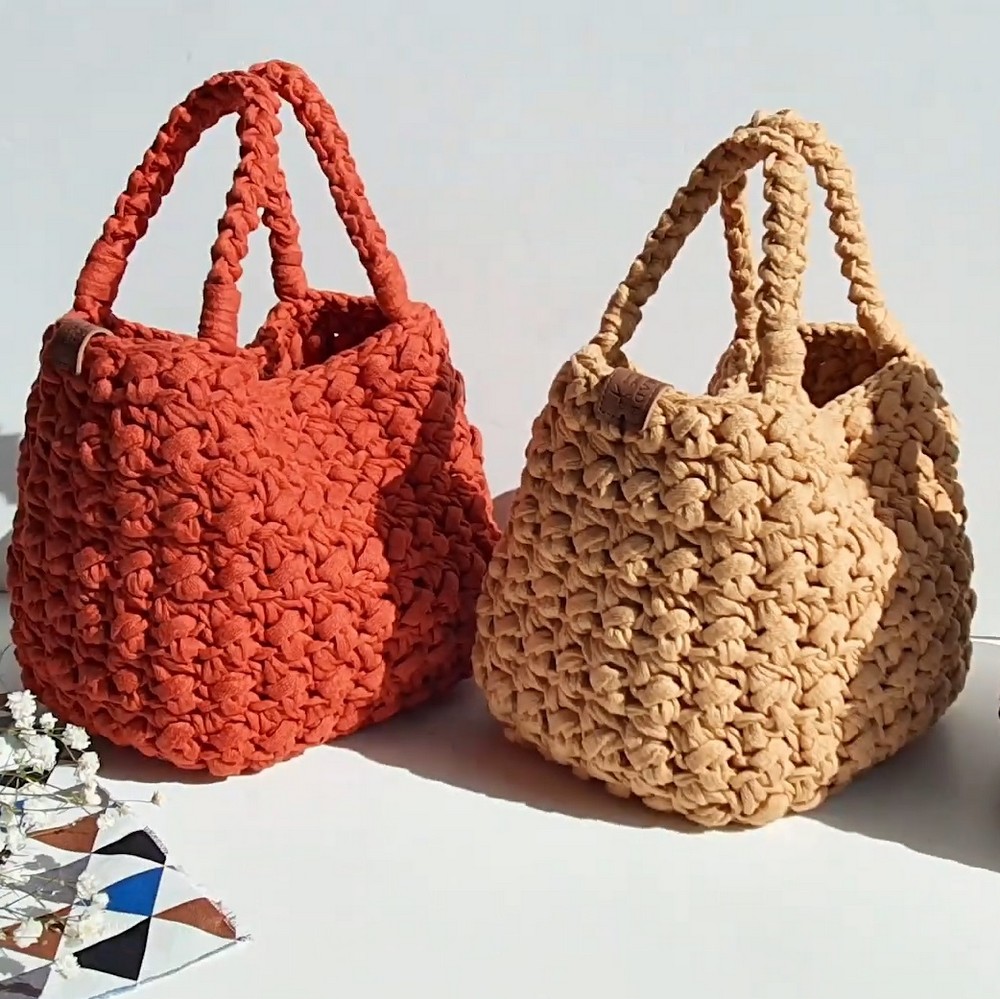
A bag with a flat bottom stands nicely and keeps everything in its place so you never worry about your things falling out. Colors and soft shapes make it look beautiful and match anything you wear for a day out. You can use the Crochet Square Bottom Bag pattern to make a bag perfect for shopping trips and carrying daily items. Take it with you when visiting friends, going to the park, or running errands because it is strong and roomy for all kinds of things.
Sturdy Crochet Square Bottom Bag Pattern for Market Days
The Crochet Square Bottom Bag pattern is easy to follow even for beginners and gives you a useful bag that you can make just the way you like. Add fun colors, simple decorations, or keep it plain and simple. Everyone can use a special handmade bag like this, and you will love how handy and pretty it is wherever you go.
Materials
- Yarn: Ribbon-style yarn (cotton fil-twist macrame ribbon or similar); approximately 1 skein (refer to skein size of preferred brand)
- Hook: 5.5 mm (US I-9) crochet hook
- Notions:
- Yarn needle
- Stitch markers
- Scissors
- Bag rings or D-rings (optional, for attaching strap)
- Decorative label or lock (optional)
- Leather or chain handle (optional)
Abbreviations (US Terms)
| Abbreviation | Meaning |
|---|---|
| ch | chain |
| sc | single crochet |
| dc | double crochet |
| sl st | slip stitch |
| st(s) | stitch(es) |
| rep | repeat |
| RS | right side |
| WS | wrong side |
| inc | increase (2 sts in 1 st) |
Special Notes
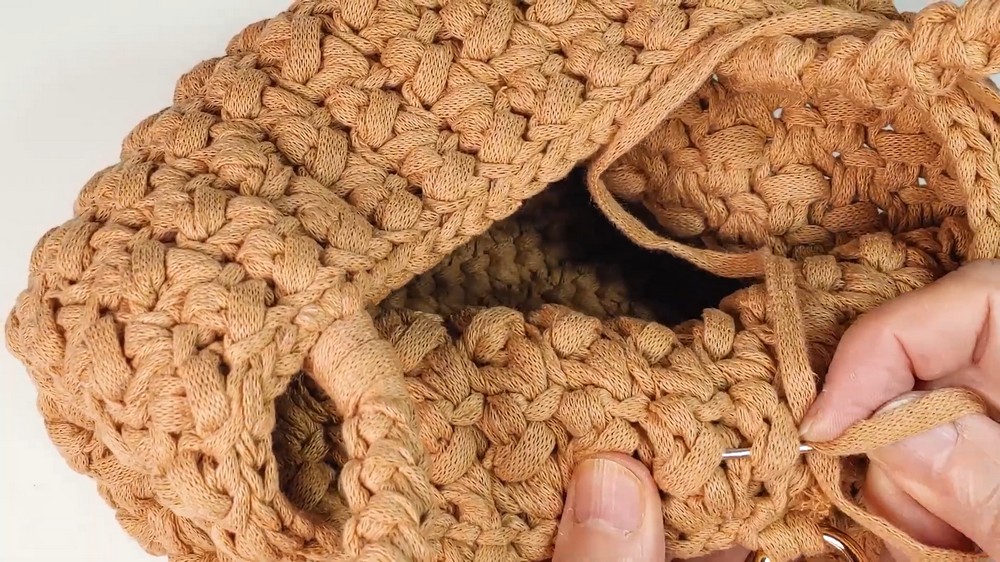
- The bag’s rectangular base and unique deer-pattern patchwork is achieved using both single crochet and a specific wrapping and inserting motion in double crochet to utilize the “ribbon” quality of the yarn.
- Take care to keep ribbon yarn flat, not twisted, especially when making the signature pattern rows.
- The bag’s size is easily adjustable by changing the foundation chain.
- All increases at the corners are made by working two stitches (patterns) into the same point.
- The strap is created using the “shrimp knot” for texture and strength.
- This pattern begins with the base (rectangle), continues with growing sides, adding patchwork pattern, and attaching hardware and straps.
Pattern Instructions
1. Base Foundation
- Ch 15 (for sample medium bag). For a larger bag, ch 17 or more as preferred.
- Row 1: In 2nd ch from hook, sc across—14 sc total. (Or 16 sc if starting with ch 17.)
Tip: Always count your stitches to keep your edges straight!
- Ch 1, turn.
2. Forming Sides in Rows
- Rows 2–14 (or desired height):
- In each st across, work sc to the end, ch 1, turn.
Increase height by adding more rows for a taller bag.
3. Corner Increases for Rectangle Base
- Working Around the Rectangle:
- After completing rectangle base, do not fasten off.
- Pivot to crochet around all four sides of rectangle for creating side walls.
- At each corner, work 2 sc in corner stitch to increase and round the corners.
- Place stitch marker in each corner increase for easy identification.
Tip: As you work around, treat each row end as a stitch when crocheting along the edges.
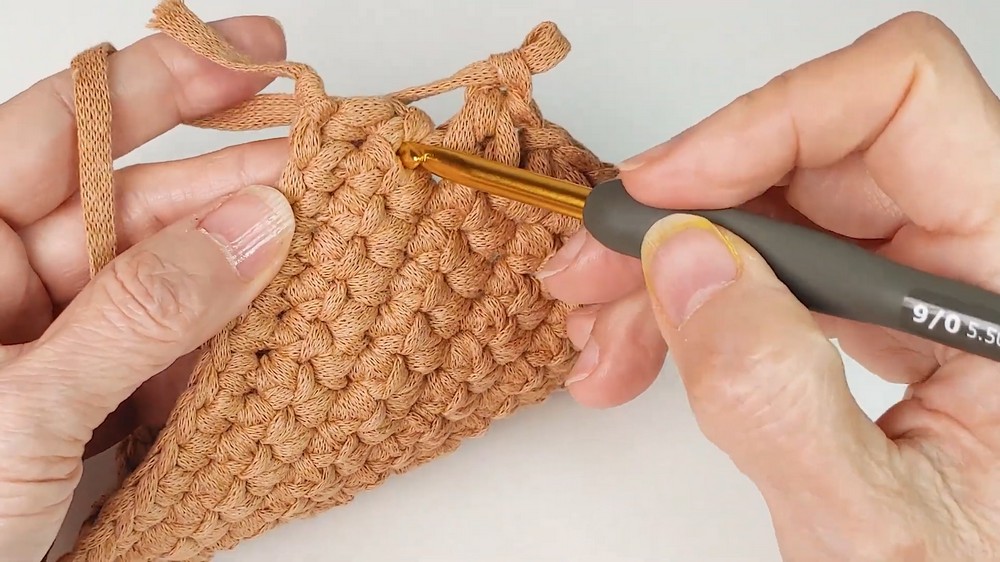
4. Patchwork Deer Pattern Rows
Note: These rows use the unique ribbed or “deer” effect by working into specific loops/positions and handling ribbon yarn to keep strands flat.
- Pattern Stitch:
- For first st, insert hook under front loop only of first “nostril” (loop), keeping ribbon flat, yarn over from above, pull through flat.
- ch 1.
- For the next st, insert hook into space at side of triangle/previous st (“triangle formation”), yarn over from above, keep ribbon flat, pull through.
- ch 1.
- Repeat pattern: (front half of next st, triangle space of previous row), always inserting needle to keep ribbon flat, ch 1 after each.
- Continue around; at corners, work 2 patterns in the corner stitch for smooth rounding.
- Repeat Pattern Rows:
- Turn work at end of each row (always make a turning ch 1).
- Repeat pattern row for a total of 14 rows (or your chosen height).
- Always maintain increases at corners for a boxy shape.
- End with a WS row, do not fasten off.
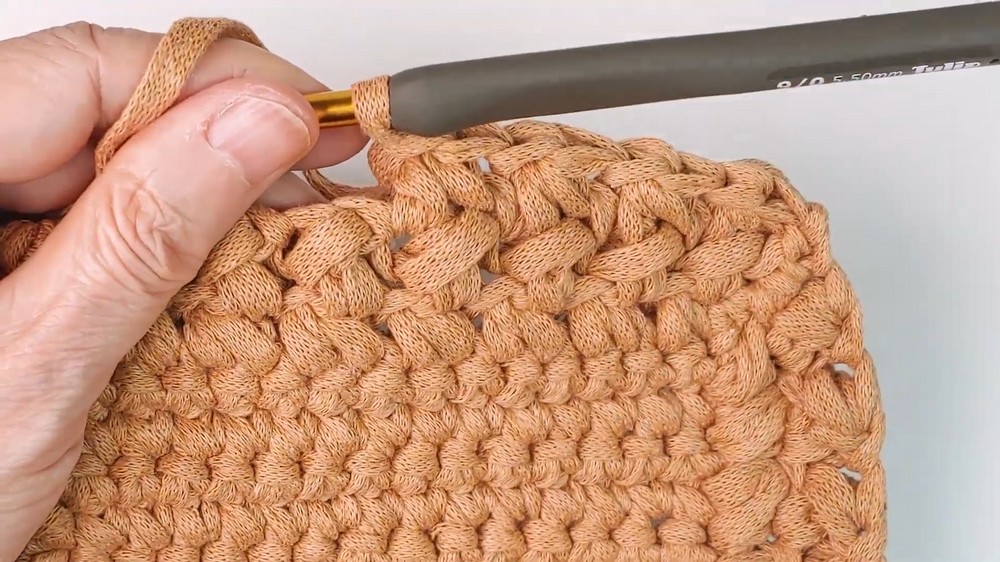
5. Bag Finishing (Ridge Edge Finish)
- For the final finishing row (optional for cleaner edge):
- On WS, work through back loops only, sc across each st for a subtle edge ridge.
- Fasten off, weave in ends securely with a yarn needle.
6. Bag Strap: Shrimp Knot Strap
- Make 2 Straps:
- With a new length of ribbon yarn (~40 cm or desired length), use the shrimp knot technique:
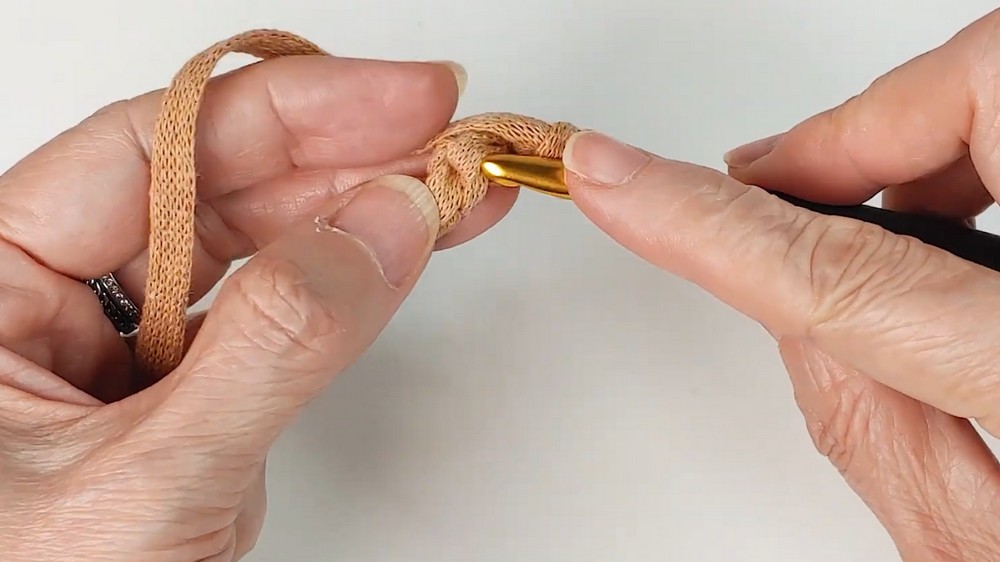
- Form a slip knot at start.
- Insert hook into the side of the knot, pull up a loop, wrap working yarn under and over in a “shrimp tail” movement.
- Continue, always passing needle under 2 strands, then backward through the previous loop to form a thick spiral rib.
- Continue to desired strap length (fit for shoulder or crossbody).
- Fasten off and leave long tails for sewing to bag.
- With a new length of ribbon yarn (~40 cm or desired length), use the shrimp knot technique:
7. Assembling the Bag
- Attach Straps:
- Attach straps to the short edges (ends) of the bag, placing each end into the corner/side, sewing securely through several layers of fabric.
- Optionally, add rings or D-rings for detachable/removable straps.
- Weave in ends securely.
- Add Decorative Label/Closures:
- Sew leather label, magnetic lock or claw closure as desired to suit your bag’s flap.
- Optional:
- For extra strength, you may seam sides for a “bucket” style by folding bag and whip-stitching the sides together, leaving flap area open.
- For extra strength, you may seam sides for a “bucket” style by folding bag and whip-stitching the sides together, leaving flap area open.
Conclusion
This rectangular patchwork ribbon bag pattern showcases ribbon yarn for maximum texture and design. The unique deer-pattern effect and shrimp-knot strap provide standout details. The bag is spacious, sturdy, and can be customized in size, color, or closure/hardware to your needs.
Pattern Corrections and Tips
- Keep Ribbon Flat: The key characteristic is letting ribbon yarn lie flat as you crochet and avoiding twisting stitches, especially for the patterned rows and strap.
- Corner Increases: Always increase at each corner (2 patterns in same st) to keep a neat rectangular (not circular) shape.
- Turning: Turn at the end of every row; adjust ch 1 to keep edges smooth.
- Strap Alternative: If shrimp knot is challenging, a simple crochet cord or braid will also work.
- Tension: Avoid too-tight hooks with ribbon; keep hands relaxed to allow yarn to show texture.