Free Crochet Tiny Heart Pattern Takes Just 5 Minutes

Free Tiny Heart Crochet Pattern Perfect for Gifts
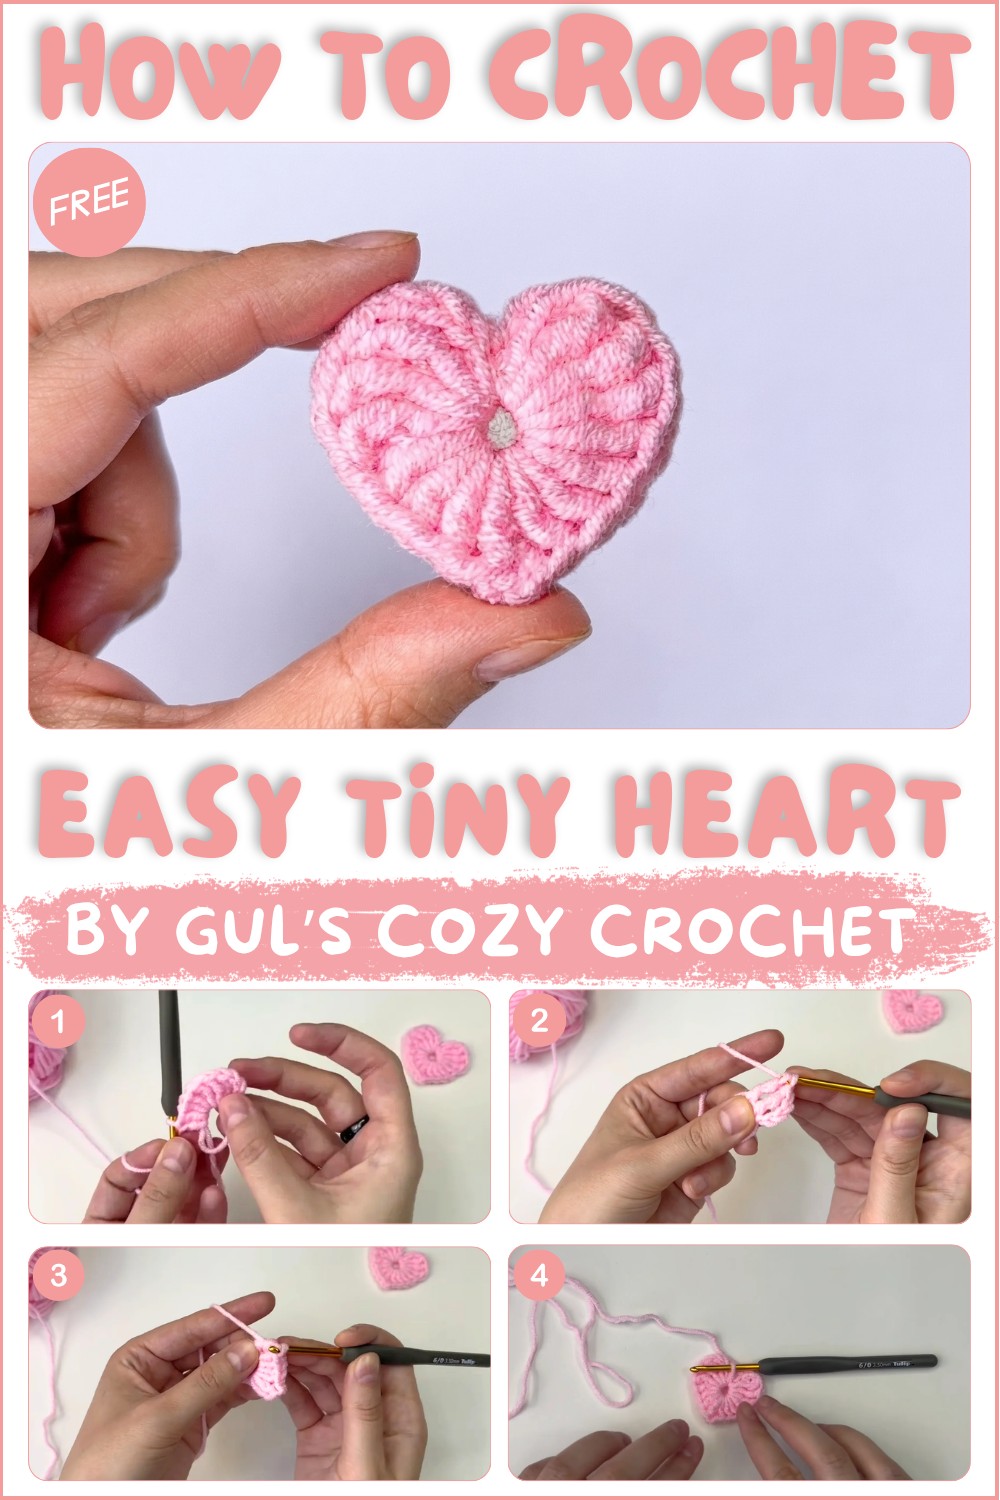
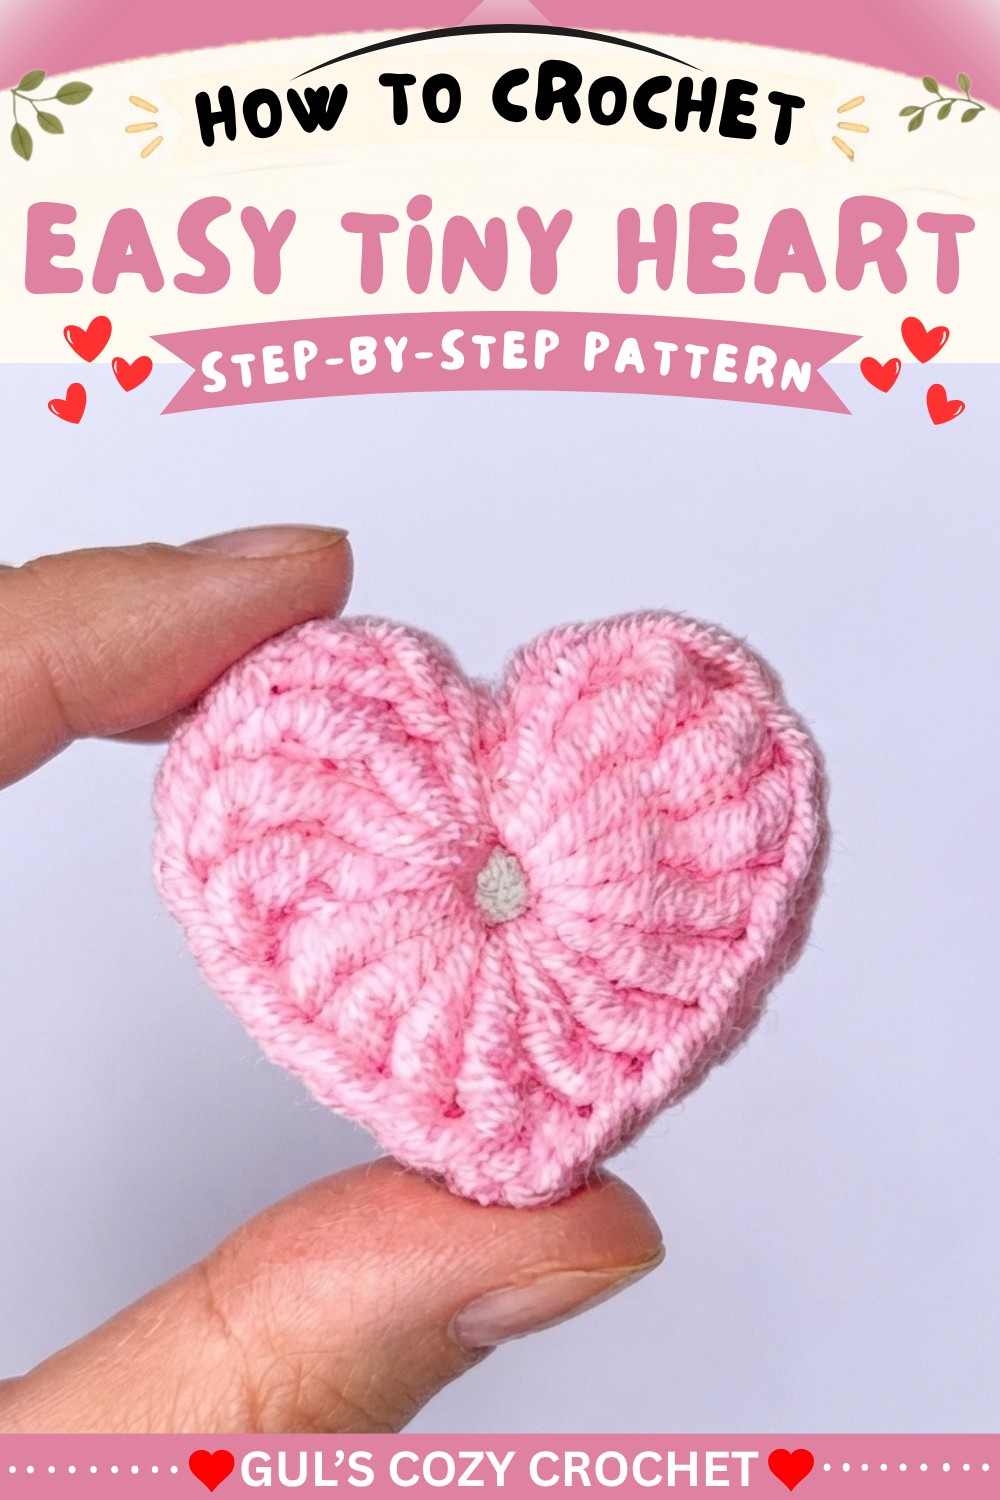
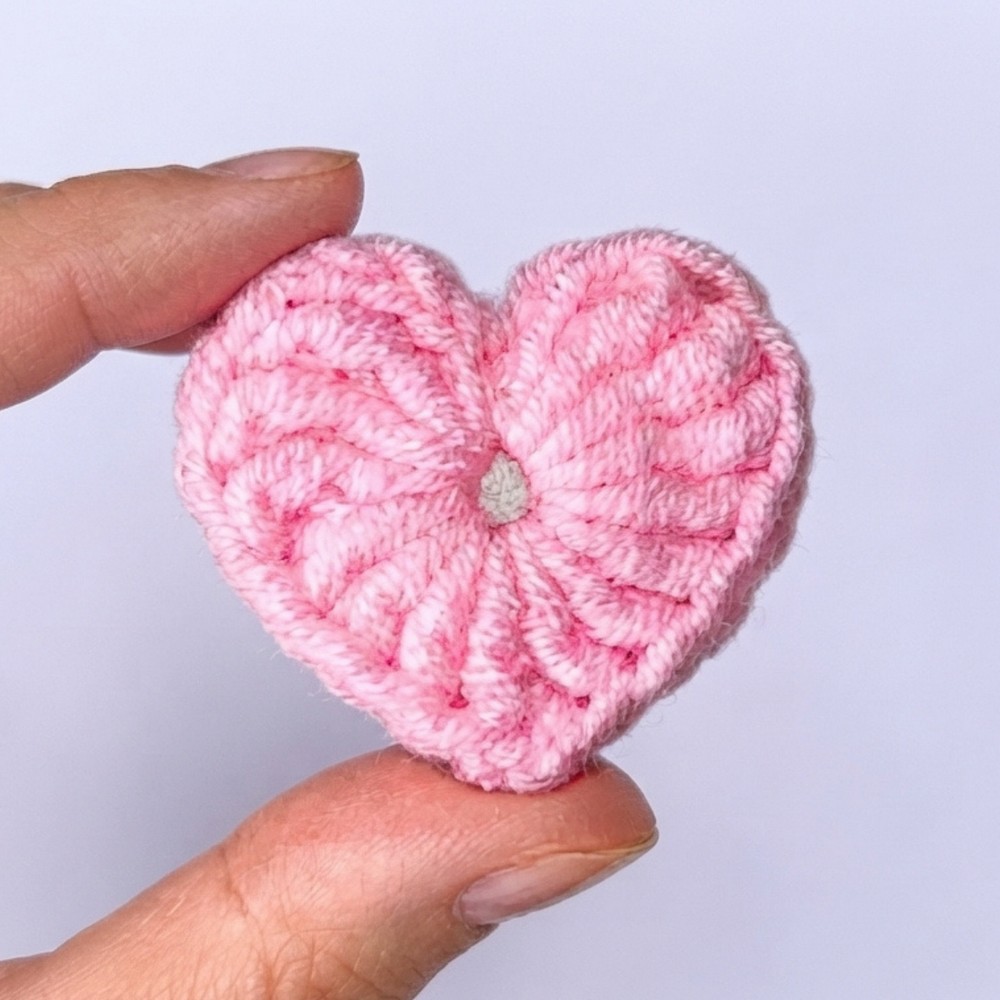
What really makes this little crochet heart special is its timeless shape and gentle size. It makes a wonderful gift for holidays like Valentine’s Day or a simple way to show someone you care throughout the year. Making it in different colors lets you spread happiness and warmth wherever you place it.
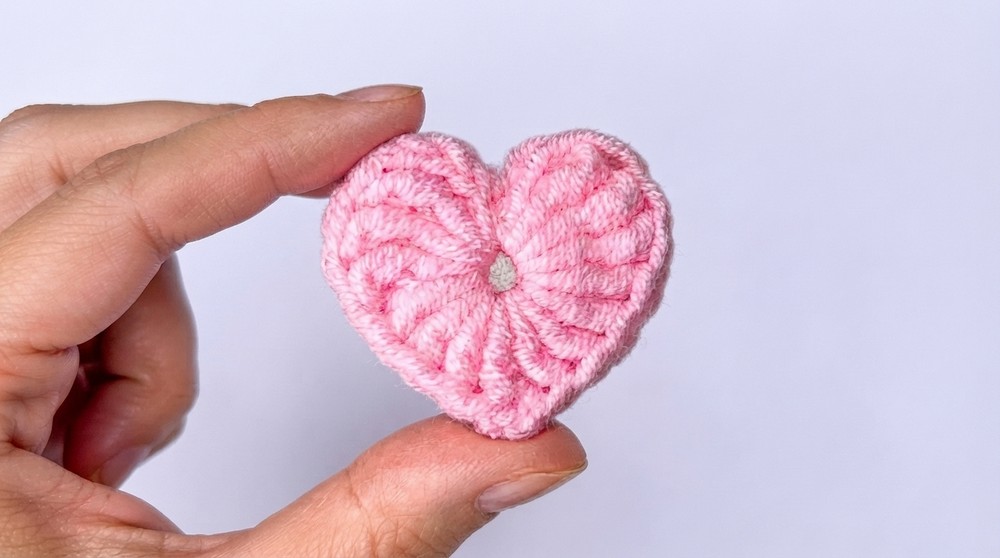
This Free Crochet Tiny Heart Pattern is easy and fun for crocheters at any level. You’ll enjoy how quickly the heart comes together and love the sweet result. If you want a small, heartfelt project that adds charm and personality to your project, this pattern is the perfect pick!
Crochet Puffy Heart Charm Pattern
This beginner-friendly crochet project guides you through making an adorable puffy heart charm by creating two identical heart pieces and joining them together. Each heart is constructed around a magic ring with carefully worked treble and double crochet stitches to form a charming heart shape that is both quick and fun to create. Seamlessly sewing the two hearts closes the edges to form a soft, three-dimensional ornament ideal as a keychain, ornament, or charming gift.
Pattern Highlights
- Simple Magic Ring foundation that reduces the center hole and forms the heart’s compact base
- Combination of treble crochet (tr) and double crochet (dc) stitches to shape the heart’s curves
- Subtle finishing with slip stitches and chains creating a natural heart contour and bottom point
- Joining two identical heart pieces to create a puffy, three-dimensional charm
- Versatile finishing allows modification for charms, brooches, or gift decorations
Notes
- Maintain even tension to keep consistent stitch size and shape.
- Use stitch markers if needed to mark the start point of rounds for orientation.
- The magic ring allows adjustment of the center hole for a neat finish.
- Sewing with matching yarn or thread lightly and evenly joins the two pieces for a smooth edge.
- Weaving in ends carefully will enhance durability and appearance.
- This pattern can easily be adapted by changing yarn weight or hook size for larger or smaller hearts.
Skill Level
- Beginner with basic knowledge of crochet stitches
- Familiarity with Magic Ring, chain (ch), slip stitch (sl st), treble crochet (tr), and double crochet (dc) recommended.
Materials
- Worsted weight or DK yarn of your choice (one color recommended)
- Crochet hook size compatible with your yarn, e.g., 4 mm (G)
- Yarn needle for sewing and weaving in ends
- Scissors
Measurements / Sizing
- Finished heart size approximately 6-7 cm (2.5–3 inches) wide and tall, depending on yarn and hook size
- Can be scaled larger or smaller by adjusting yarn thickness or hook size
Gauge
Gauge is not critical for this accessory but maintaining consistent stitch size ensures even looks and good fit when joining hearts.
Stitch Abbreviations
| Abbreviation | Full Term | Description |
|---|---|---|
| ch | Chain | Yarn over, pull through loop |
| sl st | Slip Stitch | Insert hook, yarn over, pull through loop |
| dc | Double Crochet | Yarn over, insert hook, yarn over, pull through 2 loops twice |
| tr | Treble Crochet | Yarn over twice, insert hook, yarn over, pull through 2 loops three times |
Special Stitches
- Magic Ring: Start your heart by forming an adjustable ring to tightly close the center and avoid gaps. This foundation creates a professional look and stability for the heart shape.
The Crochet Pattern!
1. Setup and Magic Ring
- Begin by making a Magic Ring.
- All following stitches will be worked directly into this ring, leaving the center open initially but adjustable later.
2. First Half of the Heart
- Chain 3 (this will act as your first treble crochet).
- Work 3 treble crochet (tr) stitches into the magic ring.
- Gently pull the yarn tail to tighten the ring slightly, gathering all stitches neatly but not closing the hole completely yet — this allows room for the upcoming stitches.
- Then work 4 double crochet (dc) stitches into the magic ring.
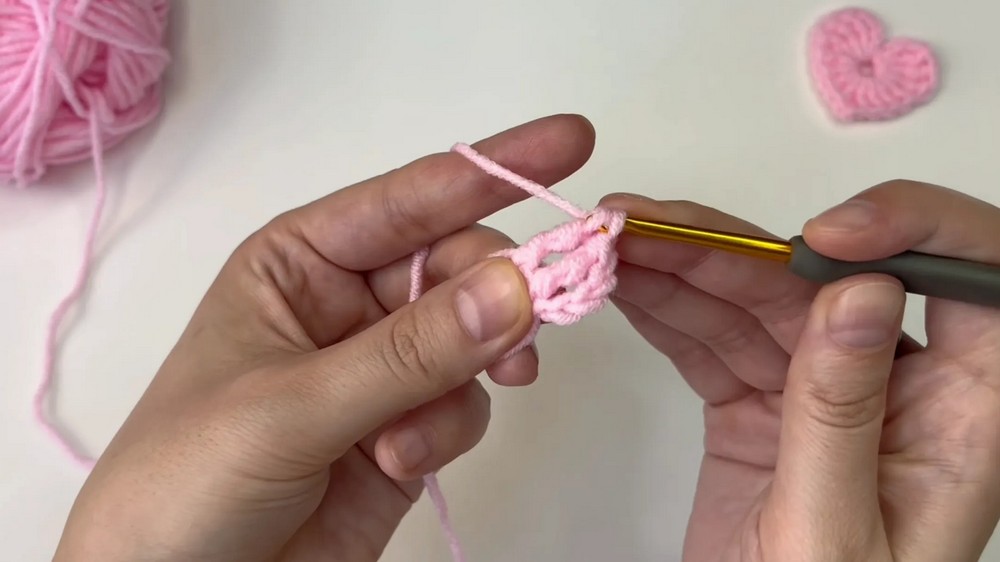
3. Bottom Point
- Chain 1.
- Make a slip stitch (sl st) into the back bump of the chain just created. This creates the pointed bottom of the heart.
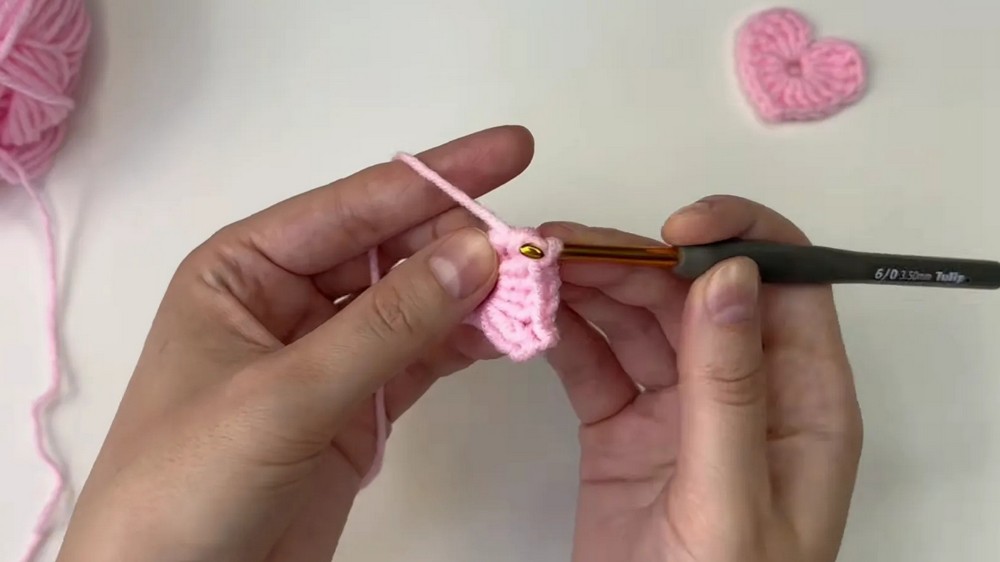
4. Second Half of the Heart
- Work 4 double crochet (dc) stitches into the magic ring (mirroring the first half).
- Then, work 3 treble crochet (tr) stitches into the magic ring to complete the other lobe of the heart.
- Pull the stitches together by gently tightening the yarn tail to close the gap between the two halves.
- Chain 3 for a neat curve at the top of the heart.
- Finish this round by working a slip stitch (sl st) into the magic ring to secure the shape.
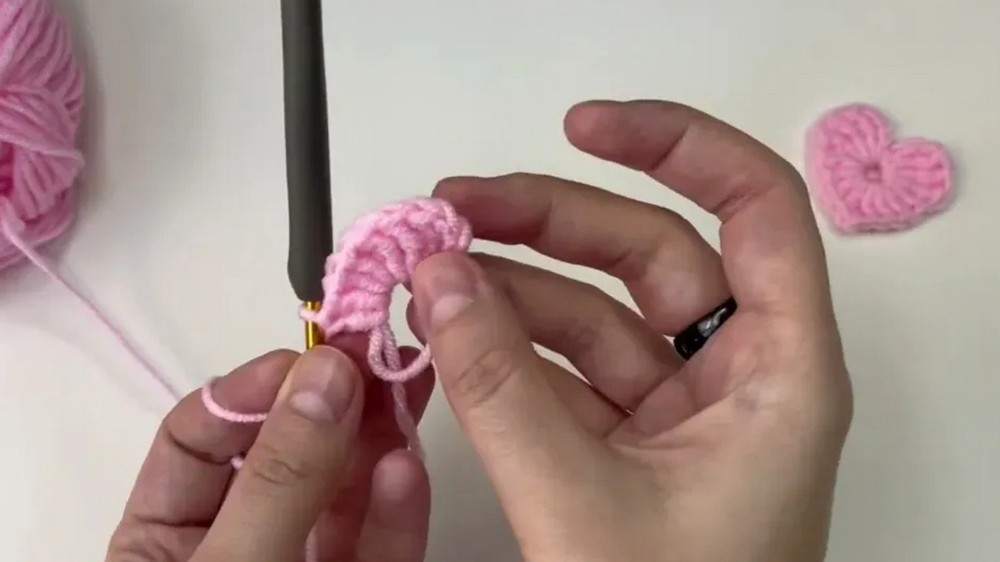
5. Finishing and Joining
- Carefully tighten the magic ring completely to close the center hole fully, leaving a neat, closed heart shape.
- Fasten off, leaving a tail for weaving in.
- Weave in all ends carefully for a smooth finish.
- Repeat the entire process to create a second identical heart piece.
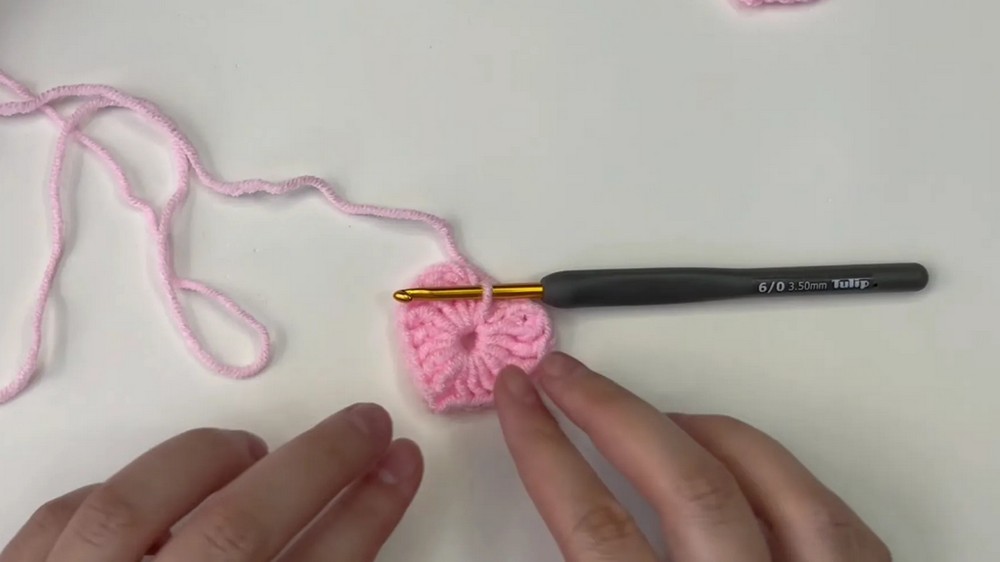
6. Joining Two Hearts into a Puffy Charm
- Place the two heart pieces together with right sides facing out.
- Using a yarn needle and matching yarn or thread, sew around the edges using simple stitches such as whip stitch or mattress stitch.
- Stitch evenly to join the two hearts fully, creating a soft puffy charm.
- Leave a small gap if desired for stuffing with fiberfill before finishing sewing for added dimension.
- Ensure your join is neat and secure.
Assembly & Finished Size
- The finished charm is approximately 6–7 cm (about 2.5–3 inches) in width and height.
- This dimension may vary based on yarn thickness and crochet tension.
- The padded, 3D nature adds substantial tactile appeal.
- Perfect as a keychain fob, decorative charm, or gift embellishment.
Conclusion
This beginner-friendly crochet heart charm pattern offers a perfect balance of simplicity and charming detail. By working into a magic ring with a harmonious mix of treble and double crochets, you create an elegant heart shape efficiently and effectively.
Joining two identical pieces delivers a delightful puffy effect, lending your creation volume and softness excellent for gifts or personal use. The construction hones your essential crochet skills such as working in rounds, managing stitch tension, and simple seaming techniques.
Weaving in ends properly and sewing the pieces with care finishes off this professional-looking, lovely accessory. Customize with your favorite yarns or embellish with beads or embroidery for personal flair.