Free and Easy Front-tie Cardigan Crochet Pattern

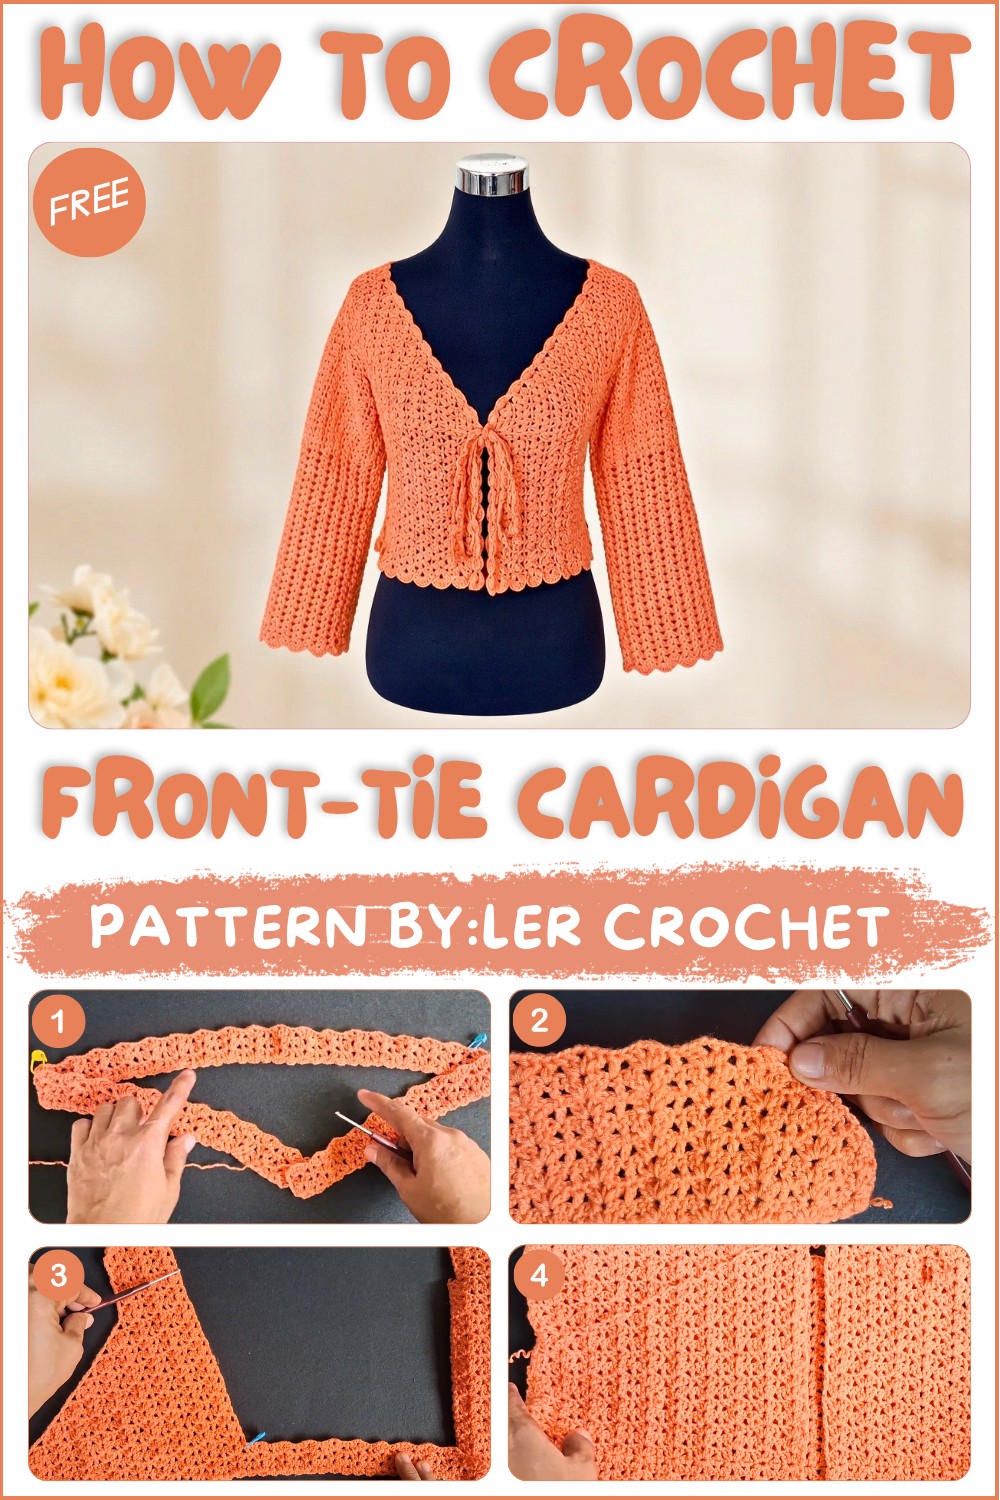
You can wear this cardigan anywhere—at school, a family dinner, or a walk in the park. It adds just the right amount of warmth without being too heavy. Plus, it makes a wonderful gift for friends or family because who doesn’t love something handmade with care? Its neat design means it can also look nice hanging on a hook as a decor piece when you’re not wearing it.
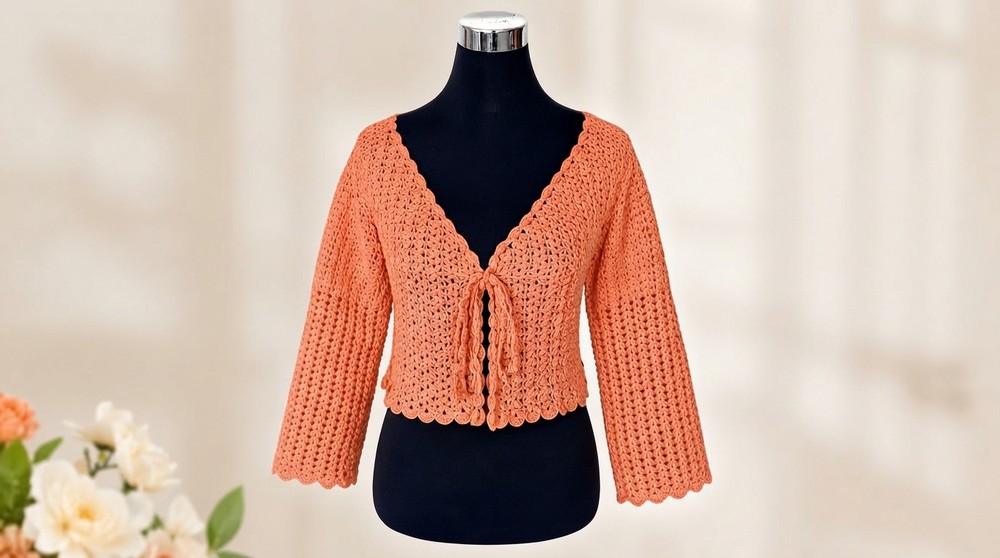
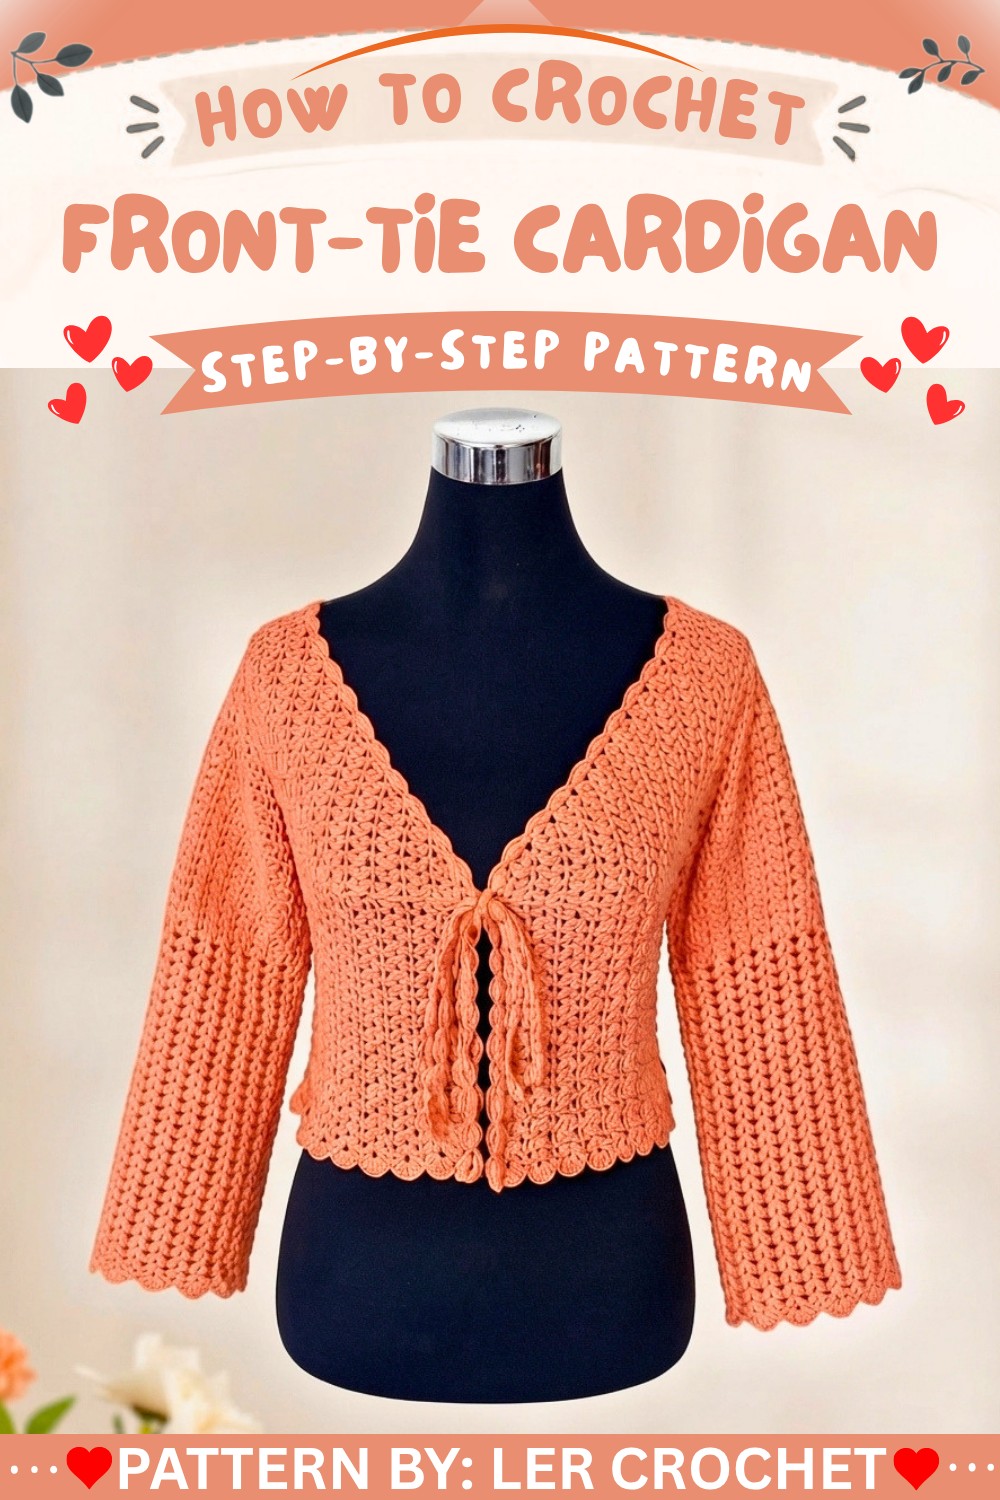
If you want a fun, simple project that will give you a lovely sweater to enjoy, the Free Crochet Front-tie Cardigan Pattern from Ler Crochet’s channel is a great choice. It’s easy to follow, looks good, and feels cozy.
Crochet Shell Stitch Cardigan Pattern
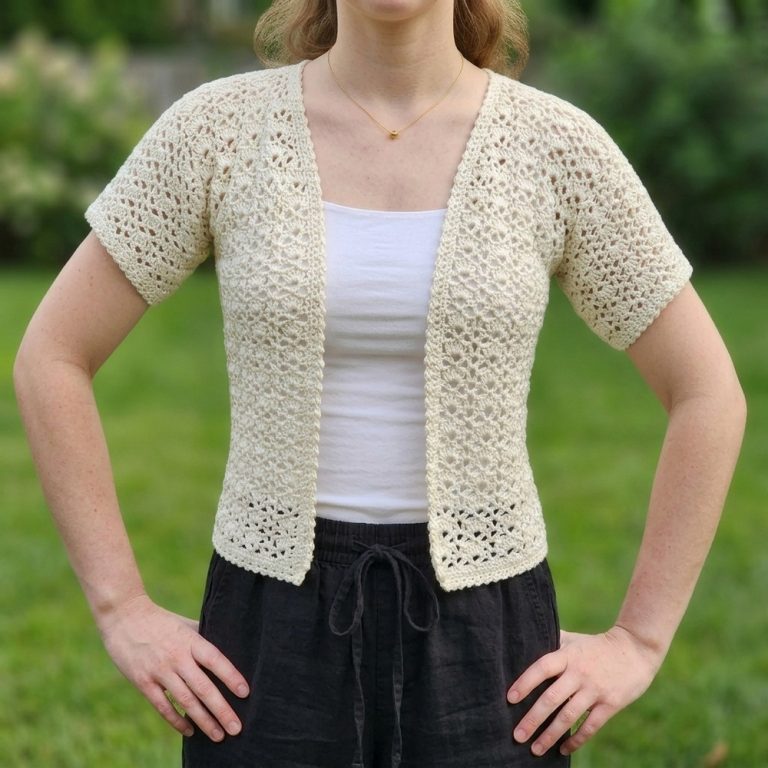
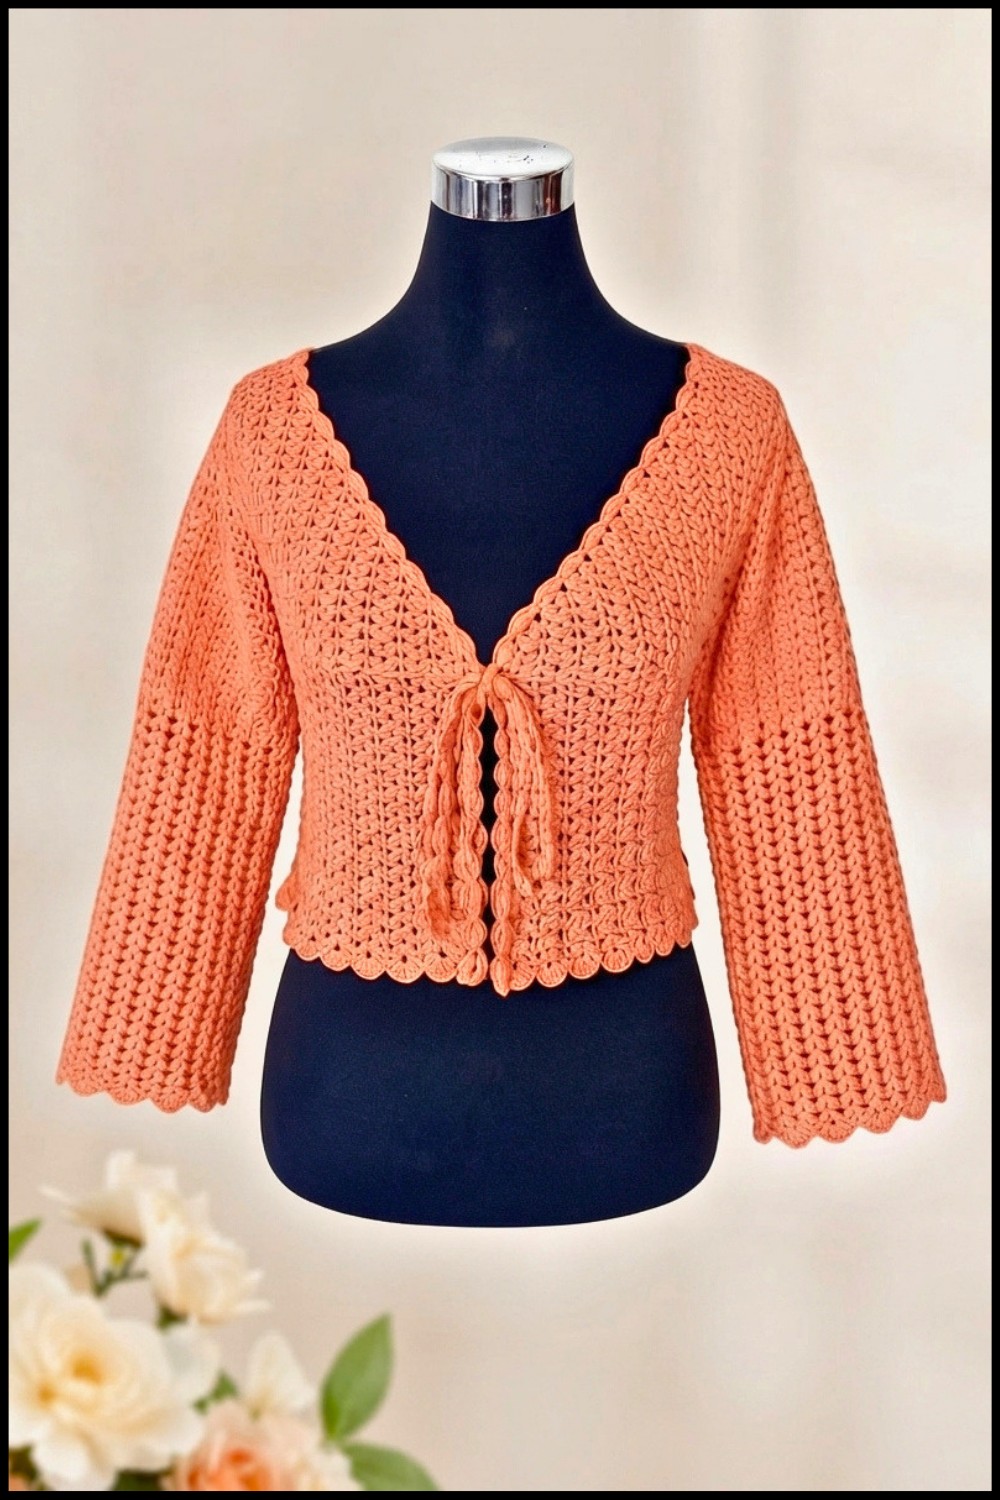
This crochet shell stitch cardigan, crafted using three-ply cotton yarn and a 2.5 mm crochet hook, is a stylish and delicate layering garment ideal for transitional weather. The fine yarn and detailed shell stitch give the cardigan a light, airy texture combined with an elegant lace-like appearance. The construction features front and back panels with carefully worked decreases for shaping, seamless joining, and comfortable sleeves worked in the round. The finishing touches include a neat bottom border and a matching front tie, enhancing the cardigan’s beauty and functionality. This detailed step-by-step pattern guides you from foundation through assembly with precision and clarity.
Quick Overview of Pattern
- Foundation: Chain 3, 1 double crochet repeated to create 77 eyelets for the base width.
- Shell Stitch Panels: Build front and back panels with classic shell stitch clusters (2 dc, ch 2, 2 dc) alternating with chain spaces and strategic single and double crochets.
- Armhole Shaping: Place stitch markers at 11th shells from each side to define underarm zones and work front decreases accordingly.
- Panel Joining: Seamlessly join front and back panels using slip stitches.
- Sleeves: Crochet sleeves in the round, transitioning from double crochets into the shell pattern, with rounds for cuff shaping and edging.
- Borders & Front Tie: Complete with bottom shell stitch border and a separate front tie strip, finished with coordinated edging for a cohesive look.
Notes
- The pattern uses US crochet terminology.
- Maintain consistent gauge to ensure even shaping and fit.
- Stitch markers are vital for underarm definition and smooth panel transitions.
- The cardigan is worked in panels and then joined with slip stitches to avoid bulky seams.
- Sleeves are made in the round, simplifying shaping and joining.
- The front tie is created separately to match edging motifs and sewn or crocheted on after assembly.
Skill Level
Intermediate
This project requires:
- Familiarity with fundamental stitches: chain (ch), double crochet (dc), single crochet (sc), slip stitch (sl st).
- Skill in working shell stitch motifs.
- Experience managing stitch markers and shaping via stitch count adjustments.
- Ability to join panels neatly with slip stitches.
- Working in rounds for sleeves.
Materials
- Three-ply cotton yarn, approximately 350–400 grams depending on size and length.
- Crochet hook size 2.5 mm.
- Stitch markers (at least 4).
- Yarn needle for sewing ends and assembling.
- Scissors.
- Measuring tape for sizing checks.
Measurements / Sizing (Optional Schematic)
- The cardigan’s base width uses 77 eyelets, suitable for a medium size adult garment.
- Length and sleeve circumference can be adjusted by working additional rows or rounds.
- Placement of markers at the 11th shell from both edges creates armholes proportional to the frame size.
- Blocking after assembly will enhance drape and final fit.
Gauge and Stitch Pattern
- Gauge is approximate and depends on individual tension; consistent working preferable to maintain garment integrity.
- Shell stitch pattern consists of:
- Clusters of 2 double crochets, chain 2, 2 double crochets in the same space, separated by chain spaces or single double crochets as defined per row.
- Pattern rows alternate shells with chain or dc stitches, creating an attractive lace effect.
Stitch Abbreviations
| Abbreviation | Meaning |
|---|---|
| ch | chain |
| dc | double crochet |
| sc | single crochet |
| sl st | slip stitch |
Special Stitches
- Shell Stitch (Shell Cluster): Work 2 double crochets, chain 2, then 2 double crochets all in the same stitch or chain space—creating a fan or shell shape.
- Panel Join Slip Stitch: Joining front and back panels by slip stitching through respective stitches for a flat seam.
- Marker Placement: Used on the 11th shell clusters to define armhole boundaries and support shaping.
The Crochet Pattern – Step by Step
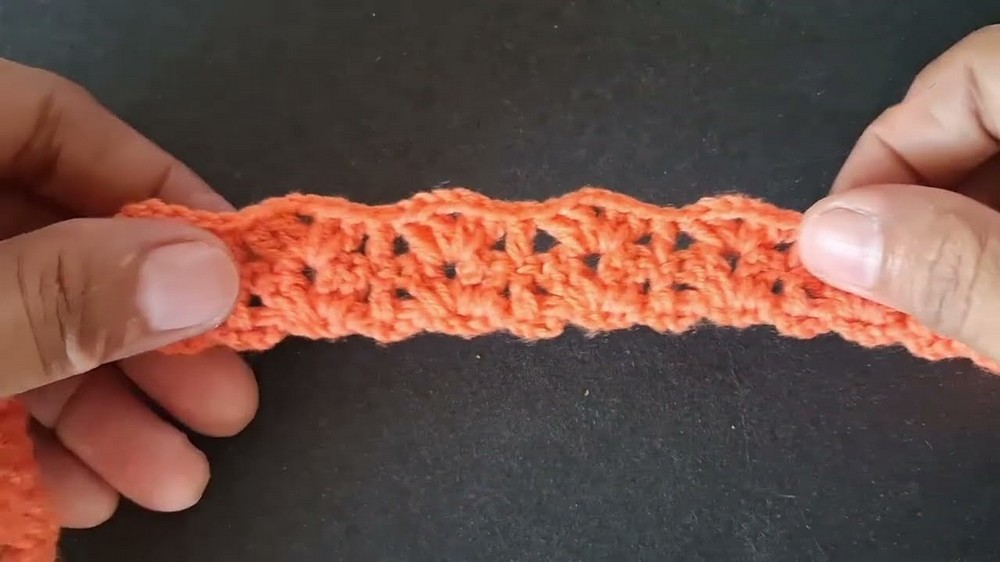
1. Foundation Chain (Create Base Row)
- Chain a multiple of 2 plus 1 to get 77 eyelets total.
- To do this:
- Chain 3 (this counts as your first double crochet)
- Then repeat:
- Chain 3
- 1 double crochet (dc)
- Continue this until you have created 77 eyelets total (count the number of “chain 3” spaces carefully).
2. Main Panel Construction – Shell Stitch Rows
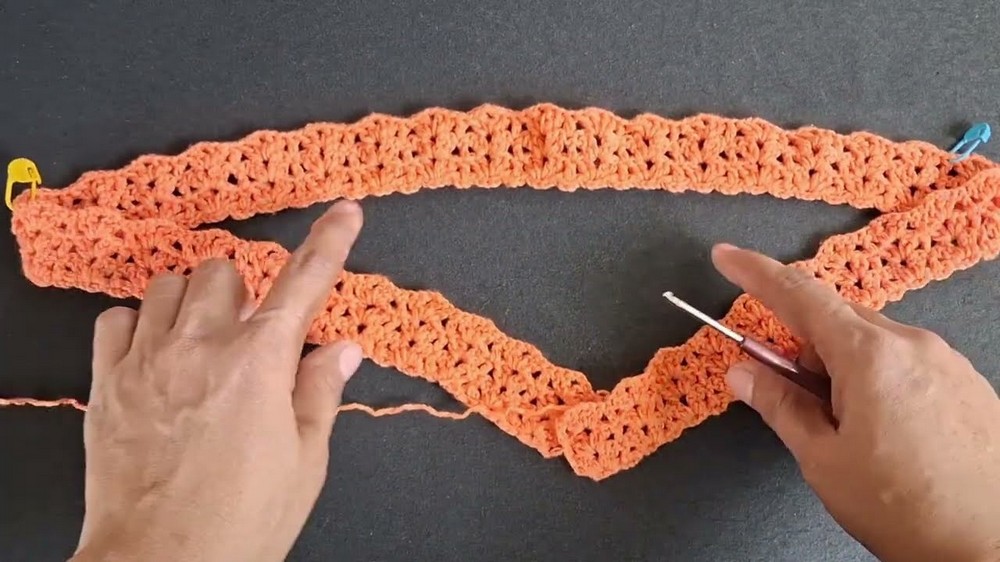
Row 1 (Start Shell Pattern)
- Chain 3 (counts as first double crochet).
- In the same space:
- Work 2 double crochets (dc)
- Chain 2
- Work 2 double crochets (dc) again — this forms the first shell.
- Then:
- Work 1 double crochet in the next eyelet space.
- Repeat this sequence across the row:
Shell (2 dc, ch 2, 2 dc) → 1 dc in next eyelet
Continuing Rows
- Keep repeating the shell pattern for both front and back panels.
- Maintain consistent shell shapes and spaces.
- Work evenly until you reach the desired length or the count for the shaping step.
3. Marker Placement for Armholes
- Identify the 11th shell from the left and the 11th shell from the right.
- Place stitch markers on the double crochet stitches on these shells to mark the underarm positions.
- These markers will help guide the shaping for the cardigan’s sides.
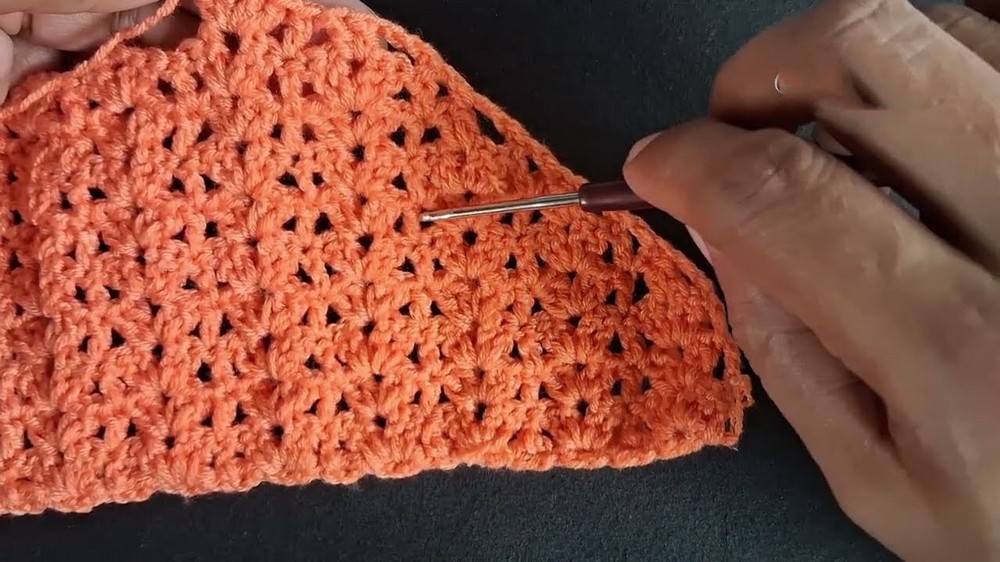
4. Decrease Shaping & Body Construction
Decreasing on Front Panels
- Beginning from the markers inward, gradually decrease stitches by modifying shell placement as follows:
- Change how many shells or double crochets are worked near sides to reduce width and shape armhole edges.
- Keep the shell motif balanced, adjusting carefully around markers.
Continuing Rows
- Work 16 rows maintaining the armhole side straight (no decreases) to shape the armhole smoothly.
- Complete a total of 23 rows on the front panels.
Back Panel
- Work the back panel straight (no decreases) between the stitch markers for 22 rows.
- Save the 23rd row for joining front and back panels.
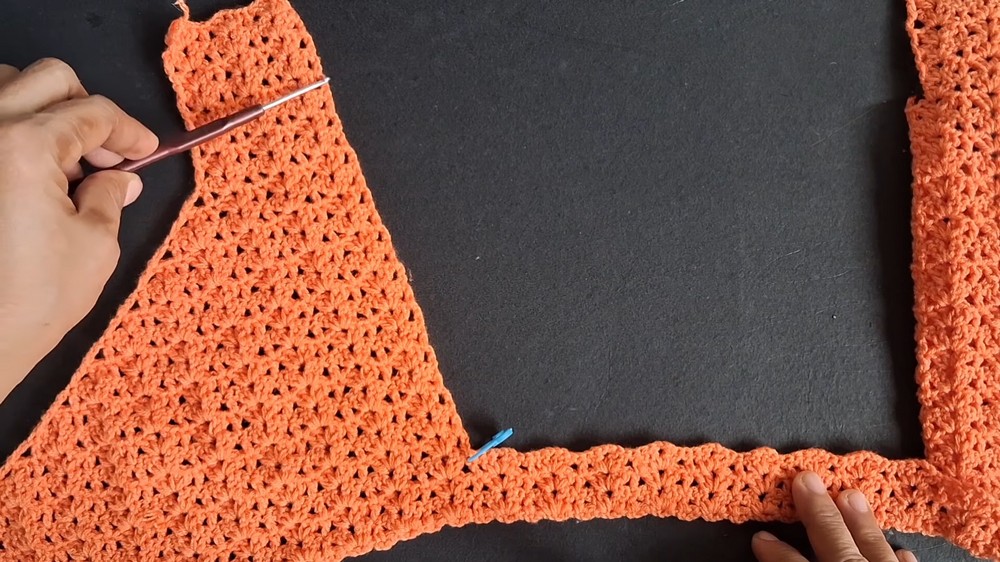
5. Joining the Panels
- Use slip stitches (sl st) to join front and back panels at the sides and shoulders smoothly.
- Ensure stitches line up; join along the edges marked for armholes to create flat seams with no bulk.
6. Sleeves Construction (Worked in the Round)
Starting the Sleeve
- Begin with:
- Chain 3 (counts as first dc)
- Work 1 double crochet (dc) in the following stitch/space.
- Join ends with a slip stitch to form a ring.
Working the Shell Pattern on Sleeves
- Continue to work the shell stitch as follows around the sleeve:
- 2 dc, ch 2, 2 dc in one space (shell)
- Chain and single dc spaces as previously established.
- Work 20 rounds of the shell stitch.
Modified Shell Stitch & Cuffs
- Follow with 6 rounds of a modified shell stitch for sleeve shaping and texture variation.
- Finish cuffs with a decorative edging (for example, smaller shells or simple sc rounds).
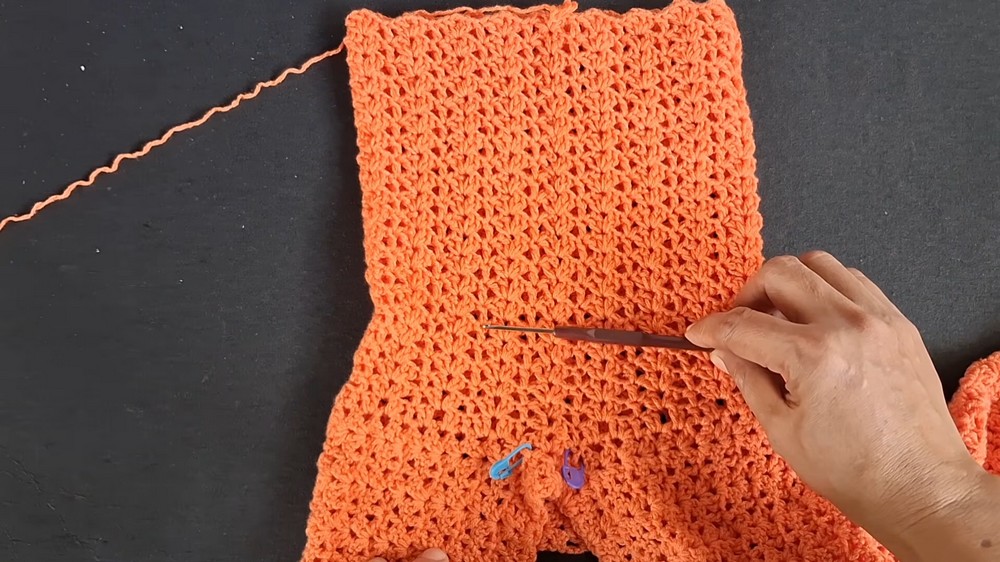
7. Bottom Border
- Attach yarn to the cardigan’s bottom edge.
- Work 18 rows of the shell stitch pattern to create a matching border.
- Finish the border with a final round of 10 double crochets inserted into single crochet stitches for a neat finish.
8. Front Tie Band
- Chain a foundation to create 50 eyelets:
- Chain 3 (counts as first dc), then repeat chain 3, 1 dc until 50 eyelets formed.
- Work the tie using the shell stitch and single crochet border pattern matching the cardigan’s edges.
- Attach securely along the front edges of the cardigan.
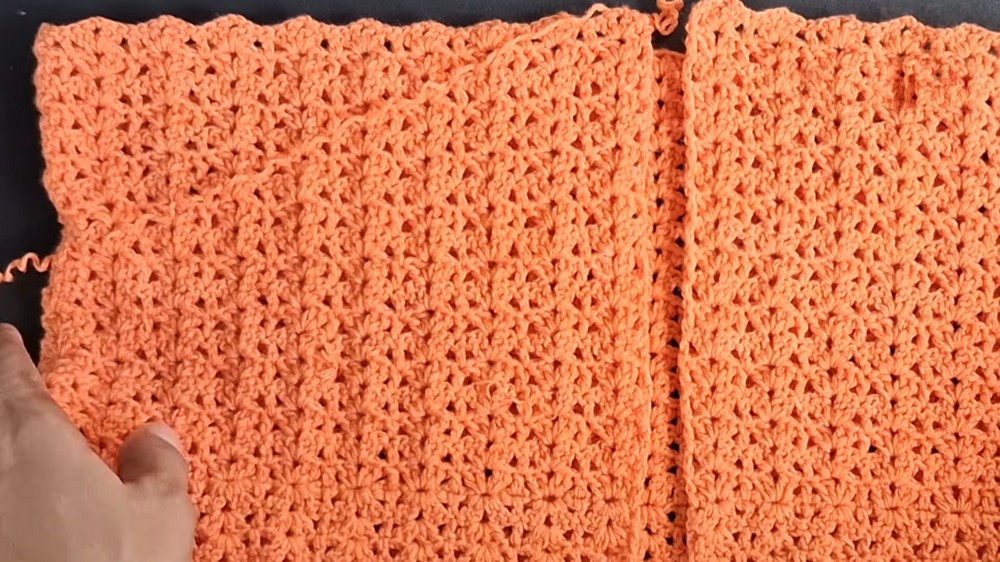
Assembly & Finished Size
- Finish joining all pieces carefully; weave in ends snugly.
- Steam block or lightly wet block the cardigan to flatten stitches and help aligning motif patterns.
- The finished cardigan fits a medium frame, with adjustable length and sleeve circumference by modifying rows or stitch counts.
- The seamless joins and balanced shell stitches ensure a well-structured garment with soft drape.
Conclusion
This crochet cardigan pattern elegantly combines the timeless shell stitch motif with thoughtful garment construction techniques to create a versatile and beautiful layering piece. The use of three-ply cotton yarn and a fine 2.5 mm hook provides a lightweight but durable fabric ideal for transitional seasons. With meticulous shaping guided by stitch markers and careful seam joining, this cardigan offers both aesthetic appeal and comfort. The final borders and front tie piece complete the look, giving the garment a refined finish worthy of your handmade efforts. Whether for casual wear or special occasions, this shell stitch cardigan stands as a rewarding project and a valuable addition to your crochet wardrobe.