Free Crochet New Year’s Mini Hat Pattern for Party Decor

Add a festive touch to your celebrations with this free crochet New Year’s mini hat pattern, creating adorable and stylish accents for a joyful occasion.
With the holiday season fast approaching, I wanted to find a quick and charming crochet project that could brighten up my festive decorations. That’s when I stumbled upon the free crochet New Year’s mini HAT pattern from Iryna Tsokalo Crochet. This cute and cozy mini hat instantly felt like the perfect little piece to add a handmade touch to my seasonal décor.
Easy Free Crochet New Year’s Mini Hat Pattern with Step by Step Guide
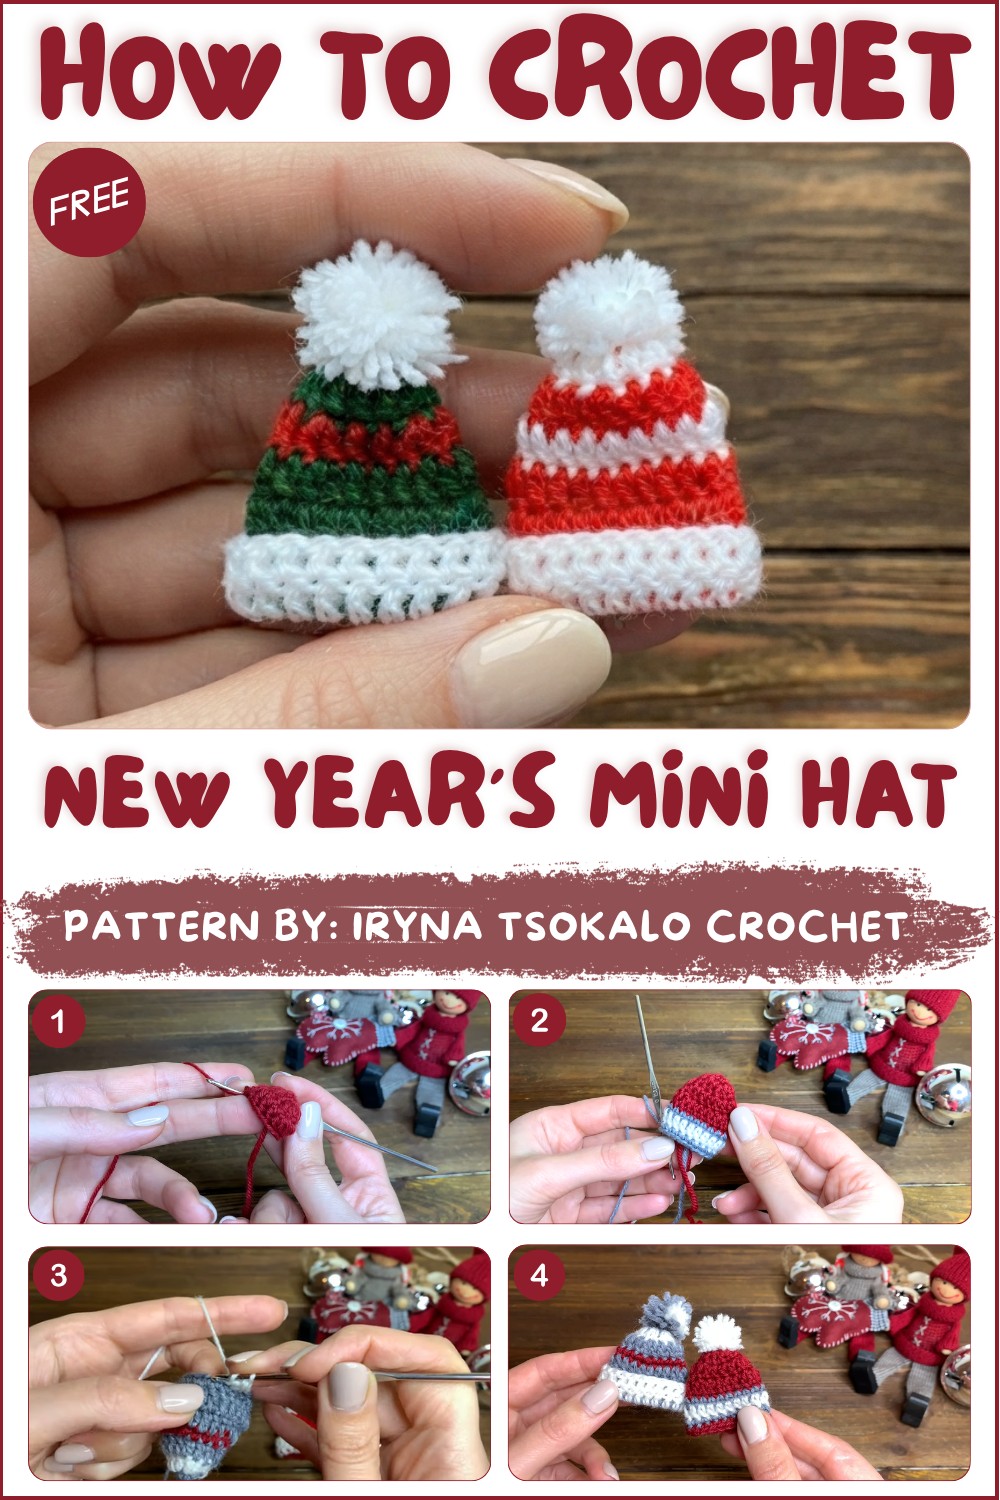
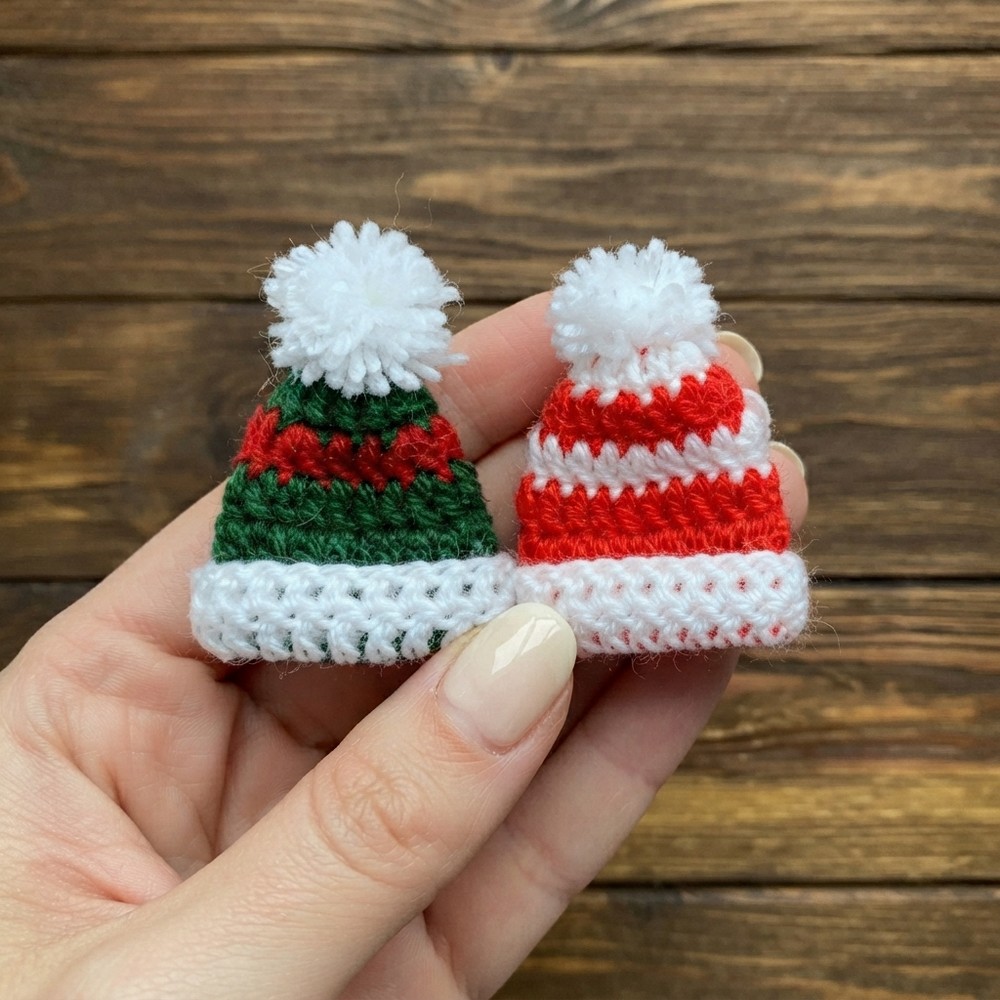
This adorable hat isn’t just any ornament; it captures the cozy spirit of winter with its rich burgundy, soft grays, and crisp white shades. Its miniature size makes it perfect for hanging on the tree, adding a subtle yet sophisticated touch to wreaths, or even topping gift packages with an unexpected handmade flourish. The warm and homey feel of the mini hat makes it a charming addition to any holiday collection.
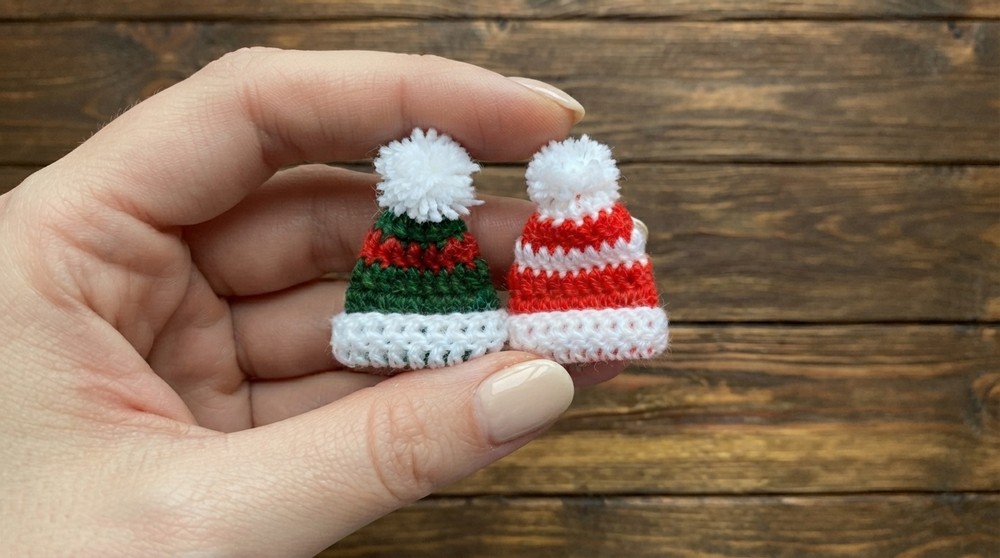
One of the things I love most is how versatile this project is, it’s small enough to use your leftover yarn and quick enough to finish in a cozy afternoon. Plus, it’s wonderful for gifting. Your friends or family members opening a present adorned or paired with one of these sweet little hats, handmade with lots of care and holiday spirit. Beyond decoration, it offers the satisfaction of creating something both beautiful and meaningful.
If you’re looking for a festive craft that radiates warmth and style without taking up too much time, this free crochet New Year’s mini HAT pattern is a perfect choice. I warmly invite you to check out the full tutorial and bring a touch of handmade joy into your holiday celebrations.
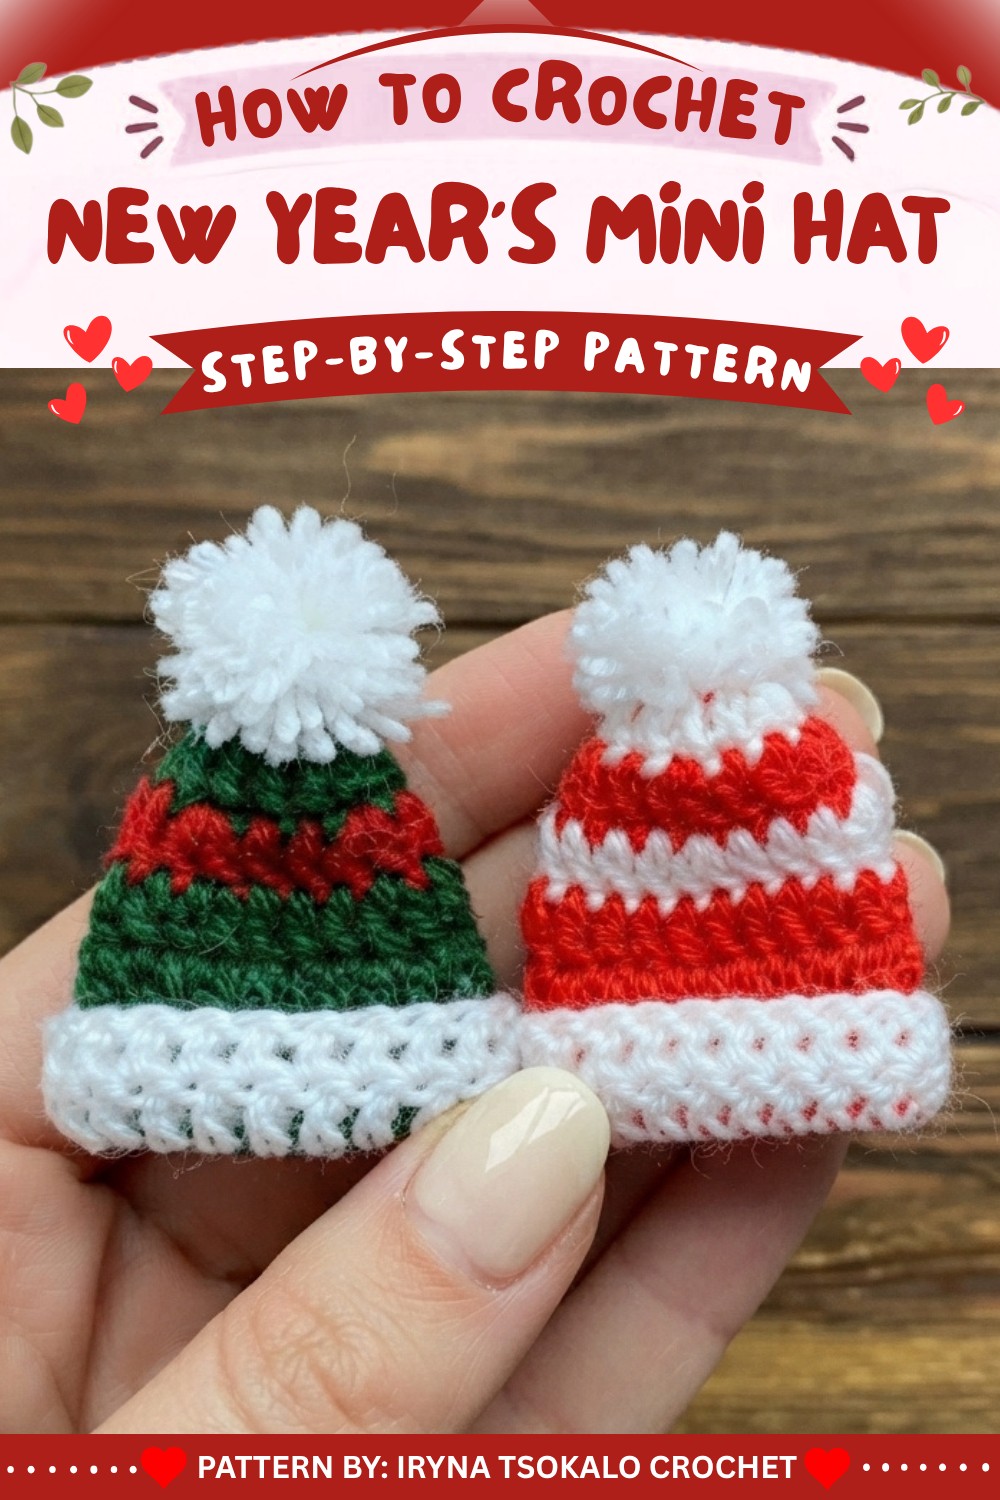
Miniature Christmas Hat Crochet Pattern
Capture the festive spirit with a charming miniature Christmas hat—perfect as an ornament, garland detail, or embellishment for gifts and cards. This pattern makes creative use of leftover yarn, allows for playful color changes, and culminates in a cheerful handmade pompon. With a classic cone-shaped Santa hat silhouette and color-blocked cuff, this quick project is ideal for enhancing your holiday décor or creating thoughtful, personalized accessories.
Skill Level & Terminology
- Skill Level: Advanced Beginner
Crocheters should be comfortable with working in rounds, increasing, and slip stitching to join. - Terminology: US Crochet Terms
All instructions use standard US abbreviations.
Materials & Tools
- Yarn: Small quantities of leftover yarn in three contrasting colors (e.g., worsted, DK, or sport weight). The sample uses burgundy, grey, and white.
- Hook: 3 mm – 4 mm crochet hook (size appropriate for yarn weight)
- Notions: Yarn needle (for weaving ends and attaching pompon), scissors, two pencils (or a small fork or fingers, for pompon making), ruler or tape measure (for gauge and sizing)
Gauge
Gauge is not critical for this project, but will affect the size and density of your finished hat.
- Sample Gauge: 6 rounds = approx. 4 cm (1.5”) in diameter at the base, using DK yarn and a 3.5 mm hook.
- Tip: If your hat is turning out much larger or smaller, adjust hook size accordingly.
Abbreviations List
| Abbreviation | Meaning |
|---|---|
| MR | Magic Ring |
| ch | Chain |
| dc | Double Crochet |
| sl st | Slip Stitch |
| st(s) | Stitch(es) |
| FLO | Front Loop Only |
Special Stitch Instructions
- Magic Ring (MR):
Create an adjustable ring by wrapping yarn into a loop, holding the working yarn behind it, and working required stitches inside the ring. Pull tail to close. - Double Crochet (dc):
Yarn over, insert hook in stitch, yarn over, pull up a loop (3 loops), yarn over, draw through 2 loops (2 loops remain), yarn over, draw through 2 loops. - Slip Stitch (sl st):
Insert hook in stitch, yarn over, pull through stitch and the loop on your hook. - Front Loop Only (FLO):
Work stitches only through the loop closest to you at the top of the previous round’s stitches.
Finished Size
- Height: Approximately 6–7 cm (2.5–2.75”) from brim to point (varies with yarn and hook size)
- Base Circumference: 14–15 cm (5.5–6”), fits as an embellishment or small tree ornament
The Pattern Itself
Foundation
- Begin with main color.
- Make a magic ring (MR).
- Ch 1.
- Work 6 dc into the ring.
- Join with sl st to the first dc.
[6 stitches] 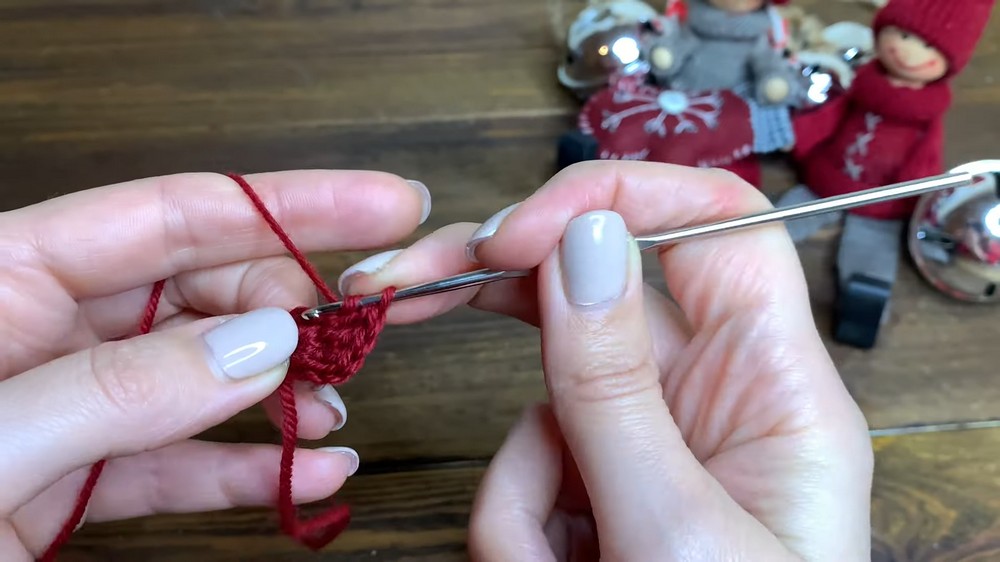
Row 2
- Ch 2 (counts as first dc).
- Work 2 dc in each st around.
(Insert 2 dc in each dc from previous round.) - Join with sl st.
[12 stitches]
Row 3
- Ch 2.
- Increase in every third stitch:
- 1 dc in each of the first 2 sts,
- 2 dc in the next st,
- Repeat this sequence (1 dc, 1 dc, 2 dc) around.
- Join with sl st.
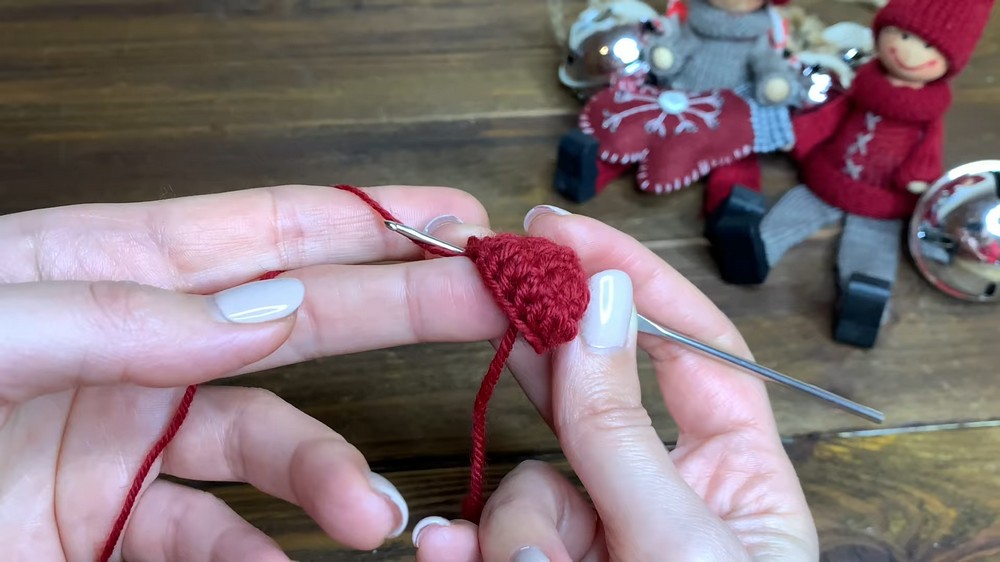
- [16 stitches]
Row 4
- Ch 2.
- Increase in every fourth stitch:
- 1 dc in each of first 3 sts,
- 2 dc in fourth st,
- Repeat this sequence (1 dc, 1 dc, 1 dc, 2 dc) around.
- Join with sl st.
[20 stitches]
Rows 5, 6, and 7
- For each of the next three rounds:
- Ch 2.
- 1 dc in each st around. (No increases; work evenly)
- Change yarn color as desired (for stripes or a contrasting brim; traditionally, change after row 6 to grey or white).
- Join with sl st.
- [20 stitches per row]
Row 8 (Brim—Front Loop Only)
- (Change color for brim if desired)
- Ch 2.
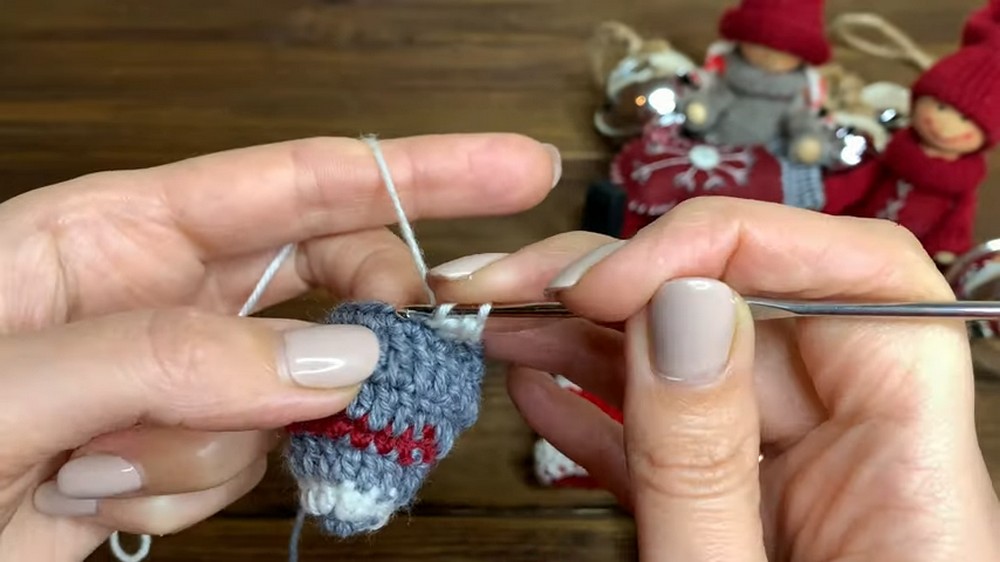
- Work 1 dc in FLO of each st around.
- Join with sl st.
- [20 stitches]
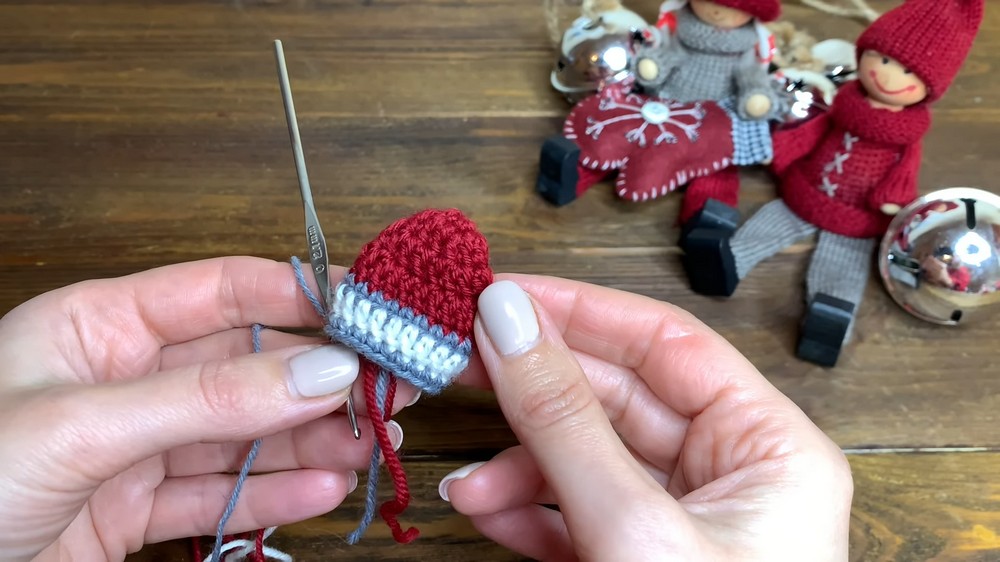
Row 9 (Brim—Finish)
- Ch 2.
- Work 1 dc in both loops of each st around.
- Join with sl st.
- Fasten off and weave in end.
- [20 stitches]
Assembly & Finishing
Pompon
- Select white or another color for pompon.
- Hold two pencils together, about 1 cm apart.
- Wrap pompon yarn around the pencils ~15 times (the more wraps, the fuller the pompon).
- Slip a short length of yarn between pencils, pass under all wraps, and tie tightly in the center.
- Slide yarn bundle off pencils. Use scissors to cut through looped ends on both sides.
- Fluff and trim the pompon with scissors to a neat sphere.
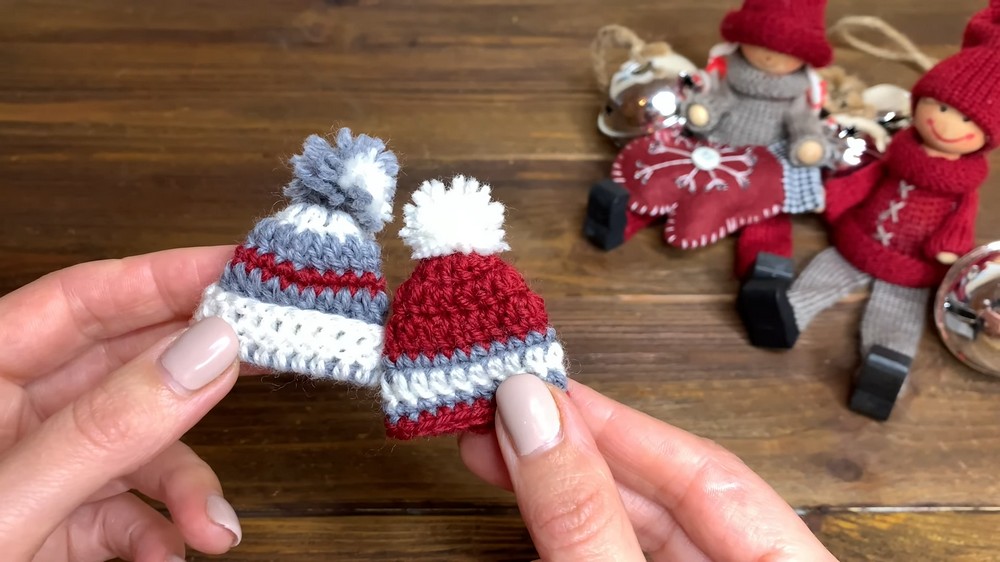
- Use the yarn needle and tail from your starting magic ring to attach the pompon securely to the hat tip (tie or sew several times; weave in and trim excess).
Final Touches
- Weave in remaining yarn ends inside the hat with a yarn needle.
- Block lightly if needed (shape with fingers; generally not needed for small pieces).
- For ornaments or garlands, thread a hanging loop (using yarn or embroidery floss) through the brim.
Conclusion
Your miniature Christmas hat is complete! This whimsical pattern is both quick and satisfying, offering scope for color play, personalization, and creativity. Make a set for friends or family, add to homemade gift packaging, or hang on your tree. The classic cone shape and plush cuff evoke the nostalgia of the holidays while remaining adaptable for all kinds of uses.
Pattern Corrections & Tips
- Correction: Always join rounds to the first double crochet, not the ch-2, for a neater join.
- Tip: Changing colors at the start of the brim (Row 8) offers a classic “fur cuff” look typical of Santa hats.
- Tip: Fasten off and weave in ends securely since miniature items receive frequent handling.
- Tip: For a smaller or larger hat, simply adjust the hook size or yarn thickness. For a chunkier, plush hat, consider super-bulky yarn and a 5 or 6 mm hook.
Handmade with just a few yards of yarn, this festive Christmas hat adds a delightful touch of cheer to any holiday scene. Enjoy showcasing your creativity throughout the season!