Free Crochet Tiny Top Hat Pattern for Amigurumi Accessories

Add festive fun with this free crochet tiny top hat pattern, offering a charming way to enhance costumes, decorations, or handmade gifts effortlessly.
Once upon a time, in a small sunny room filled with colorful yarn and hooks, a creator dreamed of making the perfect tiny accessory to add charm to her handmade dolls. That dream became reality with the free crochet Tiny Top Hat Pattern, thoughtfully presented by Needle Cuddle. This enchanting little hat is more than just an addition; it is a miniature work of art that instantly adds personality and flair to any small amigurumi or decorative piece.
Quick Free Crochet Tiny Top Hat Pattern Guide
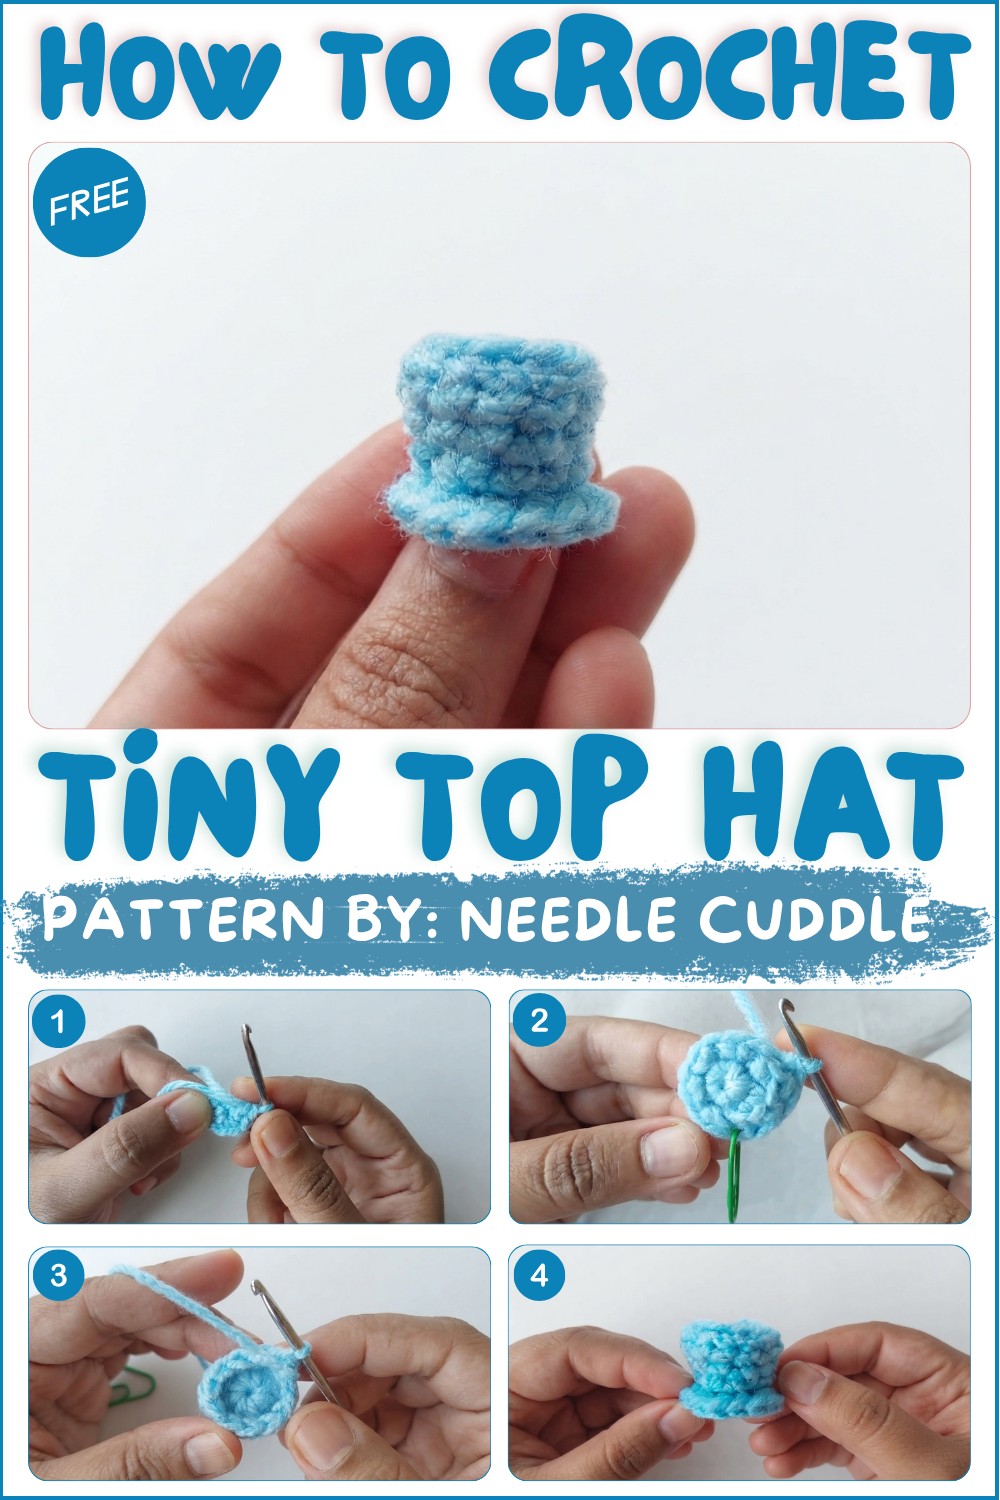
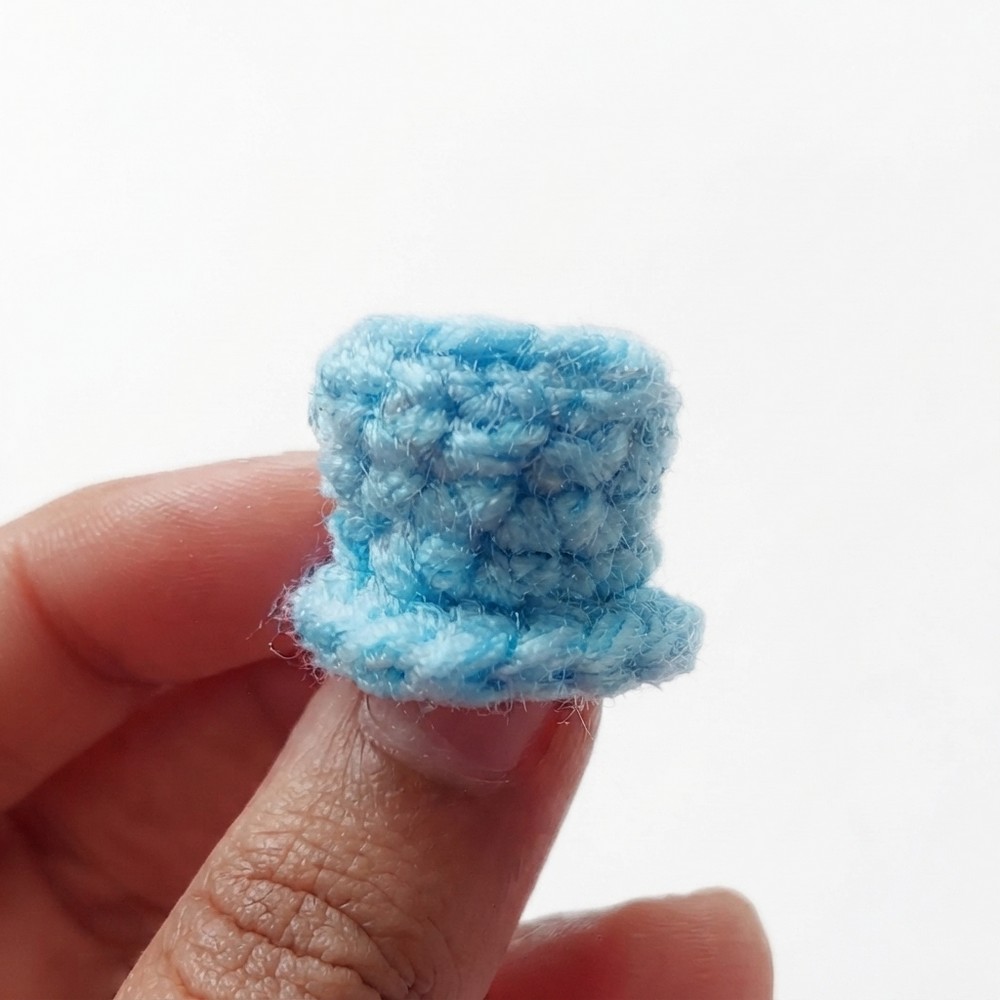
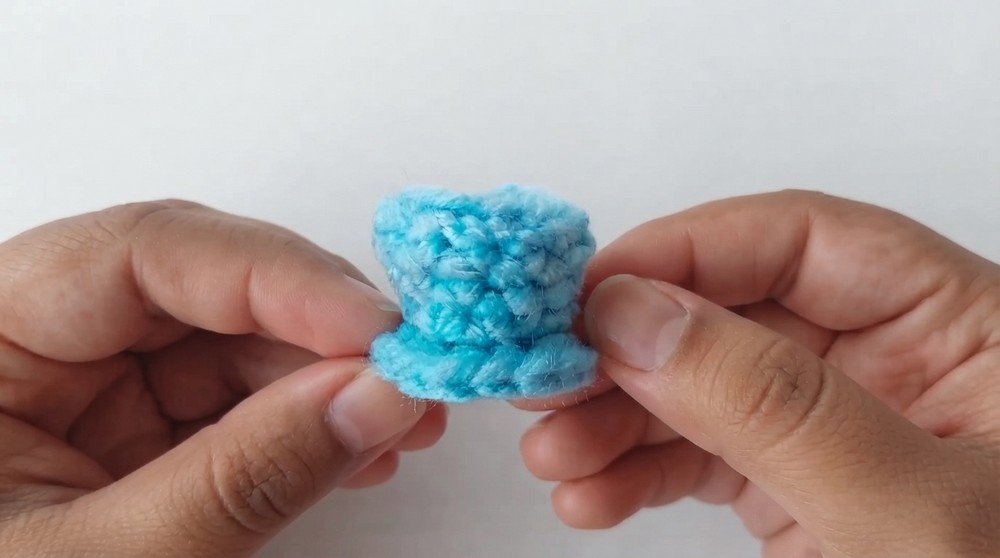
The tiny top hat features a classic design with a rounded, sturdy crown and a flat, gently flared brim, making it the ideal finishing touch for tiny crocheted toys or miniature pumpkins. The texture is smooth and firm, created with tight, even stitches that help maintain its shape while offering a polished appearance. Needle Cuddle’s pattern suggests using vibrant yarn colors to make the hat pop, adding character and charm perfect for various occasions.
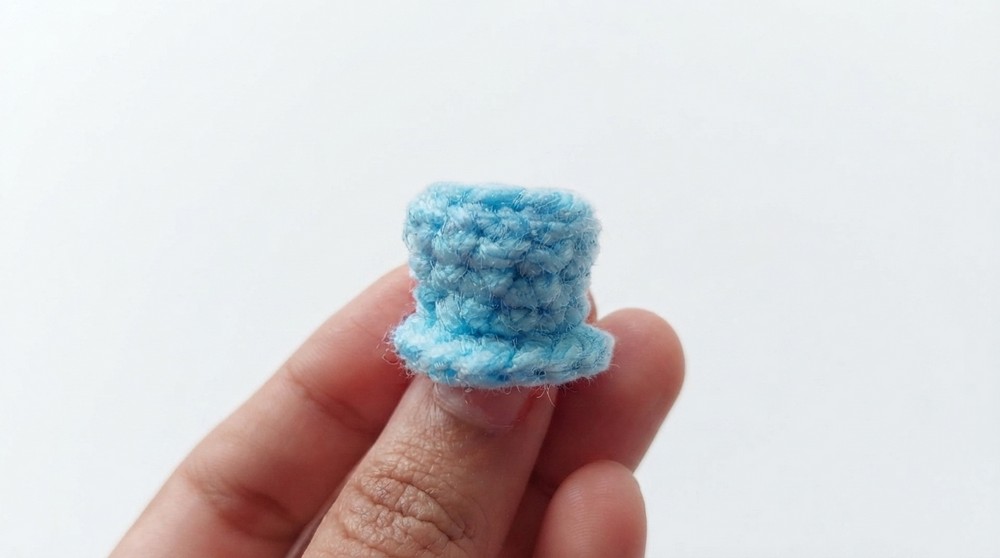
This petite hat is not only a delightful ornament but also makes an excellent gift for anyone who appreciates handmade treasures or whimsical décor. It can adorn a small doll’s head or stand alone as a whimsical accent on desks, shelves, or display areas, infusing a bit of personality wherever it goes. Creating this project also helps improve important skills such as working in continuous rounds, stitch increases, and perfecting neat finishes, which is ideal for those looking to enhance their abilities.
Thanks to Needle Cuddle’s clear and inviting tutorial, making the free crochet Tiny Top Hat Pattern is an enjoyable and satisfying experience. This simple yet stylish piece adds a magical touch and a dash of elegance to your creative projects.
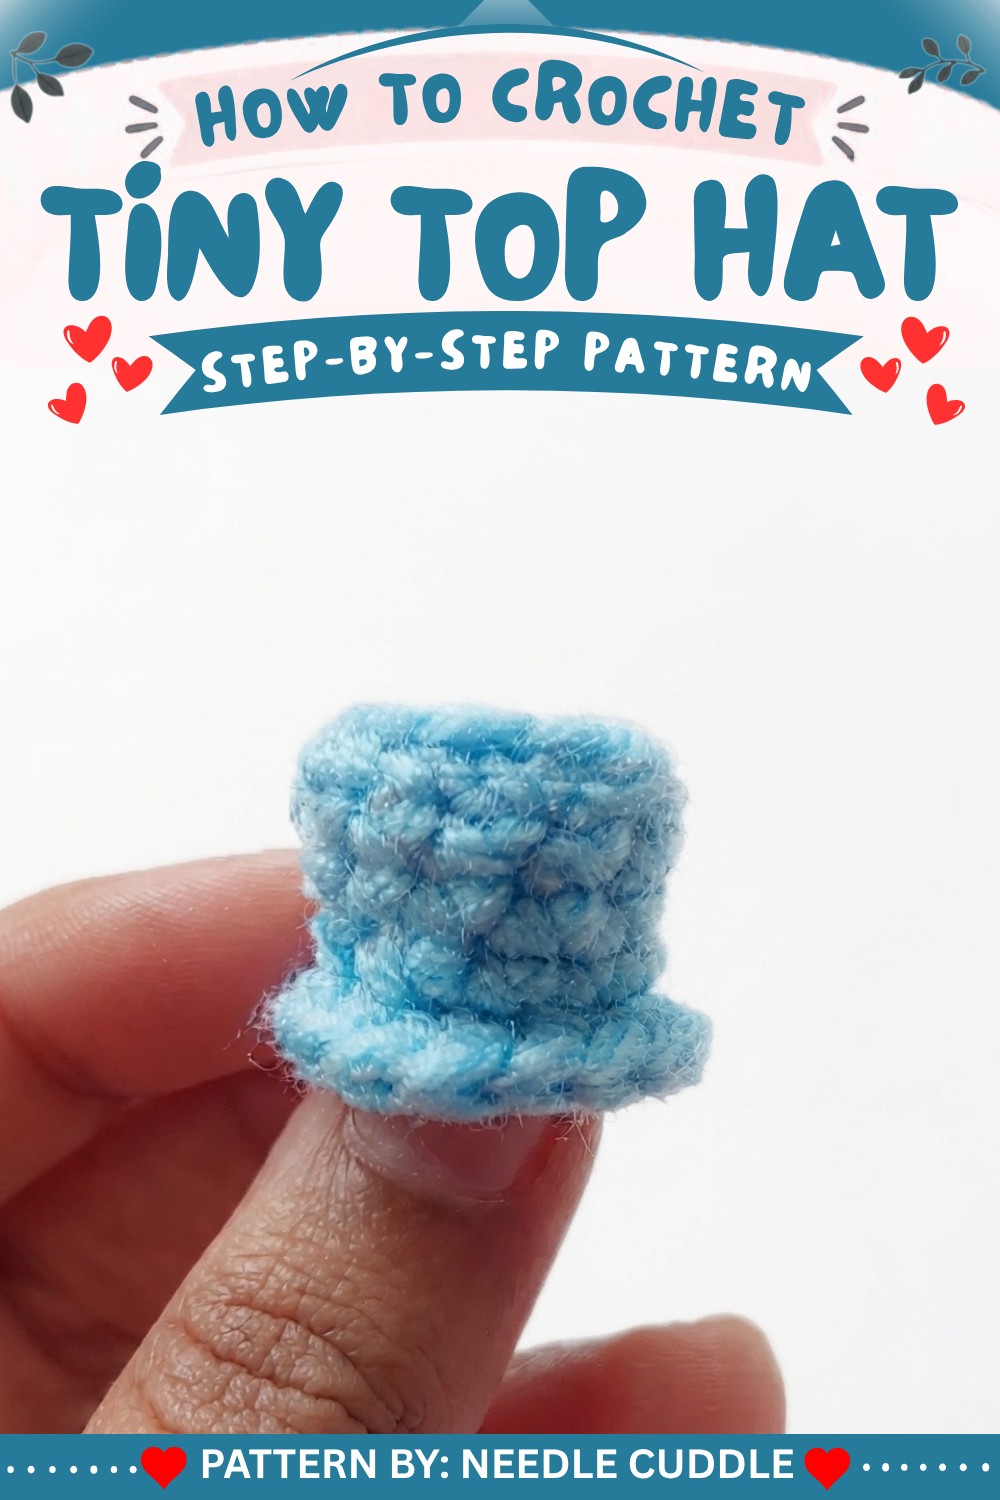
Tiny Top Hat Crochet Pattern
This detailed crochet pattern follows the step-by-step method shown in the video to create a charming miniature top hat. The project is designed for precision and ease, with every round explained so you won’t miss a stitch. This tiny top hat is perfect as an accessory for your amigurumi dolls, plush toys, or as a cute decorative item.
Pattern Basic Points
Construction Overview
- The hat is crocheted from the top down, starting with a magic ring for a neat, seamless center.
- After initial increasing, the sides of the hat are formed by working in the back loop to create a crisp edge, followed by several even rounds.
- The hat’s shape is subtly tapered by a decrease round before forming the brim.
- The brim is created by working increases into the front loops to form a slight flare.
- Crisp shaping, secure fastening off, and neat weaving in of ends create a finished and durable mini accessory.
Special Notes
- Use a stitch marker to denote the first stitch of each round, important in small projects where rounds can be easily lost.
- Maintain consistent and firm tension for a structured, crisp hat.
- If you want a larger or floppier brim, add an extra round or more increases.
- This hat is sized for mini dolls or as a charm; adjust yarn/wool and hook size for different results.
- All instructions use US crochet terminology.
Skill Level
Beginner to Confident Beginner
If you are comfortable with single crochet, increasing, decreasing, and working in the round, this pattern is suitable for you. The special use of back loop only and front loop only provides a great learning experience for new crocheters.
Materials
- Yarn: 4-ply yarn, any color of your choice
- Hook: 2.5 mm crochet hook (or size appropriate for yarn)
- Scissors
- Stitch marker
- Tapestry needle or yarn needle (for weaving in ends)
Measurements / Sizing
- Finished top hat (using 4-ply yarn and 2.5 mm hook):
Approximately 1.5–2 inches (3.8–5 cm) in diameter, 1–1.2 inches (2.5–3 cm) high. - Size may vary depending on yarn thickness and personal gauge.
Gauge
- Gauge is not critical; however, a firm, tight fabric creates the best structure for a mini accessory.
If desired, complete Rounds 1–3 and check that your circle measures just under 1 inch in diameter.
Stitch Abbreviations
- ch: chain
- sc: single crochet
- inc: increase (2 sc in one stitch)
- dec: decrease (single crochet two together)
- BLO: back loop only
- FLO: front loop only
- st(s): stitch(es)
- MR: magic ring
Special Stitches
- Magic Ring (MR): Make a loop with the yarn; work stitches into the ring and pull tail tight to close.
- Back Loop Only (BLO): Insert the hook into the back loop of the stitch only.
- Front Loop Only (FLO): Insert the hook into the front loop of the stitch only.
- Decrease (dec): Single crochet two stitches together.
Pattern Instructions
Tiny Top Hat
Work in continuous rounds unless otherwise specified. Use a stitch marker to mark the first stitch of each round.
Row 1: Top of Hat
- Create a Magic Ring (MR).
- Crochet 6 single crochets (sc) into the ring.
Pull the tail tightly to close the center. (6 stitches)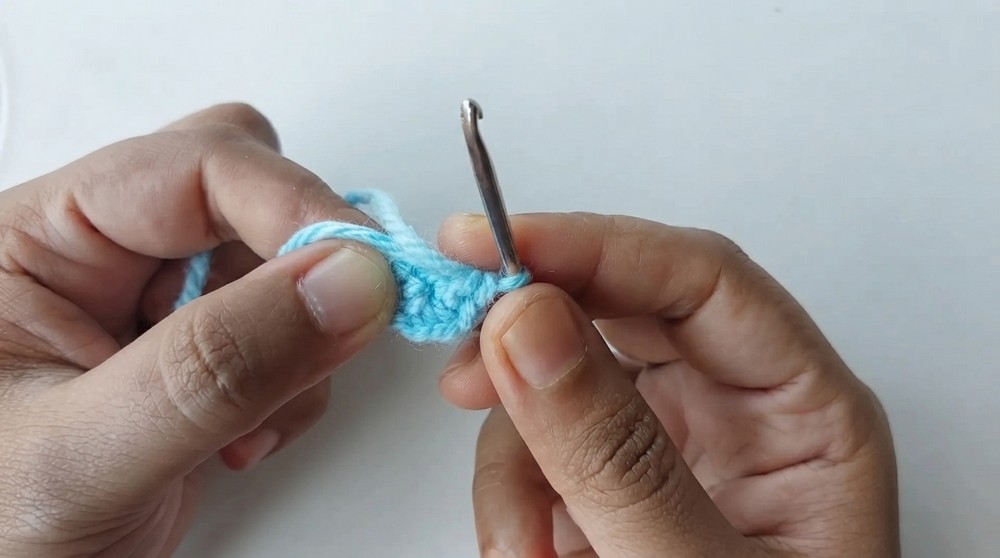
Row 2: Increase
- Make 2 single crochets (inc) into each of the 6 stitches around.
(6 x 2 = 12 stitches)
Row 3: Forming the Sides
- Work 1 sc in each of the 12 stitches, using the Back Loop Only (BLO) for this round to create a sharp edge that will become the side of the hat.
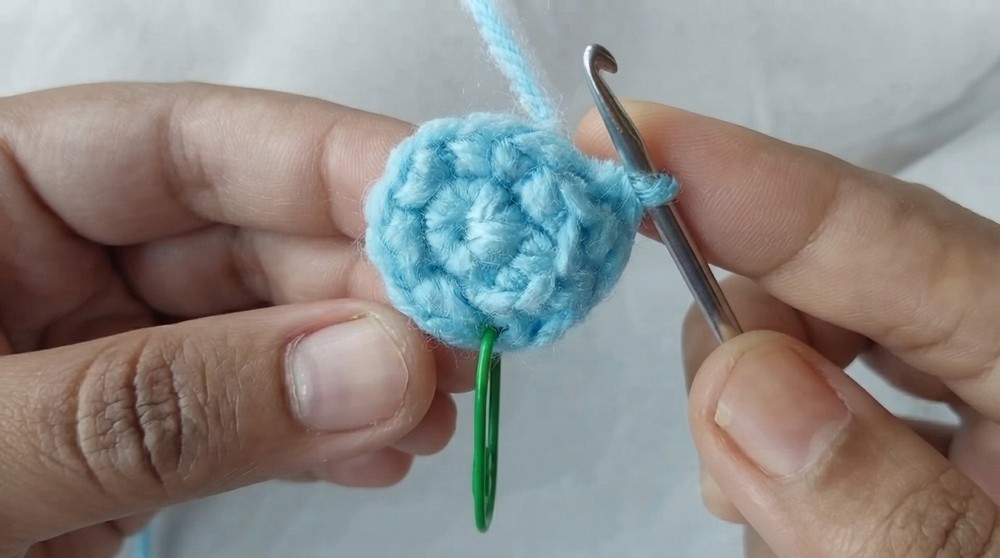
(12 stitches)
Rows 4 & 5: Build Hat Walls
- Work 1 sc in each of the 12 stitches (both loops) in each round.
(12 stitches per round, total 24 stitches over 2 rows)
Row 6: Taper the Top
- (4 sc, 1 decrease) × 2:
- Sc in next 4 sts, then decrease (sc2tog) in next 2 sts;
- Repeat this sequence once more around the round.
(Total: 10 stitches)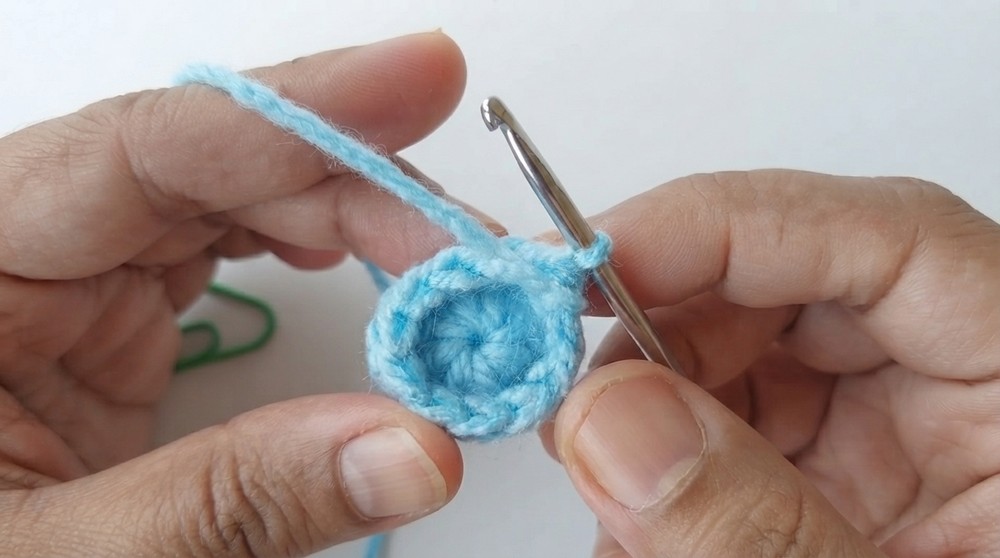
Row 7: Brim (Front Loop Only)
- (1 sc, 1 inc) in FLO, repeat 5 times:
- [sc in next st FLO, 2 sc in next st FLO] × 5.
(Total: 15 stitches in this brim round)
- [sc in next st FLO, 2 sc in next st FLO] × 5.
Finish Off:
- Cut the yarn, leaving a short tail.
- Use a tapestry needle or yarn needle to pull the yarn tail through the last stitch to fasten off.
- Weave in your ends neatly on the inside of the hat.
Assembly & Finished Size
- No further assembly is needed—your tiny top hat is now ready!
- Place on your amigurumi or doll, attach with a few hidden stitches if desired, or use as a small decorative accessory for costumes or crafts.
Conclusion
Congratulations! You have finished a charming miniature top hat, perfect for adding personality and style to your crochet dolls and amigurumi creations. Accurate stitch placement and neat finishing steps make your hat crisp and dimensional. Adjust colors or add embellishments—like a tiny ribbon or applique—for even more fun.
https://www.youtube.com/watch?v=UBr3wHZmZM0