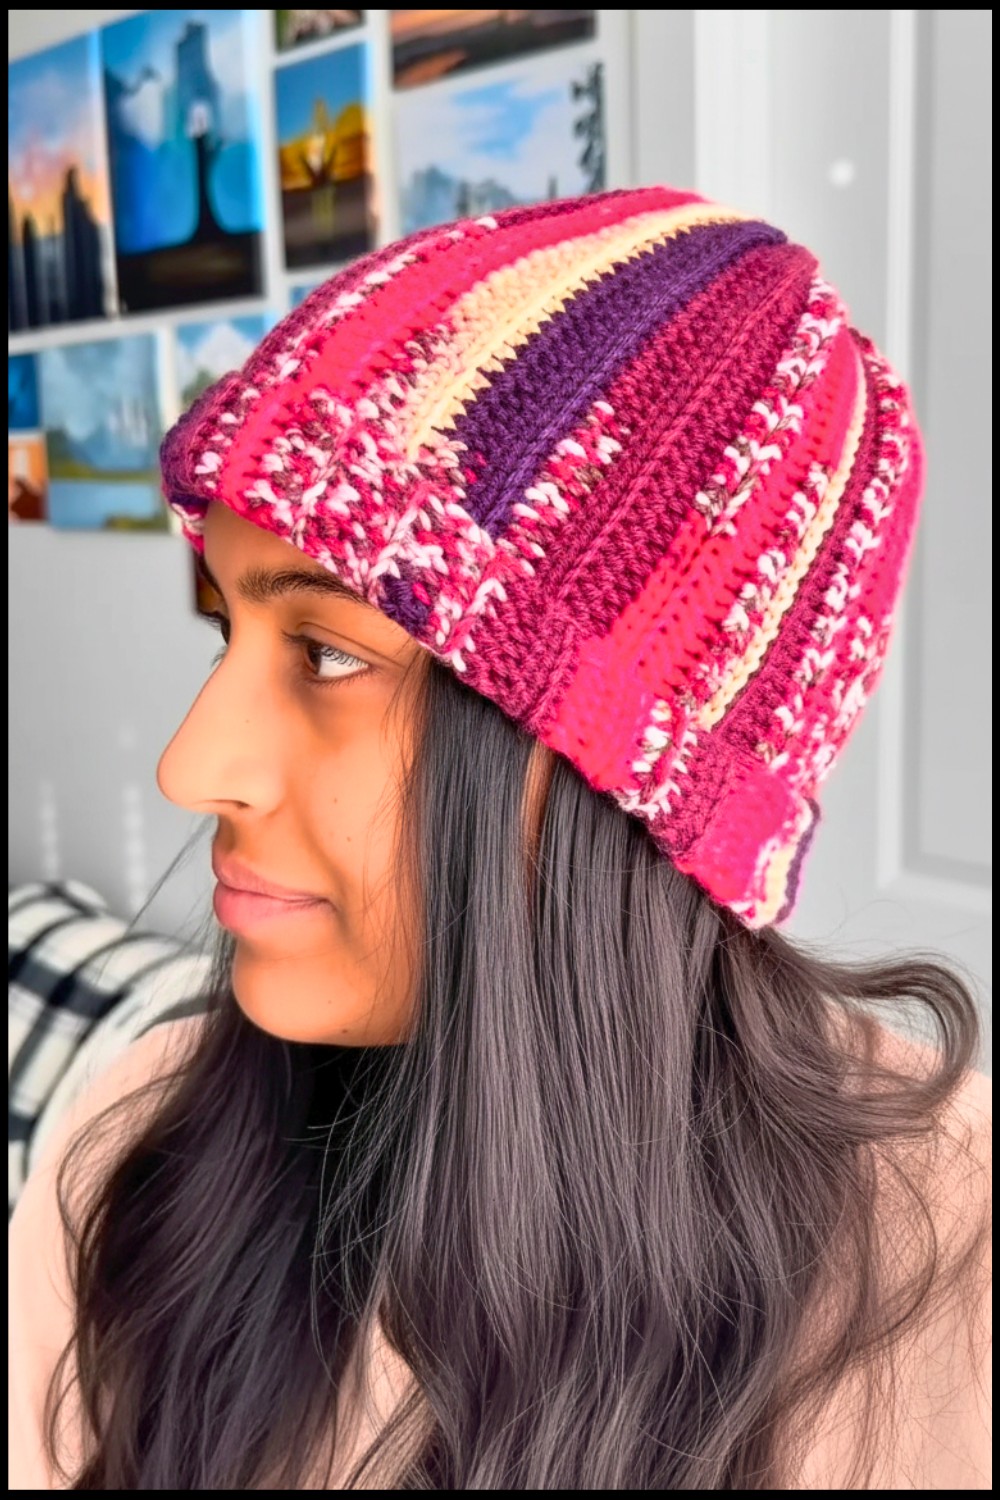
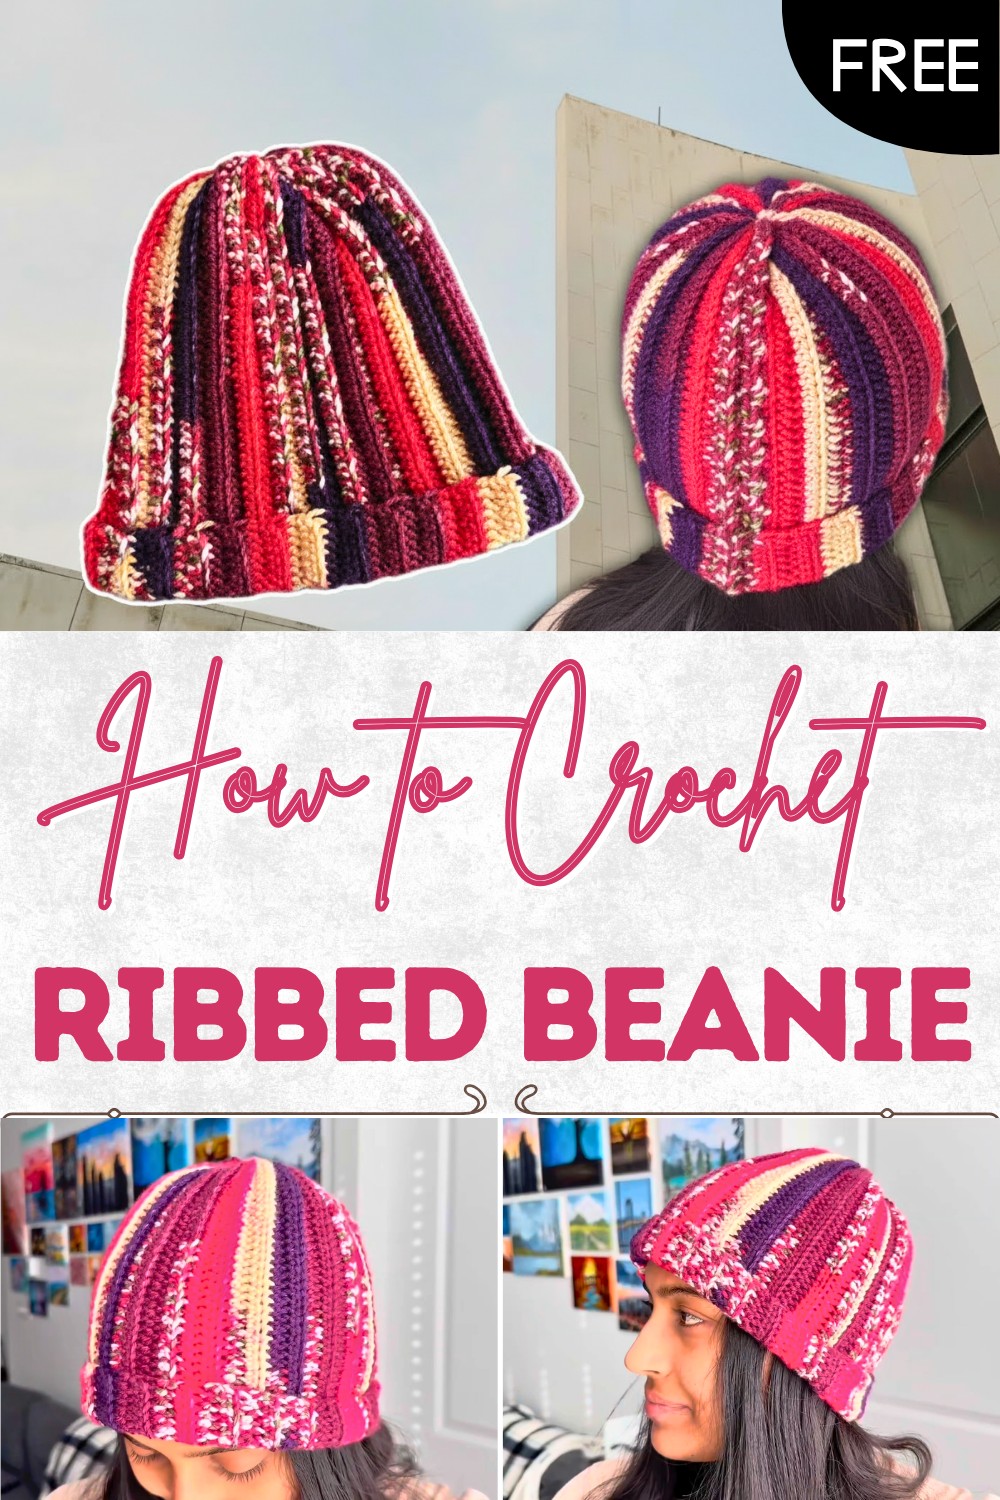
Ribbed Beanie Pattern Free Crochet Essentials
Show your unique style with this free crochet ribbed beanie pattern, that offers an easy fit for everyone and brightens chilly day instantly.
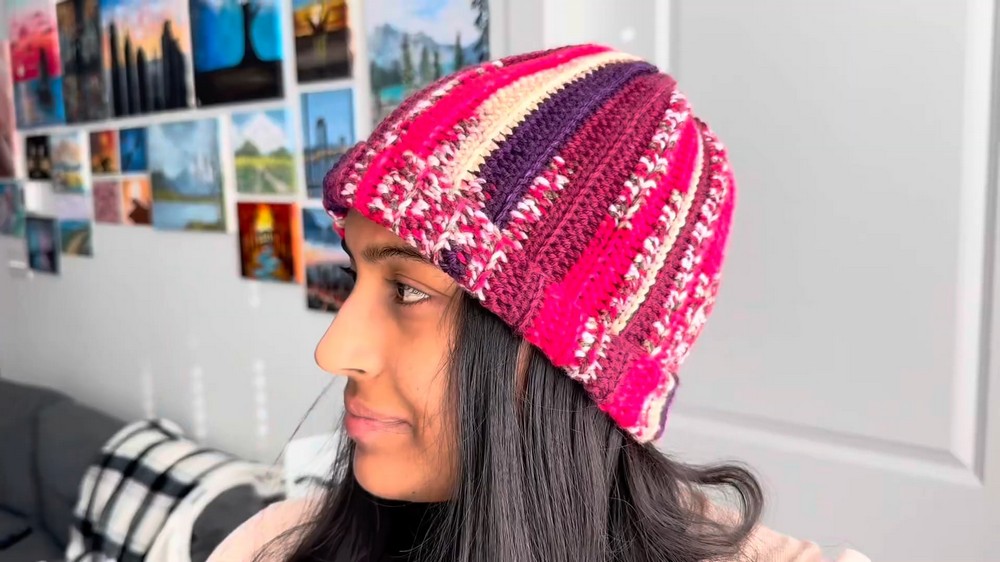
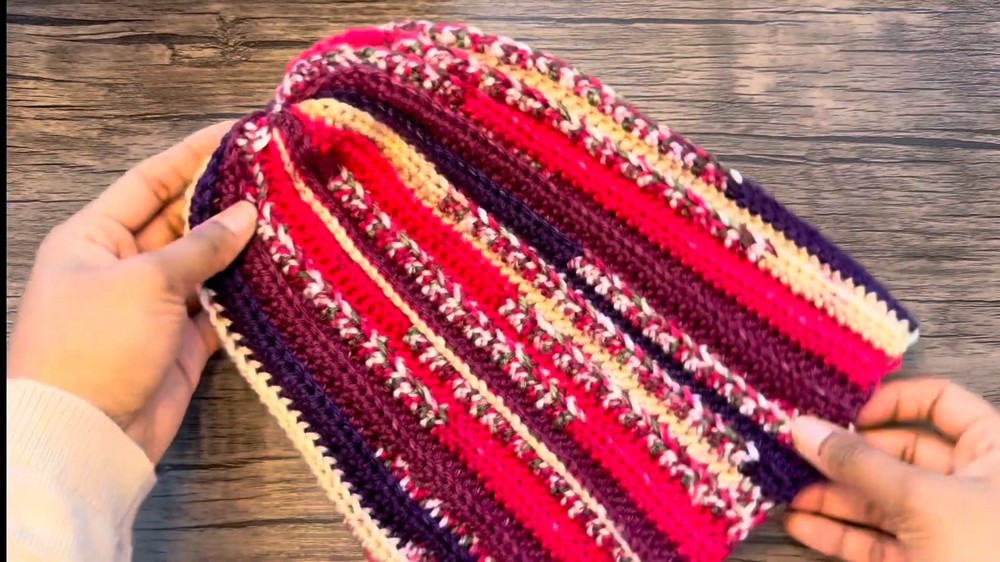
Have you ever wanted a hat that hugs your head just right and keeps you warm with a special touch? With its gentle lines and stretchy design, the crochet ribbed beanie pattern gives every head a perfect fit and a stylish look. Each ridge adds to its charm, making the hat stand out wherever you go. Not only does it look great, but it also blocks the wind and keeps your ears covered on cold days.
Best Free Crochet Ribbed Beanie Pattern
It can be made in bold colors for a fun twist or in soft hues for a gentle feel. Easy to shape and simple to wear, this cozy beanie quickly becomes a favorite for both everyday use and special outings. The crochet ribbed beanie pattern brings warmth, beauty, and a sense of pride everyone can enjoy whether making it for yourself or sharing it with friends.
Everyday Ribbed Beanie Free Crochet Pattern
Materials
- Yarn: ~90g Apollo Print, 100% acrylic, anti-pilling, DK or worsted weight (self-striping, multicolored recommended)
- Hook: 5.5mm (US I-9)
- Notions: Scissors, yarn needle, stitch marker (optional)
Key Abbreviations (US Crochet Terms)
- ch: chain
- sc: single crochet
- hdc: half double crochet
- blsc: back loop single crochet
- blhdc: back loop half double crochet
- sl st: slip stitch
- st(s): stitch(es)
- rep: repeat
Special Notes
- Fit: The foundation chain forms the HEIGHT of the beanie (from crown to brim). Adjust chain count for taller or shorter hats.
- Width: Number of rows determines the circumference. Adjust for larger/smaller sizes.
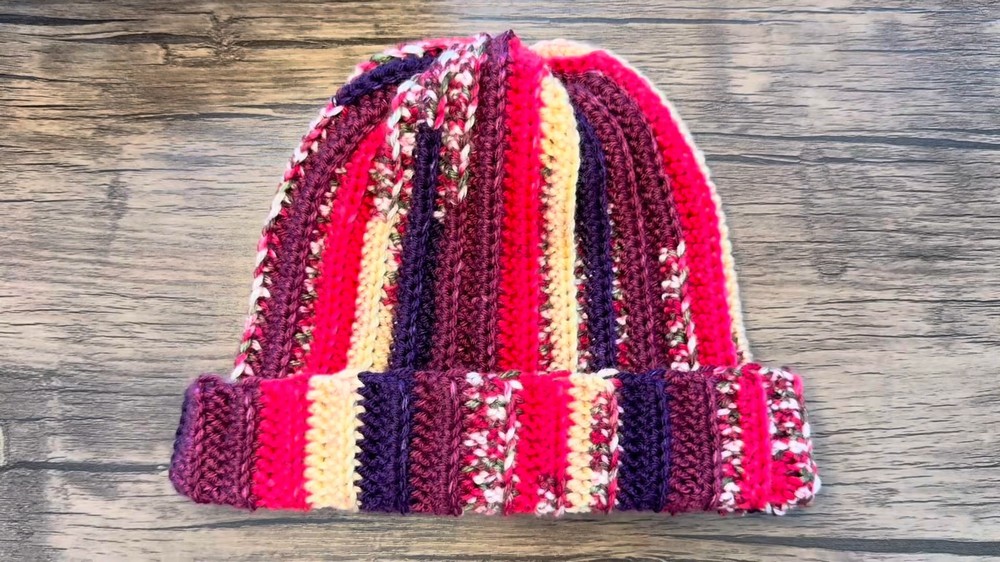
- Brim: Last 5 stitches of each row are worked in single crochet for a structured brim.
- Seam: Hat is seamed with slip stitch, then cinched and sewn closed at the crown.
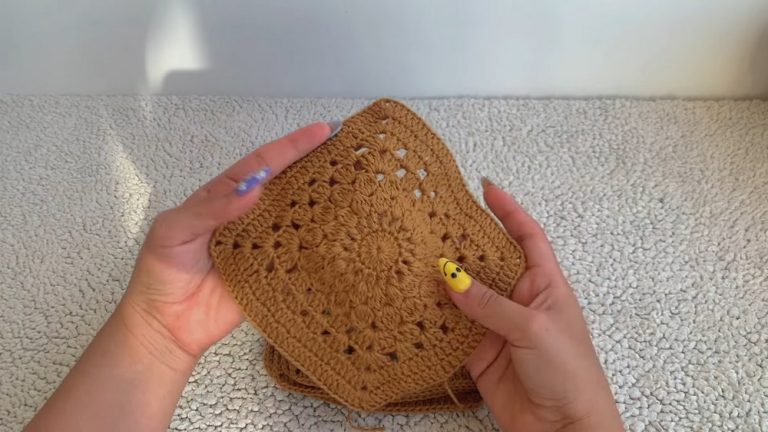
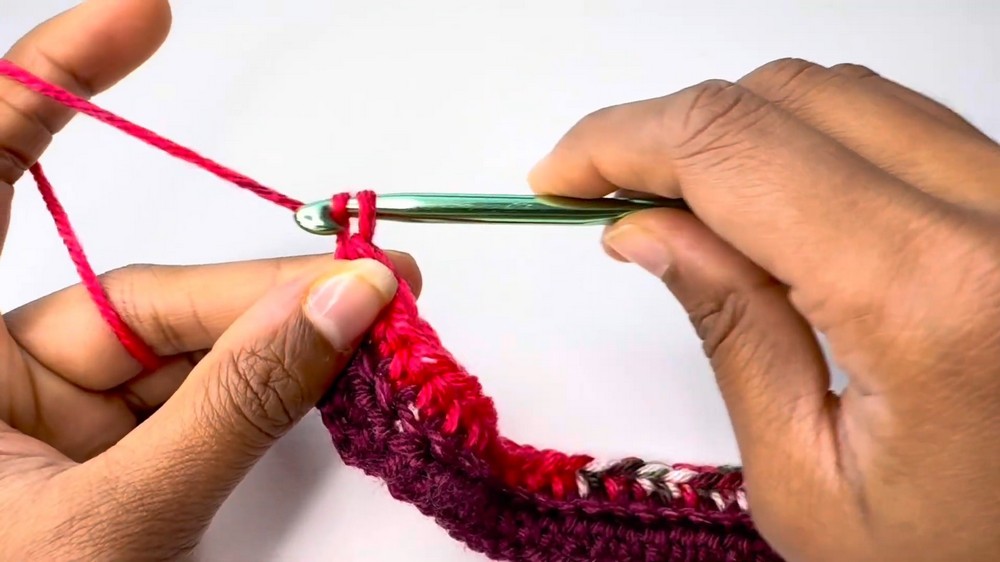
- Ribbing: All stitches are worked in the back loop only for a ribbed effect.
Pattern
Foundation Chain
- Create a slip knot and ch 51.
- The chain should measure from the crown to the brim edge; add chains for a wider brim if desired.
Row 1
- Starting in 2nd ch from hook:
- Hdc in each ch across until 5 ch remain.

- Sc in last 5 ch.
- (Mark the final hdc with a stitch marker if desired, to help identify the transition to sc stitches.)
- Hdc in each ch across until 5 ch remain.
Row 2
- Ch 1, turn.
- Back loop sc in first 5 st.
- Back loop hdc in each remaining st to end of row.
- Place stitch marker in last blhdc for easier tracking.
- Place stitch marker in last blhdc for easier tracking.
Pattern Rows (Ribbing)
- Odd Rows (3, 5, 7, …):
- Ch 1, turn.
- Blhdc in each st across to last 5 st.
- Blsc in last 5 st.
- Even Rows (4, 6, 8, …):
- Ch 1, turn.
- Blsc in first 5 st.
- Blhdc in remaining st to end of row.
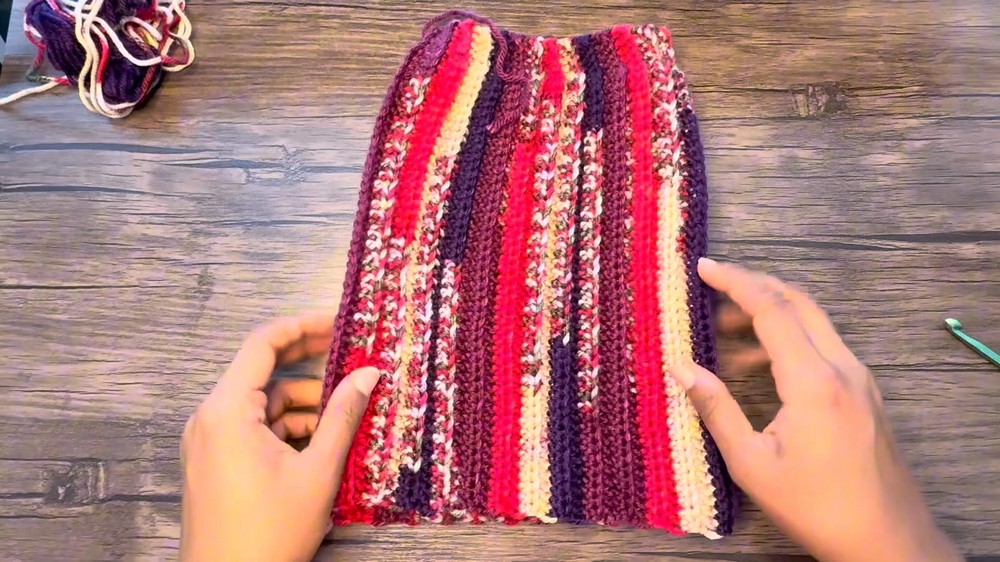
- Continue alternating rows as above until you have 54 rows (for adult small, approx. 36cm width).
- For larger or smaller sizes, add/subtract rows to reach desired circumference.
- For larger or smaller sizes, add/subtract rows to reach desired circumference.
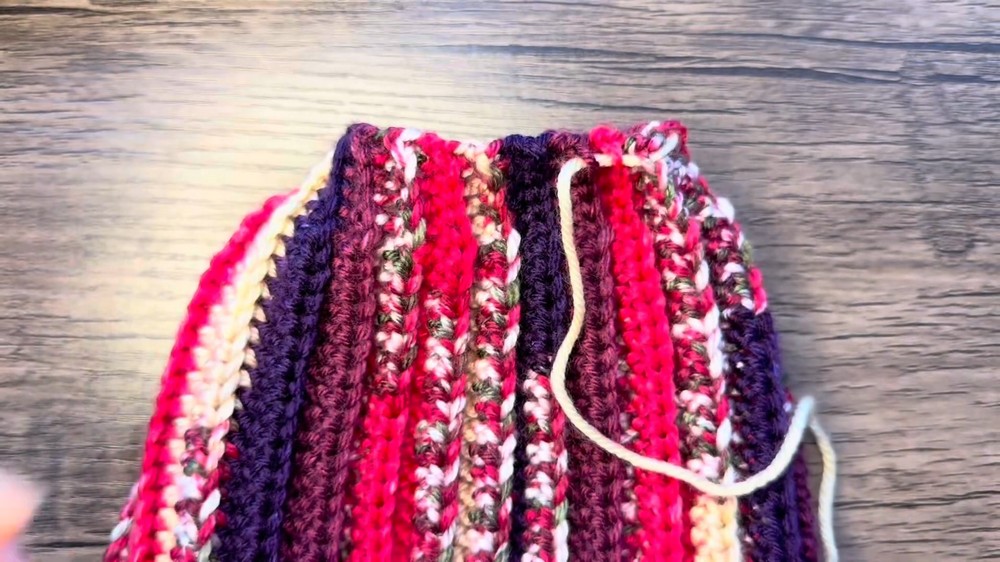
Seam the Hat
- Do NOT fasten off. Fold your work in half lengthwise, bringing short edges together.
- Ch 1, align edges.
- Seam using slip stitch:
- Insert hook into the front loop of the edge closest to you and (on the other piece) the corresponding loop, yarn over, pull through both layers and the loop on hook.
- Continue slip stitching across to join edges.
- Fasten off, leaving a long tail for sewing the crown.
Cinch the Crown
- Thread yarn needle with tail.
- Weave yarn through the “peaks” of each ridge at the top edge of the hat.
- Do not tighten immediately; weave through half the peaks, then gently cinch.
- Continue weaving and cinching until crown is closed.
- Tie secure knot with both yarn tails; repeat weaving as needed to fully close any remaining hole.
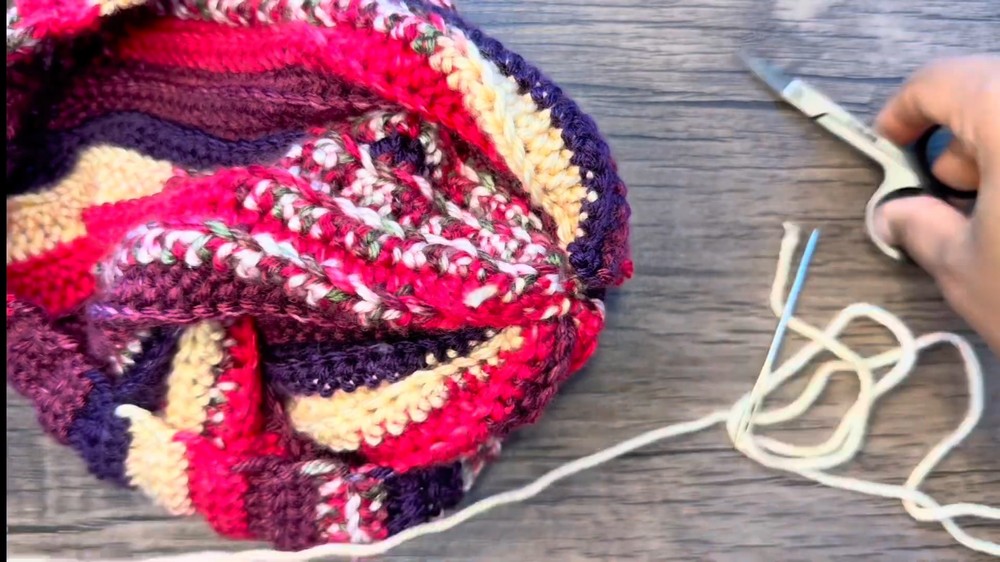
Finishing
- Weave in all loose ends with yarn needle, working from the inside of the hat.
- Trim excess yarn.
Conclusion
This beanie features ribbing throughout, a structured brim, and a comfortably cinched crown. The pattern is adjustable by simply adding/subtracting rows or chain length. The back loop technique creates a stretchy, classic, everyday fit.
Pattern Corrections & Tips
- Customization: For bigger sizes, add rows for width (circumference), or add chain stitches for height (slouchier fit).
- Brim: Increase the number of single crochet stitches at edge for a wider or snugger brim.
- Back loop technique: Always insert hook in back loop only unless otherwise specified, to ensure ribbed look.
- Seaming: Slip stitch seam creates an almost invisible join—make sure to work evenly into the edges for best finish.
- Crown closure: If you see a hole after cinching, weave the tail through peaks again and gently pull closed.