Free Crochet Oversized Cardigan Pattern with Soft Draped
Wrap up in comfort with this free crochet oversized cardigan pattern that offers warmth adds relaxed style and suits layering in any season.
A loose and cozy layer can make every moment feel more relaxed and comforting.
The Crochet Oversized Cardigan pattern creates a wide and flowing design that wraps the body in softness and warmth. It has a relaxed shape that drapes beautifully and gives a stylish yet effortless look. This cardigan feels light on the shoulders while still keeping you warm which makes it perfect for home wear travel outings or casual days outside. Its oversized fit allows easy movement and adds a modern fashionable touch to any outfit.
Trendy Oversized Cardigan with This Free Crochet Guide
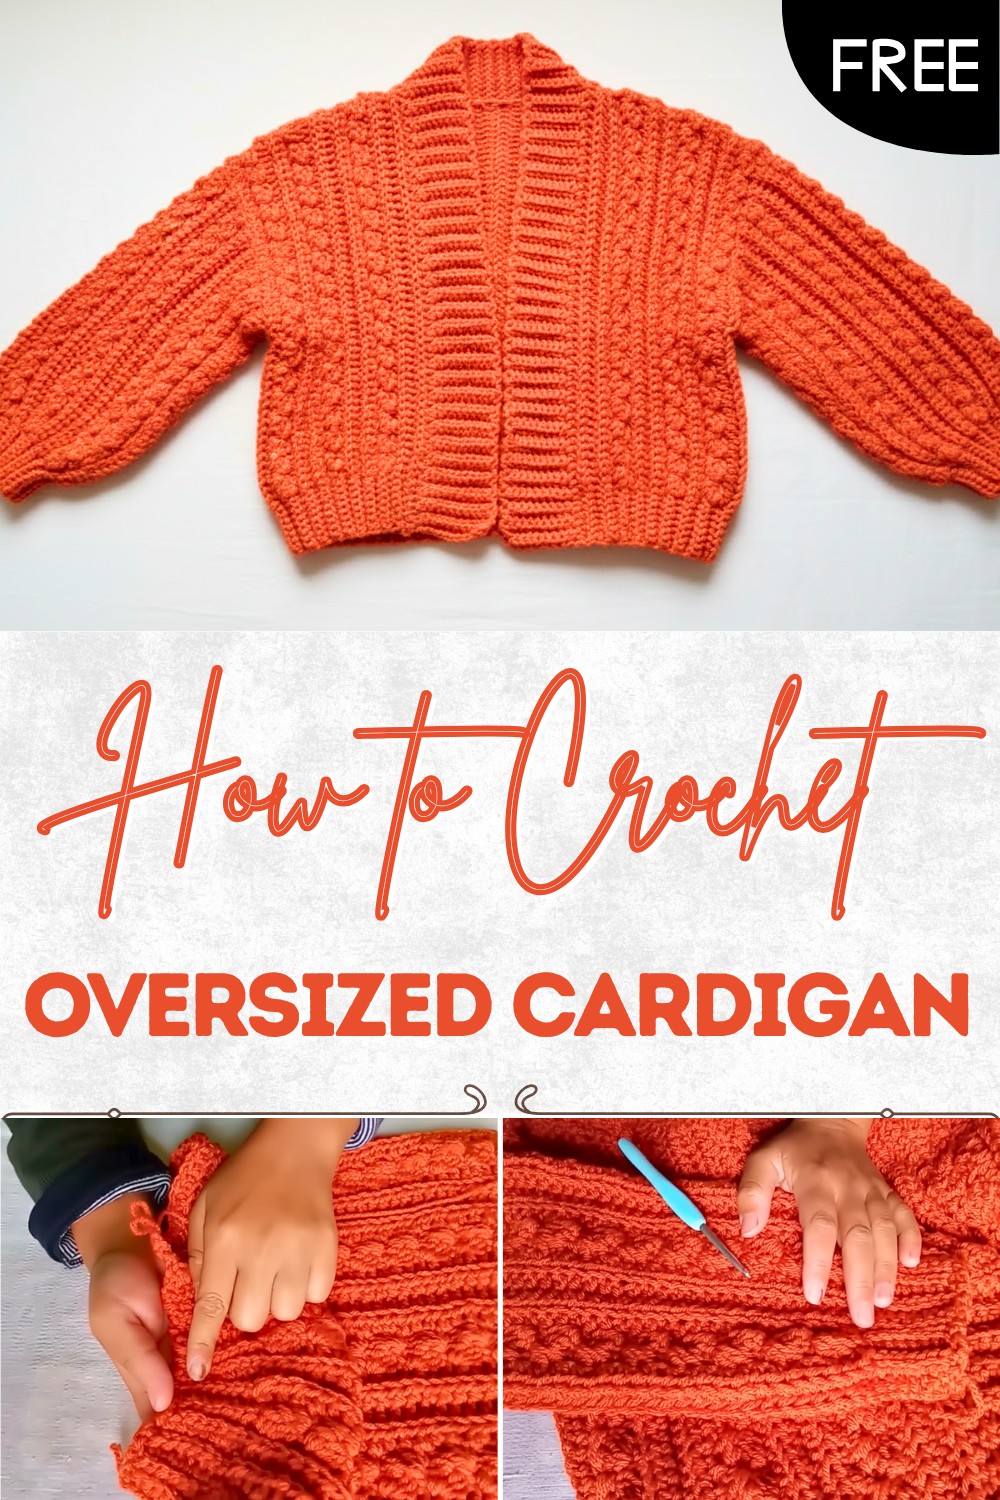
Its beginner friendly structure which helps new makers enjoy the process step by step without stress. The strong stitches help it stay in shape and last for a long time. You can choose soft calm colors or bold shades depending on your style and mood. It also makes a thoughtful handmade gift that carries love and care in every stitch. Crochet Oversized Cardigan pattern turns simple yarn into a beautiful wearable piece that brings comfort style and warmth to everyday life in a gentle and easy way.
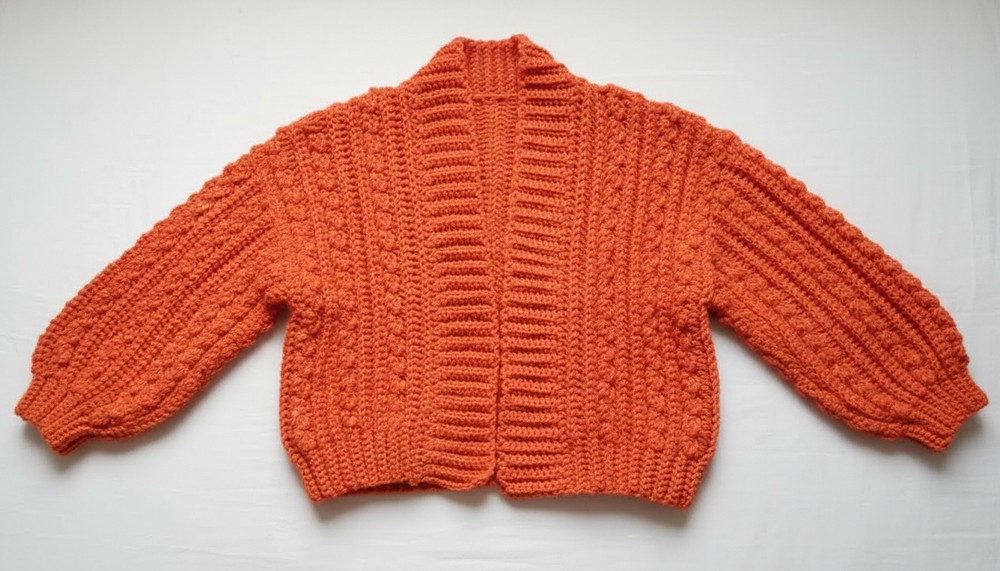
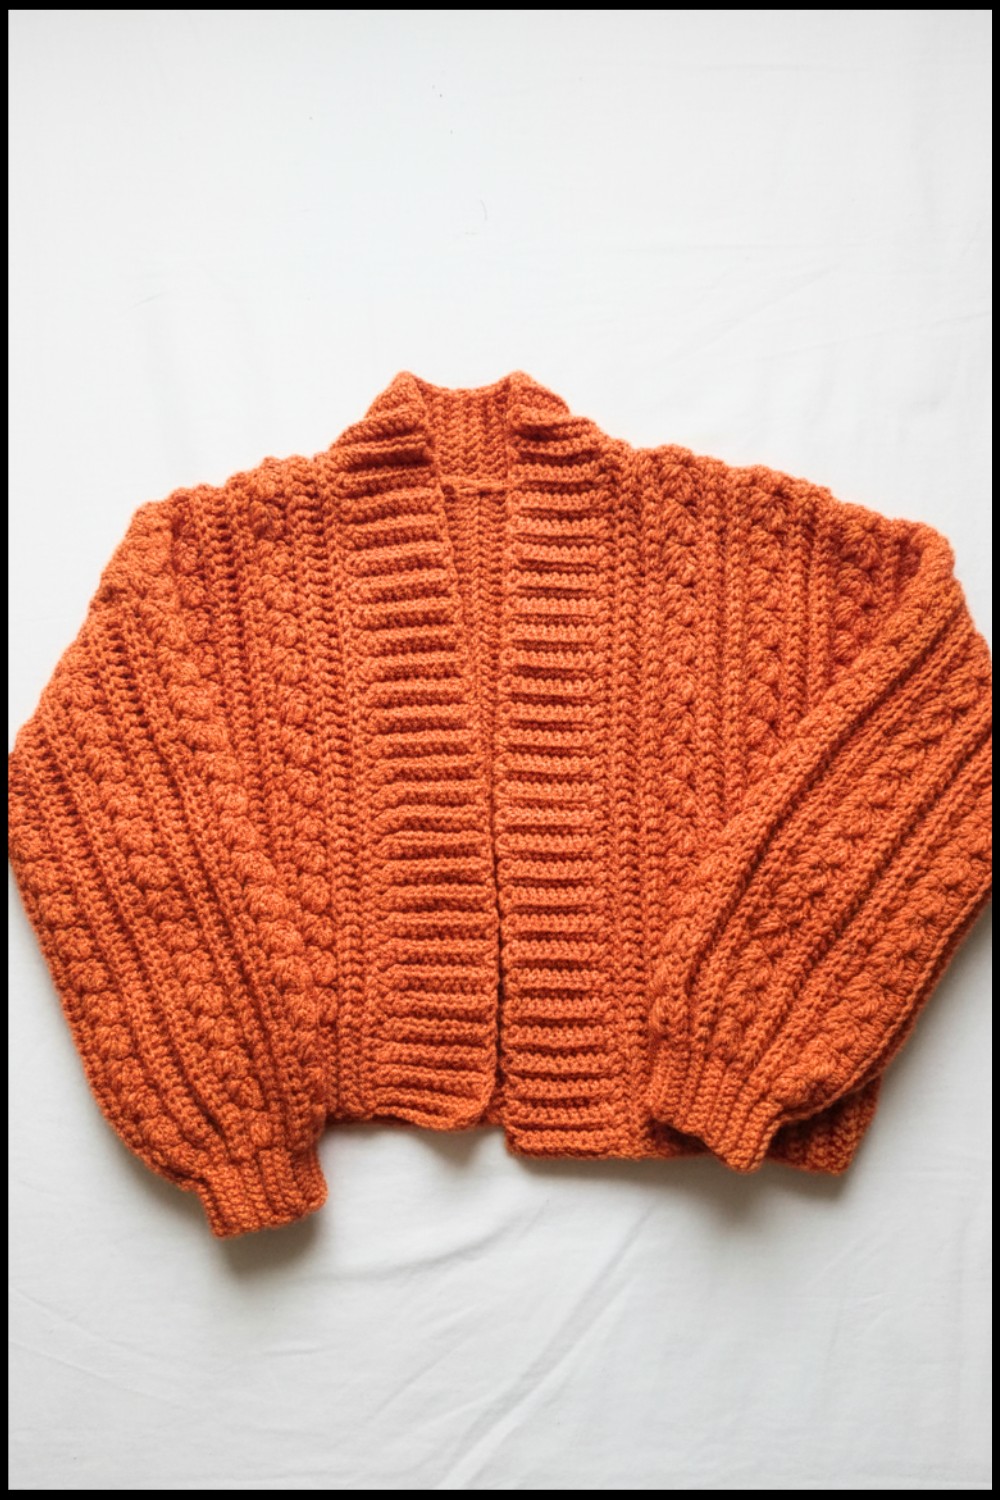
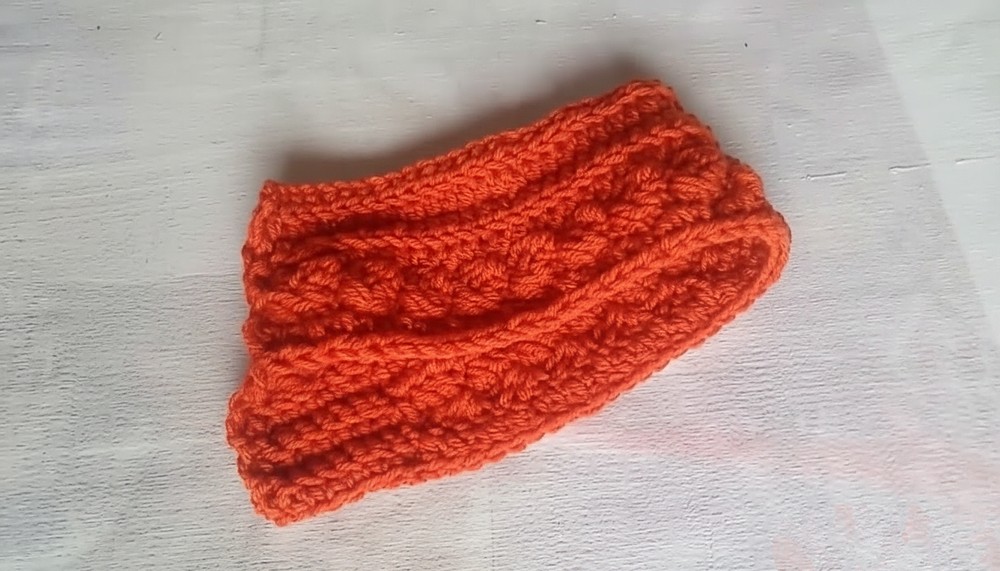
Crop Cardigan with Textured Shell Panel
Materials
- Yarn: Worsted weight (#4) yarn (amount varies by size and whether you want a crop or long cardigan)
- Hook: 4.5 mm crochet hook
- Notions:
- Stitch markers
- Yarn needle
- Scissors
- Tape measure
Key Abbreviations
| Abbreviation | Description |
|---|---|
| ch | chain |
| sc | single crochet |
| hdc | half double crochet |
| dc | double crochet |
| sl st | slip stitch |
| st(s) | stitch(es) |
| BLO | back loop only |
| rep | repeat |
| RS/WS | right/wrong side |
Special Notes
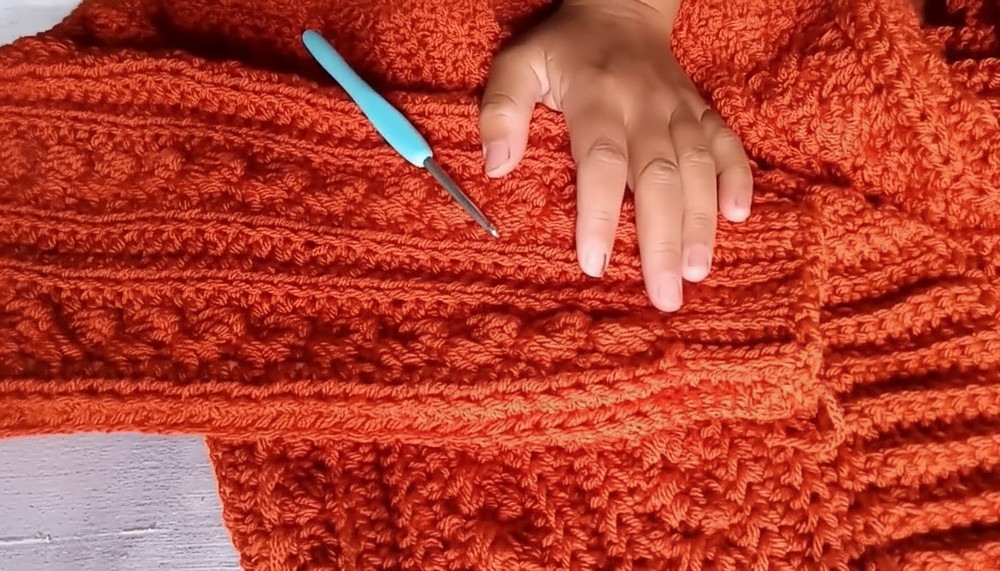
- The pattern is worked in one large panel, minimizing seams.
- Sizing is adjustable throughout—measure as you go, especially panel length, width, and sleeves.
- All turning chains (ch-1 for sc, ch-2 for hdc) do not count as stitches.
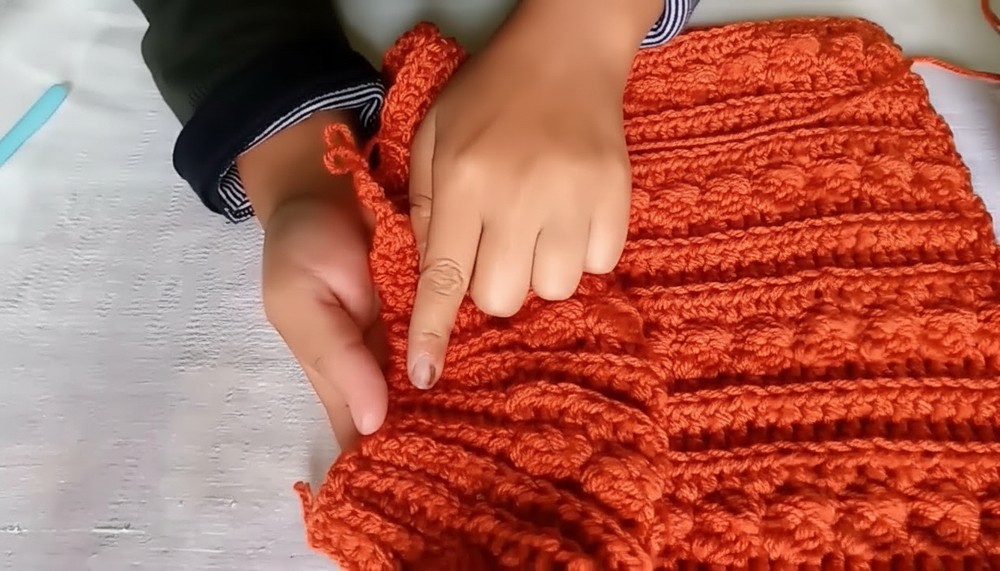
- The “shell” is worked as (sc, 2 dc) in the same space.
- Consistently work “back loop only” (BLO) where indicated for texture.
- Foundation stitches can be increased for larger sizes.
Pattern Instructions
Main Body Panel
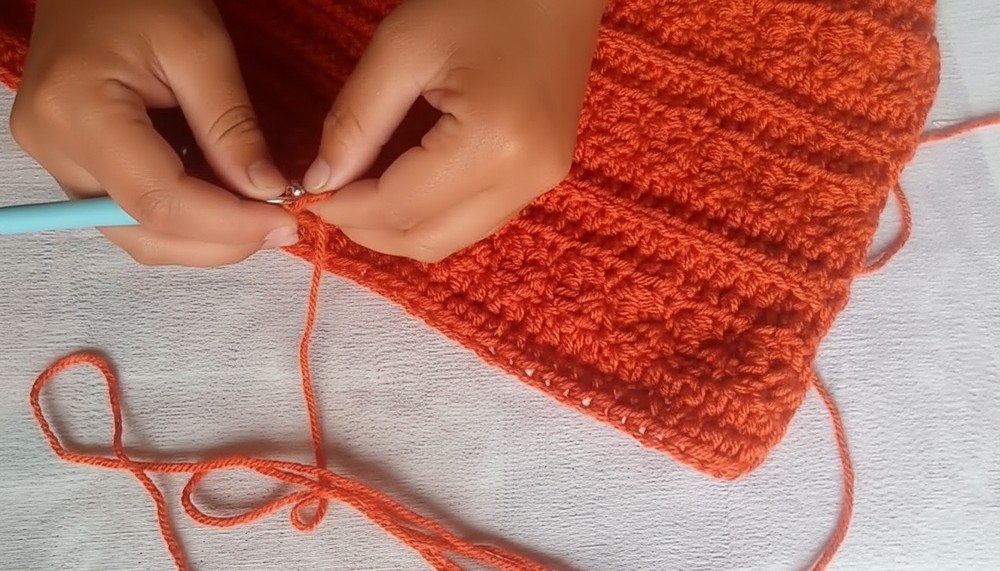
1. Foundation Row (Bottom Edge)
- Make a slip knot.
- Ch 2.
- Row 1: In the second ch from hook, sc. Continue working 8 sc across using chainless foundation single crochets (or regular chains + scs), or to your preferred width (add more scs for a wider band; e.g., 8 scs for a small/medium, more for larger).
- At end of row, continue with hdc: After last sc, simply yarn over and hdc in next stitch, then continue making hdc to the desired length from the bottom edge to the shoulder (this will be the height of your cardigan: crop or long).
- Mark the last sc made (this sets the transition from sc border to hdc section).
2. First Section of Rows
- Work in Rows:
- Row 2: Turn, ch 1 (does not count as a stitch). Sc in each sc, then hdc in each hdc across the row, working hdc sts as a multiple of 3 + 1 for the shell pattern.
- Continue until you reach the desired total length to shoulder.
Important
- Always keep the number of bottom edge sc stitches consistent from row to row.
- Count hdc stitches in the main section as a multiple of 3 + 1 (for example, 19 hdc is multiple of 3 + 1), plus your consistent sc border.
3. Establish Pattern Repeat
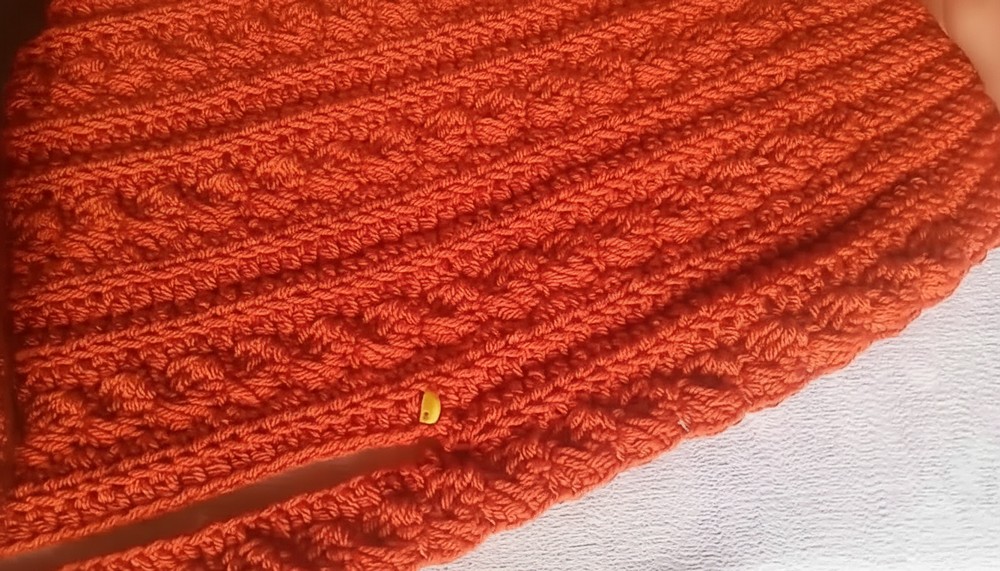
For the Textured Panel
4 Rounds of HDC, then Shell Stitch:
Alternating Texture Pattern:
- Work 4 rows of hdc BLO:
- Begin with ch 1, sc BLO across bottom border, hdc BLO in each hdc across.
- Continue for a total of 4 rows.
- Shell Row (Pattern Row):
- Begin with ch 1, sc BLO in each bottom border sc.
- [Shell stitch: in first hdc, work (sc, 2 dc) in same st, sk 2 sts, rep across.]
- End with single sc if remaining hdc at end.
Rep shell row, then 2 rows of shell:
- Work two rows incorporating the shell as above.
- On each shell row, adjust so the shells are staggered (offset from previous).
4. Repeat for Three Panels (for Body)
- Repeat Sequence:
- Continue repeating the 4 rows hdc BLO, then two rows of shell pattern.
- Make 3 sets of shell pattern for the front part (this is for the left front, back, and right front in one long panel).
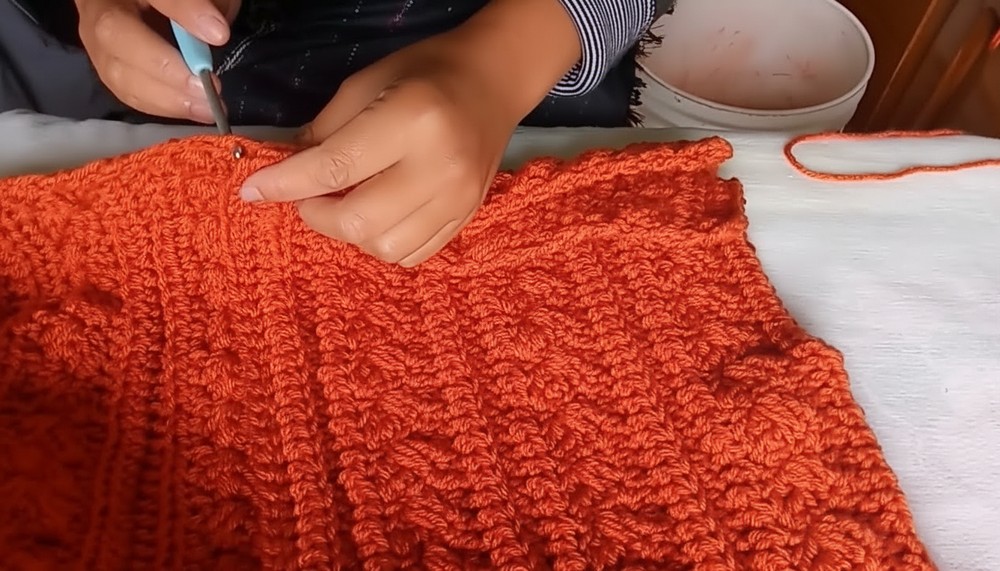
5. Divide for Sleeves and Back
After 3 shell pattern repeats:
- Instead of 4 rows hdc, work only 2 rows of hdc after the final repeat.
- Mark the sleeve opening:
- Measure and place stitch markers for the width of your armhole (approx. 19 cm or as desired; count how many stitches across this measurement).
- Chain the number of stitches needed for sleeve opening (e.g., 26 ch for 24 hdc, plus 2 for turning).
- Skip the stitches for underarm, continue working hdc into the main panel for the back.
6. Back Panel (Center Body)
- Continue in pattern:
- 8 rows of shell pattern with 4 hdc rows between each, until desired back width.
7. Second Front/Sleeve Opening
- After completing the back section, mirror the sleeve opening:
- Create the chain for the second underarm, skip needed number of stitches, then continue the rows for the other front.
8. Finish Body Panel
- Continue in pattern for the front section, matching the initial three shell repeats.
- End with consistent sc and hdc section as at the start.
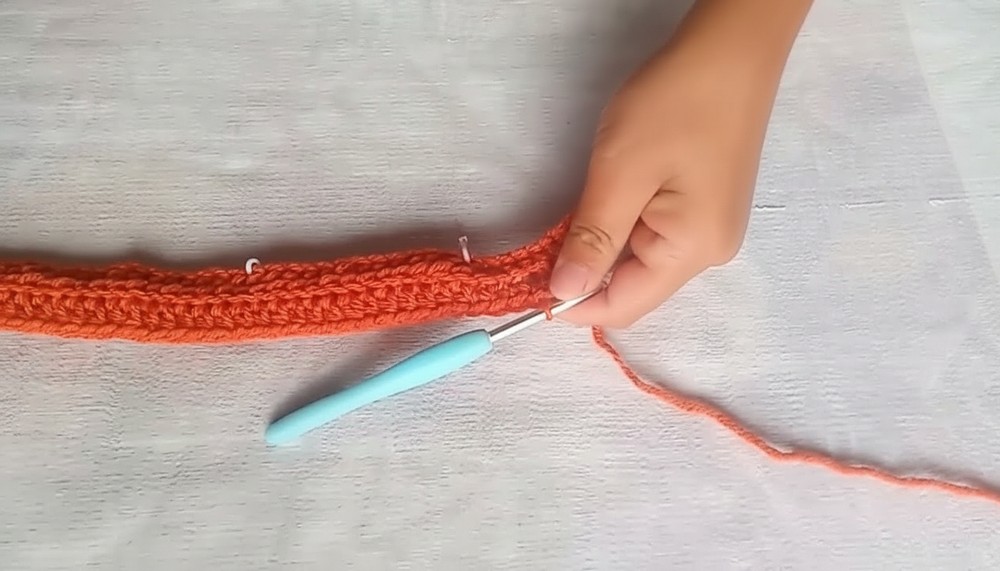
9. Seam Sides
- Fold your work with RS together.
- With yarn and hook, single crochet seam up the sides through both thicknesses for side seams (matching rows and shell patterns).
- Weave in ends.
10. Ribbed Button Band
- With RS facing and new yarn, join at the lower edge of the front opening.
- Ch 11 for ribbing (or longer/shorter for desired band width).
- Row 1: sc in second ch from hook and in each ch across (10 sc).
- Starting band attachment:
- Sl st to the edge of body, turn.
- Ch 1, sc BLO in next 10 sc, turn.
- Rep:
- Continue attaching the rib as you go: sl st to next st along body edge, ch 1, sc BLO across band, turn.
- Work up one side, across neck, and down other side.
11. Sleeves
- Start with foundation chain:
- Ch 2, then work 8 sc (just as for the body’s bottom border).
- Continue with the same stitch counts as for body: 46 hdc per repeat for the width.
- Pattern:
- Work 15 repeats or as needed for the length.
- Use 3 + 1 multiple for hdc count for shell pattern.
- End with 2 rounds of sl st BLO for the cuff.
- Cuff:
- 1 round sc BLO, then 2 rounds sl st BLO.
- Seam sleeve:
- Fold sleeve, sl st seam.
- Do not fasten off; turn sleeve right side out.
12. Attach Sleeves
- Insert sleeve into armhole (with WS of both body and sleeve together).
- Using yarn and hook, single crochet around, easing to fit and matching underarm seams.
- Weave in ends.
13. Finishing
- Use a yarn needle to weave in all ends neatly.
- Block if needed.
- Sew on buttons as desired.
Conclusion
This textured crop cardigan is constructed in one large, seamless panel with shell and rib effects for both elegance and comfort. The adaptable design allows for customizing sizing, length, and sleeve style. The textured patterns and ribbed borders enhance both appearance and fit, yielding a garment suitable for all seasons.
Pattern Correction
- All turning chains (ch 1 for sc, ch 2 for hdc) do NOT count as stitches throughout.
- Maintain stitch count consistency for the single crochet edge and hdc shell sections.
Tips
- Adjust size by altering the foundation single crochet and hdc counts, as well as shell pattern repeats.
- Use stitch markers for sleeve and body section transitions to stay organized.
- Maintain even tension, especially when working BLO and sl st rounds for consistent ribbing and texture.
- Test fit at each major step to ensure your cardigan will achieve the desired fit.