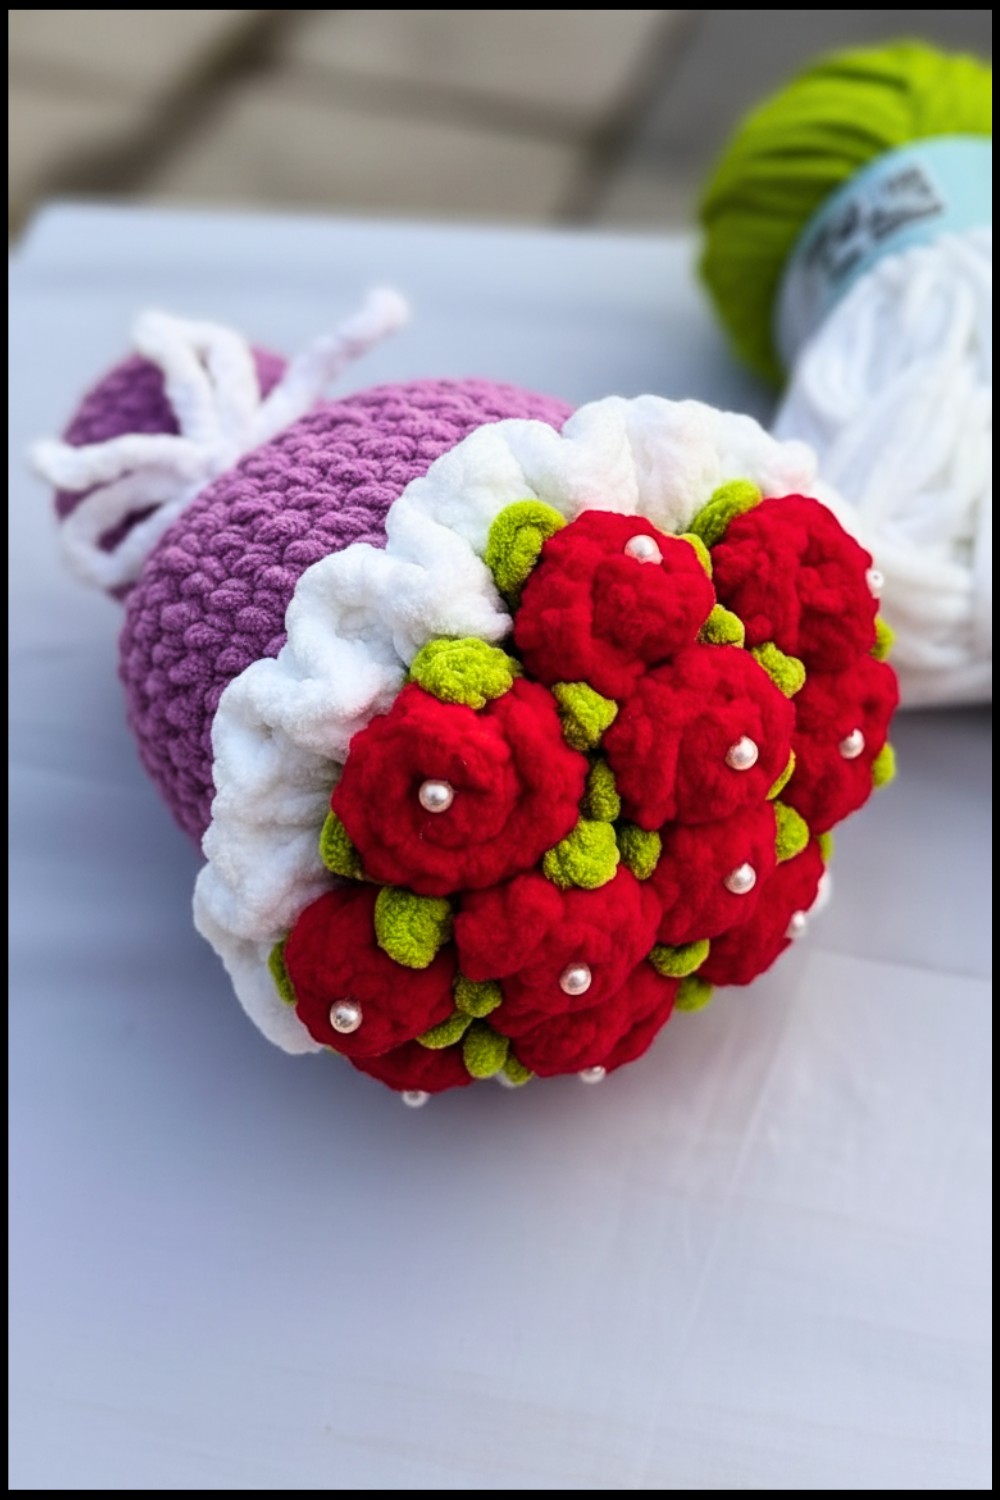
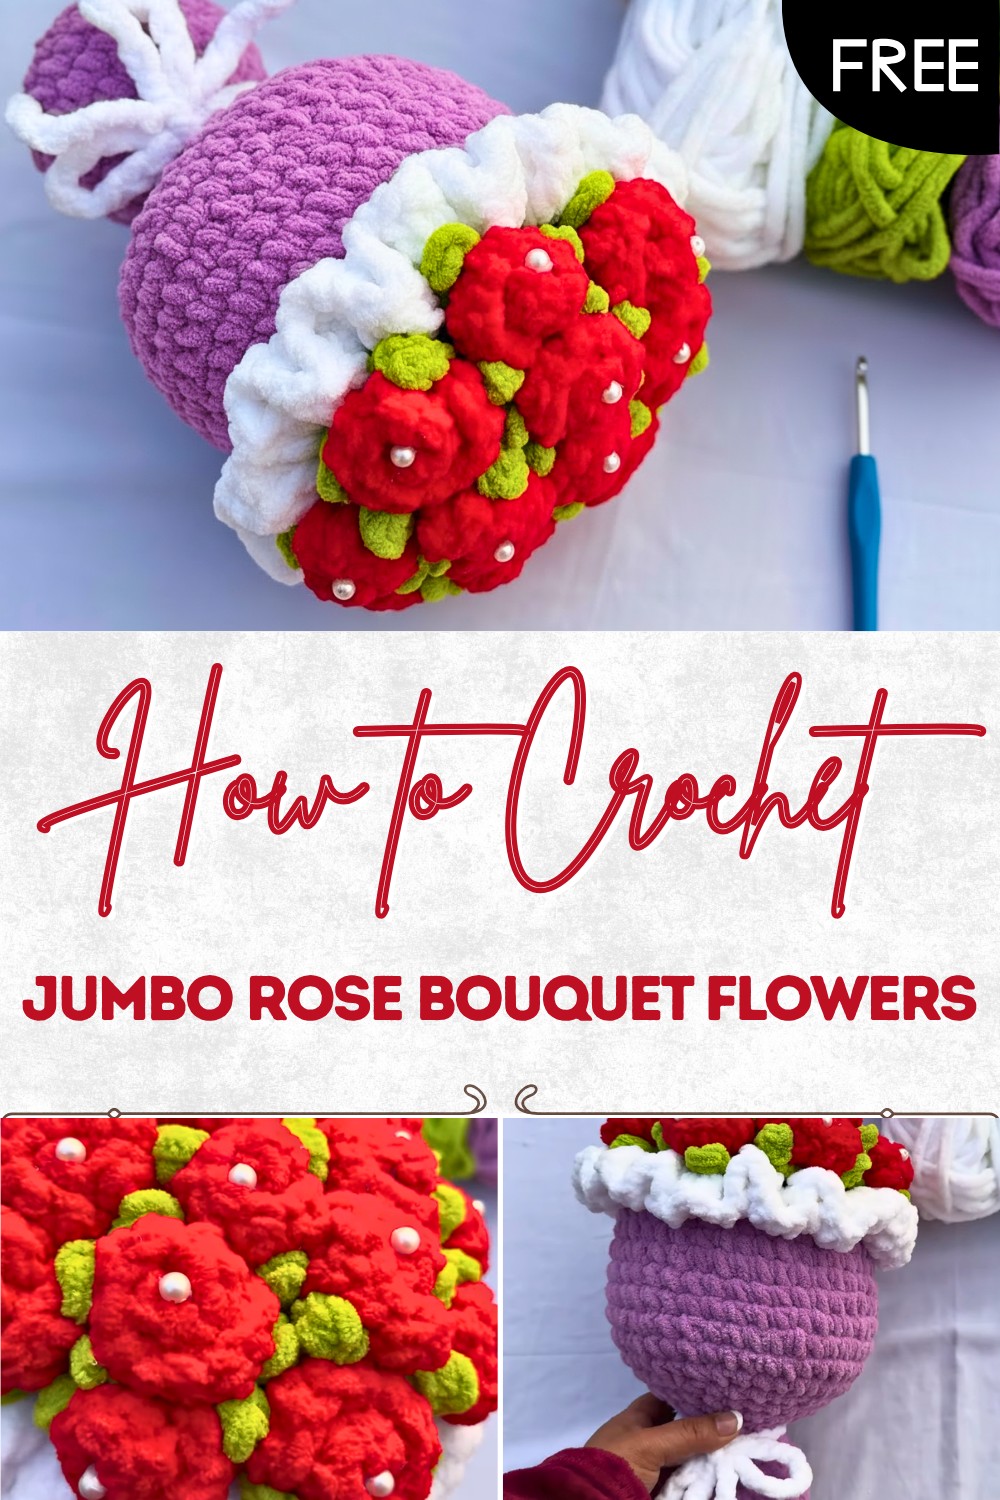
Jumbo Crochet Rose Bouquet: Soft Blanket Yarn Guide
Beautify every floral display with this free crochet jumbo rose bouquet pattern, it offers lasting elegance and charm while giving gift joy.
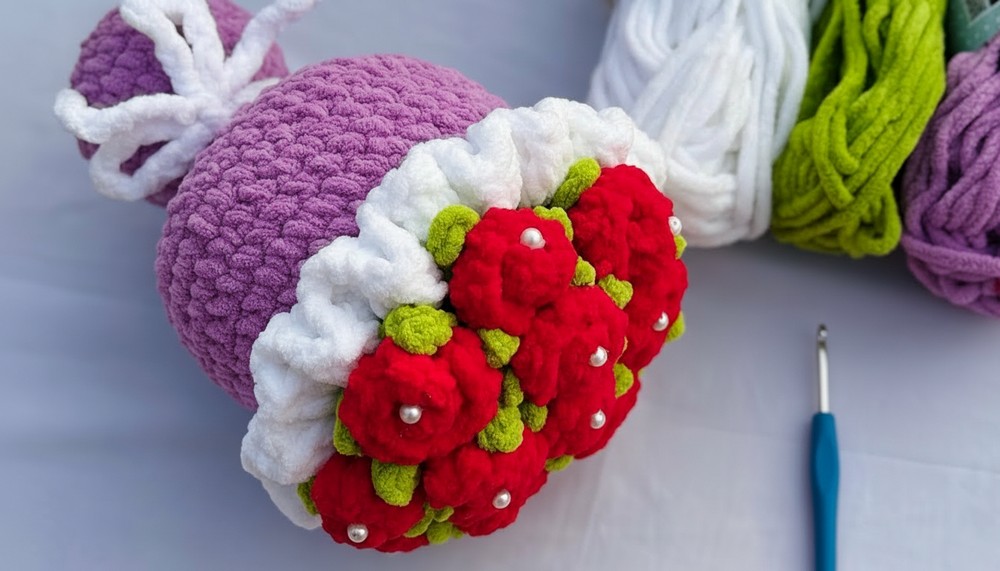
Large petals curve outward in a wide circle to create a stunning bloom that sits proudly on a shelf to make any room look grand. This massive blossom mimics the shape of a real plant found in a lush field but it stays fresh and bright for a very long time. A crochet jumbo rose bouquet pattern provides a way to build a sturdy treasure that never fades or loses its lovely charm. It serves as a perfect gift for a dear friend or a beautiful decoration for a celebratory table during a big meal.
Stylish Crochet Rose Bouquet Pattern: Elegant Centerpiece Idea
The round and full shape makes the air feel happy and full of peace like a secret garden that never sleeps. This unique item is helpful because it adds a touch of class without needing any care or extra work. A strong base keeps the heavy top standing high so that everyone who walks by can see its grace. This single piece turns a simple corner into a place of wonder and joy. It remains tough and keeps your home looking very elegant.
Beginner-Friendly Crochet Flower Bouquet (with Rose & Leaf) Pattern
Materials
- Yarn: Light to medium weight acrylic or cotton yarn in green (leaf), red (rose), and color(s) of choice (for the base/flower and wrapping/bouquet)
- Hook: 4.0 mm crochet hook (or size compatible with your yarn)
- Fiberfill: For stuffing (optional, for 3D puffy effect)
- Notions:
- Yarn needle (tapestry needle)
- Stitch markers
- Scissors
- Hot glue gun and glue sticks
- Embellishments/beads (for bouquet center, optional)
Key Abbreviations
| Abbreviation | Description |
|---|---|
| ch | chain |
| sc | single crochet |
| inc | increase (2 sc in one st) |
| dec | decrease (sc2tog) |
| sl st | slip stitch |
| st(s) | stitch(es) |
| dc | double crochet |
| MR | magic ring |
Special Notes
- All stitches use US crochet terminology.
- Bouquet/base is crocheted in the round, increased outwards, then decreased to close.
- The flower (rose) is made separately and sewn or glued to the base.
- The leaf is worked separately.
- Adjust number of increase/decrease rounds for bigger or smaller bouquet.
- Hot glue is recommended for assembly, but you may sew parts as needed.
Pattern
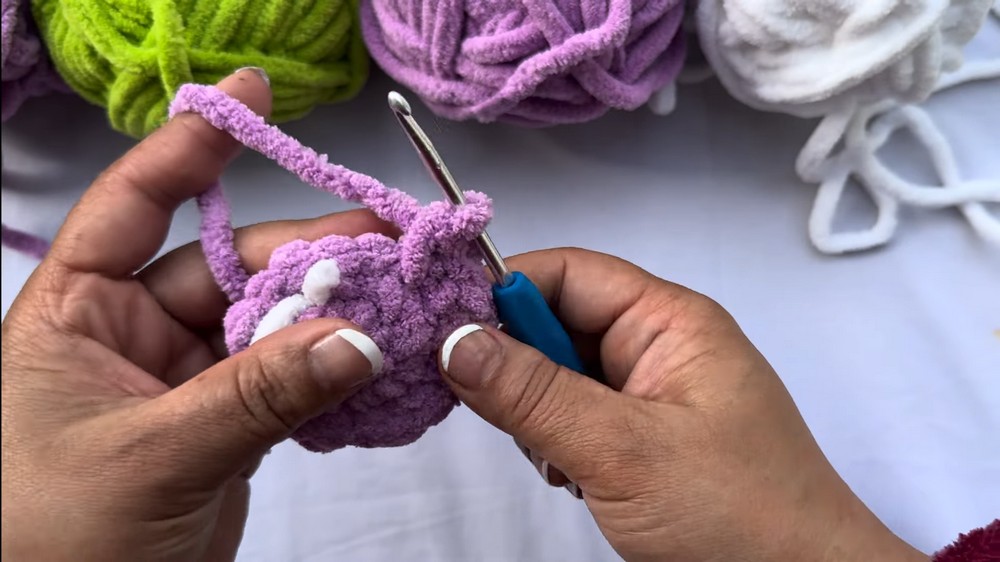
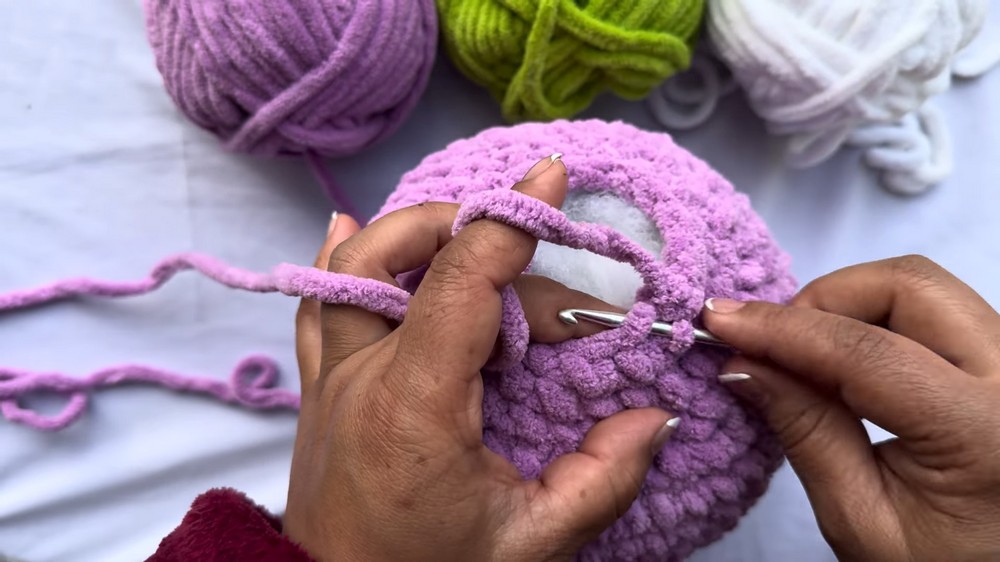
1. Base/Bouquet Shape
Start with primary color (e.g. off-white, yellow, pink):
Base
- Magic Ring:
- Make a magic ring (MR).
- Round 1: Work 6 sc in MR. Pull ring tight. (6 sts)
- Place a stitch marker at the start of each round.
- Round 2:
- 2 sc in each st around. (12 sts)
- Round 3:
- [1 sc in next st, 2 sc in next st] repeat around. (18 sts)
- [1 sc in next st, 2 sc in next st] repeat around. (18 sts)
- Round 4:
- [1 sc in next 2 sts, 2 sc in next st] repeat around. (24 sts)
- Round 5:
- [1 sc in next 3 sts, 2 sc in next st] repeat around. (30 sts)
- [1 sc in next 3 sts, 2 sc in next st] repeat around. (30 sts)
- Round 6:
- [1 sc in next 4 sts, 2 sc in next st] repeat around. (36 sts)
- Round 7:
- [1 sc in next 5 sts, 2 sc in next st] repeat around. (42 sts)
- Note: Continue to increase each round for a wider base by simply adding 1 more sc between increases (e.g., next round would be [1 sc in next 6 sts, 2 sc in next st], etc.)
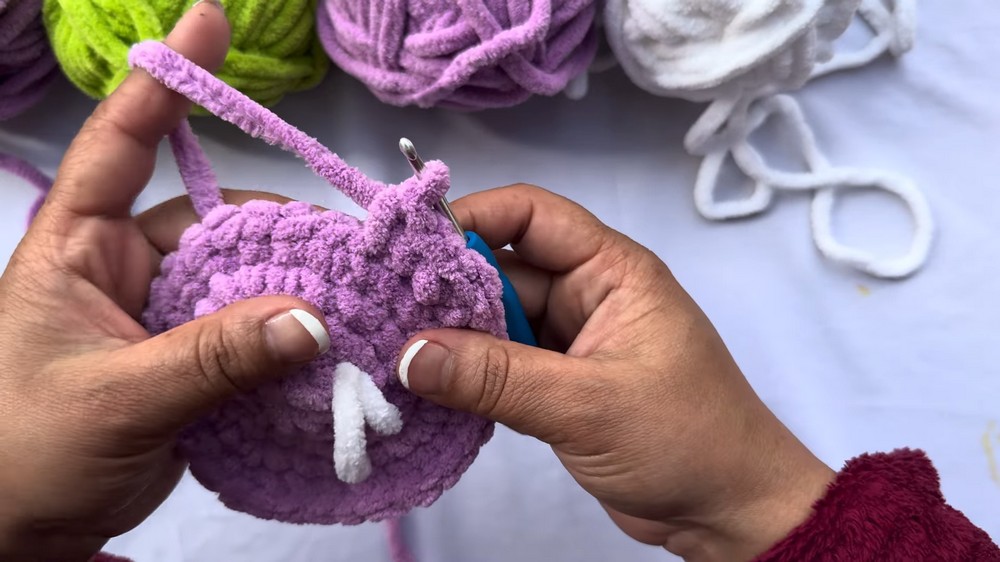
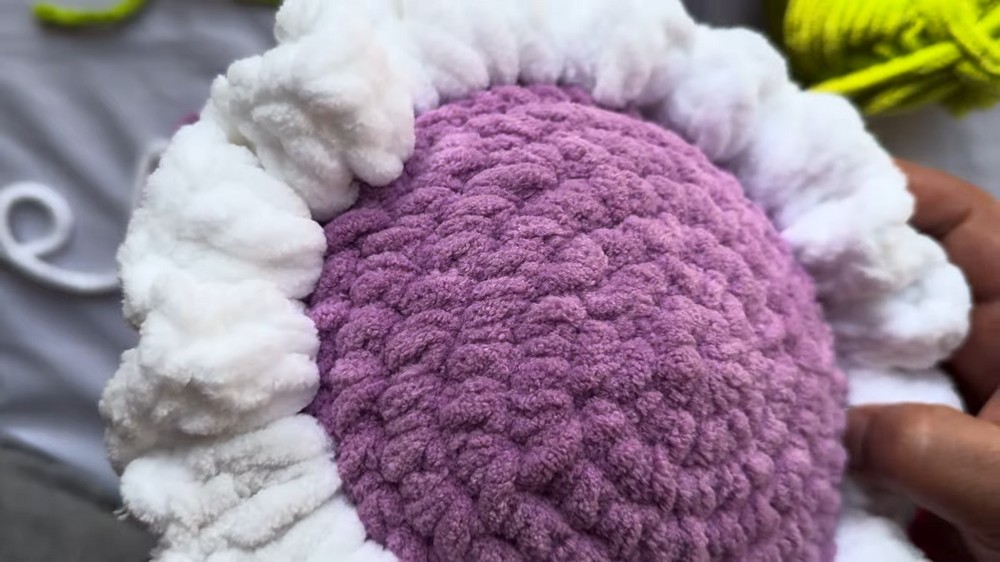
- Body Height:
- Work 1 sc in each st around for about 8 rounds without increasing (to create bouquet height).
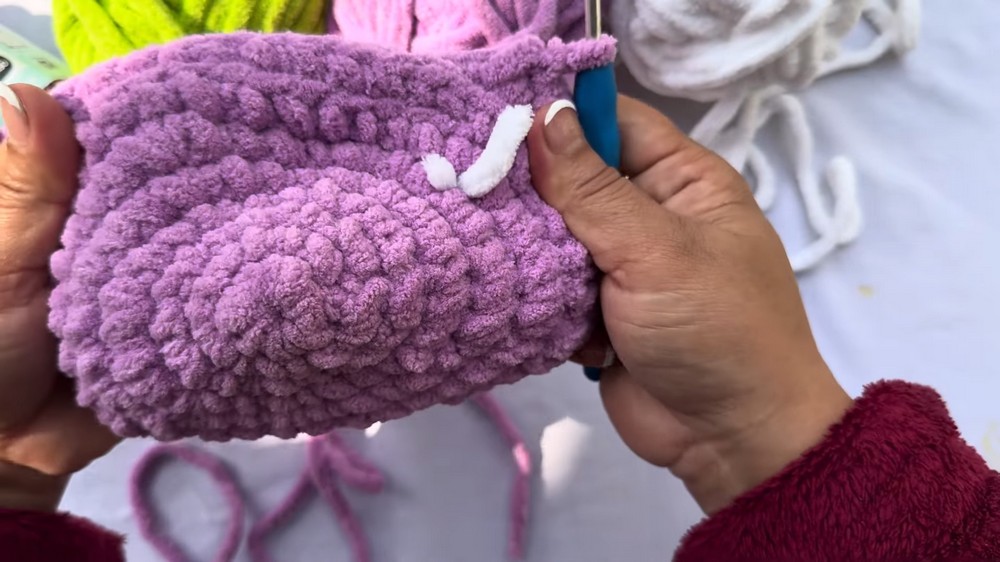
- Decreasing to Shape:
- [Sc2tog over next 5 sts, 1 sc in next 1 st] repeat around to decrease, as follows:
- First Dec Round:
- [Sc in each of next 5 sts, sc2tog] repeat around.
- [Sc in each of next 5 sts, sc2tog] repeat around.
- Next Dec Round:
- [Sc in each of next 4 sts, sc2tog] repeat around.
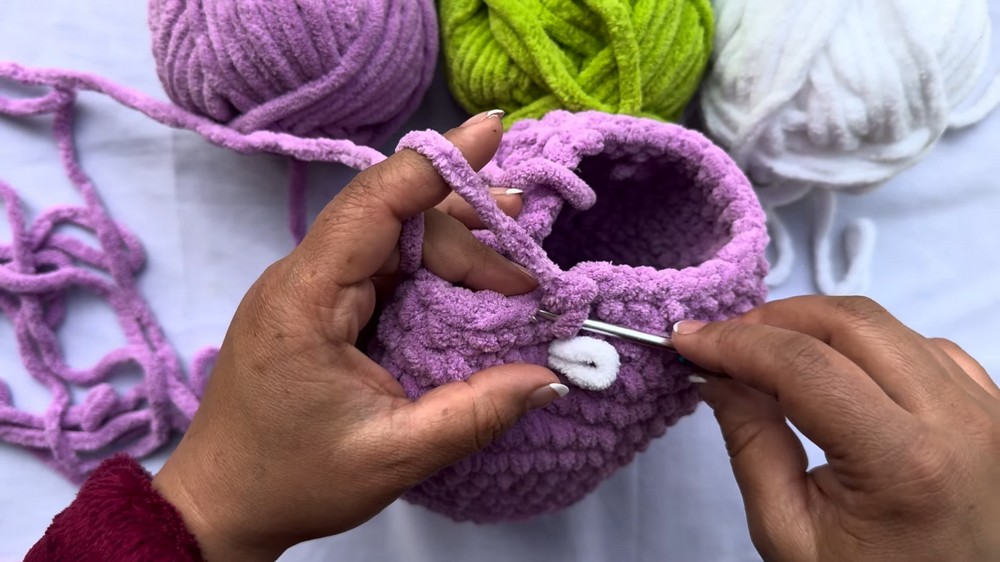
- Continue pattern, decreasing the sc st count between dec by 1 each round (next: 3, 2, 1) until the opening is almost closed.
- Stuff with fiberfill before the opening gets too small!
- Final Closure:
- Sc2tog until closed, sl st to finish.
- Fasten off, weave in end.
2. Crochet Rope/Tie
- Ch 10–15 (for a mini rope/tie).
- Optional: Make a long chain, then fasten off, weave ends, and attach as a ribbon to the bouquet base.
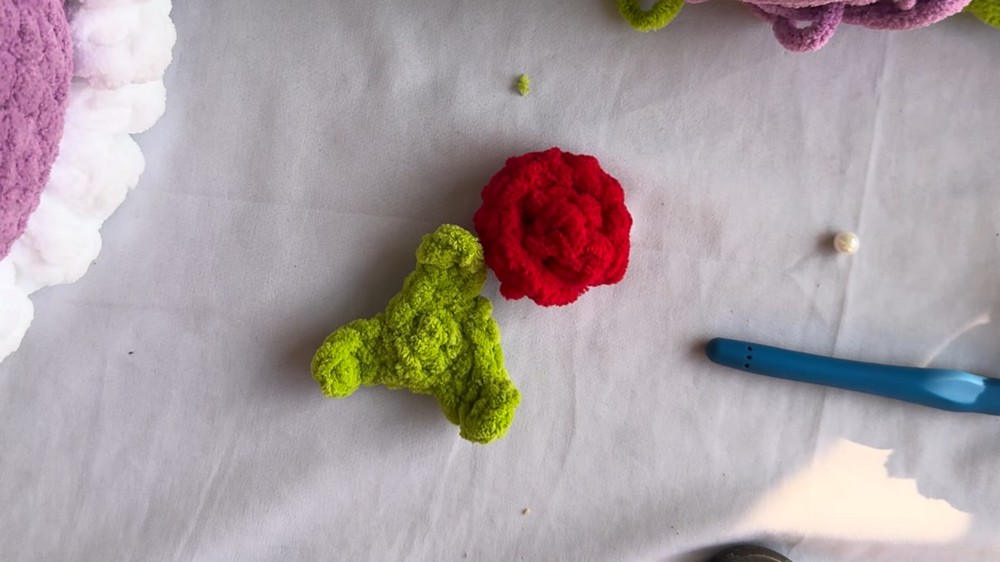
3. Crochet Rose (Flower)
With red or rose color:
- Foundation:
- Ch 10 (adjust for desired rose size).
- Row 1 – Petal Base:
- Dc in 4th ch from hook, 2 more dc in same ch (3 dc in same ch).
- In next ch, 3 dc in same ch, repeat in each chain to end. You should have clusters of 3 dc.
- Fasten off, leaving a long tail for sewing.
- Forming Rose:
- Roll the strip into a spiral shape (like a cinnamon roll), forming a flower.
- Use a yarn needle to sew the base of the rose through the bottom layers to hold shape, or use hot glue to secure.
4. Crochet Leaf
With green yarn:
- Magic Ring:
- Make a magic ring.
- Round 1: 6 sc in ring. Pull tight, sl st to first sc to close.
- Leaf Bottom/Petal:
- Ch 4, sk 1 ch, sc in next 3 ch back towards the ring.
- Sl st into next st on the ring to secure.
- Repeat for More Petals/Leaflets:
- Repeat for 2–3 total leaves (ch 4, sc in next 3, sl st in next on the ring each time).
- Finishing:
- Fasten off, weave in tail, keeping a long strand for sewing/attaching to bouquet.
- Fasten off, weave in tail, keeping a long strand for sewing/attaching to bouquet.
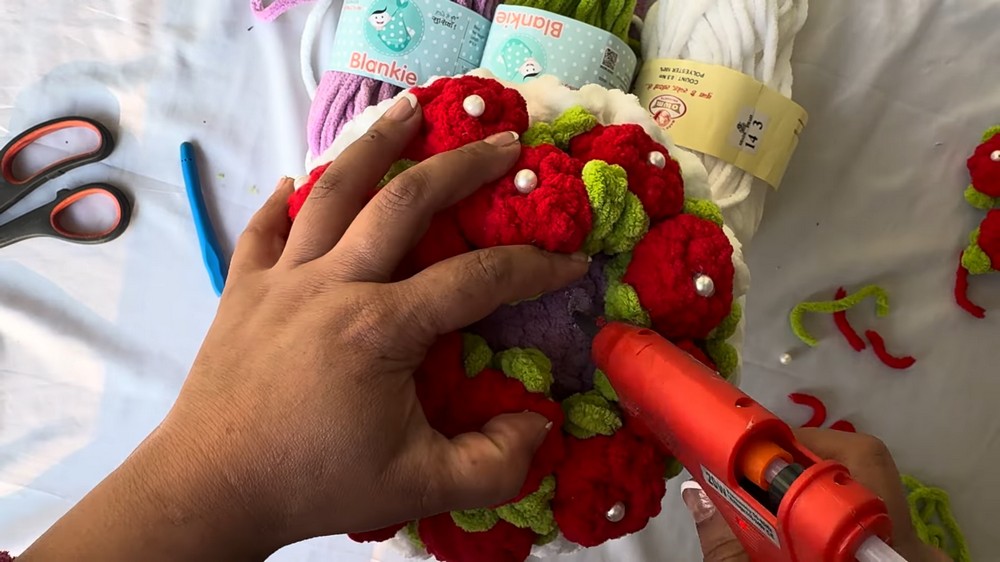
5. Assembly
- Attach Rope:
- Tie your chain rope around base or through bouquet top, knot/bow as desired.
- Attach Rose:
- Sew or hot glue the spiral rose to the top/center of the bouquet base.
- Attach Leaf:
- Sew or glue leaves to the side(s) of the rose.
- Add Center Bud/Bead (Optional):
- Glue on a bead or small embellishment to the center of the rose if desired.
- Adjust Shape:
- Gently shape all petals and leaves for 3D appearance.
- Attach Additional Embellishments:
- Use hot glue to add more beads, pearls, or decorations as desired.
- Use hot glue to add more beads, pearls, or decorations as desired.
Conclusion
This delightful crochet flower bouquet is ideal for beginners, focusing on basic shapes, increasing, and decreasing, plus easy assembly using sewing or hot glue. Personalize your bouquet with yarn colors, extra flowers, or unique embellishments. Perfect for gifts, decorations, or as a beginner’s amigurumi project.
Pattern Correction
- The rose is constructed with clusters of 3 dc in each chain, not in stitches.
- For the base/bouquet, always keep track of your increases and decreases for symmetrical shaping.
- This pattern is flexible: increase or decrease rounds and petal counts for customization.
Tips
- Use stitch markers to keep track of each round’s start for perfect shape.
- Stuff the base gradually; do not overstuff, to avoid distortion.
- Try both sewing and hot glue for assembly—choose what makes you feel confident.
- Practice the rose spiral technique with scrap yarn before assembling.