Free Crochet Bee Applique Pattern | Step By Step Detail

Share a little kindness with this Free Crochet Bee Applique Pattern, featuring a cheerful tiny accent that gives bags, cardigans, and gifts a special touch.
Tiny animal accents are often all a plain accessory needs to feel a little more cheerful. The Bee Applique Free Crochet Pattern introduces a friendly insect detail that suits everyday items without overpowering them. Its familiar striped body and small wings give it a recognizable look, while its compact shape keeps the decoration light.
Bee Applique Free Crochet Pattern With Sweet Little Wings
Meet the Crochet Creator
Small decorations can say a lot about a designer’s style. yarnish_love shares crochet ideas that suit cheerful personal touches, including a bee applique with a sweet theme. The channel gives viewers a place to find playful subjects and consider how little details can change an everyday item in lovely ways.
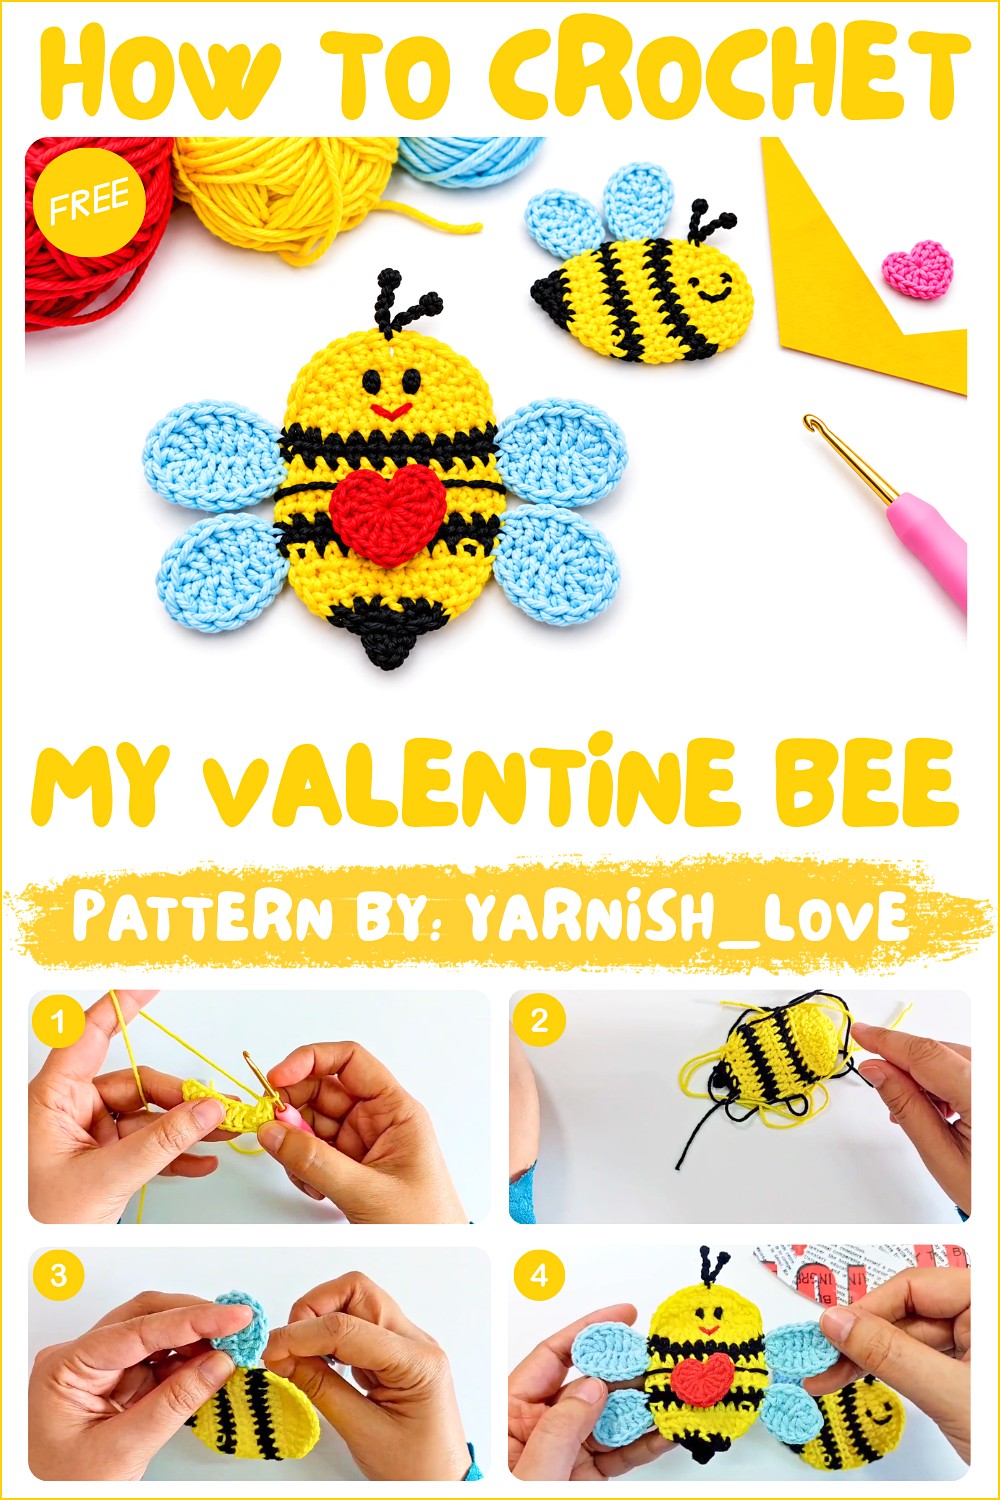
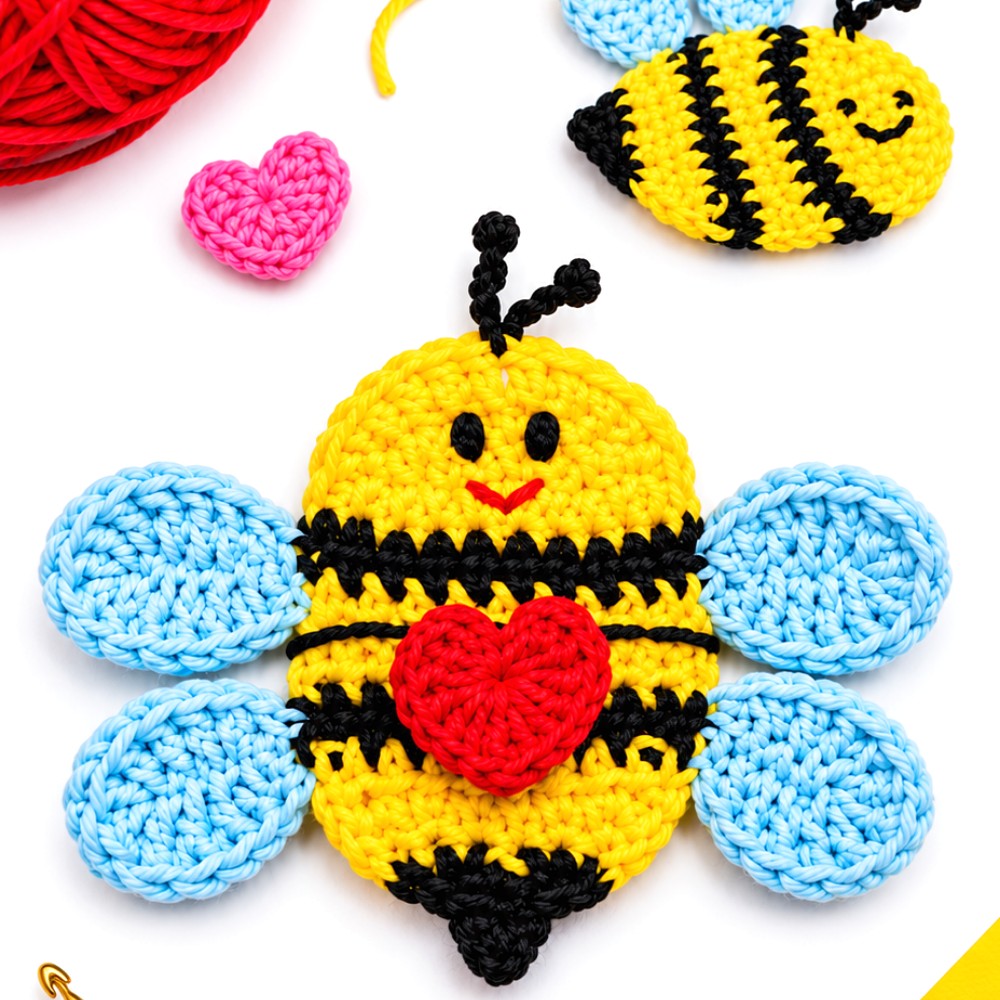
There is something especially appealing about a bee on a simple tote bag or cardigan pocket. It can also sit on a cushion, decorate a handmade card, or become part of a sweet gift wrap idea. Yellow and dark stripes give the familiar bee appearance, although the surrounding fabric can be almost any color. Positioning the applique against a plain surface helps the little features remain visible.
Because this is a flat piece, its personality comes from the outline and the way the smaller parts sit around the body. The wings need enough definition to look separate from the stripes, and tidy finishing helps everything stay in place after attaching it. Careful placement matters more than using many extra decorations.
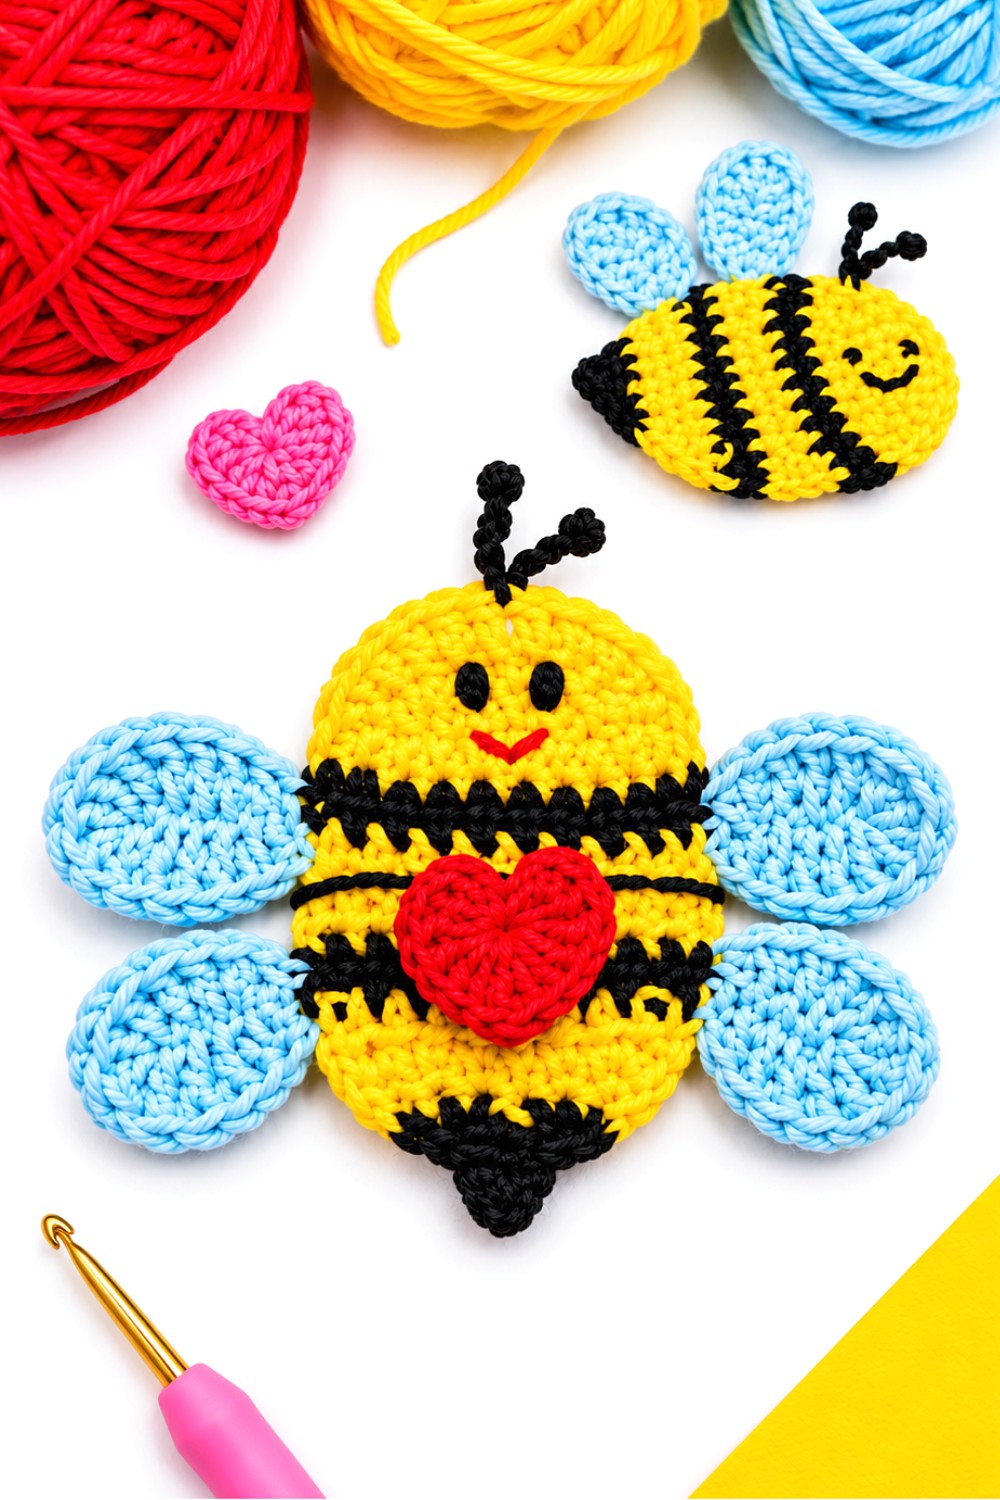
Bee themes are often linked with kindness, friendship, and happy moments, making this a lovely option for a small personal present. One applique feels sweet, but several spread across a larger item can form a playful arrangement. It is a satisfying little project for people who appreciate cute details with a clear, simple shape.
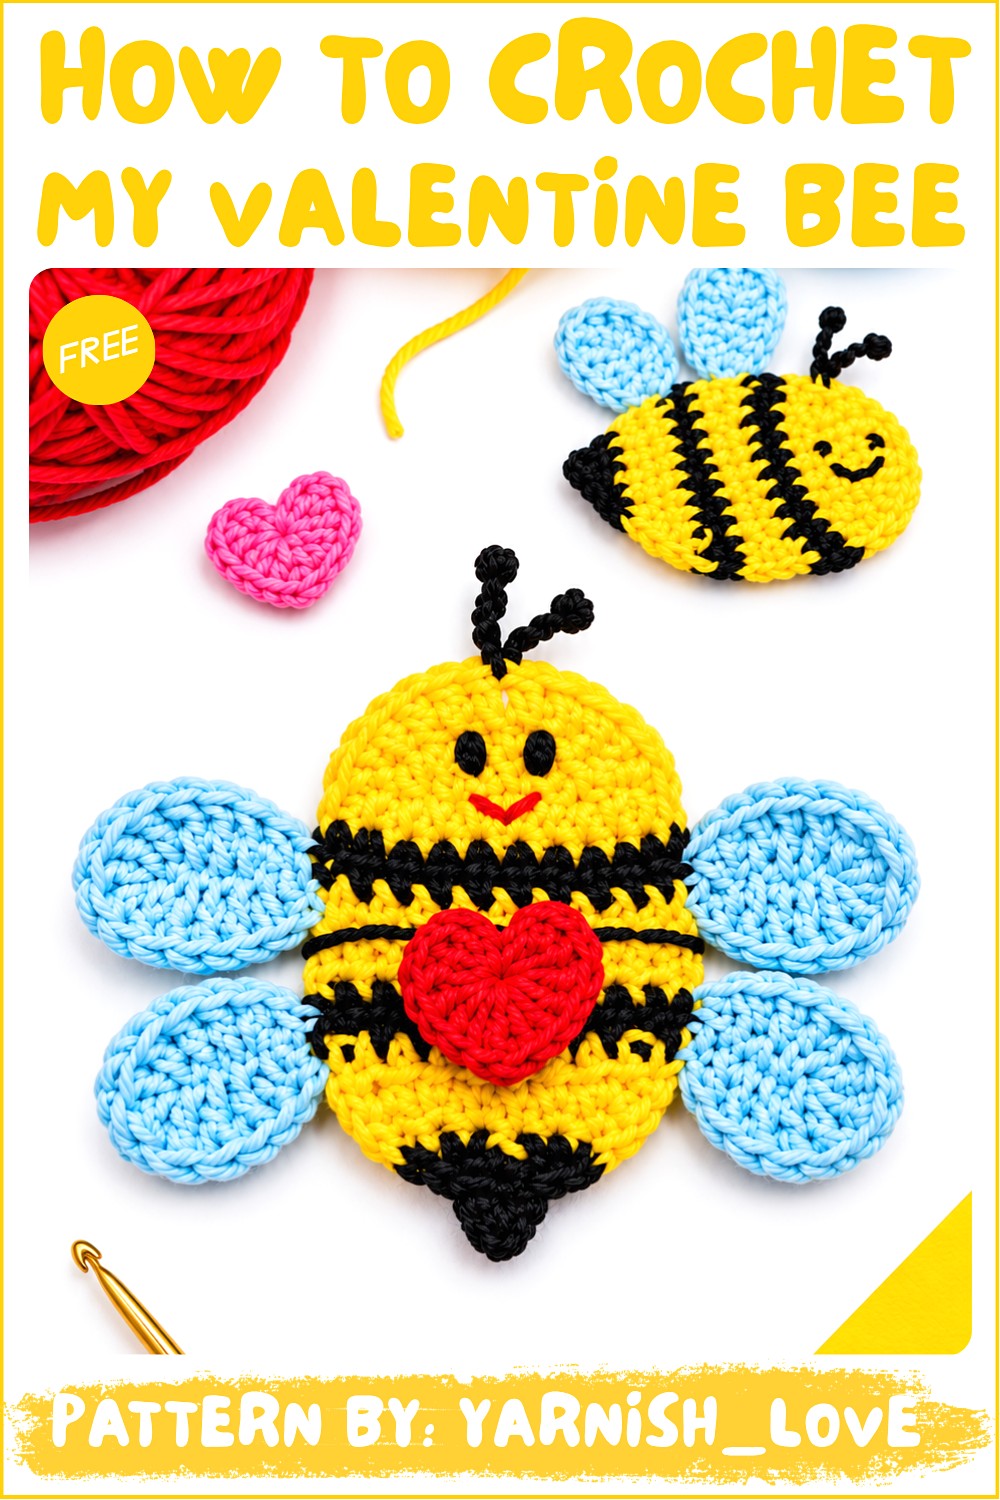
Crochet Bee Applique Pattern
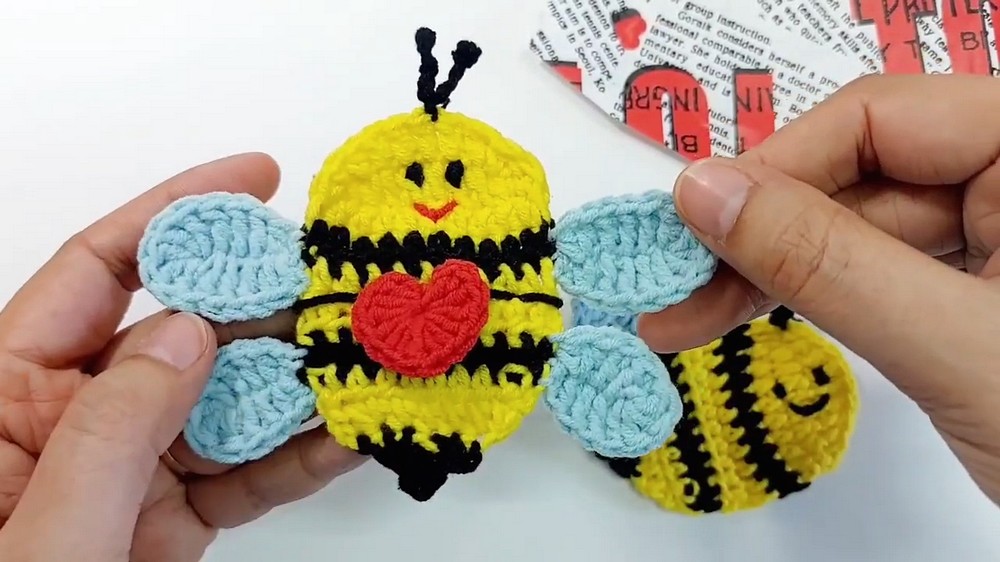
The crochet bee applique is a playful and vibrant addition to projects such as baby blankets, tote bags, nursery decor, or handmade gifts. Featuring a striped bee body, delicate wings, and curved antennae, this design is not only charming but also showcases shaping techniques that make appliques unique.
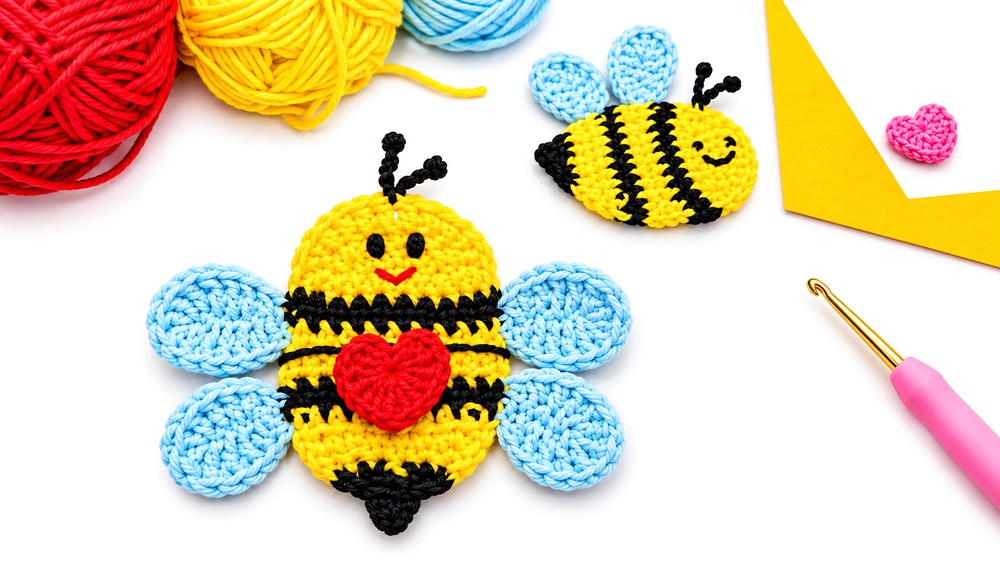
Skill Level
Intermediate
This project is best suited for crocheters who are confident in foundational stitches, shaping through increases and decreases, color changes, and detailed assembly.
Materials
Yarn:
- YarnArt Jeans or a similar cotton-blend yarn in:
- Yellow (for the striped body).
- Black (for stripes and edging).
- White (for the wings).
- Thin yarn (or separated strands from the main yarn) for the antennae.
Hooks:
- 2.5 mm crochet hook for the body and wings.
- 2 mm crochet hook for the antennae.
Additional Tools:
- Tapestry needle for weaving in ends and sewing pieces together.
- Scissors.
Stitch Abbreviations
- ch – Chain
- sc – Single Crochet
- hdc – Half Double Crochet
- dc – Double Crochet
- hdc2tog – Half Double Crochet Two Together
Helpful Tips
- Shaping: Focus on stitch counts and shaping techniques to ensure the bee body is symmetrical and tapers consistently.
- Color Changes: Pay attention to clean color transitions between yellow and black. Carry yarn along the edge or securely weave in ends.
- Working into Back Bumps: This approach makes the foundation chain neat and structured, giving the applique a polished finish.
- Weaving in Ends: Securely weave in ends after every section to prevent unraveling, especially for baby-safe projects.
- Assembly Precision: Position the wings and antennae symmetrically to enhance the bee’s appearance.
Pattern Instructions
The bee applique is worked in distinct sections: body, antennae, and wings, which are assembled afterward.
1. The Body
The body forms the base of the bee applique with alternating stripes and tapered shaping.
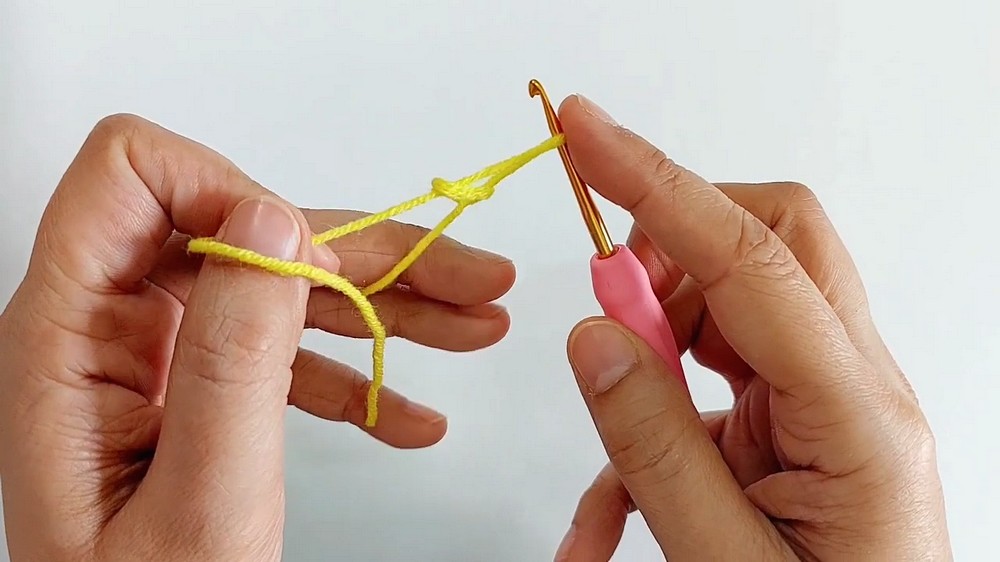
Foundation Chain:
- Ch 10.
- Work into back bumps of the chain for a neater foundation.
Round 1: Shaping the Oval Body
- Skip the 1st chain, then work in the remaining chains:
- 1 sc,
- 1 hdc,
- 5 dc,
- 1 hdc,
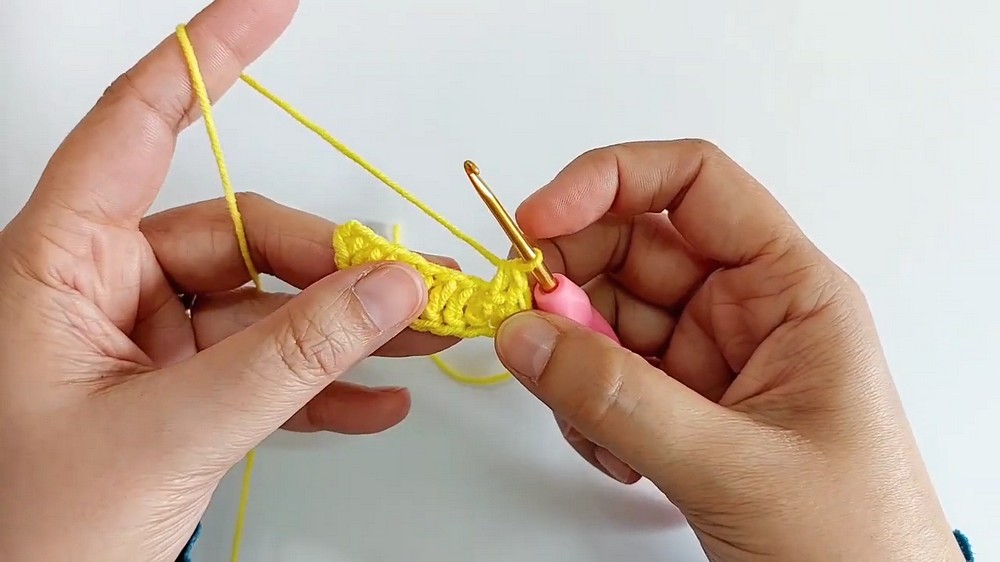
- In the last chain: 3 sc (to turn to the opposite side).
- Working along the opposite side of the foundation chain:
- 1 hdc,
- 5 dc,
- 1 hdc,
- In the last stitch: 2 sc.
Round 2: Yellow Stripe
- Ch 1, then work: 10 hdc across the row.
- At the 10th stitch, join black yarn to begin color changes.
Rows 3–6: Striped Body
- Alternate the yarn colors between yellow and black every row.
- Continue to work 10 hdc per row for a total of 4 rows (2 yellow, 2 black).
- Ensure clean color transitions by holding the unused yarn at the edge of your work or cutting and securely weaving in ends.
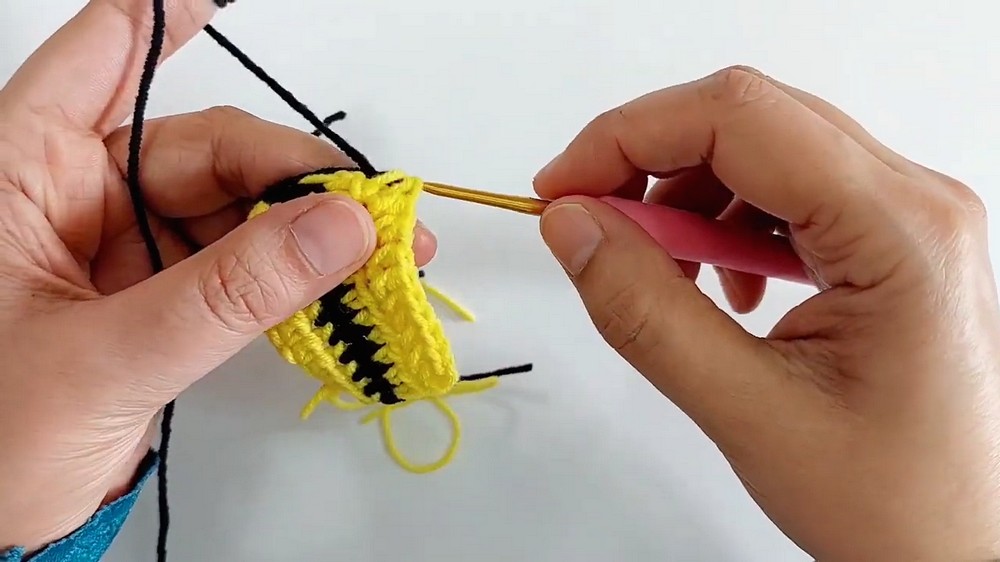
Rows 7–8: Taper the Body
- Start narrowing the body shape using decreases:
- Work hdc2tog (decrease) at the start and end of Rows 7 and 8.
- These decreases will reduce the stitch count, shaping the bee into a pointed tail.
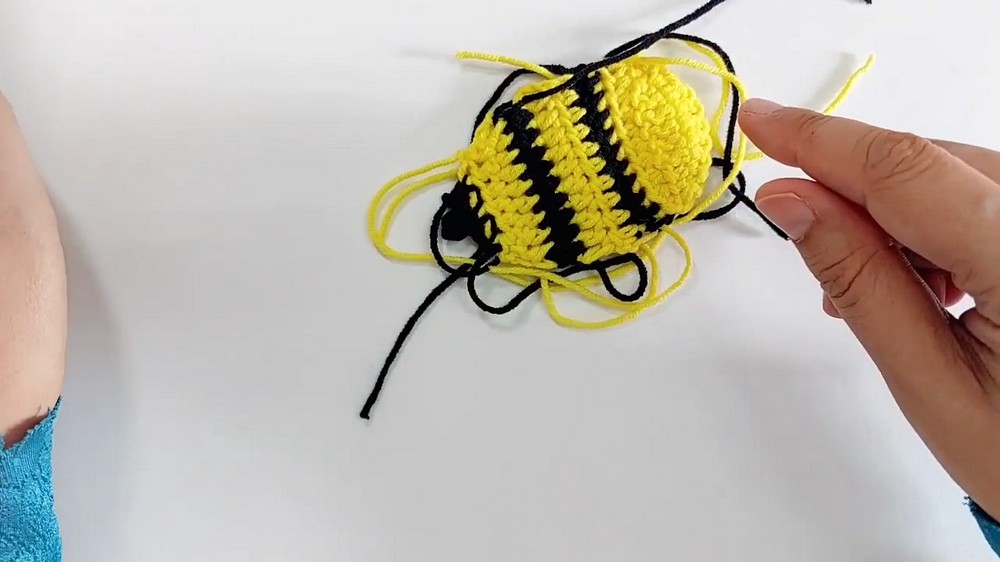
Final Edge:
- Join black yarn again for the edging row.
- Ch 1, then work evenly around the body: ch 3 loops at intervals for decorative detailing.
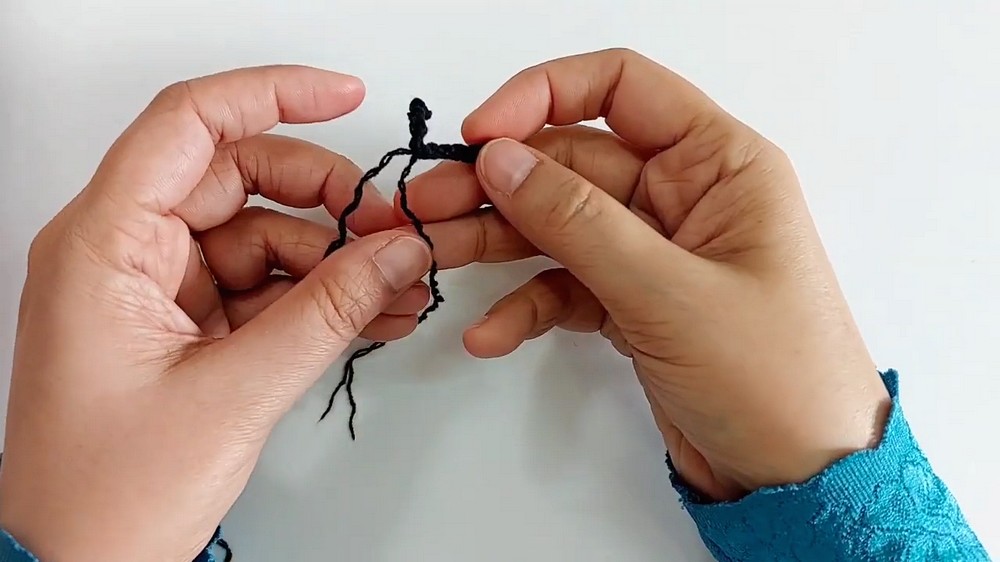
2. The Antennae
The antennae add character to the bee and are made with finer yarn and a smaller hook for precision.
Steps:
- Use separated yarn strands or thin yarn for the antennae. Switch to a 2 mm hook.
- Ch 11 to form the base of each antenna.
- Use a tapestry needle to create a subtle rounded bump at the tip of each antenna by wrapping and securing the end.
- Repeat these steps for the second antenna.
3. The Wings
The wings consist of a bigger wing and a smaller wing, crocheted separately.
Bigger Wing:
- Begin with Ch 7. Skip the first 2 chains.
- Work into the chain:
- 1 hdc,
- 3 dc,
- 5 dc in the last chain (to turn to the opposite side).
- Work on the opposite side of the chain:
- 3 dc,
- 2 hdc in the last stitch.
- Fasten off and weave in the ends.
Smaller Wing:
- Begin with Ch 6. Skip the first 2 chains.
- Work into the chain:
- 1 hdc,
- 2 dc,
- 4 dc in the last chain (to turn to the opposite side).
- Work on the opposite side of the chain:
- 2 dc,
- 2 hdc in the last stitch.
- Fasten off and weave in the ends.
4. Assembly
Once the body, antennae, and wings are complete, assemble the bee applique:
Steps:
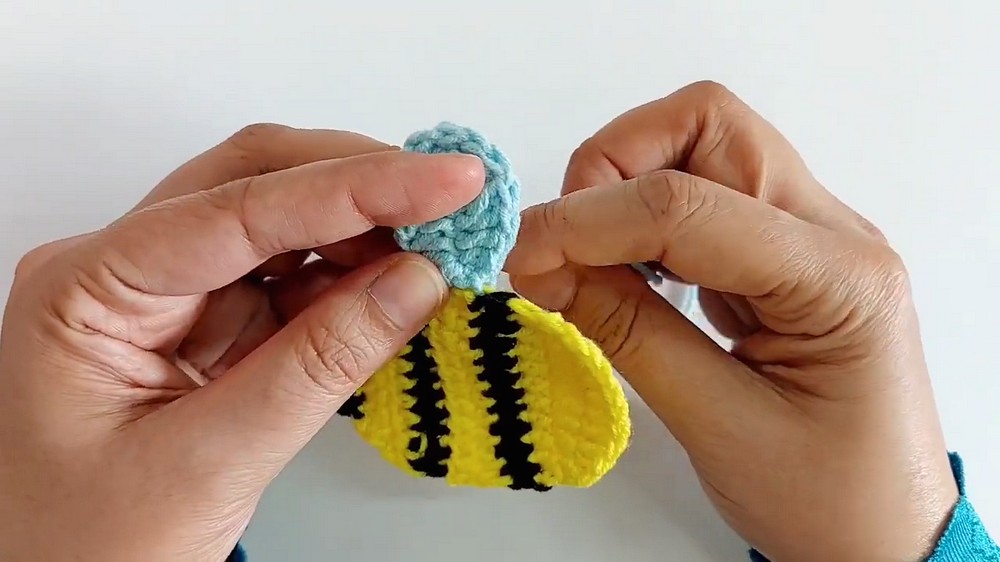
- Attach the Wings:
- Position the larger wing above the smaller wing on either side of the bee body.
- Securely stitch each wing to the body using the same yarn and a tapestry needle.
- Attach the Antennae:
- Place the antennae at the top of the body, ensuring they are evenly spaced.
- Stitch carefully to secure them firmly.
- Secure All Ends:
- Weave in any remaining loose yarn ends and make small knots for extra durability.
- Weave in any remaining loose yarn ends and make small knots for extra durability.
Conclusion
The crochet bee applique is a charming addition to various projects, offering playful shapes and textures. Its striped body, delicate wings, and slim antennae combine to create a beautifully balanced and appealing design. The easy-to-follow instructions make it accessible for intermediate crocheters who wish to add unique embellishments to their creations. Whether used for children’s items, household accents, or gifts, this applique is sure to light up any project with its cheerful personality!