Free Crochet Duck Granny Square Applique With Beginner-Friendly Pattern

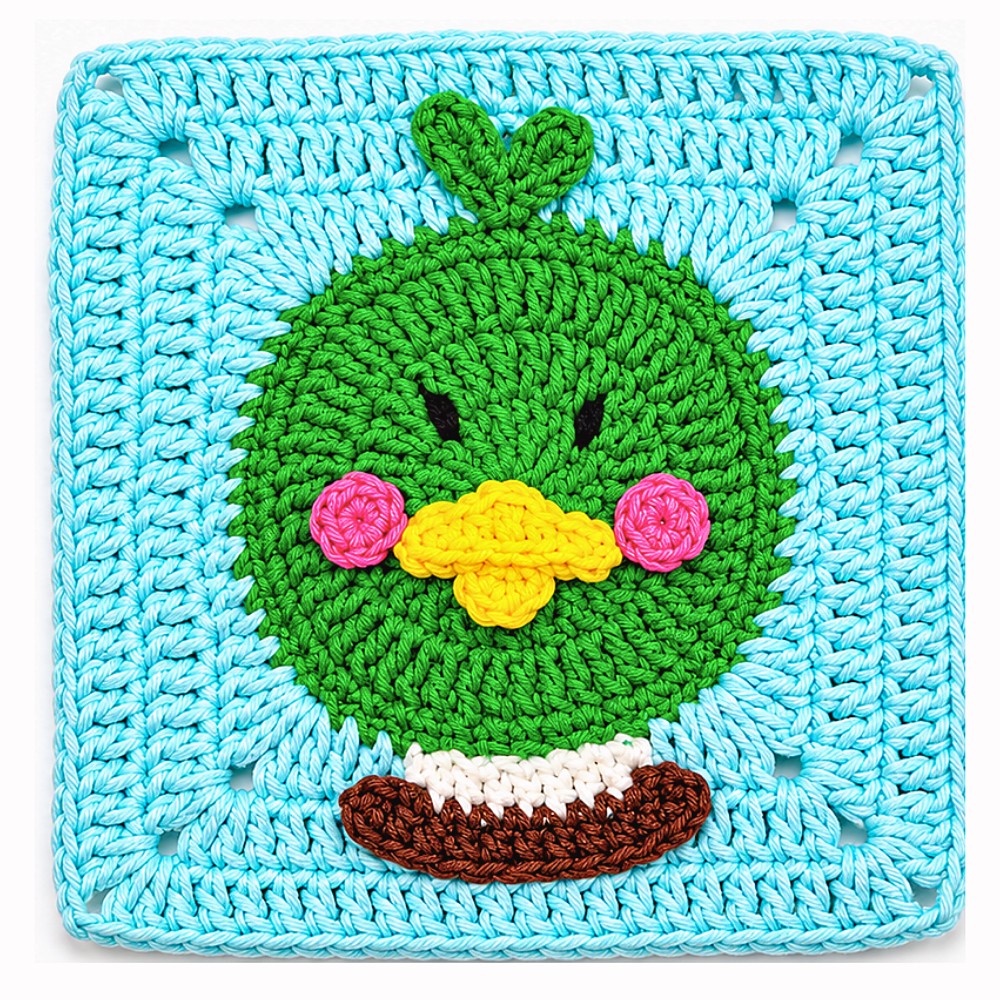
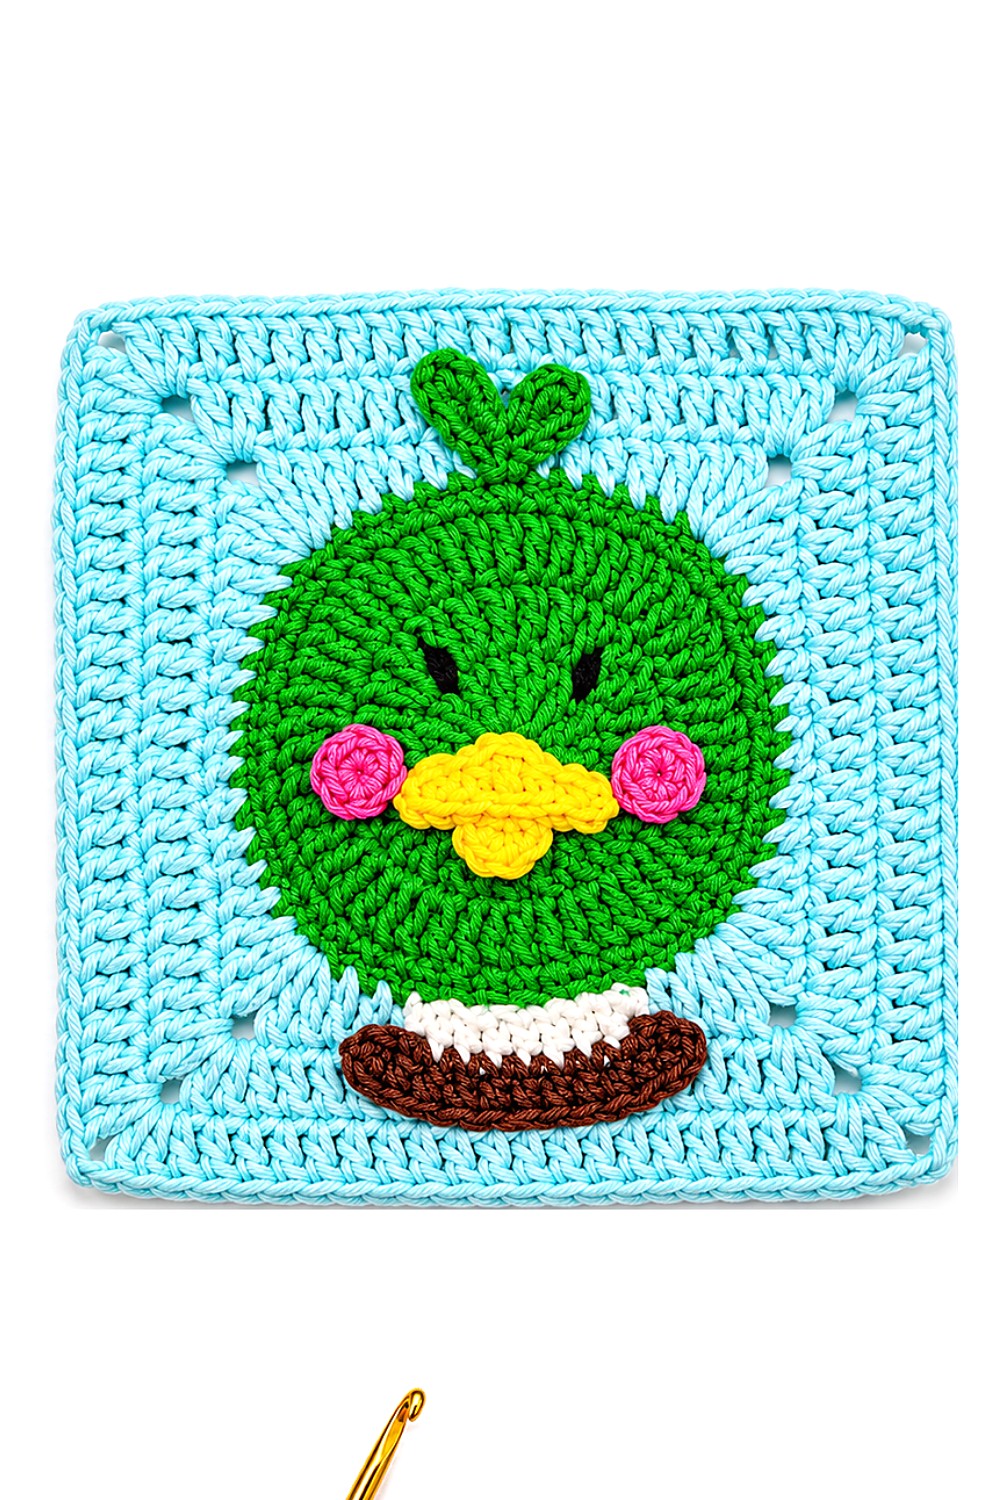
Plan a patchwork blanket with this Free Crochet Pattern for a Duck Granny Square Applique featuring a small beak and a tuft of hair that give it a fun look.
Plain blocks are handy when you have room for just one more square in a blanket. A Duck Granny Square Applique gives that last space a face, complete with a little beak, a cheek detail, and a tuft of hair. The neck below the head helps the silhouette read clearly. With this Free Crochet Pattern, the duck can be the only decorated block or repeat across a row.
Playful Duck Granny Square Applique for Blankets | Free Crochet Pattern
Placement changes how the full blanket looks. Put one duck near the bottom corner for a detail that still shows when the top is folded back. Space two or three across the center for a row that looks as though the ducks are following one another. Use the same background shade on each square for an even backdrop, or swap between two soft colors to give each face its own frame.
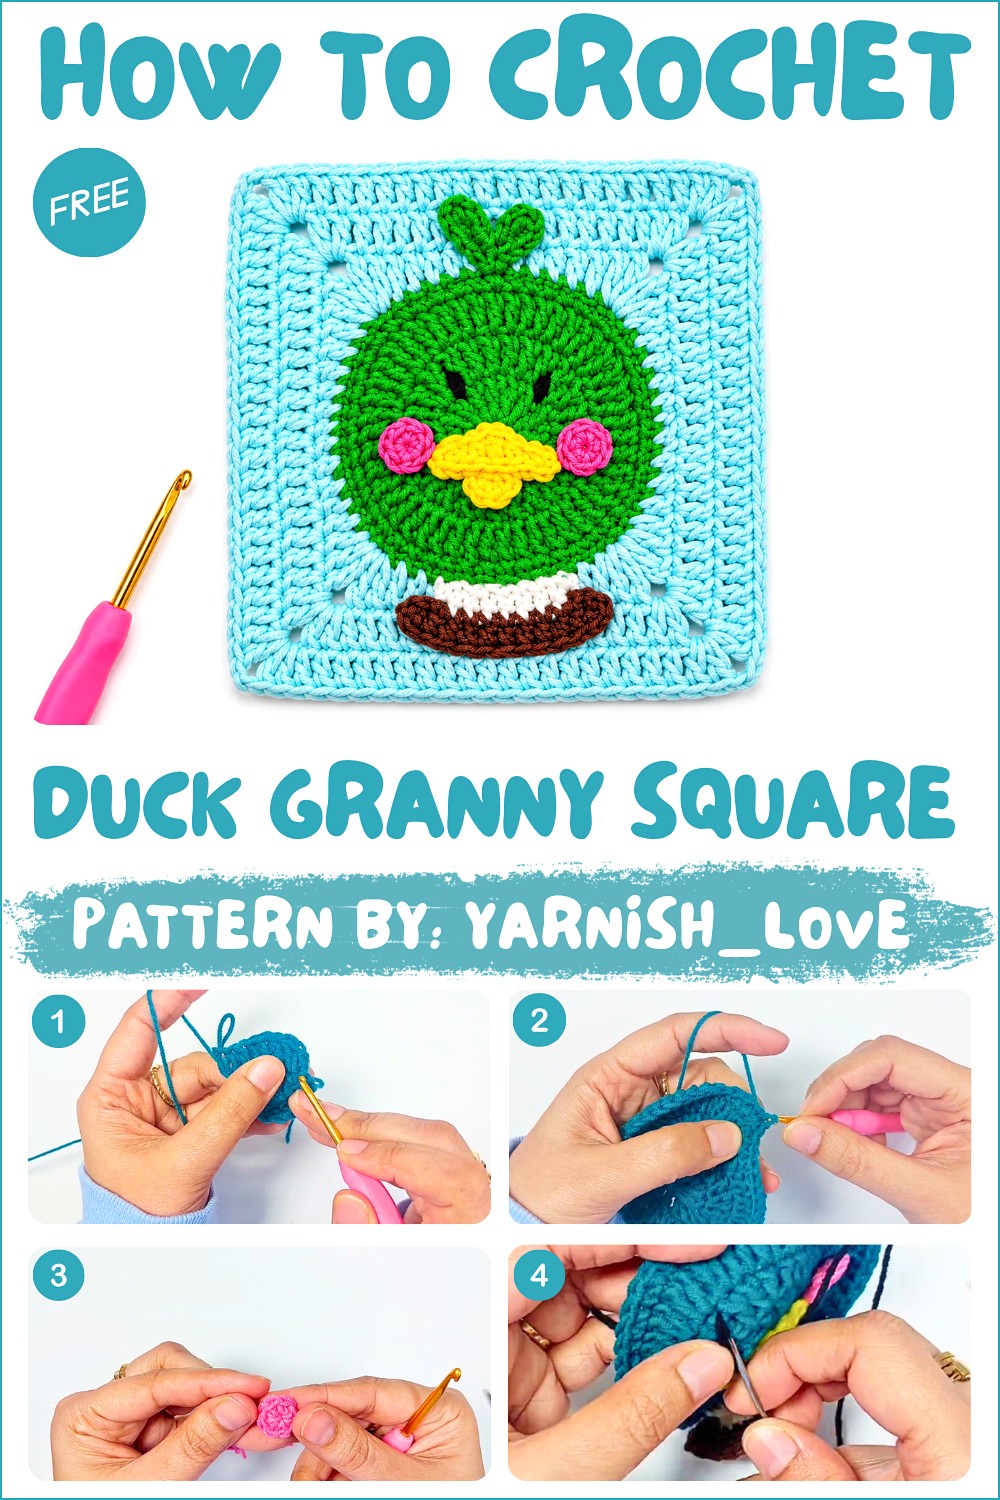
For a smaller project, use the finished square as the front panel of a little fabric basket. On a striped blanket, let the duck mark the place where two colors meet. When planning the background, look at the cheek and the tuft as well as the main color. Those little details are easier to see against a shade that leaves the face clearly outlined.
About the Channel
Bird projects have a place on Guada crochet, where Guadalupe has shared a crochet duck and a chick keychain. One is an animal figure and the other is a piece you can carry. That range gives bird lovers two different ways to use the same theme in their next project.
Crochet Duck Appliqué Pattern
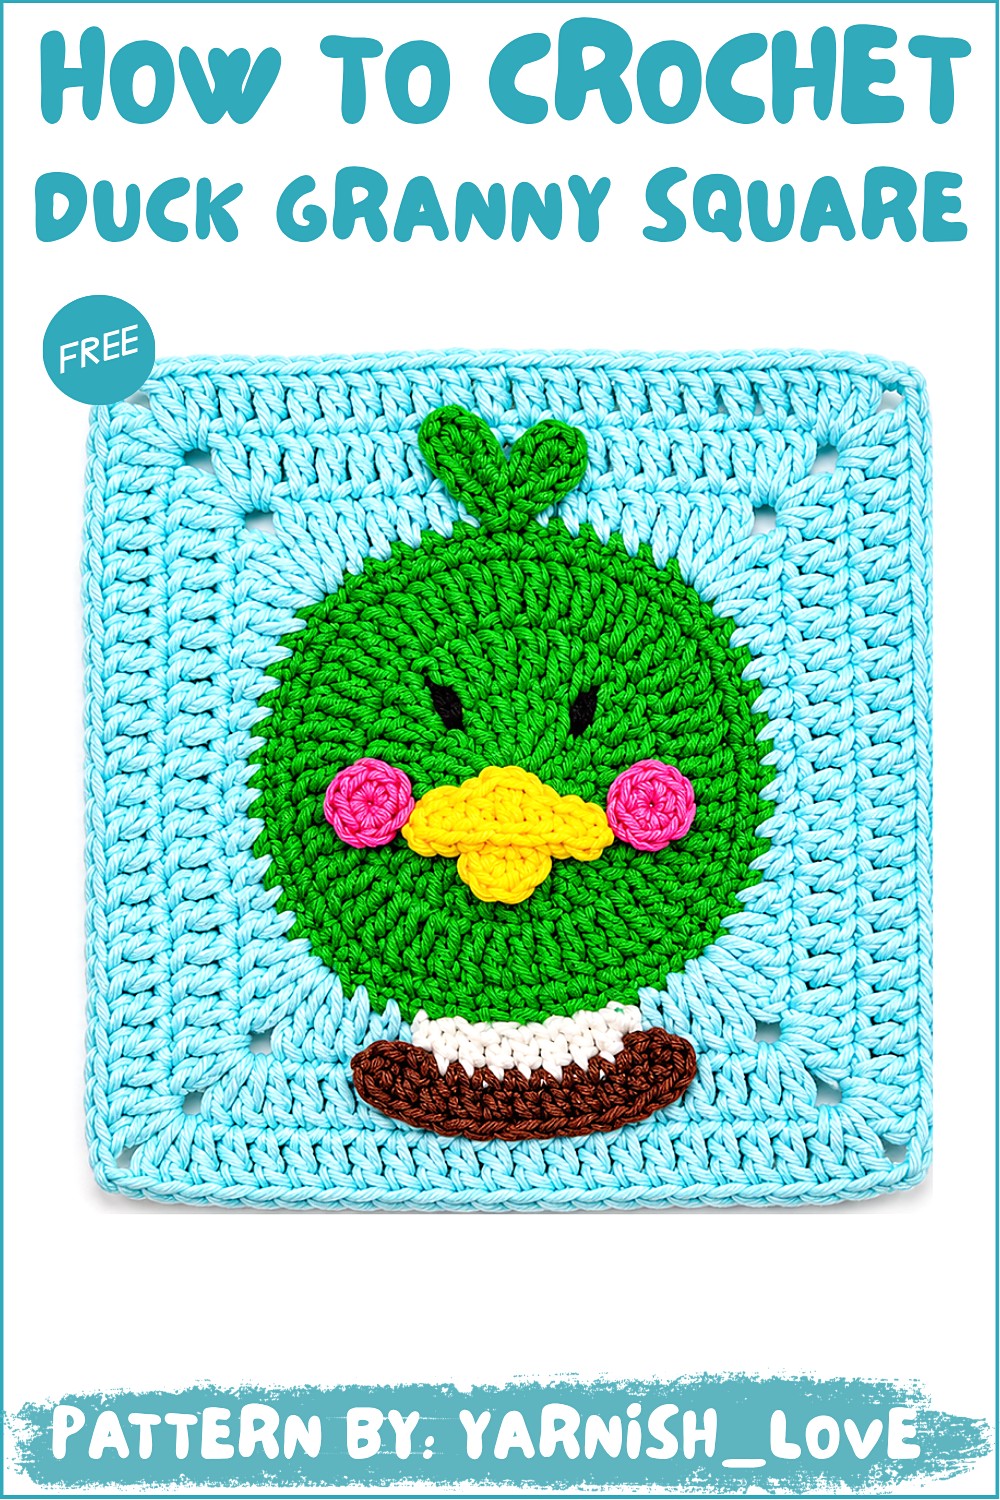
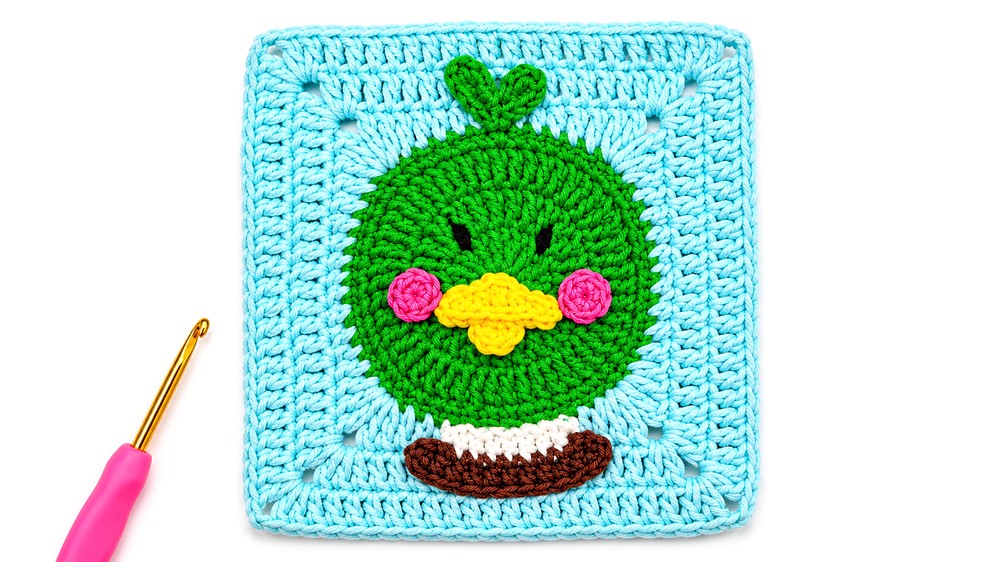
This crochet duck appliqué is a versatile and cheerful design that can be used to embellish various projects, from baby blankets and clothing to decorative pieces. The pattern includes step-by-step instructions to crochet the duck’s head, beak, body, cheek, and hair. The final applique can even be incorporated into granny squares to create a playful, textured design for projects such as blankets or cushions.
Skill Level
Beginner to Intermediate – This pattern uses basic crochet stitches and simple shaping techniques. It is suitable for beginners with knowledge of foundational stitches, such as single crochet, double crochet, and slip stitches.
Materials
- Yarn: Alize Cotton Gold yarn or any comparable medium-weight cotton yarn in the following colors:
- Yellow (body and head).
- Orange (beak).
- Pink (cheek).
- Hook: 3.0 mm crochet hook.
- Accessories:
- Scissors.
- Yarn needle (for sewing pieces together and weaving in ends).
- Stitch marker (optional, to keep track of rounds).
Stitch Abbreviations
- ch = chain
- sc = single crochet
- hdc = half double crochet
- dc = double crochet
- sl st = slip stitch
- inc = increase (2 stitches worked into the same base stitch)
Useful Tips
- Magic Ring: Ensure the starting magic ring is pulled tightly to avoid a hole in the center of the piece.
- Counting Stitches: Use a stitch marker to keep track of the first stitch in each round. This will help ensure even and accurate increases.
- Smooth Color Transitions: Tightly weave in color change ends to prevent unraveling and maintain a neat finish.
- Blocking: Block the finished pieces to ensure the appliqué lies flat and holds its shape on your final project.
- Granny Square Note: When attaching the appliqué to a granny square, use just the front loops to preserve the structural integrity of the granny square.
Step-by-Step Pattern Instructions
1. Crochet Head
- Round 1:
- Create a magic ring.
- Ch 3 (this does not count as a stitch).
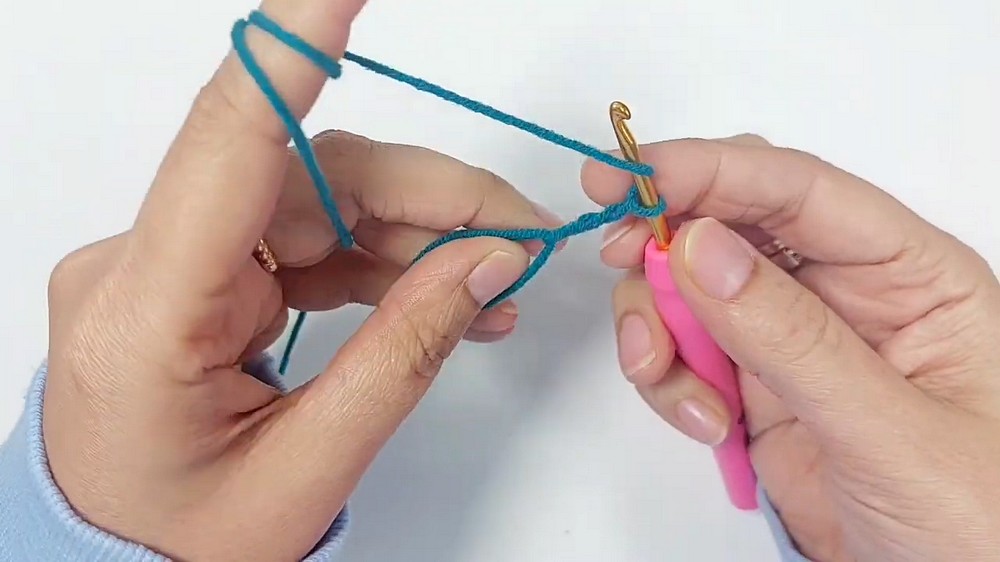
- Work 12 dc into the ring.
- Close the ring tightly and sl st to the first dc to join the round.
- Round 2:
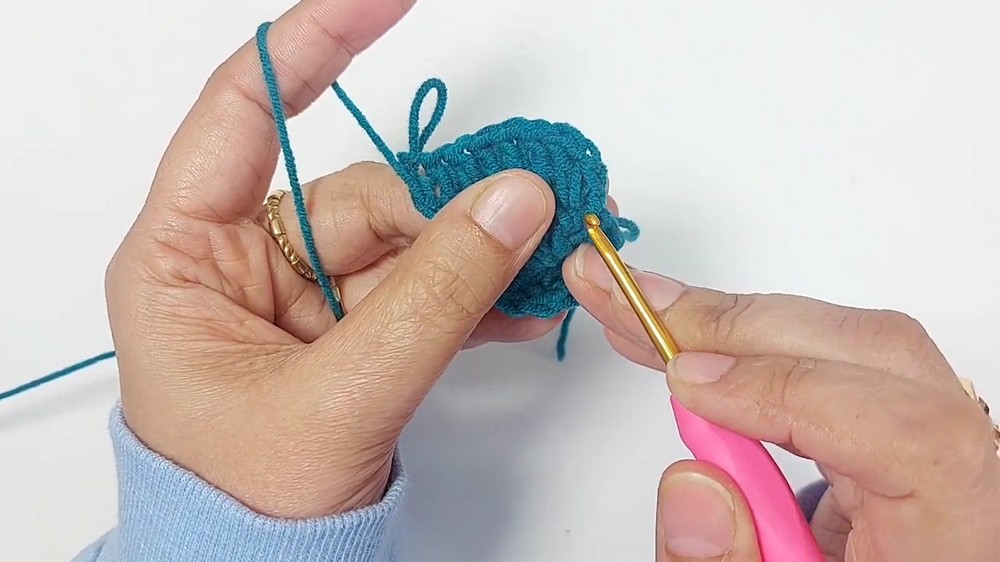
- Ch 1, then work 1 sc in the same stitch.
- Ch 1, then work 1 dc in the same stitch.
- In each of the following stitches, work 2 dc, continuing around the entire circle (24 sts total).
- Sl st to join at the top of the first dc.
- Round 3:
- Ch 1, then work 1 sc in the same stitch.
- Ch 1, then work 1 dc in the same stitch.
- Work 1 dc in the next stitch, then 2 dc in the following stitch. Repeat this sequence (1 dc, 2 dc) all the way around until you have 48 stitches in total.
- Sl st to join at the top of the first dc.
- Final Round:
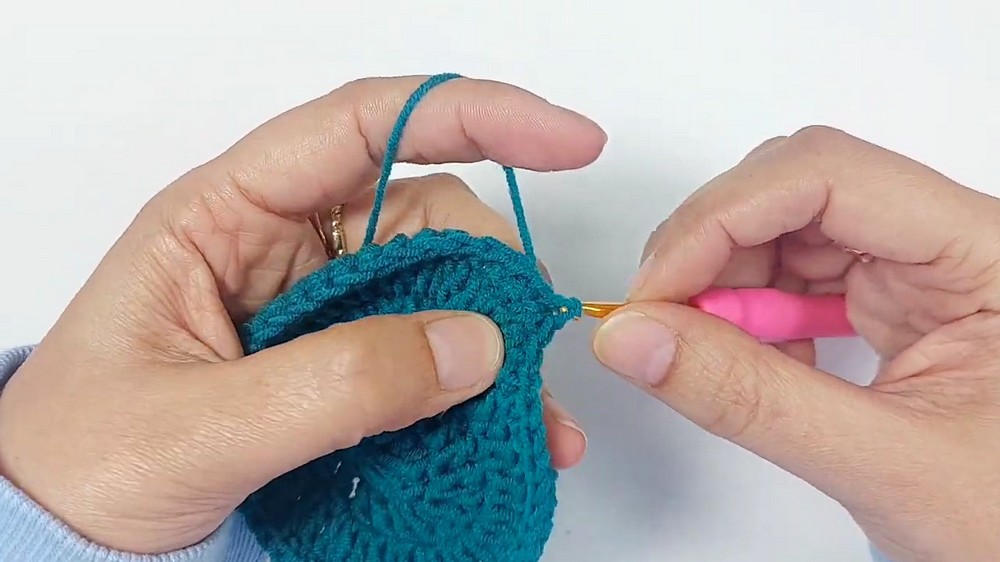
- Ch 1, then work 1 sc in the same stitch.
- Work 1 sc in each stitch around (48 sts total).
- Join with a sl st and fasten off.
2. Crochet Beak
Upper Beak:
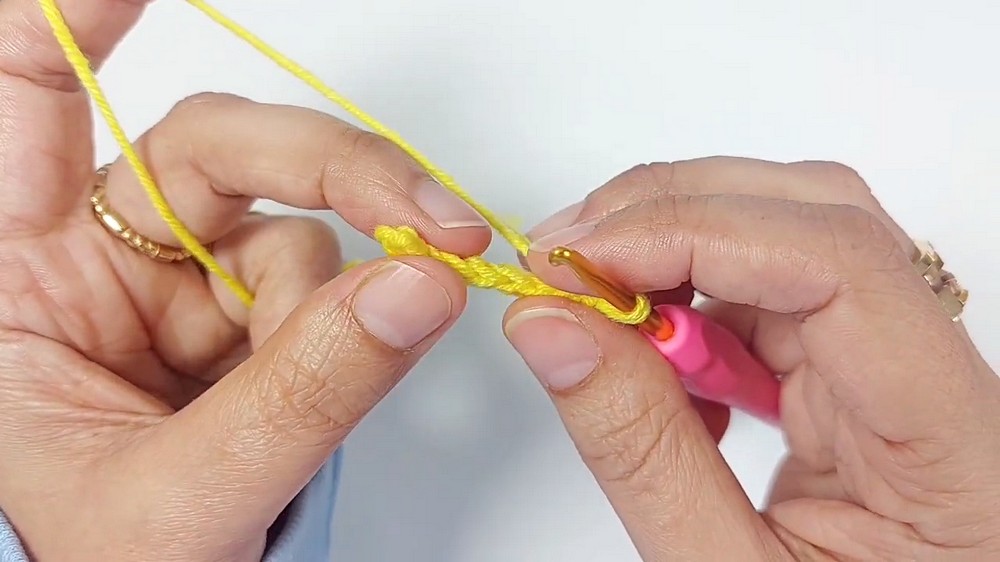
- Ch 8.
- Skip the first chain and work into the back bumps of the chains:
- 1 sc, then 1 sl st, then 1 hdc, 1 dc, 1 hdc, 1 sl st, and 1 sc.
- Ch 1, and make a sl st into the same last chain.
Turning:
- Work along the other side of the starting chain (using the back loops only):
- Work 1 sl st in each stitch along the chain.
- Finish with a sl st into the last and first chain stitches.
Lower Beak:
- Create a magic ring, then Ch 1.
- Work 4 SC into the ring, pull it tight to close, and fasten off.
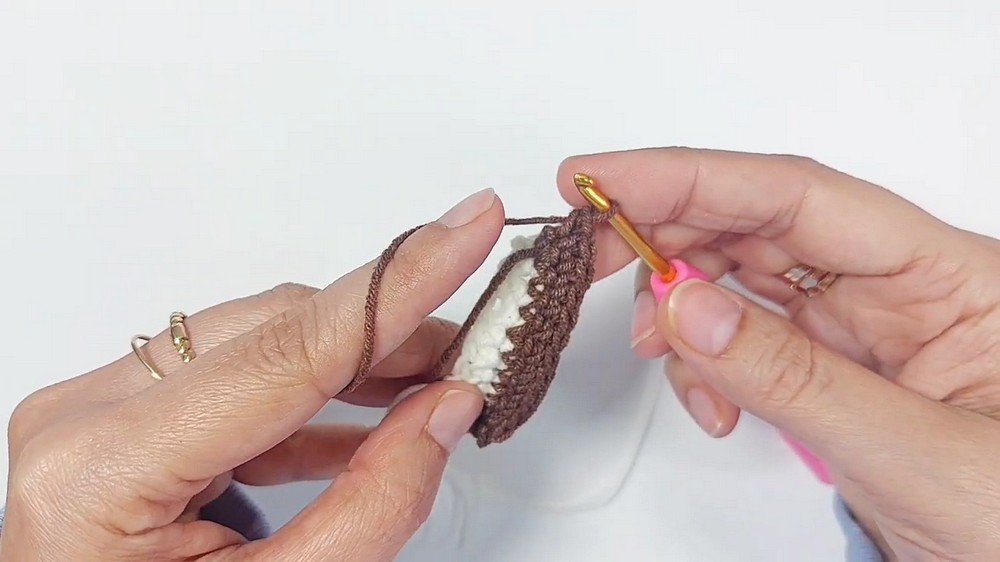
3. Crochet Neck/Body
Base (Row 1):
- Ch 8, skip the first chain, and work 1 sc in each of the remaining chains (7 stitches total).
- Ch 1, sl st into the last stitch, and fasten off.
Row 2:
- Join the yarn at one corner of the base.
- Ch 1, work 2 sc in the first stitch, then 1 sc in each of the next stitches, and finish with 2 sc in the last stitch.
- Ch 1, turn, and work 1 sc in each stitch across the row.
4. Crochet Cheek
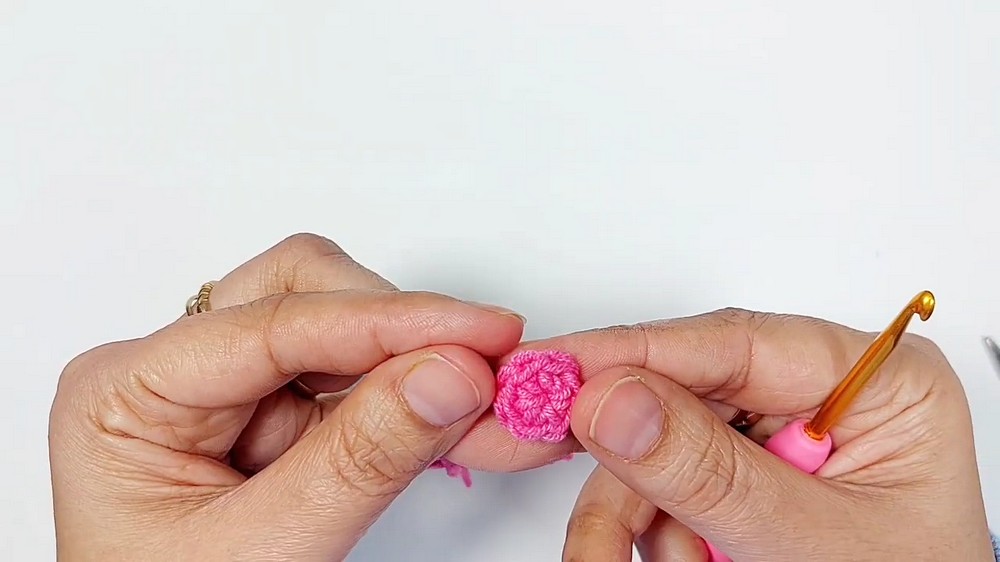
- Create a magic ring.
- Ch 1, and work 6 SC into the ring.
- Pull the ring tightly closed and fasten off.
5. Crochet Hair
- Create a slip knot, then ch 6.
- Work a sl st into the first chain to create the first loop.
- Ch 8, then work another sl st into the first chain to form a second loop.
- Fasten off and set aside.
Assembly & Additional Notes
- Head and Body: Attach the head to the neck/body using a yarn needle. Position the head so it aligns naturally with the body to create a smooth, rounded appearance.
- Beak: Sew the upper beak and lower beak onto the face. The upper beak should curve slightly outward, while the lower beak sits flush against the head.
- Cheek: Position the cheek to one side of the face and sew into place securely.
- Hair: Attach the hair to the top of the head by sewing the base of the strands onto the head. Adjust the loops to ensure the hair lies evenly.
- Optional Note for Granny Squares: When attaching the body or any of the pieces to a granny square, use the front loops only of the duck applique stitches to leave the back loops free. This will help preserve the structure of the square and keep it flat.
Customization Options
- Colors: Experiment with different color combinations to create a unique look for your crochet duck, such as pastel shades or vibrant neon colors for a fun twist.
- Size: Use a larger hook size and bulkier yarn to create a bigger applique or a smaller hook and lighter yarn for a mini version.
- Decorative Details: Add embellishments like feathers, ribbons, or beads for an extra flair. Consider using safety eyes for a three-dimensional effect or embroider additional features using black thread.
Conclusion
This crochet duck appliqué is a delightful project that enhances any crochet creation, from baby items to home decor. With its simple yet detailed design, it offers opportunities for creativity and customization. Whether you use it as a standalone decoration or incorporate it into other projects, the end result is sure to charm both creators and recipients alike. Adapt it to your style and enjoy the process of creating a whimsical and cheerful crochet duck!