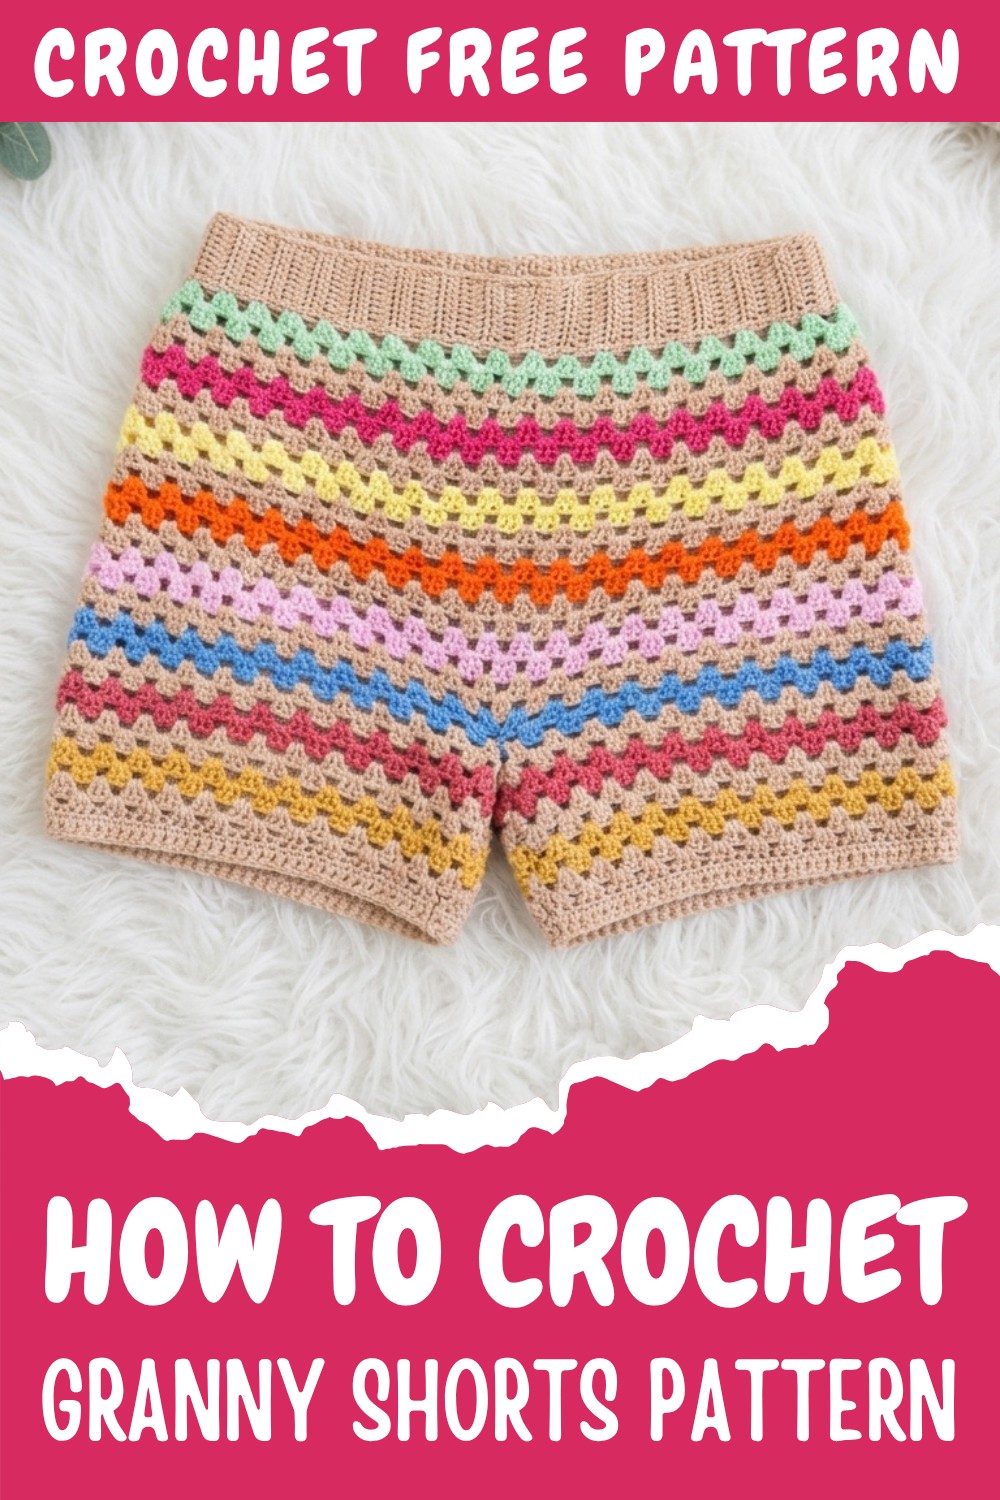
Handmade Crochet Granny Shorts Pattern: Perfect for Summer

Crochet granny shorts pattern with easy instructions, perfect for beginners to create stylish, comfortable handmade summer shorts.
Summer calls for fearless, breezy fashion that combines comfort with a retro handmade touch. Enter the Free Crochet Granny Shorts pattern—an inviting project that captures vintage charm while offering modern versatility for sunny days and laid-back outings.
Crochet Granny Shorts Pattern For Style
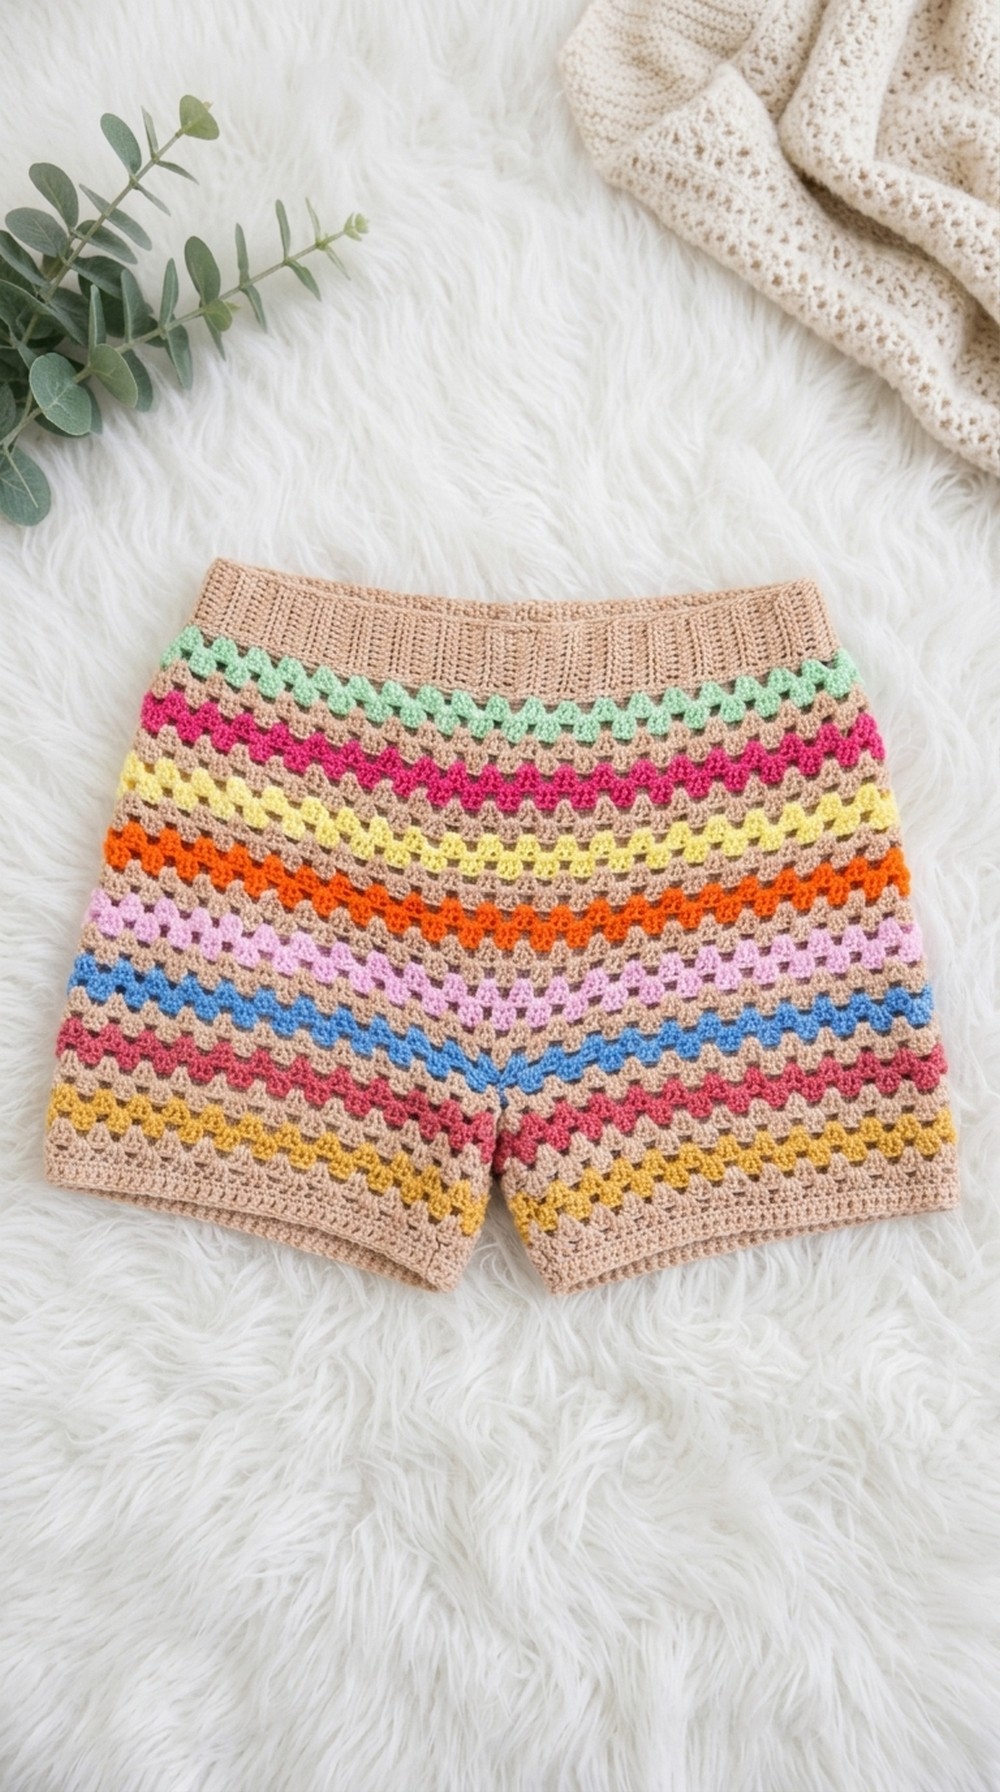
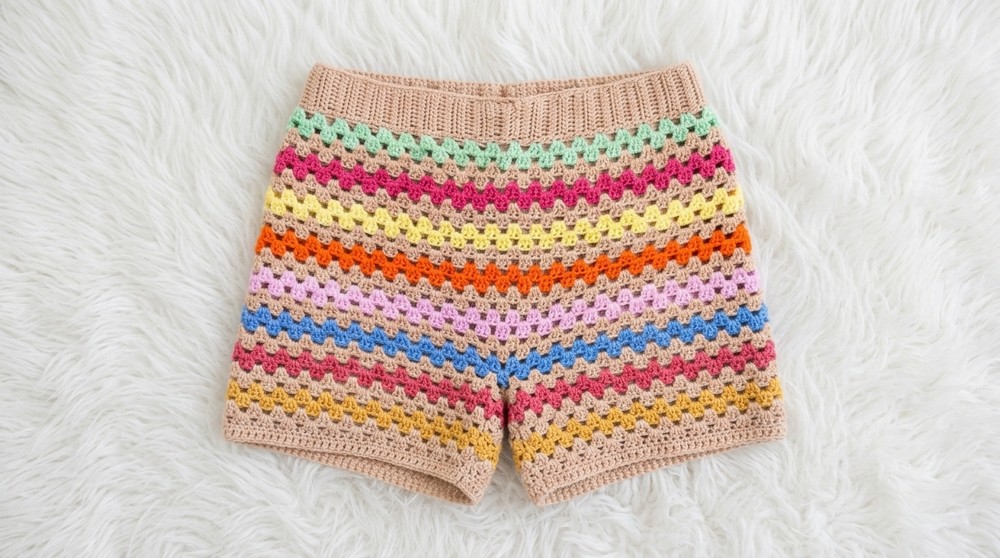
These granny shorts boast a unique blend of playful style and breathable comfort, perfect for warm weather and casual occasions like beach trips, garden parties, or weekend getaways. Their eye-catching multicolored granny stitch rounds create a lively patchwork look that pairs wonderfully with simple tank tops or crochet crop tops, making them a statement piece in any wardrobe.
The texture of the shorts is delightfully soft yet structured, crafted with carefully stitched rows of half double crochets and double crochets that shape the ribbed waistband and classic granny squares. This combination offers a snug fit with enough stretch to move freely, while the airy granny stitch pattern ensures breathability—a perfect balance for comfort in the heat.
Standout design features include the ribbed, stretchy waistband that provides a secure fit without sacrificing softness, and the charming granny stitch rounds that gradually expand with strategic increases for a flattering silhouette. The careful use of color transitions enhances the vibrant, handmade look, making these shorts not only comfy but truly stylish.
Granny Stitch Crochet Shorts Pattern
The Granny Stitch Crochet Shorts are a comfortable and versatile garment perfect for casual wear or lounging. This pattern is designed using the classic granny stitch, combined with a ribbed waistband for a snug fit. The design allows for size adjustments and customizable length, ensuring a personalized fit for every individual.
Skill Level
Intermediate – This pattern is well-suited for crocheters who are confident with basic stitches such as the chain, half double crochet, and double crochet. Some knowledge of increasing and working in rounds is required.
Materials
- Yarn: 300 g of cotton yarn with approximately 2 mm thickness.
- Hook: 3.5 mm crochet hook.
- Additional Tools:
- 2 stitch markers.
- Scissors.
- Tapestry needle (for weaving in ends).
Stitch Abbreviations
- Ch: Chain
- Sl St: Slip Stitch
- HDC: Half Double Crochet
- DC: Double Crochet
- SC: Single Crochet
- Cluster (Granny Stitch): 3 DC worked into the same space
- Ch-1 space: A space created by chaining one in the previous round
Special Stitches
Half Double Crochet (HDC) in Back Loop Only
- Yarn over, insert hook into back loop of the next stitch.
- Yarn over and pull up a loop (3 loops on hook).
- Yarn over and pull through all 3 loops on the hook.
Granny Stitch Cluster
- Yarn over, insert the hook into indicated space, yarn over, and pull up a loop.
- Yarn over, pull through two loops on the hook (one part of DC).
- Repeat the above steps two more times into the same space.
- You should have three DCs grouped together in the same space.
Useful Tips
- Measuring the Waistband: Ensure the waistband strip matches your precise abdominal measurement for comfort and a snug fit. The total number of rows must be a multiple of 3, which is crucial for the granny stitch pattern.
- Adjust for Hips: To ensure a good fit around the hips, don’t skip the increases. Adjust increase rows as necessary for individual sizes.
- Seamless Rounds: Always slip stitch to the top of the first cluster at the end of each round to ensure a seamless transition.
- Customization: Adjust leg length and possibly the number of foundation chains for the crotch to fit personal preferences.
Pattern Instructions
Follow the sections below to create your crochet shorts:
1. Waistband (Resorte)
Step 1: Foundation
- Begin by chaining 10 chains for a 5 cm wide strip. Add 2 additional chains to turn.
- Work HDC across the foundation chain. (10 HDC per row).
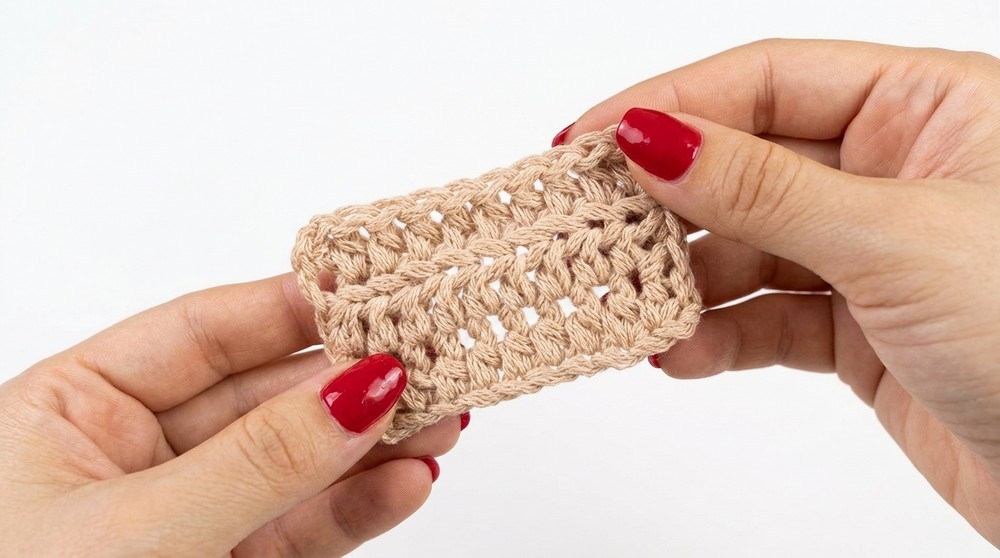
Step 2: Back Loop Rows
- Ch 2, turn. Work HDC into the back loop only across each stitch.
- This creates a ribbing effect.
- Repeat until the strip measures the circumference of your waist. Ensure the total number of rows is a multiple of 3.
Step 3: Joining the Waistband
- Once the band reaches the desired length, fold it in half.
- Use Sl St to join both ends together, creating a loop.
- Turn the loop inside out so the seam is on the inside.
2. Base Foundation for Granny Stitch
Round for Foundation Single Crochets
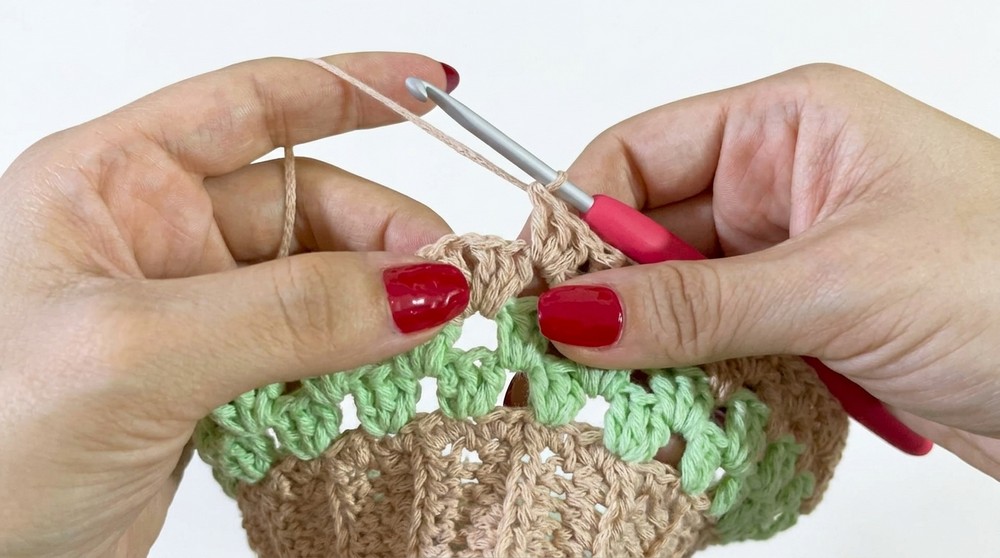
- With the waistband seam at the inside, attach yarn to the edge of the waistband.
- Ch 1 and work 2 SC into every horizontal space along the band’s edge.
- This creates the base for the granny stitch.
3. Granny Stitch Body
The body of the shorts is constructed using the iconic granny stitch, worked in clusters of 3 DCs.
Round 1
- Ch 3 (counts as the first DC).
- Work 2 more DC into the same stitch.
- Skip 2 stitches; work 3 DC into the next stitch. Repeat this sequence around.
- Join the final cluster with a Sl St into the top of the initial Ch 3.
Round 2
- Slip Stitch to the next space.
- Ch 3 (counts as first DC). Work 2 DC into the same space.
- Continue working 3 DC clusters into each space around.
- Join with a Sl St into the top of the starting chain.
Rounds 3+ (Adding Increases for Hips)
- Fold the waistband in half and locate the two side spaces. Place stitch markers in the center of these spaces. These indicate the areas for increases.
- Increase at the markers: In these spaces, work a cluster of 3 DC, Ch 1, 3 DC to add width to the hips.
- Alternate between:
- One round with increases in marked spaces (sides).
- One round of normal granny stitch clusters (no increases).
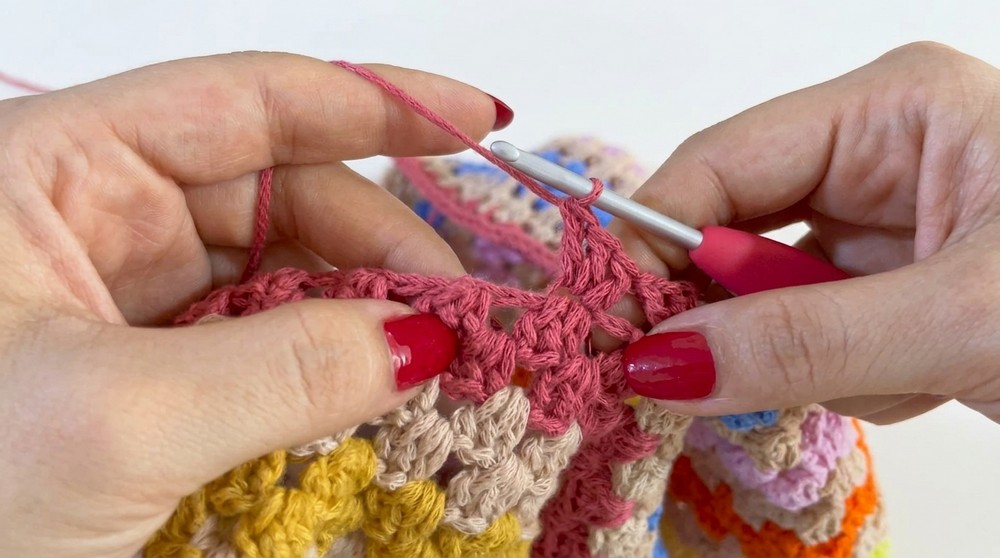
- Continue alternating until the waistband fits your hip measurement.
4. Crotch and Legs
Step 1: Create the Crotch
- Once the body of the shorts reaches the crotch height, fold the piece in half vertically and mark the center front and back.
- To connect the front and back, Ch 18 (or adjust if different sizing is needed; make sure this is a multiple of 3).
- Join the chain to the opposite side using a Sl St.
Step 2: Work the Legs
- Attach yarn to the crotch chain. Work 3 DC clusters into each chain stitch along the crotch.
- Continue working granny stitch clusters around the leg hole.
- Work in continuous rounds until the leg reaches your preferred length.
Step 3: Edge the Leg
- For the final touch, work 1 round of SC followed by 1 round of DC around the hem of the leg.
- Fasten off and weave in the ends using a tapestry needle.
Repeat for Second Leg
- Join yarn to the second leg opening and repeat the steps above.
Conclusion
The Granny Stitch Crochet Shorts provide a stylish twist to a classic crochet pattern. The combination of a snug ribbed waistband, granny stitch design, and flared leg edging offers a chic and comfortable garment. Easily adjustable for various sizes and fits, these shorts are perfect for a casual, handmade addition to a summer wardrobe. Play around with colors and customize the fit to make this piece truly your own and enjoy the versatility it provides.