Beautiful and Easy Crochet Sling Bag Pattern to Try Today

Simplify busy outings with the Free Crochet Sling Bag Pattern, offering trendy details and instant access for your must-have items.
I still remember the first time I needed a small bag that could hold just my phone, keys, and a little wallet for a quick trip outside. That simple need turned into a lovely project, just like this free crochet sling bag pattern.
Fun free crochet sling bag pattern for everyday errands
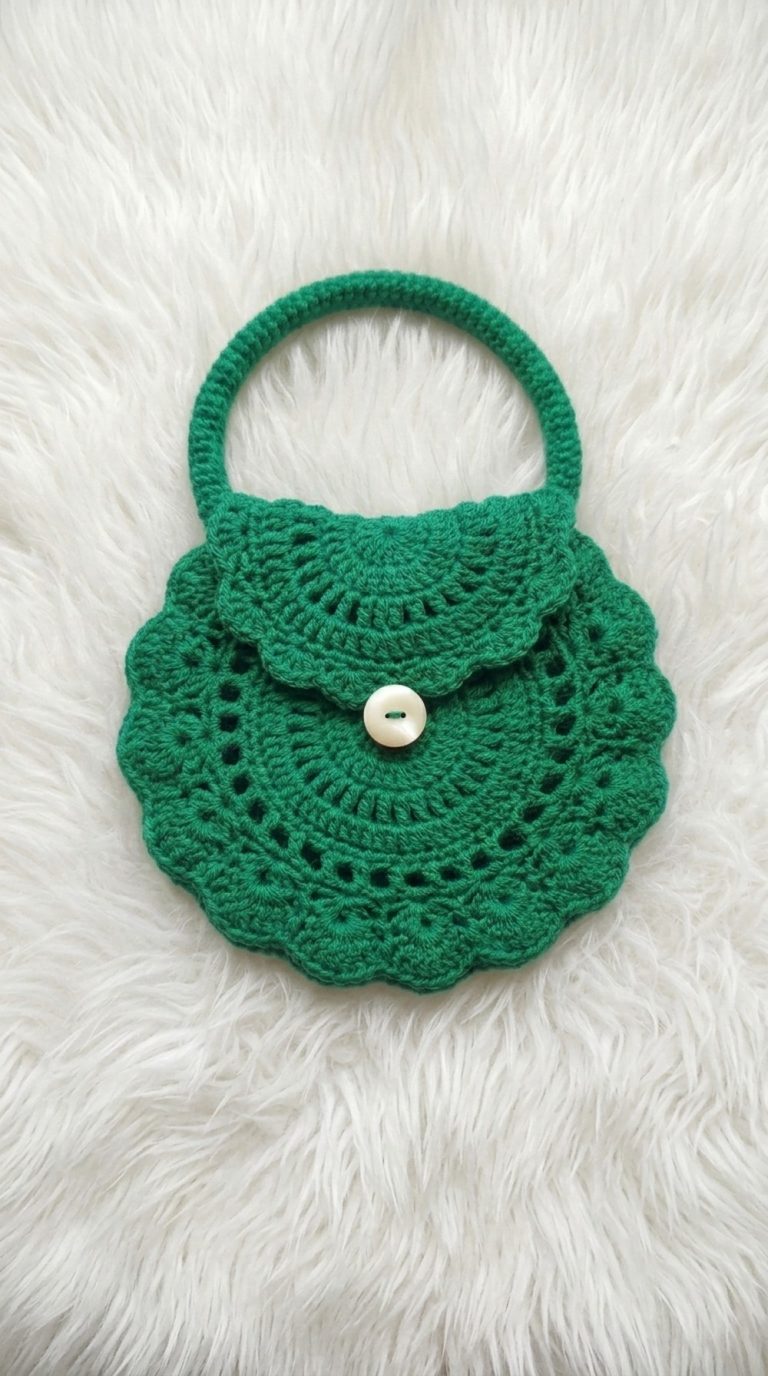
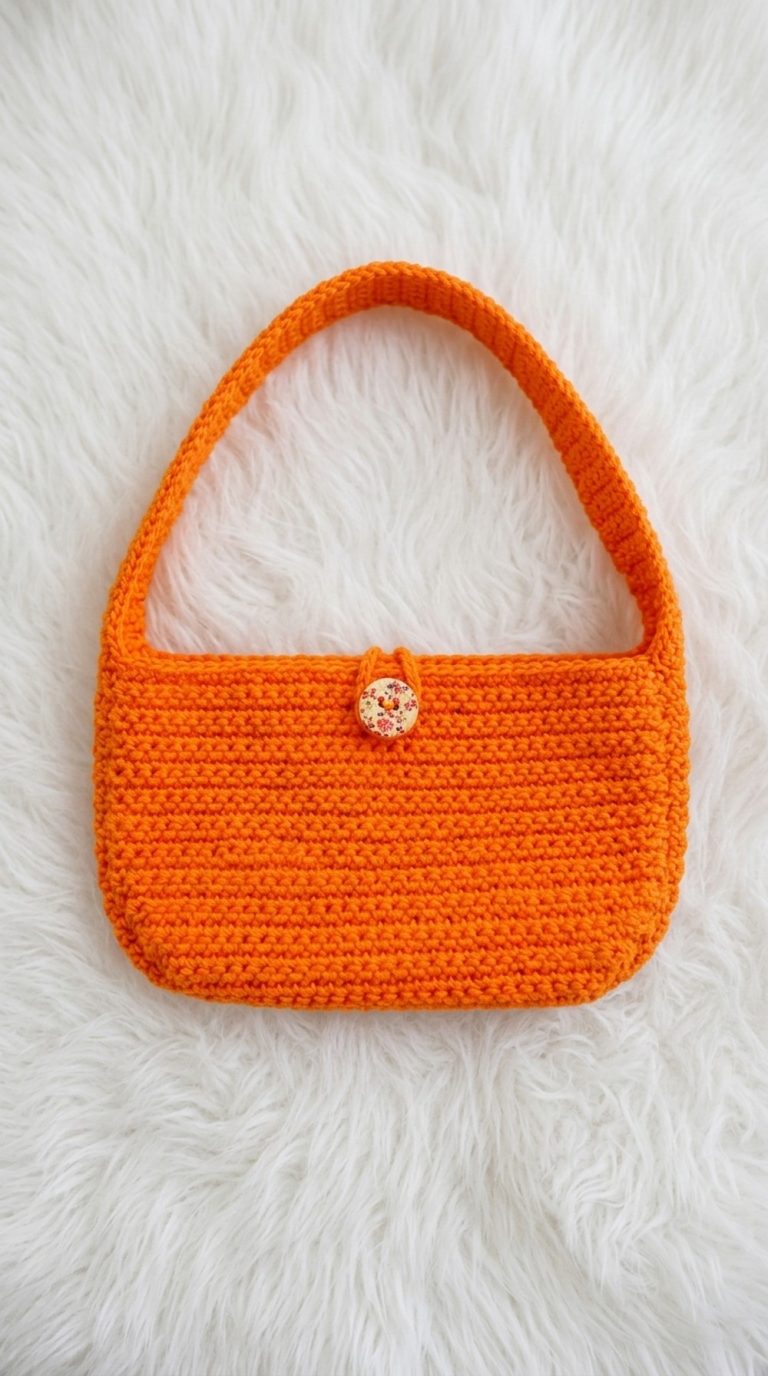
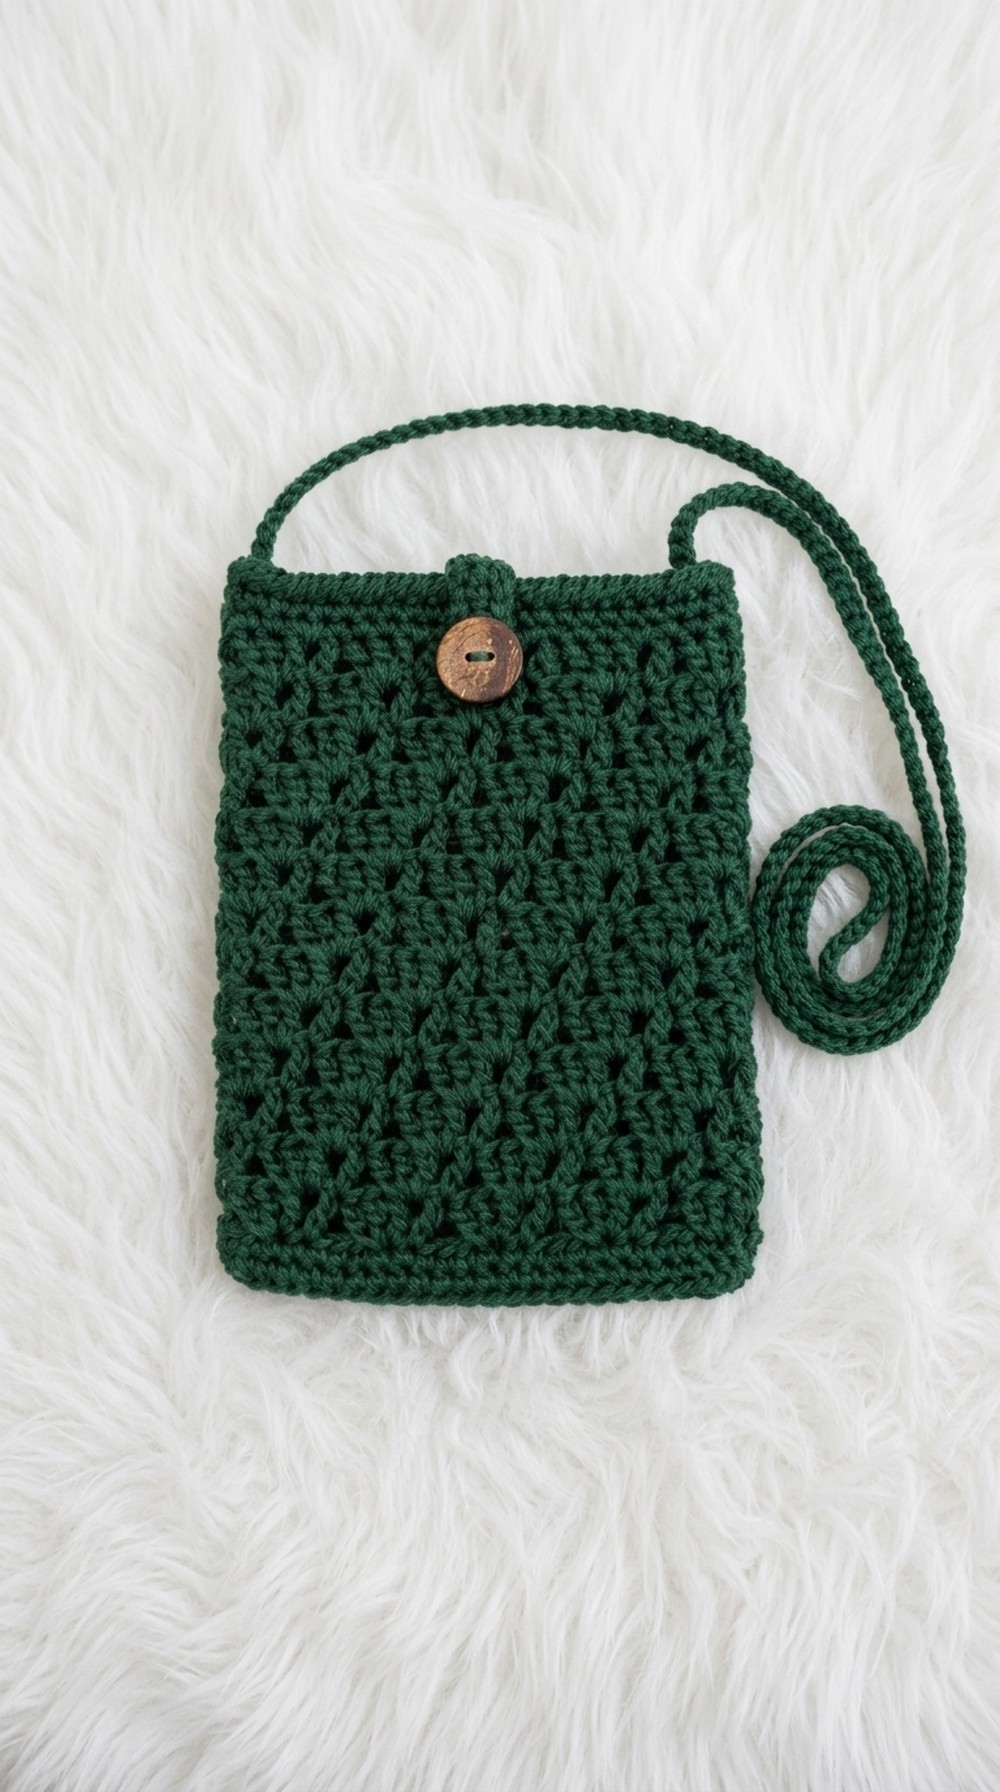
The pattern in this tutorial is a slim, elegant sling bag with a neat rectangle shape, about 13 by 18 cm, perfect for carrying everyday essentials without feeling bulky. Made with shiny poly thread, it has a slightly glossy finish that looks classy and modern. You can make it in solid colors like black, dark forest, or soft pastels, or play with brighter shades to match your outfits.
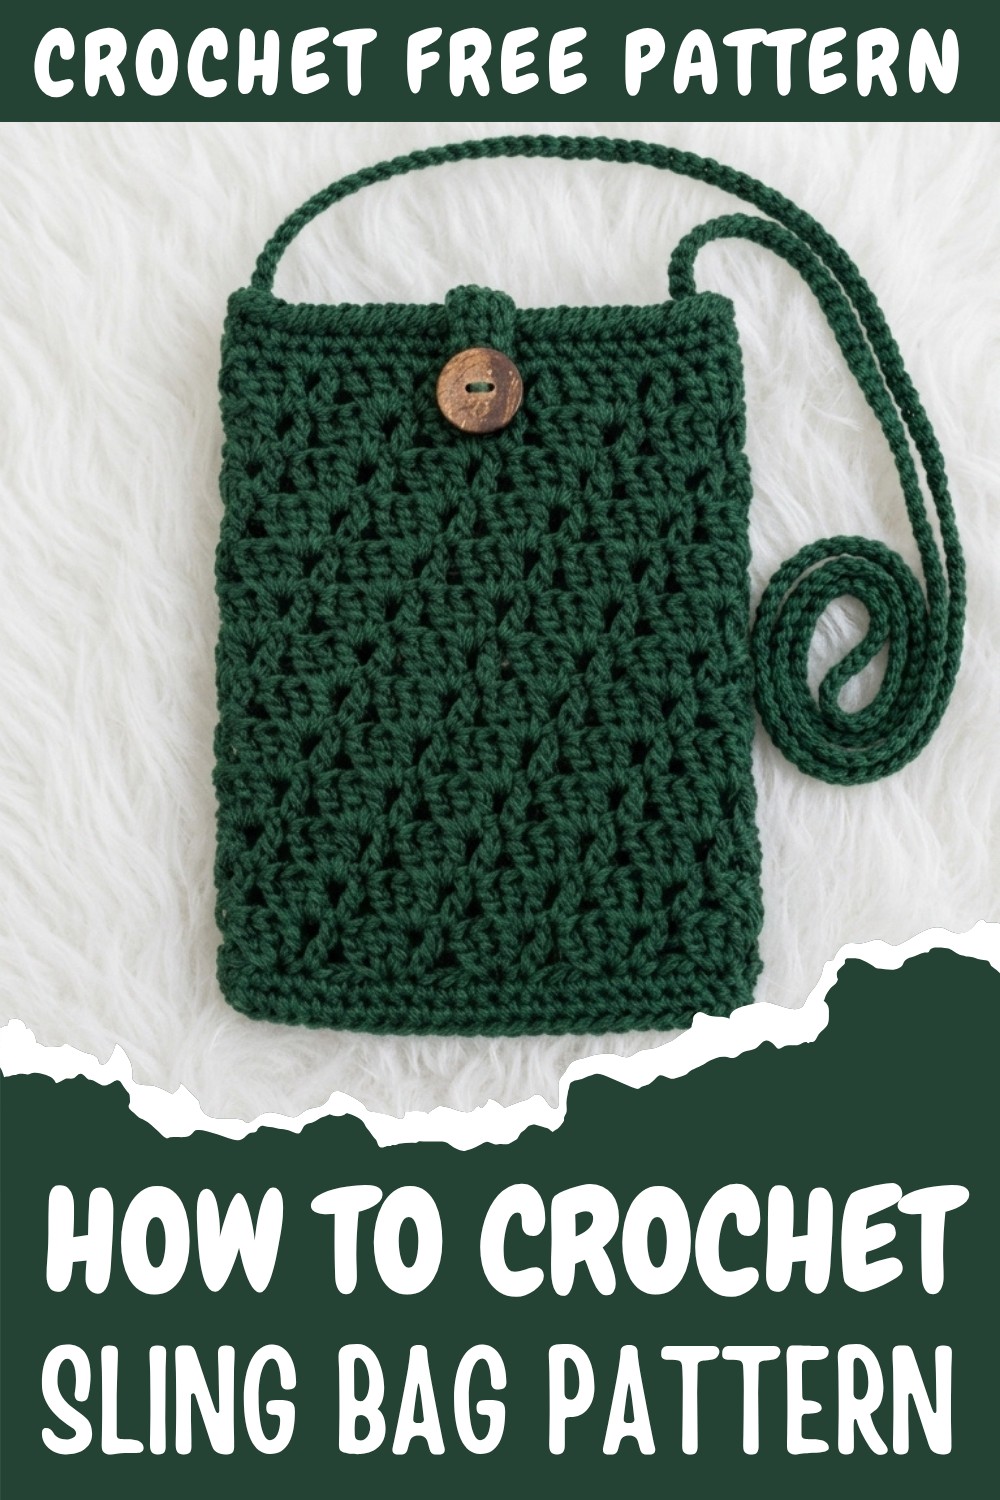
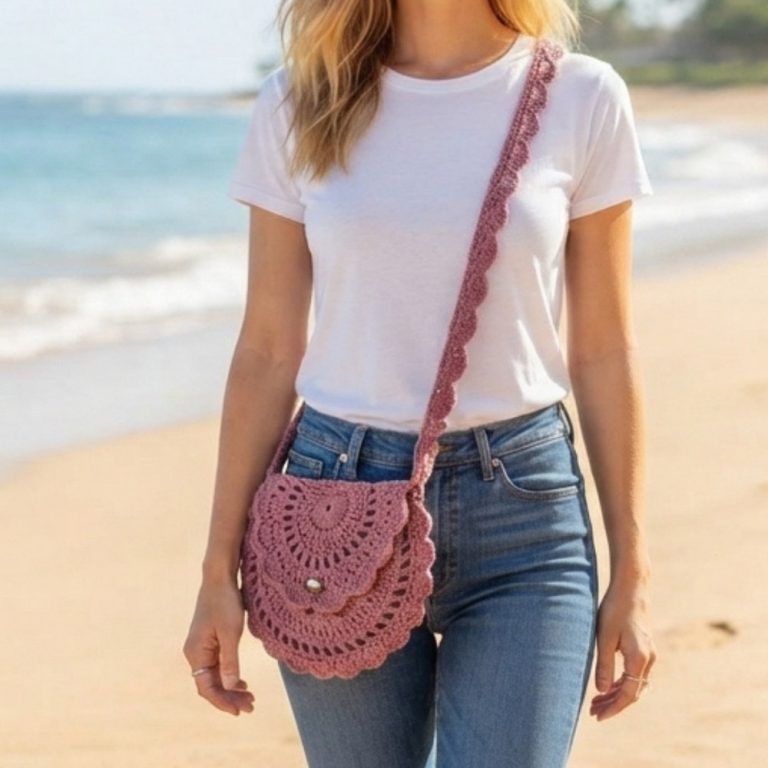
The beauty of this pattern is in its simple base and textured body. The pattern starts with a sturdy oval base in single crochet, then continues in the round to form the body. The pretty motif on the bag uses double crochet clusters, chains, and skipped stitches to create a delicate, lacy look that still feels strong enough for daily use. The top is finished with a lovely crab stitch edging, which gives a neat, rope-like border that looks professional. A small crocheted button loop and a simple button keep the bag closed, and the adjustable icord strap makes it comfortable to wear crossbody.
What You’ll Learn From This Pattern
From this pattern, you will learn how to build a strong oval base with single crochet, work in continuous rounds, and create a lacy double crochet cluster motif. You will also practice crab stitch edging, making a button loop, and attaching an icord strap securely. These techniques are perfect for making other projects like phone pouches, mini wallets, angpau wallets, small shoulder bags, and gift pouches using the same stitches and motifs.
Crochet Sling Bag Pattern
This elegant crochet sling bag is the perfect mix of style and practicality. With a compact size of 13 x 18 cm, it’s ideal for carrying essentials like your phone or keys when traveling or running errands. The bag uses single crochet, double crochet clusters, and a crab stitch for edging, giving it a polished look that suits casual and semi-formal occasions. Here, we’ll guide you step-by-step through the entire process, from starting the base to completing the strap and button closure.
Skill Level & Terminology
- Skill Level: Advanced Beginner
- Terminology: The pattern uses US crochet terms.
Materials & Tools
- Yarn: Polyester thread (e.g., Onitsuga poly thread) for a glossy and durable finish in dark forest color.
- Crochet Hook: Size 5/0 (3.75 mm)
- Additional Tools:
- Tapestry needle for weaving ends
- Stitch markers
- Matches or lighter (optional, for thread ends)
- Button for closure
- Pre-made strap (icord model strap of approx. 145 cm)
Gauge
- Gauge: 10 single crochets = 1 inch (approx.)
- Gauge isn’t critical, but it should be loose enough for neat stitches while maintaining durability.
Abbreviations List
- SC – Single Crochet
- DC – Double Crochet
- Ch – Chain
- SLST – Slip Stitch
- Sk – Skip
Special Stitches Used
- Double Crochet Clusters: Three double crochets worked into the same stitch.
- Crab Stitch (Reverse Single Crochet): Worked in reverse to create a rope-like edge.
Finished Size
- Dimensions: Width: 13 cm (5 inches), Height: 18 cm (7 inches)
- Strap length: Adjustable (approx. 145 cm)
The Pattern
1. Starting the Base (Rows 1–3)
- Start with 25 Chains (Ch).
- Row 1:
- SC in the second chain from the hook.
- SC in each chain across until the end.
- Work 3 SC in the last chain to turn into the opposite row.
- SC across the other side of the chain.
- At the last stitch, make 3 SC.
- Row 2:
- Begin by marking the first stitch with a stitch marker.
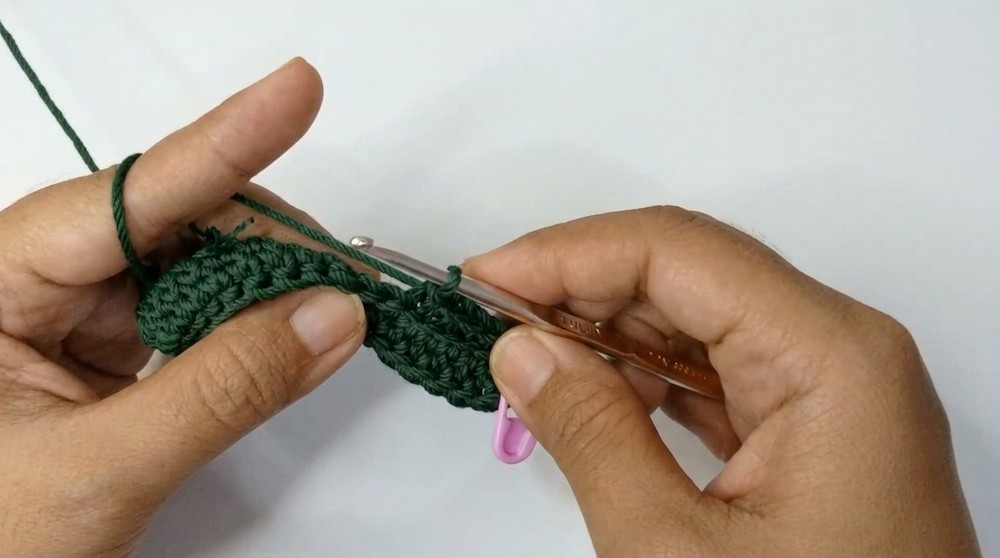
- Work 1 SC in the back loop only of each stitch around the base.
- Begin by marking the first stitch with a stitch marker.
- Row 3:
- Repeat Row 2 and continue working SC in the back loop only for all stitches.
- At the end of Round 3, you should have 50 SC evenly distributed around the base.
Completion Note: After finishing the base, you’ll have a strong oval foundation. Don’t worry if it seems tight; it will lay flat as you progress!
2. Creating the Motif Body (Rows 4–16)
Row 4 (Start of Motif):
- SLST to join at the first stitch.
- Ch 3 (counts as the first DC).
- Place a marker on the 3rd chain.
- Ch 1 as a space chain, then skip 3 stitches.
- Work 3 DC into the next stitch, continuing alternately skipping 3 stitches, 1 DC, and Ch 1, and following with 3 DC clusters.
- Join with SLST to the 3rd chain.
Row 5–16:
- Ch 3 (counts as DC), place marker.
- Ch 1 as a space.
- Work DC into the space chains and 3 DC clusters into the next space chains across the row.
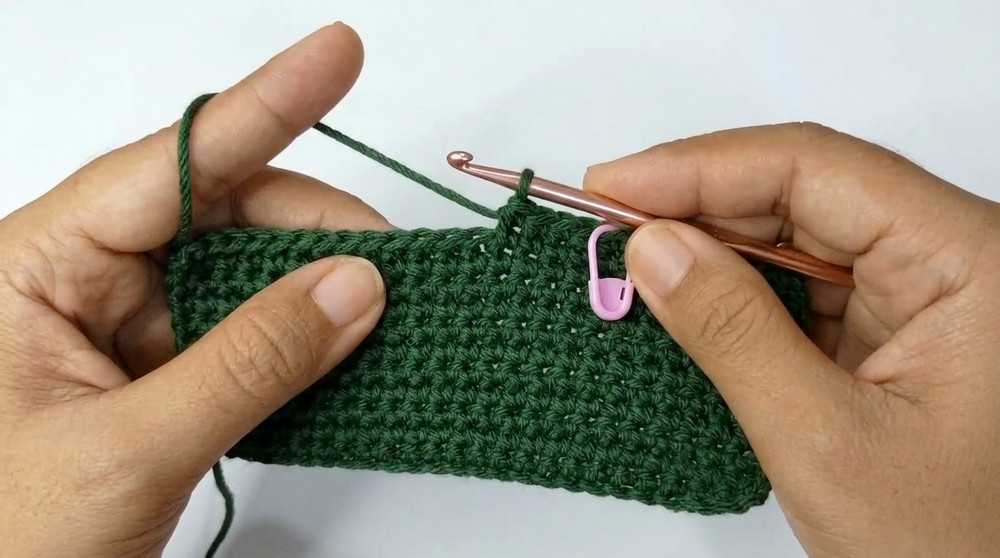
- Repeat until you’ve reached Row 16, alternating 1 DC and 3 DC clusters as established.
Completion Note: By Row 16, your bag will have a detailed motif with alternating lace-like gaps and clusters. This design makes the body delicate yet durable.
3. Edging and Finishing Rows (Rows 17–18)
Row 17:
- SC in the 3rd chain from the previous row.
- Work SC in each stitch and space, circling around the bag edge.
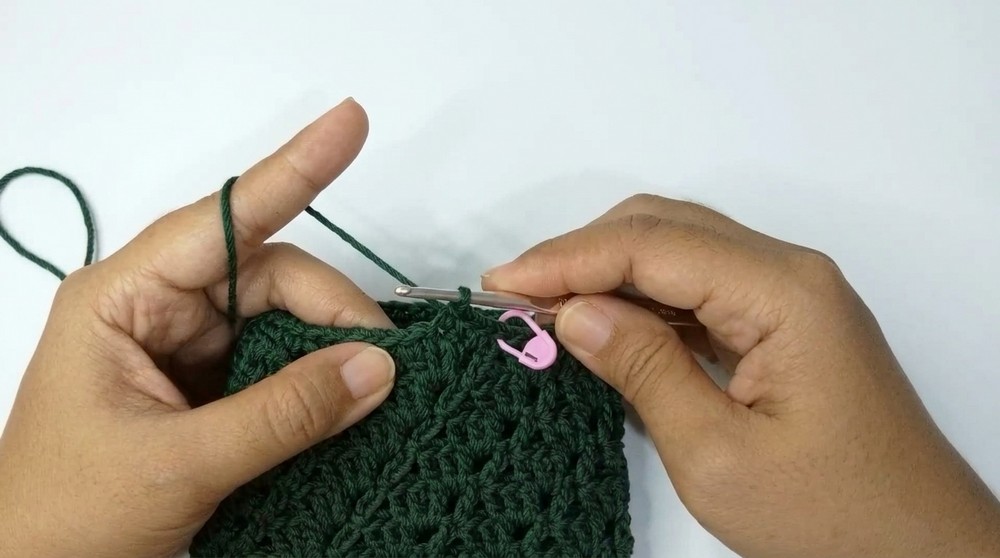
- Do not make SLST; simply continue SC around.
Row 18:
- Continue SC in each stitch, as in Row 17.
Crab Stitch (Final Edging):
- After completing Row 18, start the crab stitch:
- Insert the hook into the previous stitch (working backward).
- Yarn over and pull through two loops.
- Complete the crab stitch around for a neat, rope-like border.
Completion Note: Your bag edges should now look polished and smooth with professional-looking seams.
4. Adding Button Closure
- Cut a 30 cm thread.
- Knot the thread securely as a starting point.
- Ch 3 for the button loop.
- Work SC for 8 rows, building the button flap.
- Attach the flap securely to the center of the bag body using a tapestry needle.
- Sew the button directly underneath the flap inside the bag.
5. Attaching the Handle
- Take the pre-made icord strap (approx. 145 cm or custom length).
- Sew the ends securely to either side of the bag using leftover thread.
- Ensure the strap length is adjustable for the user’s preference.
Assembly & Finishing
- Weave in all loose ends using the tapestry needle to tidy the inside of the bag.
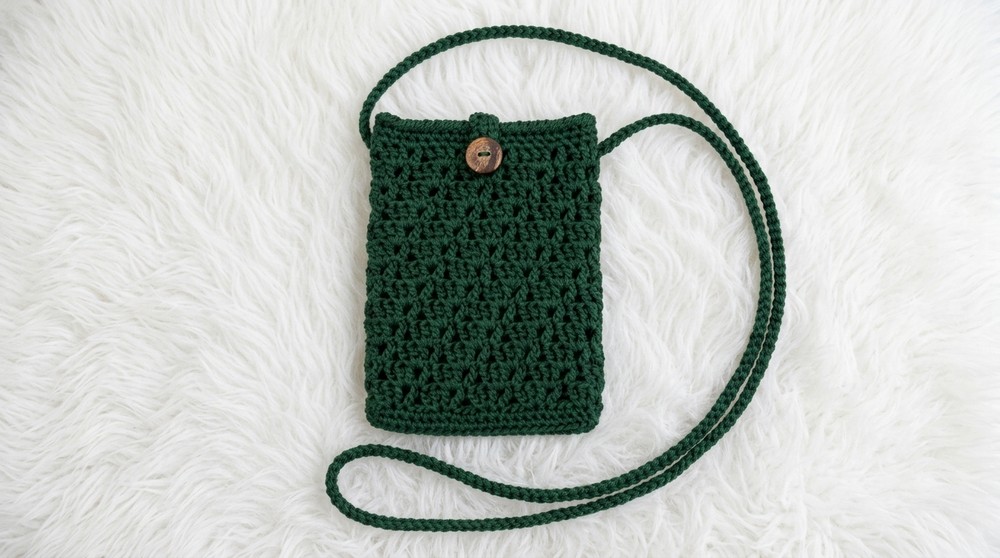
- Double-check button placement for secure closure.
- Attach the icord strap, ensuring strong stitches at the seams.
Enjoy Your Bag!
This sleek and functional sling bag is now complete! Try experimenting with colors or adding lining for additional durability. The simple techniques learned here—like working in rounds and using motif clusters—can be adapted for projects like market bags, wallets, or even decorative pouches.
Summary of Skills You’ll Learn
- Oval-shaped base creation
- Alternating motif designs using DC clusters
- Reverse single crochet (crab stitch edging)
- Basic button and strap attachment
Difficulties and Solutions
Like any new crochet project, this butterfly keychain pattern might have some challenges, especially for beginners. One common difficulty is controlling the tension of the magic ring, as it can become too loose or tighten unexpectedly. To solve this, hold the tail of the thread firmly while pulling the loops through. Another tricky part could be working into the back loops of the chain, which might feel awkward initially. Patience is key here—using a smaller, precise hook can help navigate tight spaces. If slipping stitches into the dacron-stuffed wings becomes fiddly, try using a tapestry needle to reinforce the joins.
By practicing these steps slowly and focusing on neat, tight stitches, you’ll find that each hurdle becomes easier with time and experience. And remember, no need to rush, crochet is all about enjoying the process!