Free Crochet Granny Shorts Pattern with Step-by-Step Guide

Stay cool and stylish this summer with the free crochet granny shorts pattern that blends vintage charm and modern comfort for your perfect warm-weather look.
Looking for a fun and breezy addition to your summer wardrobe? This project invites you to create a standout piece that combines comfort and style with ease. The Free Crochet Granny Shorts pattern offers a fresh twist on a classic design, perfect for warm weather or casual outings.
Quick & Easy Free Crochet Granny Shorts Pattern
These shorts are designed with a flattering fit that embraces the waist and hips comfortably, thanks to their stretchy and breathable fabric. Ideal for sunny days at the beach, weekend strolls, or laid-back gatherings, they pair wonderfully with simple tees, crop tops, or even layered over swimsuits. Their versatile style makes them a charming choice for anyone wanting to add a touch of handmade elegance to their everyday outfits.
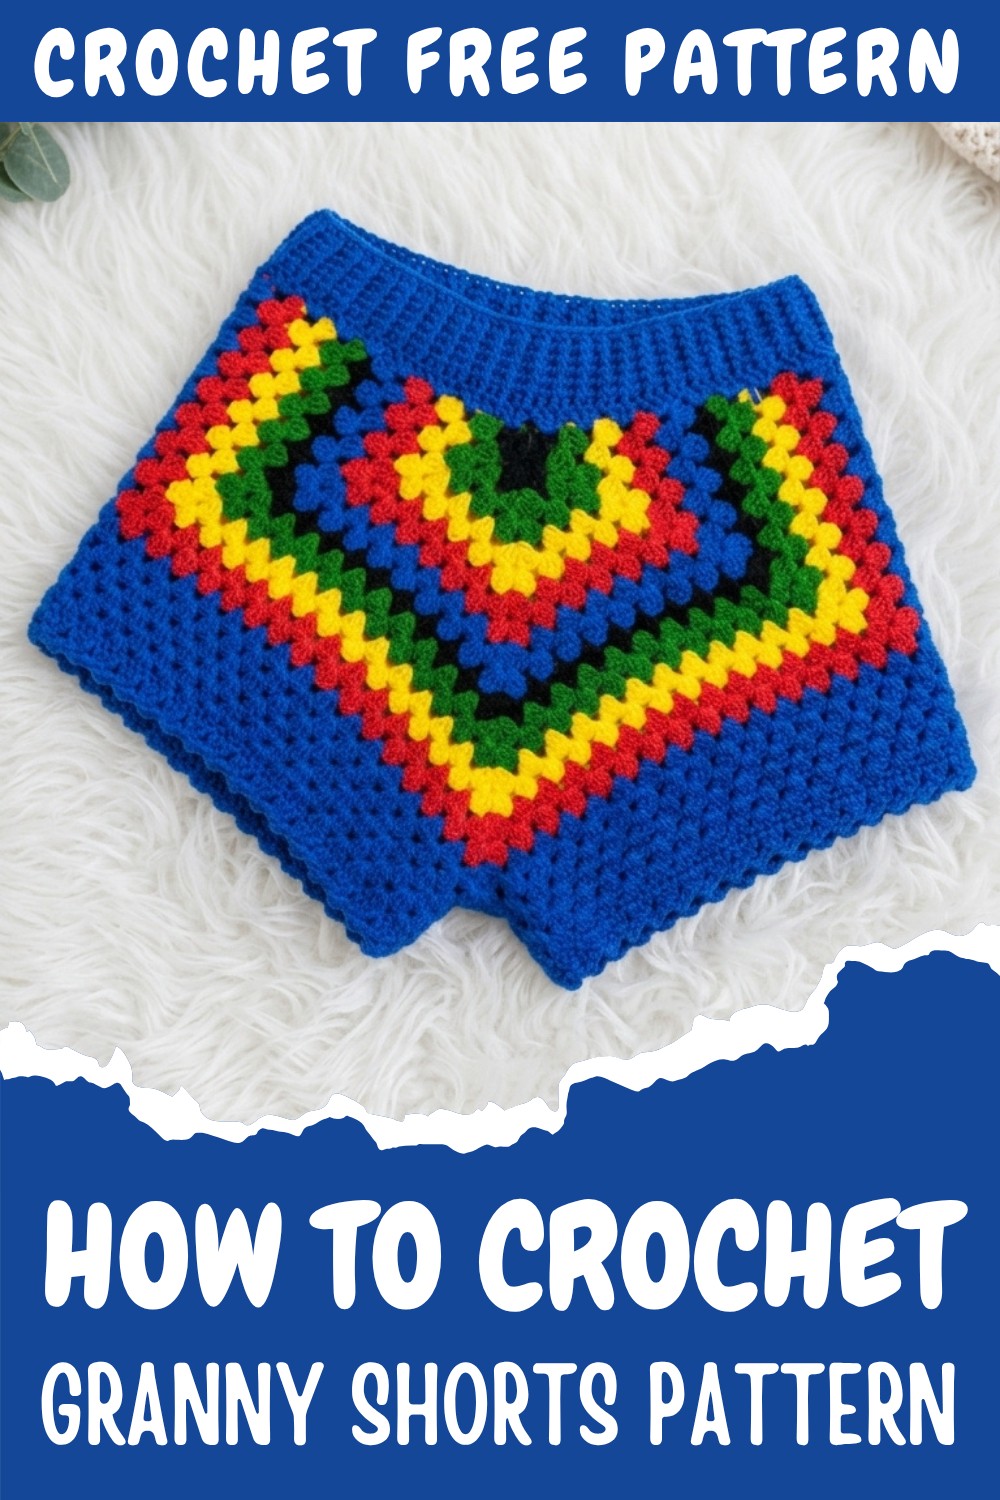
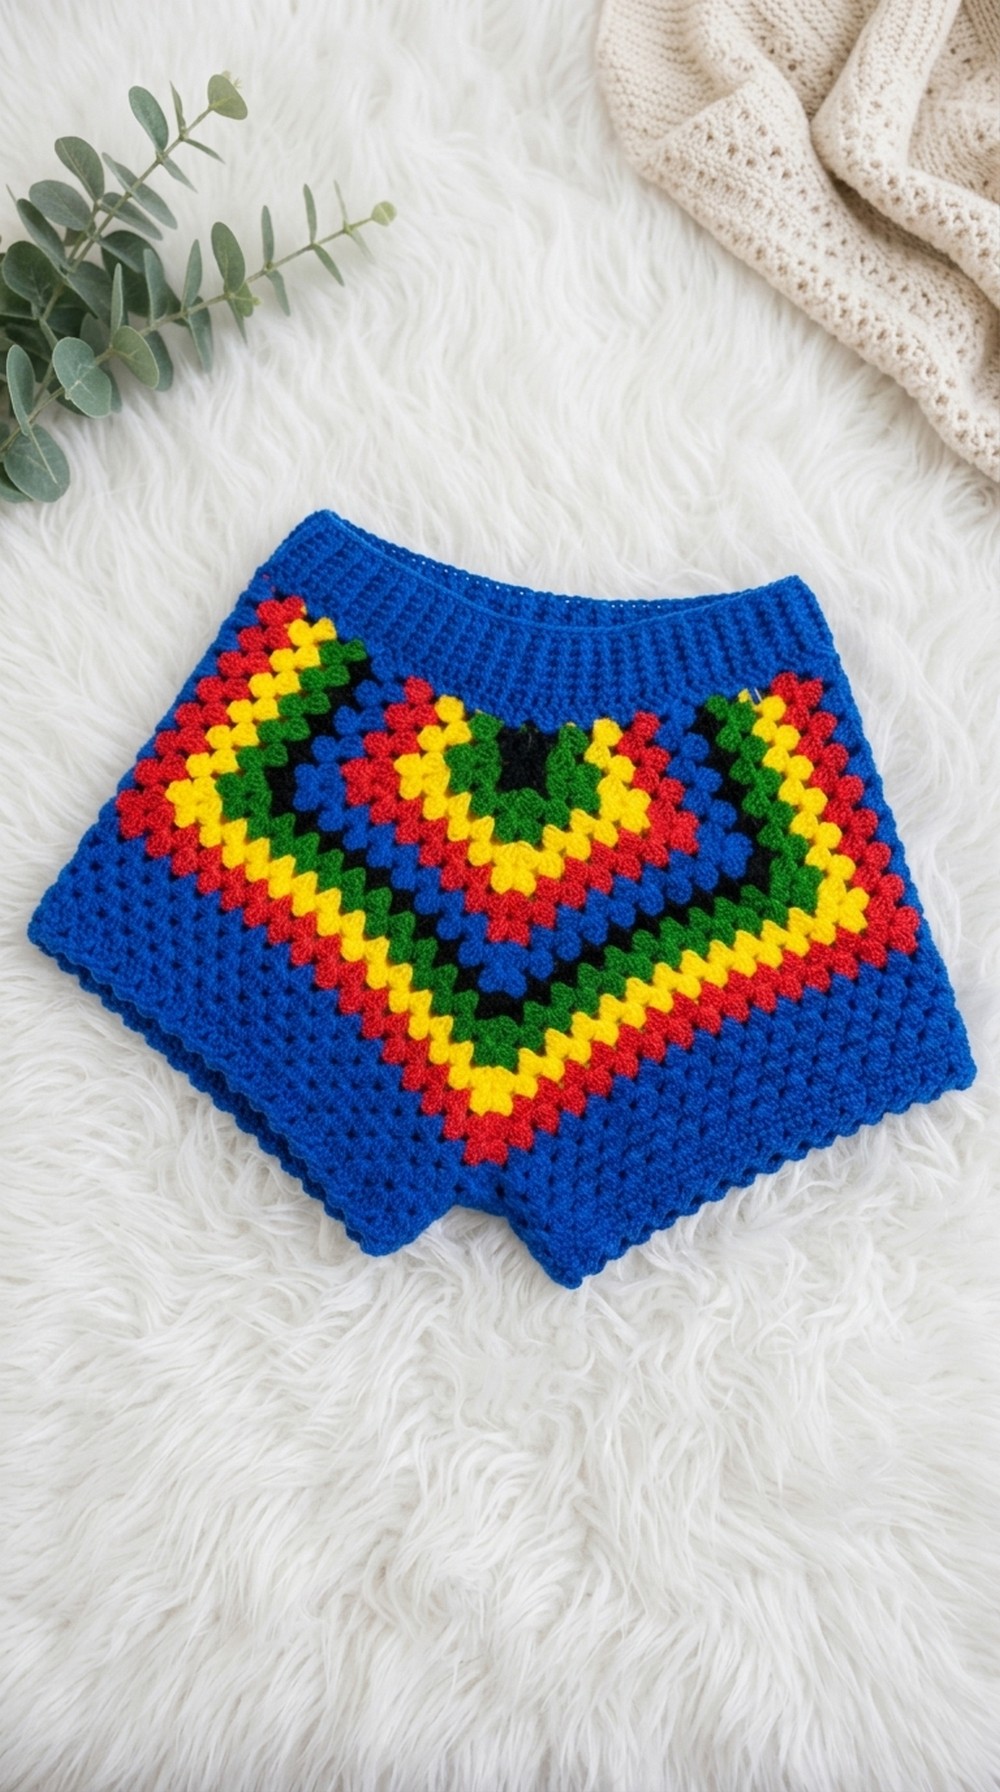
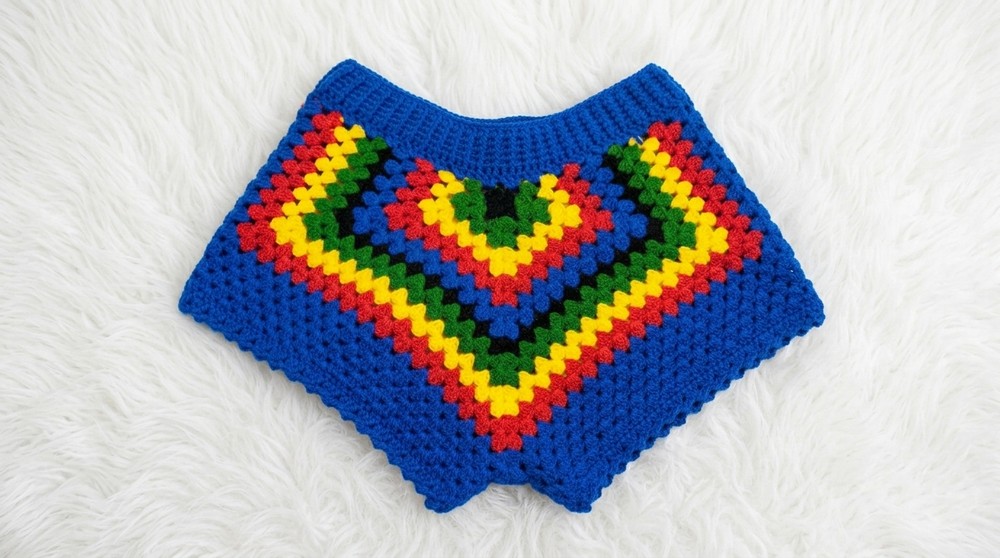
Visually, the shorts feature vibrant stripes and a playful granny square-inspired pattern that adds a nostalgic yet modern flair. The textured stitch work creates depth and dimension, allowing the colors to pop beautifully. This combination of bold hues and detailed crochet work highlights craftsmanship without sacrificing functionality.
One of the pattern’s special touches is the picot edging along the leg openings, lending a delicate and refined finish. The high-waisted design with front and back post stitches brings added structure and interest to the shorts, enhancing both fit and aesthetic appeal.
Crochet Shorts Pattern – Size Small
This pattern offers a creative way to make a stylish pair of crochet shorts featuring vibrant color changes, a fitted waistband, and decorative leg edges. Designed with two main panels, it is simple to construct and customizable to fit individual preferences. The elasticized waistband provides comfort and practicality for daily wear.
Skill Level
Intermediate
This project is suitable for crocheters with knowledge of working in rounds, color changes, sewing panels together, and creating textured stitches like ribbing with front post and back post double crochets. While the basic techniques are accessible, attention to shaping and assembly is required.
Materials Needed
- Yarn: 100% Acrylic (Madame Tricote)
- Colors: Black, Green, Yellow, Red, and Blue
- Tools:
- 3mm Crochet Hook
- Yarn needle for sewing
- Cutter or scissors
- Tape measure
Special Stitches Used
- Front Post Double Crochet (FPdc): Yarn over, insert your hook from front to back around the post of the stitch, yarn over, pull through, yarn over again, pull through two loops twice.
- Back Post Double Crochet (BPdc): Yarn over, insert hook from back to front around the post of the stitch, yarn over, pull through, yarn over again, pull through two loops twice.
- Picot Stitch: Chain 3, slip stitch into the first chain to create a small decorative loop.
Stitch Abbreviations
| Abbreviation | Meaning |
|---|---|
| ch | Chain |
| dc | Double Crochet |
| sc | Single Crochet |
| FPdc | Front Post Double Crochet |
| BPdc | Back Post Double Crochet |
| sl st | Slip Stitch |
| sp | Space |
| st(s) | Stitch(es) |
(US crochet terminology is used.)
Useful Tips
- Sizing Adjustments: For larger sizes, increase the width and length of each panel by adding extra rows or stitches.
- Smooth Color Transitions: When switching colors, fasten off the previous color and carefully weave in the ends for a polished look.
- Measure Your Progress: Check the width and length of panels against your hip and leg measurements to ensure proper fit.
- Consistent Tension: Maintain even tension throughout to keep the fabric smooth and prevent stretching.
- Ribbing Detail: Work ribbing stitches firmly to ensure the waistband provides sufficient elasticity and hold.
Step-by-Step Crochet Shorts Pattern
1. Creating the Panels
Each panel measures approximately half the hip size and forms the front and back of the shorts.
Base
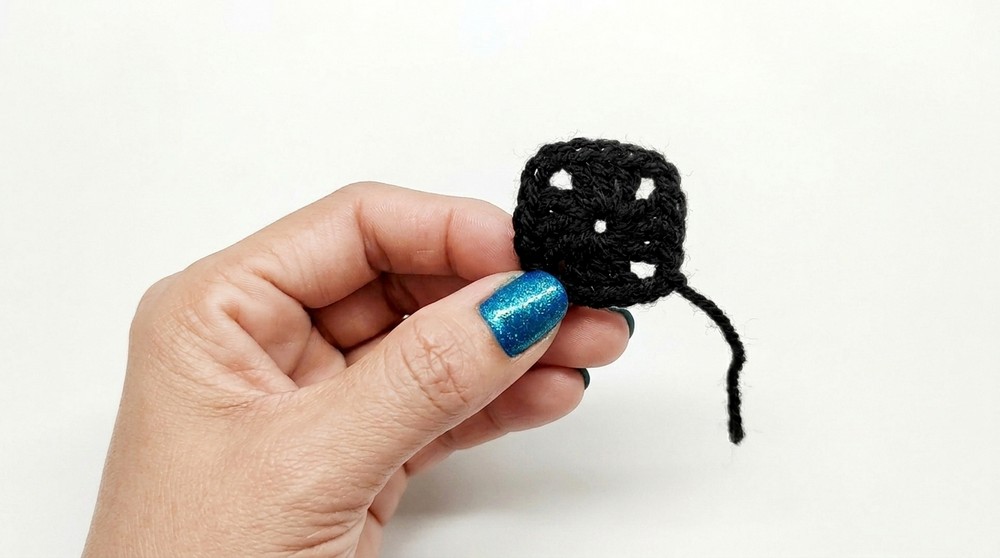
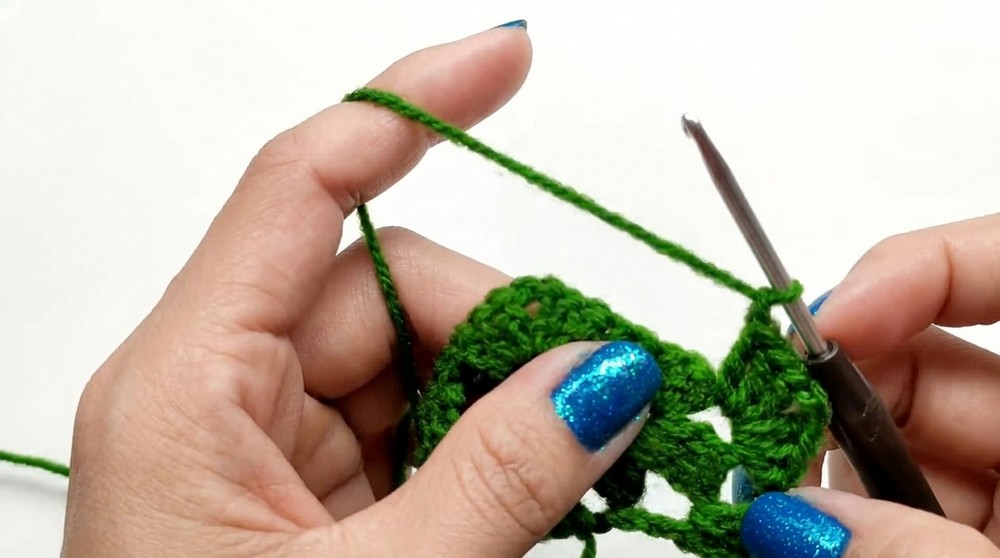
- Step 1: Start with black yarn and make a magic ring. Chain 3 (counts as the first dc) and work 2 dc into the ring, followed by ch 2.
- Step 2: Continue working sets of 3 dc separated by ch 2 spaces into the magic ring to form the first round.
- Step 3: Pull the ring tight and join with a sl st to the first dc.
Color Changes
The panels incorporate color sequences to create visual interest:
- Step 4: Work the following sequence of rows:
- 1 row black
- 2 rows green
- 2 rows yellow
- 2 rows red
- 2 rows blue
- 1 final row of black
- Step 5: Repeat this sequence until you complete 18 rows per panel.
Final Dimensions
- Each panel should measure approximately 12 inches across (unstretched) and 9 inches in height. Ensure measurements align with your hip size and adjust rows as needed.
2. Assembling the Shorts
Once both panels are complete, sew them together to form the body of the shorts.
Steps for Assembly
- Step 1: Place the two panels right sides together and sew along the sides using the yarn needle.
- Step 2: Align the crotch area and sew to close the seam securely. Ensure stitches are tight and evenly spaced to prevent gaps in wear.
3. The Legs
The legs are crocheted in rounds starting at the crotch area.
Main Leg Rows
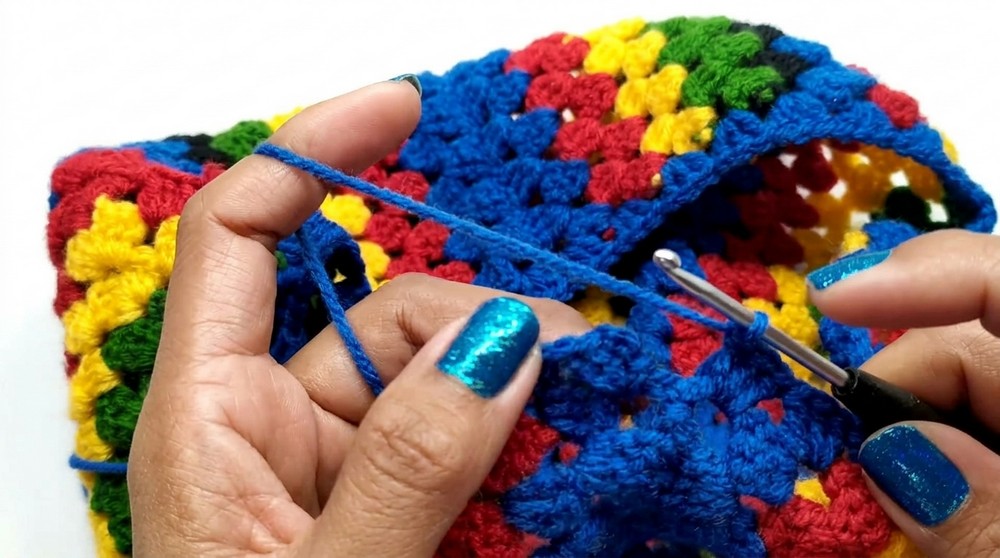
- Step 1: Attach yarn at the crotch seam.
- Step 2: Ch 3 and work 3 dc in each chain space around the leg opening. Join with a sl st to complete the round.
- Step 3: Repeat this sequence for 4 total rows, ensuring each round aligns evenly.
Edging with Picot Stitch
- Step 4: On the last row, work clusters of double crochets, pulling through loops to form decorative clusters.
- Step 5: After every cluster, work a picot stitch (ch 3, sl st into the first ch and repeat).
- Step 6: Continue this pattern around the leg opening to form a textured edge.
4. Waistband
The waistband provides structure, elasticity, and a clean finish to the shorts.
Foundation Row
- Step 1: Attach yarn to the waistband edge.
- Step 2: Ch 3, then work 3 dc into each chain space around the waist opening, joining with a sl st.
Standard Row
- Step 3: Work 1 row of full dc stitches into every stitch. This row forms the base for the ribbing effect.
Ribbing Rows
- Step 4: Begin ribbing by alternating FPdc and BPdc stitches around.
- Step 5: Complete 5 rows of ribbing, ensuring consistent alternation between FPdc and BPdc for a textured, elasticized effect.
Optional Finish
- Step 6: Work a round of sc stitches along the very top edge for a polished and clean appearance.
Customization Options
- Color Arrangement: Change the row sequence or use a gradient yarn for personalized designs.
- Size Modifications: Add or reduce rows and stitches to make larger or smaller shorts.
- Edging Style: Use decorative stitches, such as scallops or shells, for the legs and waistband.
Conclusion
This crochet shorts pattern features a structured and customizable design suitable for casual wear or lounging. With vibrant colors, comfortable ribbing, and versatile shaping techniques, this project provides a rewarding challenge for intermediate crocheters. By adjusting the sizing, colors, and edging details, you can tailor the shorts to fit individual preferences while maintaining durability and practicality.