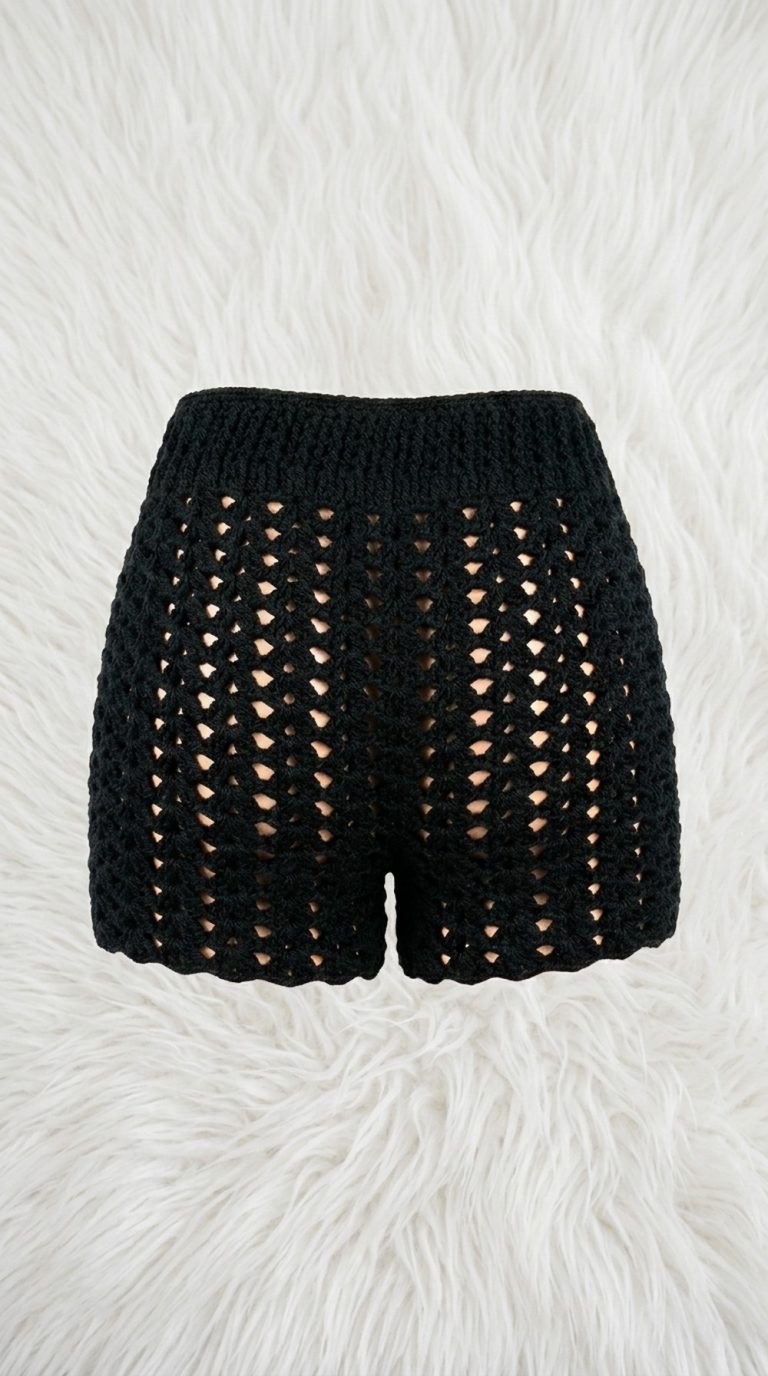
Quick Free Crochet Waisted Shorts Pattern With Step By Step Detail

Achieve the perfect fit with the free crochet waisted shorts pattern that combines comfort and style for a chic handmade summer essential you’ll love to wear.
Slipping into a pair of cozy, stylish shorts perfect for warm days and casual outings. That’s exactly what you get with the Free Crochet Waisted Shorts pattern, designed to blend comfort and fashion effortlessly. Created with versatility in mind, these shorts offer a flattering fit with a high waist that embraces your shape while providing breathability.
Beginner Friendly Free Crochet Waisted Shorts Pattern to Try
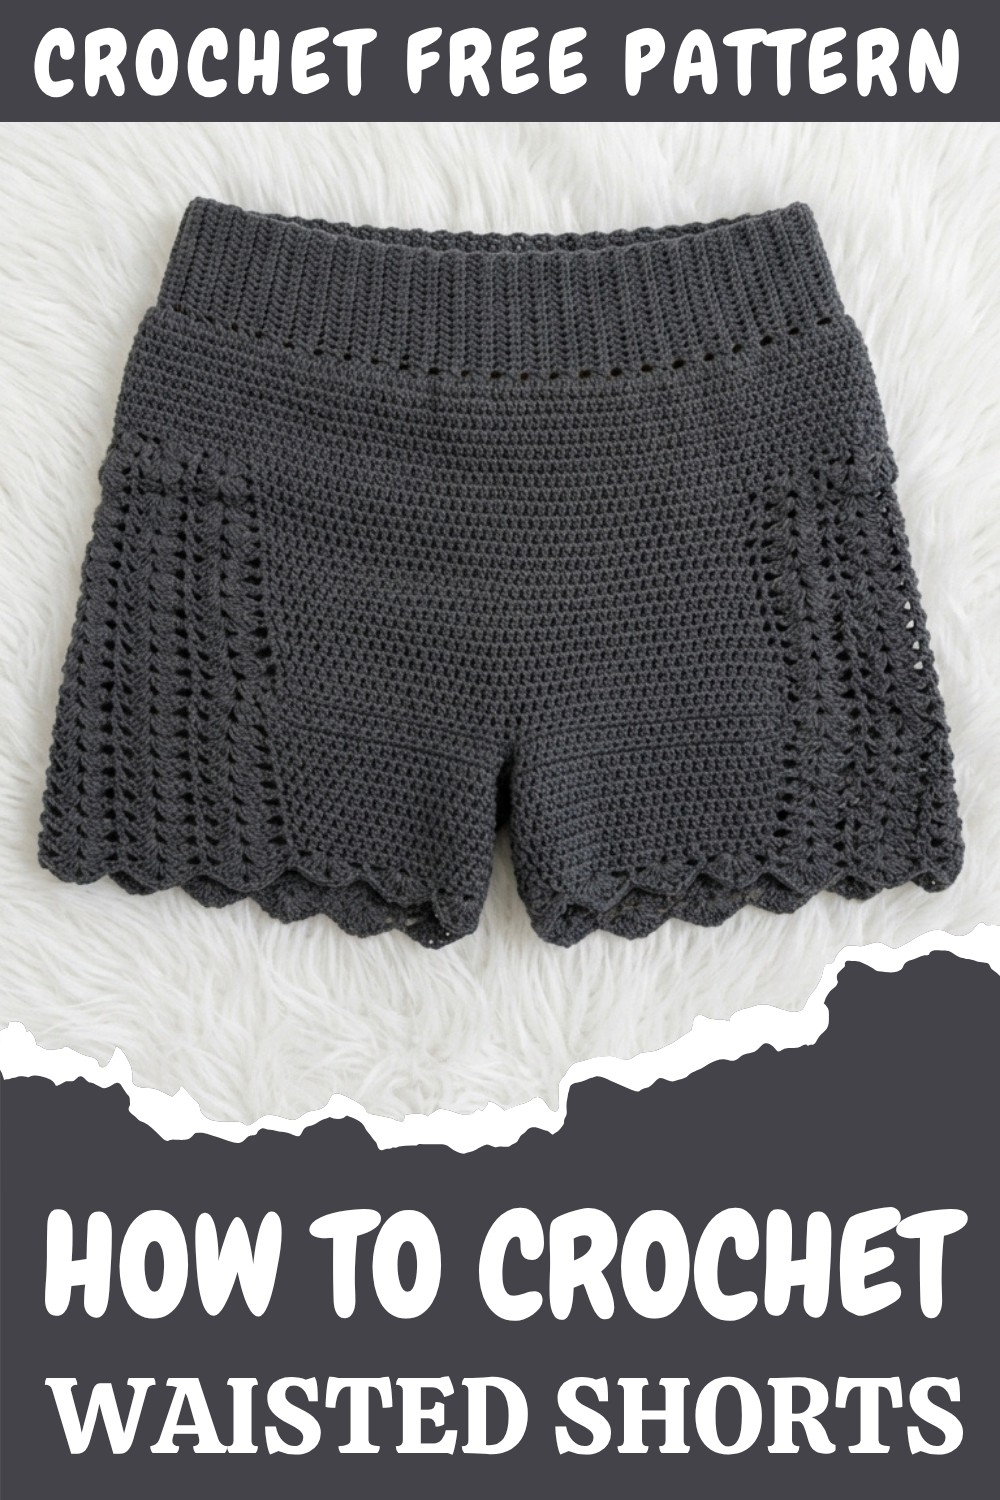
Ideal for spring and summer adventures, these shorts are great for beach trips, picnics, or simply relaxing at home. They pair beautifully with a simple crop top, tank, or even a light blouse, making them a must-have in any casual wardrobe. Their modern style with a touch of classic crochet makes them a unique addition that enhances your laid-back yet chic look.
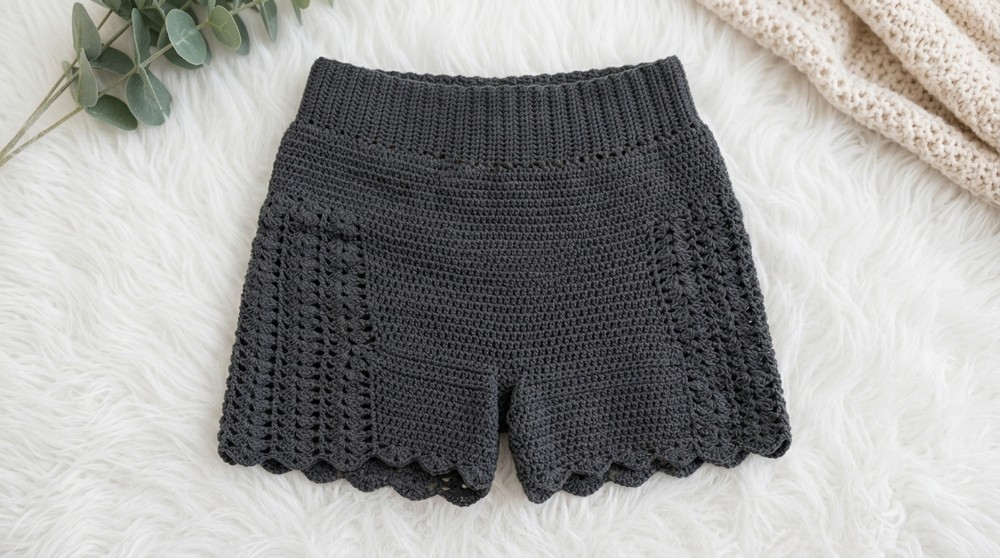
One of the most appealing aspects of these shorts is their texture. The combination of half double crochet and double crochet stitches creates a fabric that’s both sturdy and stretchy, ensuring comfort without sacrificing durability. The standout design features include decorative shell stitch panels and a ribbed waistband that offers a snug fit while adding an eye-catching detail. The leg openings are designed thoughtfully for ease of movement and style, with a neat finishing edge that adds a refined touch.
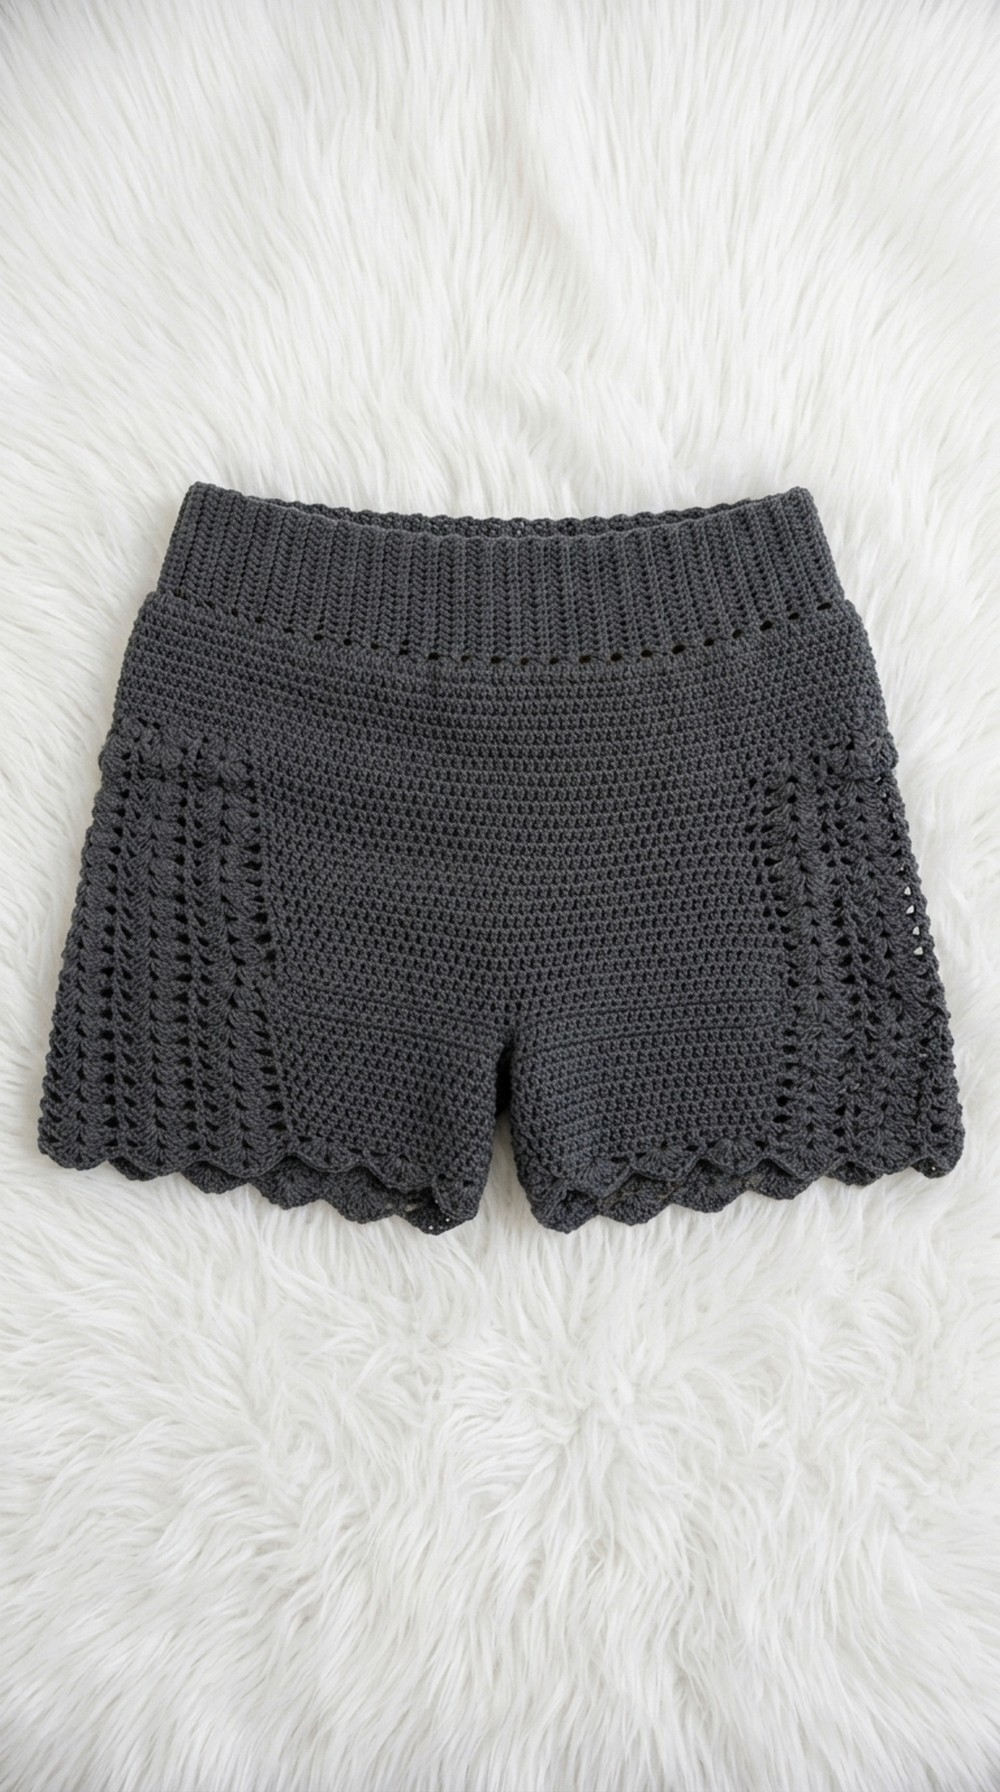
Crochet Shorts Pattern – Size Small
This crochet shorts design is both stylish and comfortable, constructed using half double crochet and double crochet stitches for versatility and durability. Featuring ribbing for waistband elasticity and decorative shell stitch detailing, the shorts are suitable for casual wear and easy pairing with other handmade tops.
Skill Level
Intermediate
The pattern uses basic crochet techniques such as half double crochet, double crochet, slip stitches, ribbing with single crochet, and assembling and sewing panels. The shell stitch detail and waistband assembly require focus, making this ideal for intermediate crocheters.
Materials Needed
- Yarn: Alize Cotton Gold yarn in the following colors:
- Dark Gray
- Tools:
- 3mm crochet hook
- Tape measure
- Cutter/scissors
- Yarn needle
Special Stitches Used
- Shell Stitch (Fan Stitch): 3 double crochet (DC), chain 2, 3 double crochet into the same space. Provides decorative flair for the shorts.
- Single Crochet (SC): Used in the waistband for ribbing and slip stitching for assembly. Insert hook into stitch, yarn over, pull through, yarn over, and pull through both loops on hook.
- Half Double Crochet (HDC): Yarn over, insert hook into stitch, yarn over and pull up a loop, yarn over and pull through all three loops on the hook.
Stitch Abbreviations
| Abbreviation | Meaning |
|---|---|
| ch | Chain |
| dc | Double Crochet |
| hdc | Half Double Crochet |
| sl st | Slip Stitch |
| sc | Single Crochet |
| st(s) | Stitch(es) |
| sp | Space |
Useful Tips
- Correct Measurement: Take accurate hip measurements for the foundation chain, following the guidelines for different sizes.
- Color Management: Weave in ends securely at each color change to avoid tangling during wear.
- Stretch Check: Regularly check ribbing stretch for the waistband to ensure proper fit while assembling.
- Panel Alignment: Use stitch markers to align the panels and crotch accurately during assembly.
- Seam Technique: Keep seams flat and even to enhance comfort and durability.
Step-by-Step Crochet Shorts Pattern
1. Foundation Chain
Create the foundation chain based on your hip measurement.
- Recommended Chains for Sizes:
- Size Small (35-inch hips): Chain 174 + 1.
- Size Medium (37-inch hips): Chain 186 + 1.
- Size Large (41-inch hips): Chain 222 + 1.
- Size XL (46-inch hips): Chain 252 + 1.
- Step 1: After chaining the required number, release your hook from the last chain. Make sure the foundation chain is not twisted.
- Step 2: Connect the first stitch to the last chain with a sl st to form a closed loop. Ch 1 to start the first row.
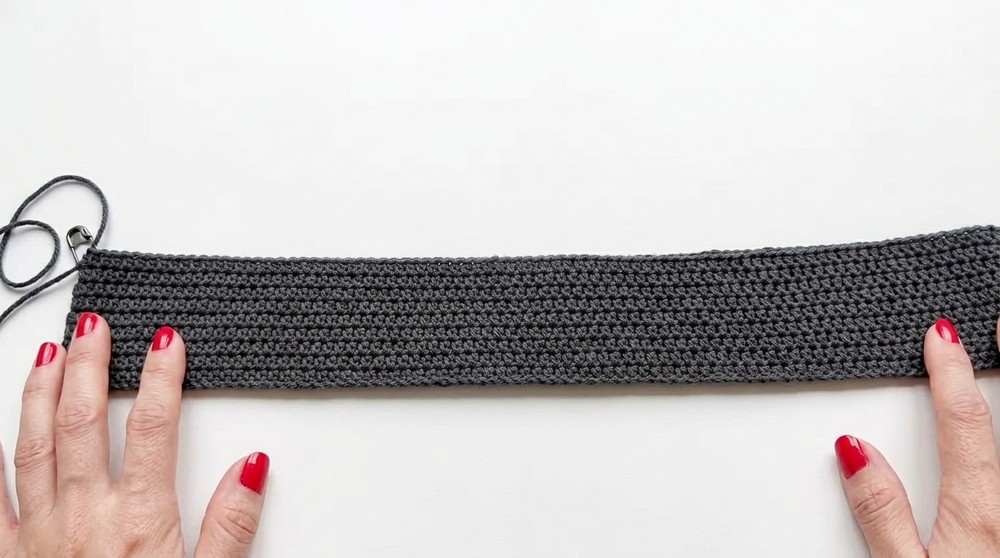
2. Main Body
Crochet the main body using half double crochet and rows of decorative shell stitch.
Base Rows (Half Double Crochet)
- Step 1: Work hdc into the first stitch and every stitch around.
- Step 2: Repeat this row for a total of 9 rows of hdc.
Shell Stitch Detail
- Step 1: Mark the front and back centers using stitch markers. On the front panel, locate the desired space for the decorative shell stitch detailing.
- Step 2: Remove stitch marker and begin:
- Work 38 hdc across.
- On the 39th stitch, work 1 dc.
- Skip 2 stitches, and in the 3rd stitch, work 3 dc, ch 2, and 3 dc in the same stitch (shell stitch).
- Repeat: Skip 2 stitches, 1 dc in the next stitch, skip 2 stitches, shell stitch in the next stitch.
- Step 3: After completing shell stitches, continue the remaining row with hdc.
3. Main Body Assembly
The shorts consist of the front and back panels joined at the seams.
Steps for Assembly
- Step 1: Fold the two panels so they form the front and back of the shorts.
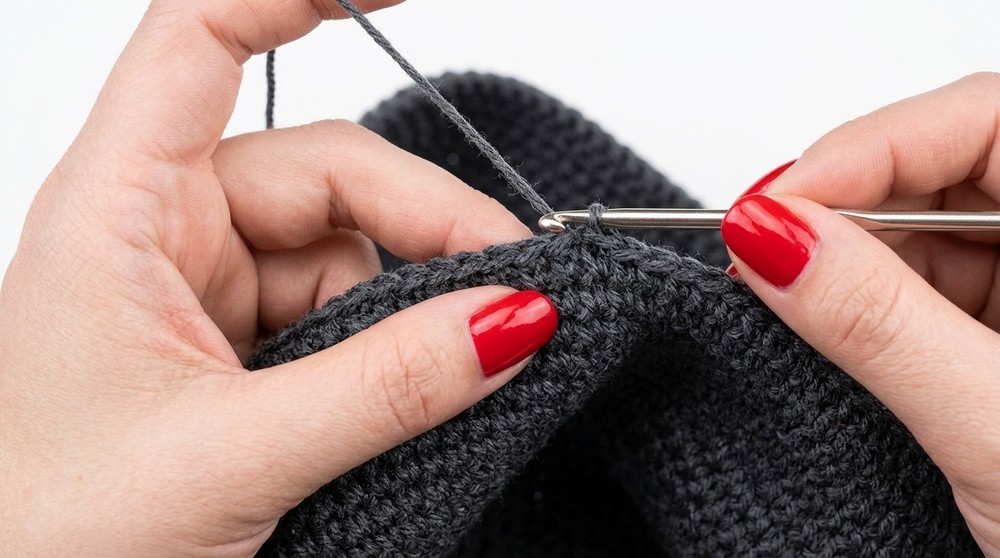
- Step 2: Sew the panels together along the side seams using your yarn needle.
Crotch Shaping
- Step 1: Mark the center crotch area on both sides and remove stitch markers.
- Step 2: Ch 20 and slip stitch to the other side to connect the crotch seam.
Ensure this loop fits comfortably without stretching excessively.
4. Legs
Each leg hole is worked in rounds with decorative shell stitch.
Leg Rows
- Step 1: Attach yarn at the crotch seam. Ch 1 and work hdc all around the leg opening for 1 row.
- Step 2: On the second row, begin shell stitch detailing. Follow the same technique as outlined for the shell stitch detail:
- 1 dc, skip 2 stitches, 3 dc, ch 2, 3 dc in the same space, repeat around.
- Step 3: Alternate rows between hdc and shell stitch until completing 9 rows total.
- Step 4: For the final row, work decorative edging using shell stitch alone around the leg opening.
5. Waistband
The waistband is worked separately and attached to the shorts for secure fit and elasticity.
Foundation Row
- Step 1: Ch 16 for the waistband height.
- Step 2: Beginning in the 2nd chain from the hook, sc 15 stitches.
Ribbing Rows
- Step 1: Turn your work and begin ribbing by working sc into only the back loop of each stitch across.
- Step 2: Continue working ribbing rows until the waistband fits snugly around your waist/hips. Ensure stretchability with regular checks.
Joining Waistband
- Step 1: Slip stitch the two short ends of the waistband together.
- Step 2: Flip the shorts inside out and align the waistband with the shorts opening.
Attachment
- Step 1: Pin or mark the waistband at 4 points around the shorts opening (front, back, two sides) for even alignment.
- Step 2: Using sc, securely attach the waistband to the shorts, adjusting stitch placement to maintain smoothness across seams.
Customization Options
- Colors: Use gradient or solid yarns to customize the look of your shorts.
- Length Adjustments: Extend the number of rows in the legs or waistband based on desired length.
- Add Drawstrings: Add a drawstring to the waistband for extra security.
- Decorative Edging: Incorporate scalloped edges or different decorative stitches into the leg openings.
Conclusion
This crochet shorts pattern offers both comfort and style with its shell stitch detailing, elasticized waistband, and lightweight design. From colorful panels to textural elements, these shorts provide a fun and creative challenge for intermediate crocheters. With the ability to customize size, colors, and finer details, the finished product is a versatile addition to any handmade wardrobe.