Easy Free Crochet Mesh Shorts Pattern With Ruffles

Shake up your wardrobe with the Free Crochet Mesh Shorts Pattern for casual, breezy fashion that keeps you feeling fresh and looking trendy.
There’s something stunning about crocheting your own summer wardrobe, isn’t there? Crochet mesh shorts are a fantastic way to combine style, comfort, and handmade love. With their airy, breathable design, this pattern offers both practicality and charm for warmer days.
Crochet Mesh Shorts Pattern for Warm Days
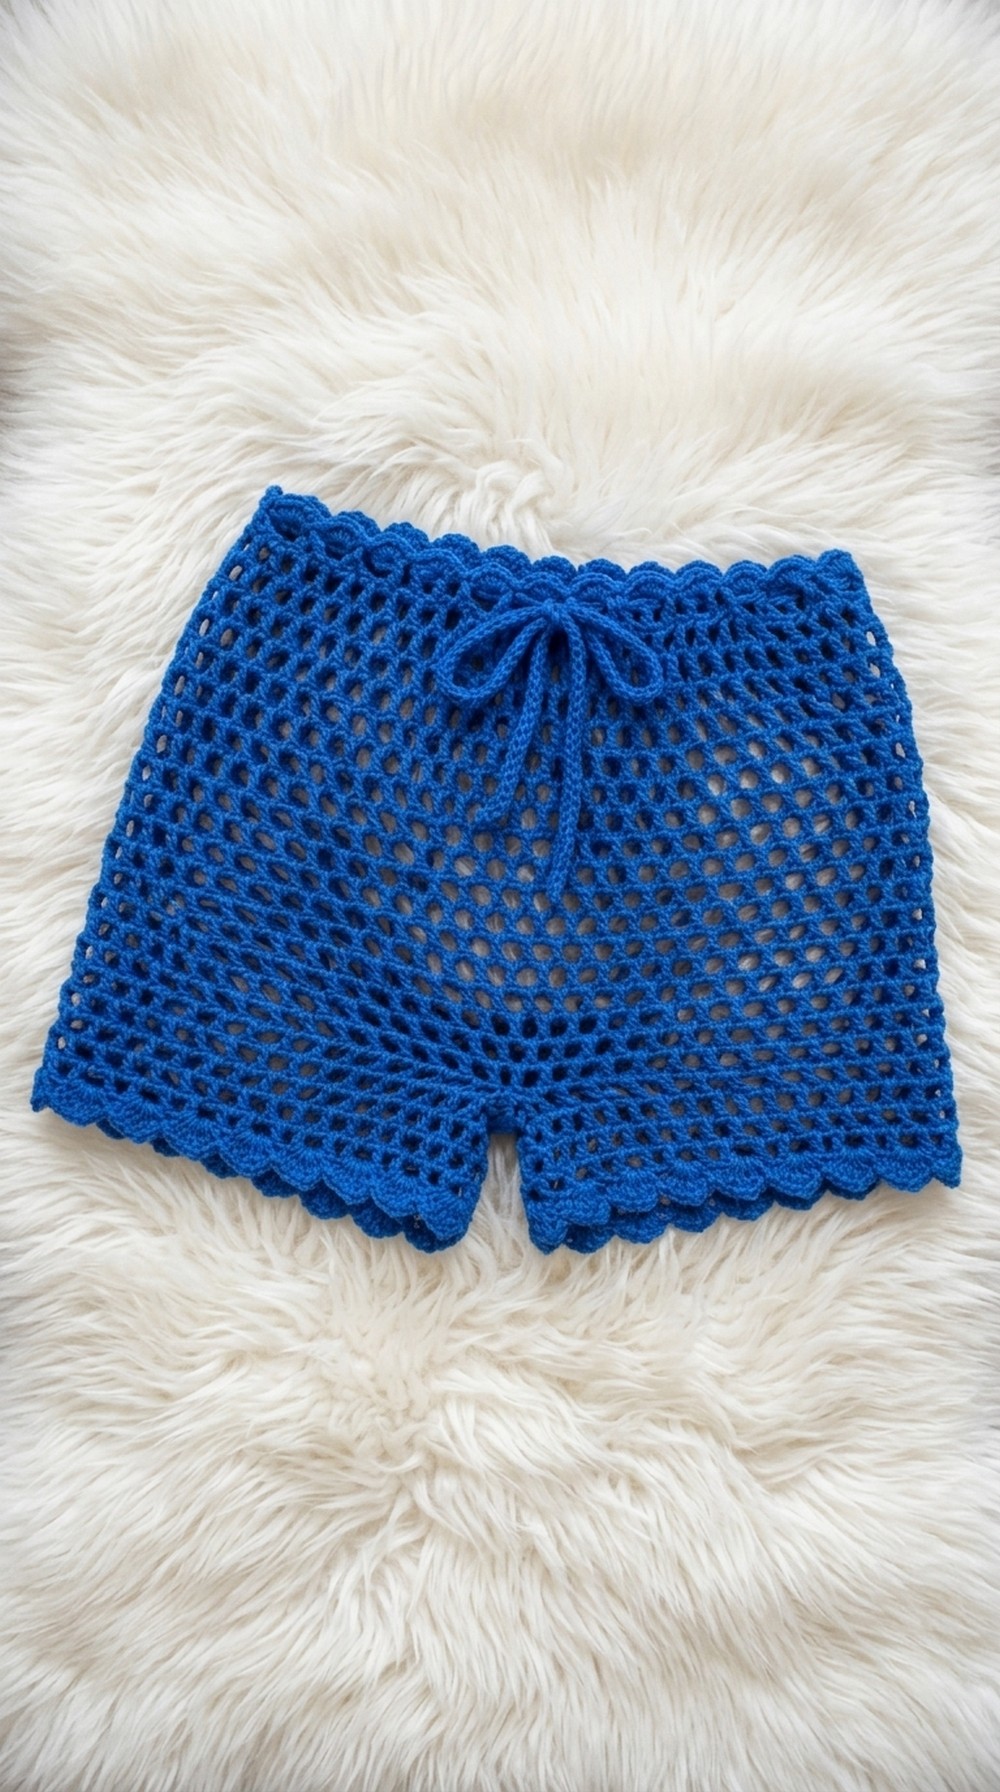
The pattern uses a vibrant blue yarn to create a bold and eye-catching look, though you’re free to experiment with soft pastels, earthy neutrals, or even multicolored yarns for a personalized touch. The decorative ruffled border adds an elegant flair to the edges, making them casual yet stylish. These shorts are super versatile; wear them for relaxing at home, during beach outings, or as lightweight swimwear cover-ups.
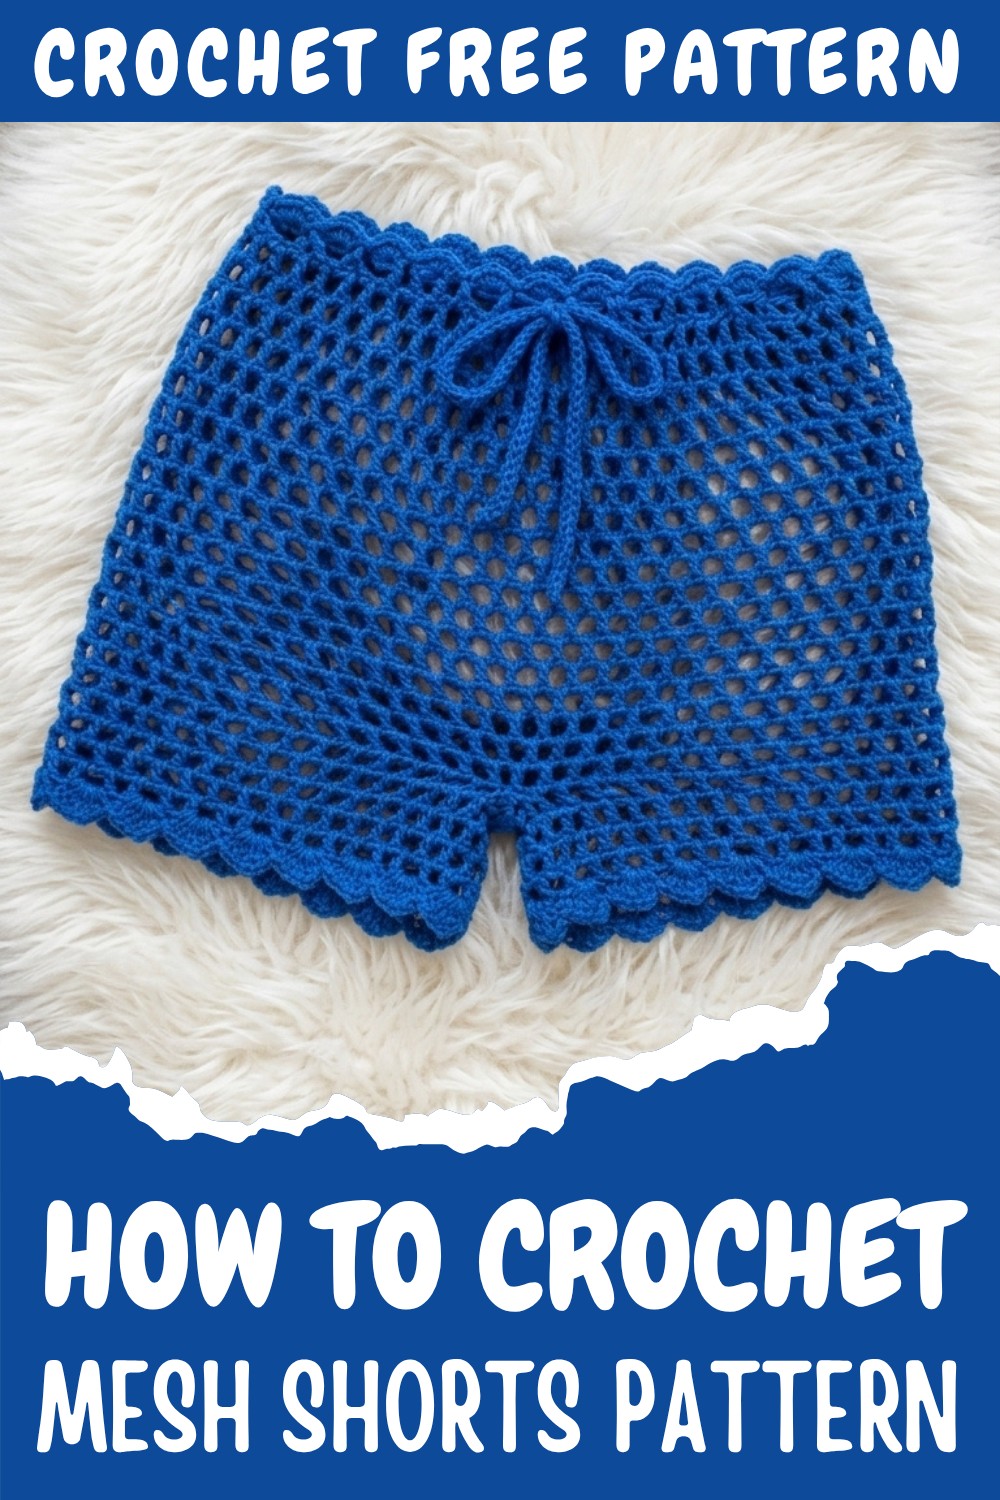
The pattern’s beauty lies in simplicity and adaptability. You’ll work basic stitches like the double crochet (dc) and chain (ch) to form a stunning mesh structure. These foundational stitches make the project beginner-friendly, while also opening the door to endless possibilities. Want to try something new, extend the length for cozy trousers, or adjust the rows for high-waisted shorts. With these same stitches, you can also create summer crop tops, skirts, or even mesh-style accessories like airy tote bags.
Mesh Shorts Crochet Pattern (With Bonus Ruffles!)
This crochet pattern will guide you step by step to create a pair of beautiful, easy, and beginner-friendly mesh shorts. The entire project uses basic crochet stitches with effortless repeats, making it perfect for summer wear. You’ll also learn to add decorative ruffles at the bottom for an extra touch of style.
These crochet mesh shorts are designed to be stylish yet functional. With an adjustable waistband and optional ruffles, they can be customized into shorts, long pants, or even beach coverups. This project is fast to make and beginner-friendly, taking approximately 3-4 hours to complete.
Skill Level & Terminology
- Difficulty Level: Beginner
- Crochet Terminology: US Terms (Note: Adjust terms if using UK terminology, i.e., “double crochets” in US = “treble crochets” in UK)
Materials & Tools
- Yarn: 3 balls of 50g medium-weight yarn (sample used blue)
- Hook Size: 3.5 mm crochet hook
- Other Tools: Scissors, measuring tape, and a yarn needle for sewing loose ends
Gauge
- 4″x4″ (10×10 cm) Gauge: 14 double crochets x 7 rows
Adjust your hook size if your gauge doesn’t match.
Abbreviations
Here are the common abbreviations used throughout the pattern:
- Ch: Chain
- Dc: Double Crochet
- Sc: Single Crochet
- Sl St: Slip Stitch
- Sp: Space
- St: Stitch
Special Techniques Used
- Alternating rows: For a straighter center seam, turning the work at the end of each row is essential.
- Waistband Chains: A long chain is created and threaded as a drawstring for an adjustable waistband.
Finished Size
- Size Small to Medium: Approximately 9 inches tall with a 32-inch hip circumference when stretched.
- Adjustments: Instructions for medium to large sizes are included.
Pattern Instructions
Foundation Chain and Row 1 (Waistband Base)
- Start with a slip knot.
- Chain 140 (for size S–M).
- For size M–L: Chain 150 or 160, based on your hip size.
- Add 2 extra chains.
- Skip 3 chains, and in the 4th, make a double crochet (dc).
- Chain 1, skip the next chain, and make another dc in the next stitch.
- Repeat (Ch 1, skip 1, Dc) across the row.
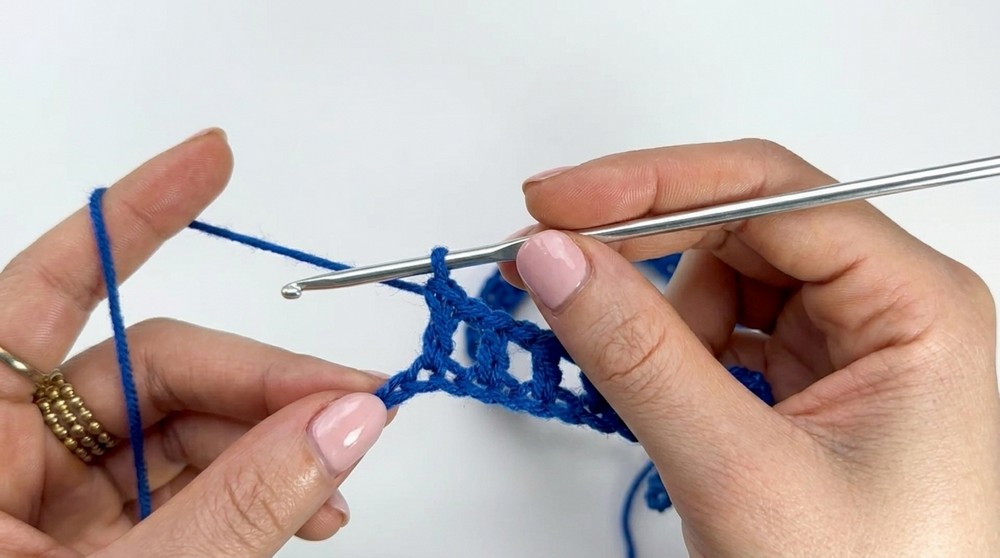
- At the end, leave one stitch and make a dc in the last stitch.
Make it a Circle (Row 1 Completion)
- Align your chain carefully to form a circle, ensuring it’s not twisted.
- Join with a slip stitch (sl st) into the starting chain-2 space.
Note for beginners: This row forms the waistband base. If you’re confused about chaining or joining the circle, watch closely for stitch placement to avoid twisting.
Row 2 (Starting the Mesh Pattern)
- Chain 3 or 4 (counts as Dc + Ch 1).
- Work 1 Dc in the first chain-1 space, followed by Ch 1.
- Repeat (Dc, Ch 1) into each chain-1 space across the row.
- At the end of the row, sl st into the top of the starting chain.
Tip: Alternate between turning or not turning the work after every row. This keeps the seam alignment straight and avoids a crooked center.
Row 3 to Row 18 (Mesh Repeat)
- Repeat Row 2 for this entire section. Continue alternating the turn direction after each row for straight alignment.
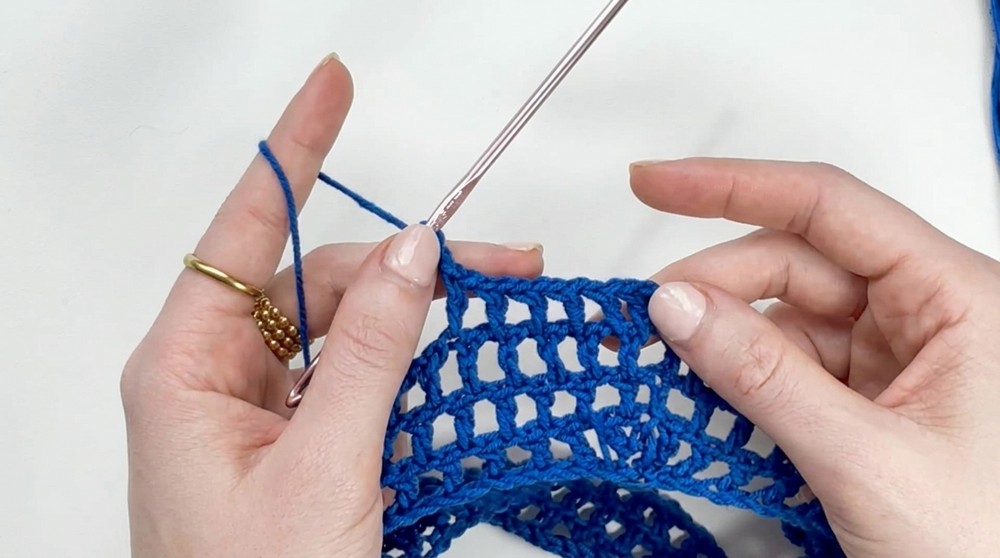
- Complete 18 rows for a small/medium size. If making for size large, add 1 or 2 more rows.
Finished Height: 9 inches (when following size S–M).
Quick Note: If you want to make long trousers instead of shorts, continue repeating the pattern until reaching your desired length.
Step 5: Create the Crotch Area
- Chain 18 (size S–M) or Chain 20 (size L).
- Turn your work and divide the mesh pattern into two equal halves.
- If unsure, count the number of squares and split into two sections.
- Slip stitch into the opposite side to join the new chain and form the base of the crotch.
Reminder: Be precise when dividing your work for symmetry.
Building the Legs (Rows for Each Leg)
Leg 1:
- Attach the yarn to one side of the crotch.
- Repeat the mesh pattern on this leg (Ch 3, Dc, Ch 1 in each Sp).
- Work in rounds, maintaining alternating directions.
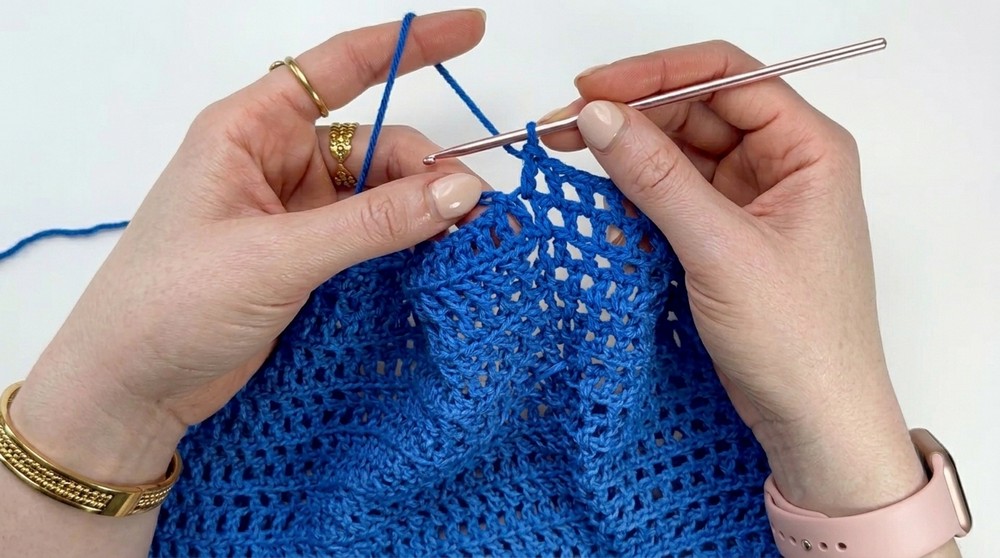
- For shorts, work 5 rows. For longer pants, add rows to your desired length.
Leg 2:
- Repeat the same steps for the second leg.
- Ensure both legs have an equal row count.
Both legs should look symmetrical and attach seamlessly with the crotch area.
Adding Ruffles (Optional)
- Skip the first chain-1 space and Sc into the next chain-1 space.
- Chain 4, then make 4 Dc into the same space.
- Skip the next chain-1 space, then repeat (Sc, Ch 4, 4 Dc) to create ruffles.
- Continue this across the row.
- Reach the end and join with a Sc, cut yarn, and fasten off.
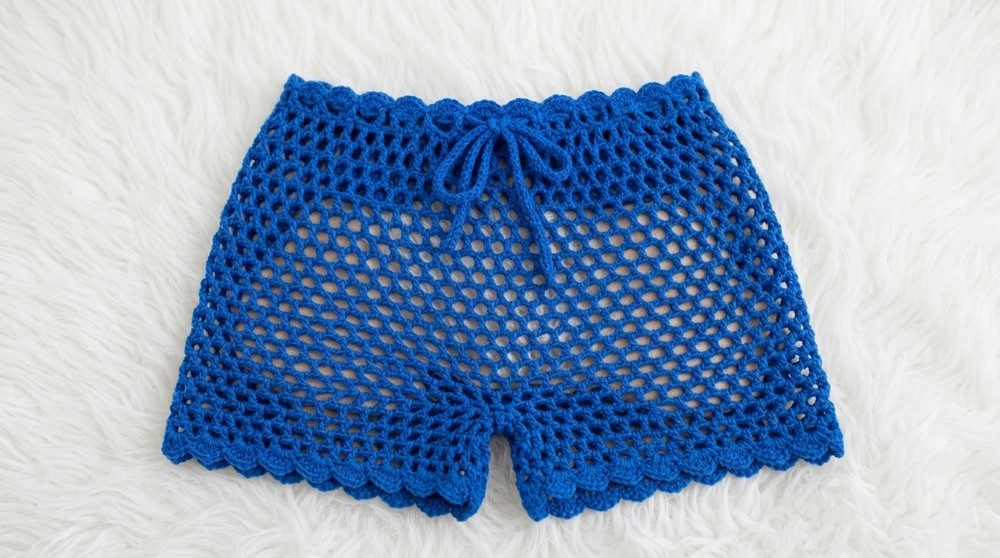
The ruffles add a decorative touch to your shorts’ edges and complement the mesh look beautifully.
Finishing: Waistband Adjustment
- Make a long chain using the yarn. (Length should comfortably wrap around the waistband.)
- Thread it in and out of the chain-1 spaces at the waistband, similar to lacing shoelaces.
- Tie the ends to allow for adjustable sizing.
Assembly & Finishing
- Sew in any loose ends using a yarn needle.
- Double-check for any missed stitches at the crotch or leg seams.
After finishing, try the shorts on. Use the waistband tie to adjust the fit for comfort.
Completed Pattern Notes
This pattern is versatile and beginner-friendly. Alter the size, length, or ruffles to fit your preferences. To add flare, try working with multi-colored yarn or adding beads to the ruffles.
These crochet mesh shorts are perfect for warm weather and can be customized as shorts, pants, or swim coverups. If you followed this pattern and loved the outcome, share your work in the comments!
Difficulties You May Face and Solutions
While this pattern is beginner-friendly, you may encounter a few challenges along the way. Twisting the foundation chain is one common issue when joining your work in a circle. To solve this, take your time aligning the chain carefully before connecting it with a slip stitch. Another difficulty might be maintaining symmetry while dividing the crotch area into two equal parts. If you’re unsure how to eyeball it, simply count the mesh boxes to ensure both sides are equal. With patience and attention to detail, these difficulties can be easily overcome.