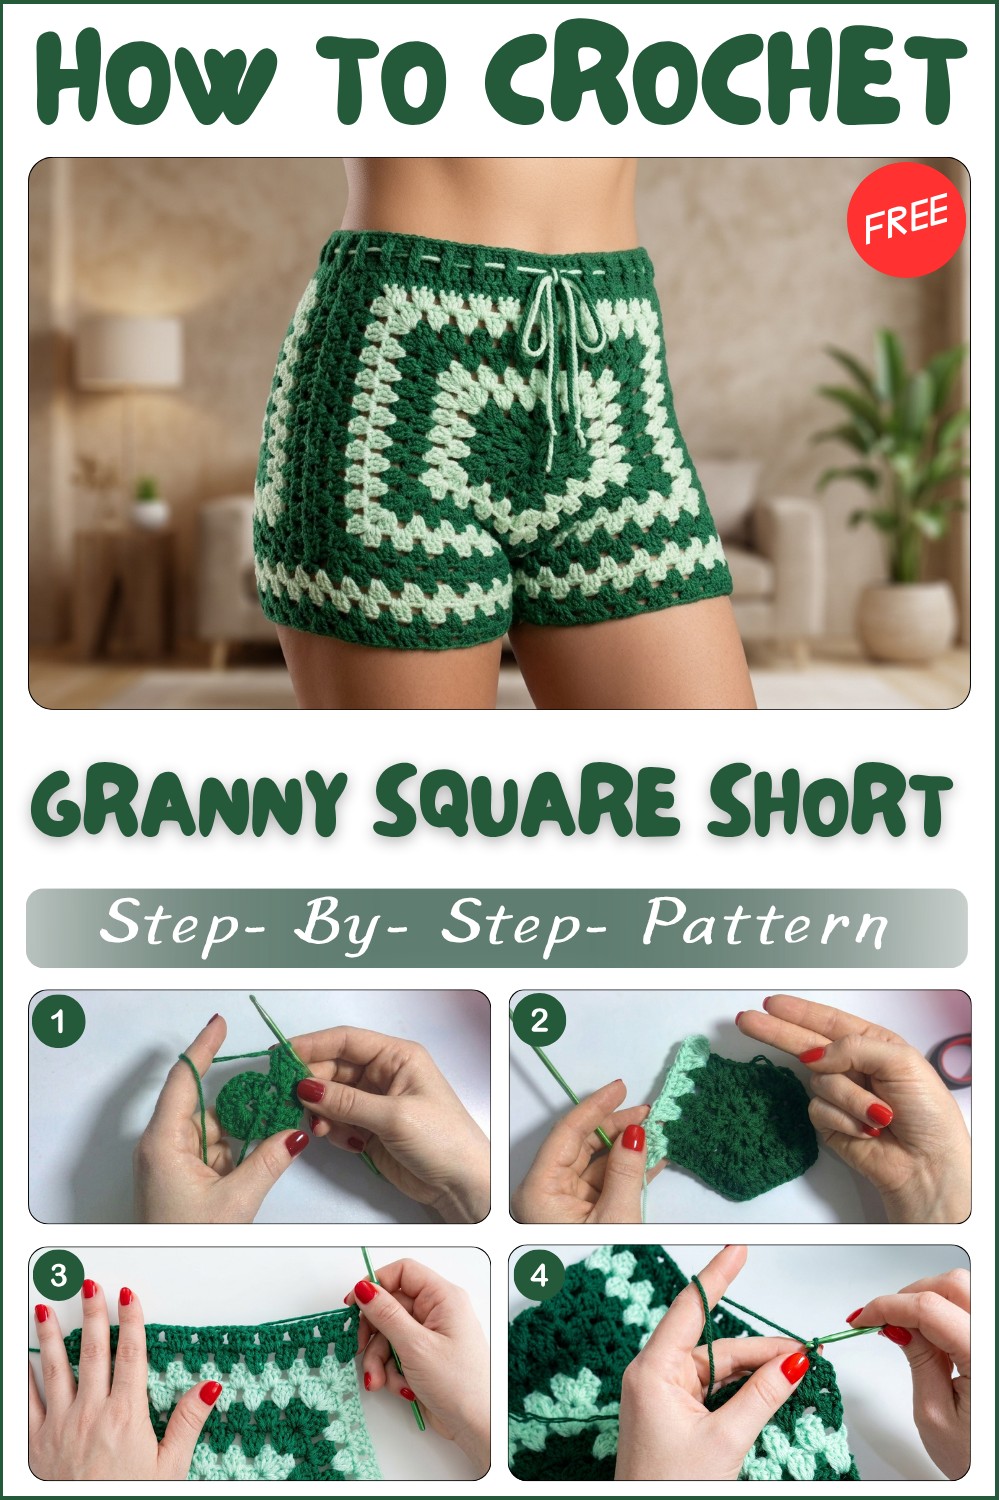
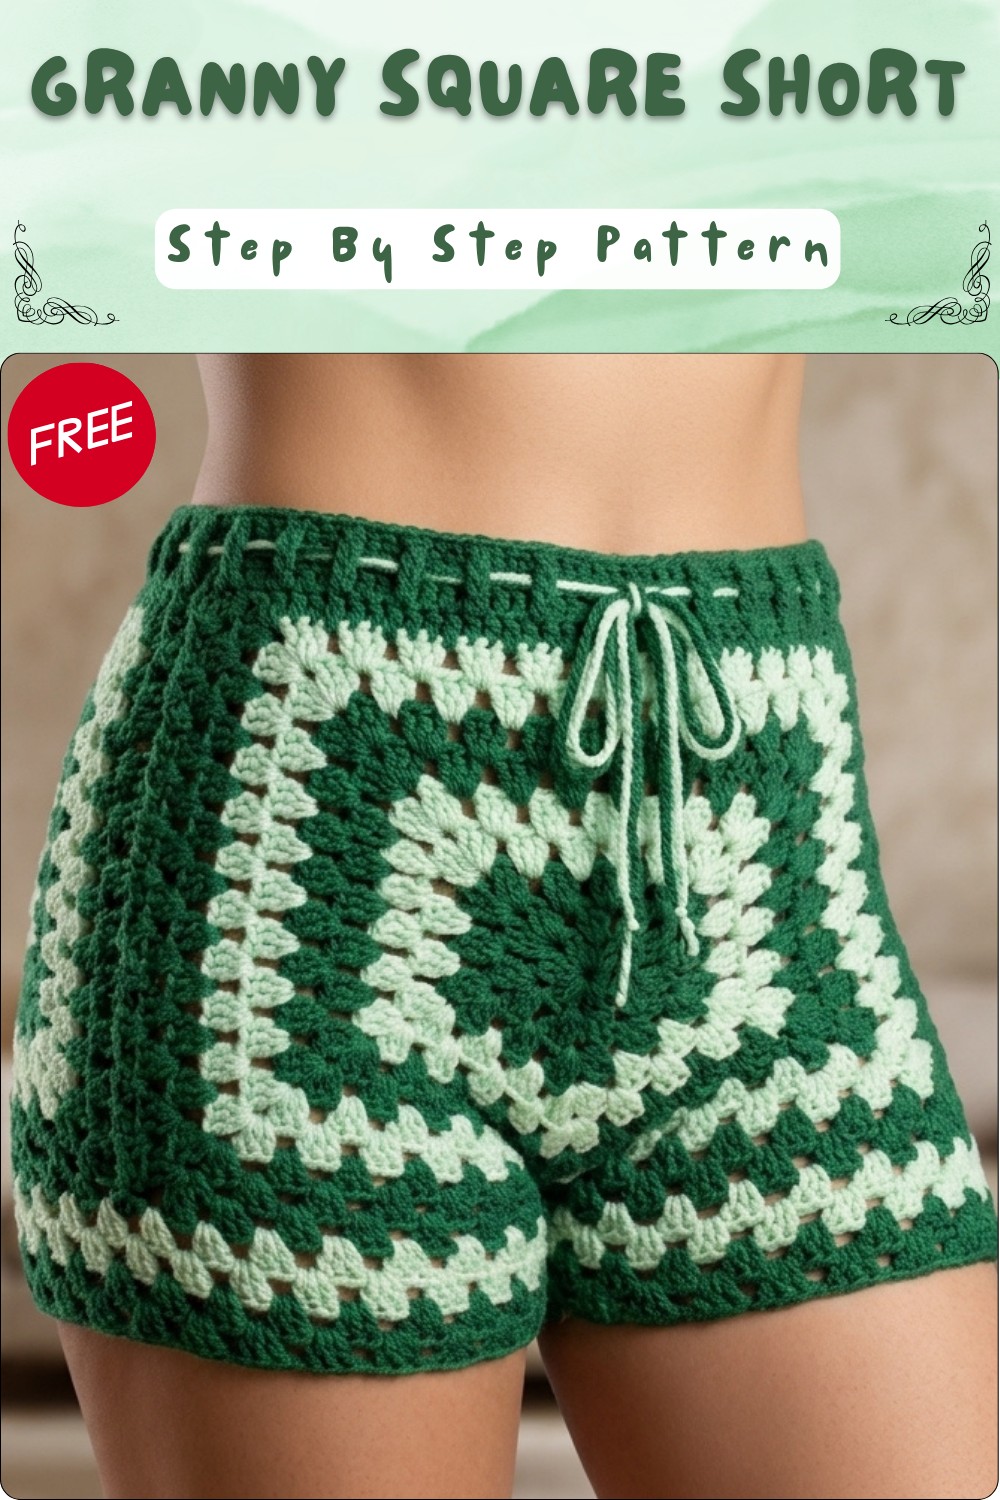
Free Crochet Granny Square Short Pattern For Colorful Fashion
Stay stylish and comfy with this Crochet Granny Square Short Pattern, a trendy and easy-to-make project perfect for adding a vintage vibe to your wardrobe.
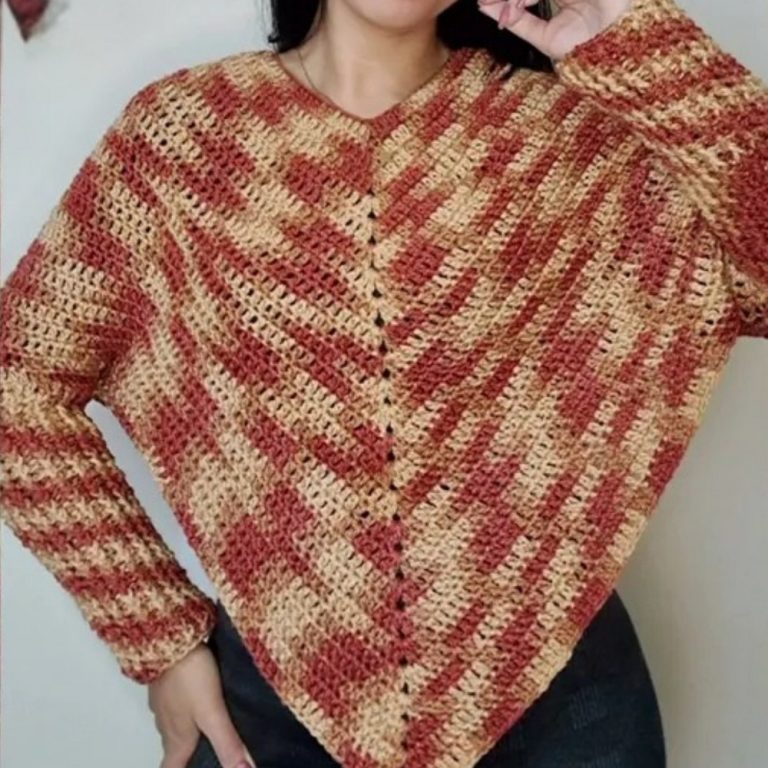
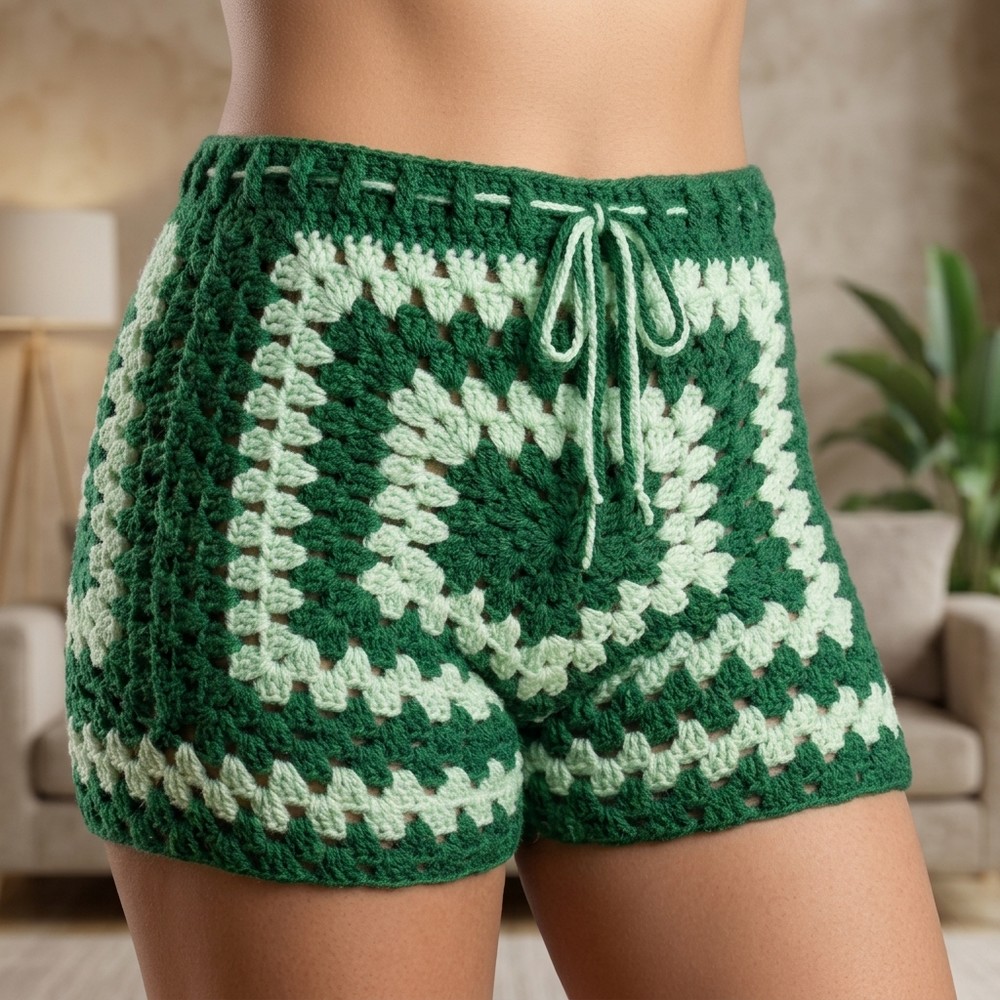
A growing trend in fashion brings us a charming mix of comfort and creativity, perfect for personal style. Crochet Granny Square Shorts are the new favorite for those seeking vibrant yet functional wardrobe pieces. With their colorful squares and intricate detailing, these shorts are as stylish as they are versatile. Their lightweight feel and eye-catching patterns offer the perfect blend of beauty and practicality. At the heart of their appeal is their ability to adapt to various sizes and color choices, making them a personalized expression of taste.
Crochet Granny Square Short Pattern
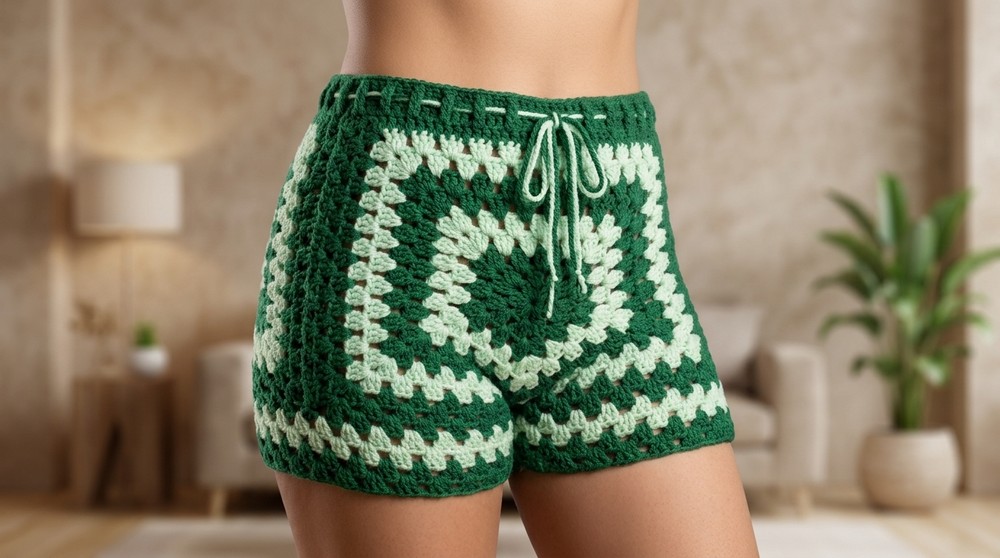
These stylish and cozy granny square shorts combine fun color interplay and iconic crochet motifs into a comfortable, retro-inspired garment. Designed with a flexible fit, you’ll create two large squares, shape for the hips, join to form the shorts, and finish with a stretchy ribbed waistband for secure wear. Perfect for lounging or a bold fashion statement, these shorts are a rewarding step up for confident beginners.
Granny Square Crochet Shorts Pattern
Pattern Notes
- Shorts are constructed with two identical granny square panels that are shaped, joined, and finished, creating a comfortable, easy-to-customize fit.
- Use any two colors—one for the initial rounds and another for contrast; feel free to alternate or make each pair unique.
- The pattern uses classic granny square motifs, joining-as-you-go, and a decorative waistband with ribbing effect for extra structure.
- To customize length and hip size, adjust the number of granny square rounds before the split for the legs, and add rows as needed for fit.
- Always change colors neatly: finish the last stitch of a round with the new color for a clean transition.
- Weaving in ends after major joins helps keep your work neat during construction.
Skill Level
Adventurous Beginner/Intermediate
You should be confident with basic crochet stitches (chain, double crochet, single crochet, slip stitch), working in the round, simple color changes, basic garment assembly, and basic ribbing (front/back post stitches). Fits a confident beginner ready to step into making wearable pieces.
Gauge (and Stitch Pattern)
- Gauge: One completed granny square (before hip extension rows), lightly blocked, should measure approximately 8–9 inches square (adjust for your hip measurement; more/less rows = larger/smaller square).
- Main stitch pattern:
- Granny shells (3 double crochets in space), separated by chain spaces.
- Ribbed waistband: Alternating front and back post double crochet.
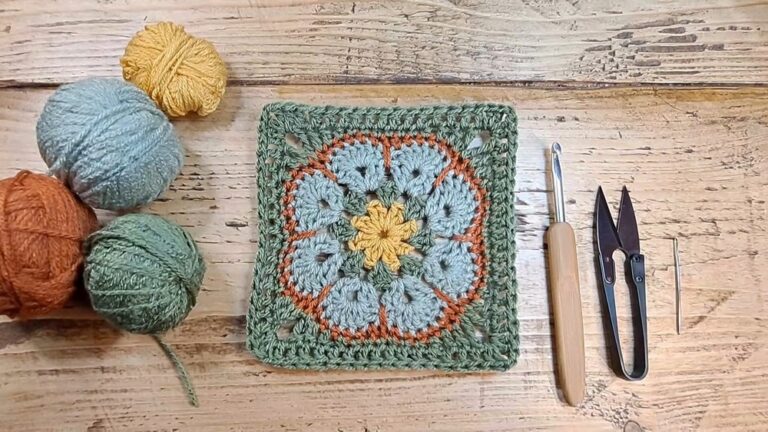
Materials
- Worsted weight acrylic or cotton yarn (two colors recommended)
- Approx. 350–400g total for a size Medium
- Crochet hook: 5.0 mm (US H-8) or size for gauge
- Scissors
- Yarn needle for weaving ends
- Measuring tape
Stitch Abbreviations
- ch – chain
- dc – double crochet
- sc – single crochet
- sl st – slip stitch
- sp – space
- st(s) – stitch(es)
- FPdc – front post double crochet
- BPdc – back post double crochet
Measurements / Sizing
- Shorts are fully customizable.
- Finished two-panel width (before seam): should equal hip circumference minus 2–3 inches (for stretch).
- Finished inseam (leg length): Adjust by adding more rounds after splitting the crotch.
- Waistband: Fitted to your natural waist, approx. 5 rows tall.
Special Stitches
- Granny Shell: 3 dc in the same space.
- Front/Back Post Double Crochet Rib: Work dc around the post (front or back) of previous row’s dc for ribbed effect.
The Crochet Pattern!
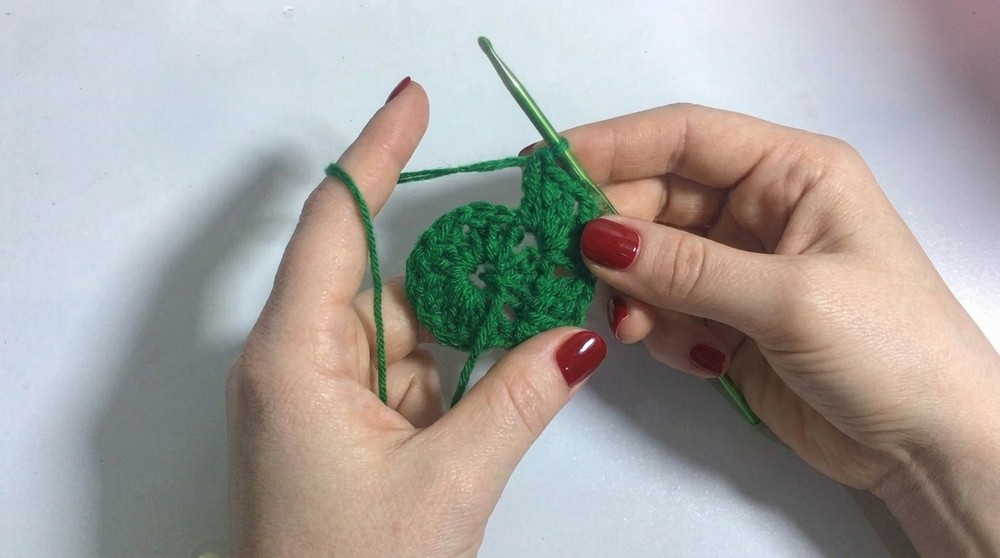
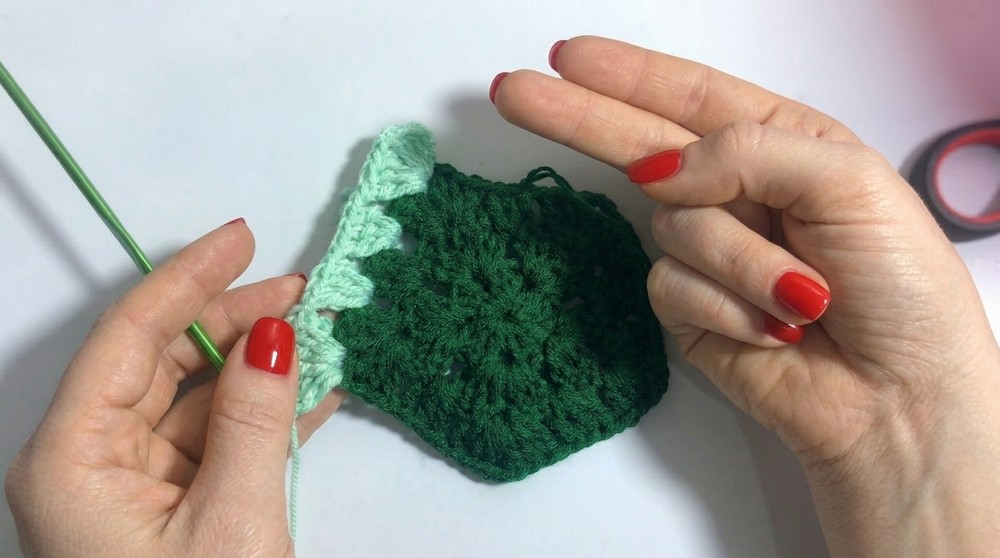
Step 1: Make Two Granny Square Panels
Foundation (Main Color):
- Make a magic circle.
- Ch 3 (counts as first dc). Work 2 dc into ring, ch 1. Repeat *two more times.
- You should now have four groups of 3 dc, separated by ch-1 corners.
- Slip stitch into top of beginning ch-3 to close the round.
Rounds 2–3:
- Slip stitch to first ch-1 sp.
- Ch 3, 2 dc in same sp, ch 2, 3 dc in same sp (corner made), ch 1.
- In each ch-1 space: 3 dc, ch 1.
- In each corner: 3 dc, ch 2, 3 dc, ch 1.
- Slip stitch to join.
- Complete three rounds in your first color. Change color at end of Round 3.
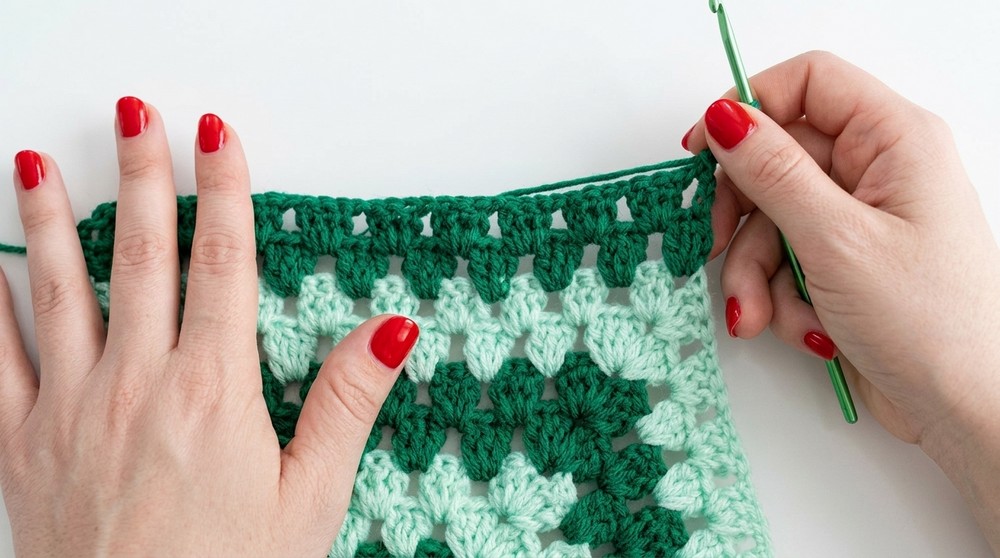
Rounds 4–9 (Alternate Colors):
- Repeat the granny shell pattern:
- In each corner: 3 dc, ch 2, 3 dc
- In each ch-1 space: 3 dc, ch 1
- Switch to contrasting color after three rounds, or as you like.
- Continue until you have about 9 full granny rounds (adjust for size).
Fit tip: At this point, your square should measure about half your hip circumference wide (it’s folded to make the shorts).
Hip Extension (Adding for Roomy Fit):
- For extra room, add 2–4 rounds in pattern, alternating colors every two rows for a decorative effect.
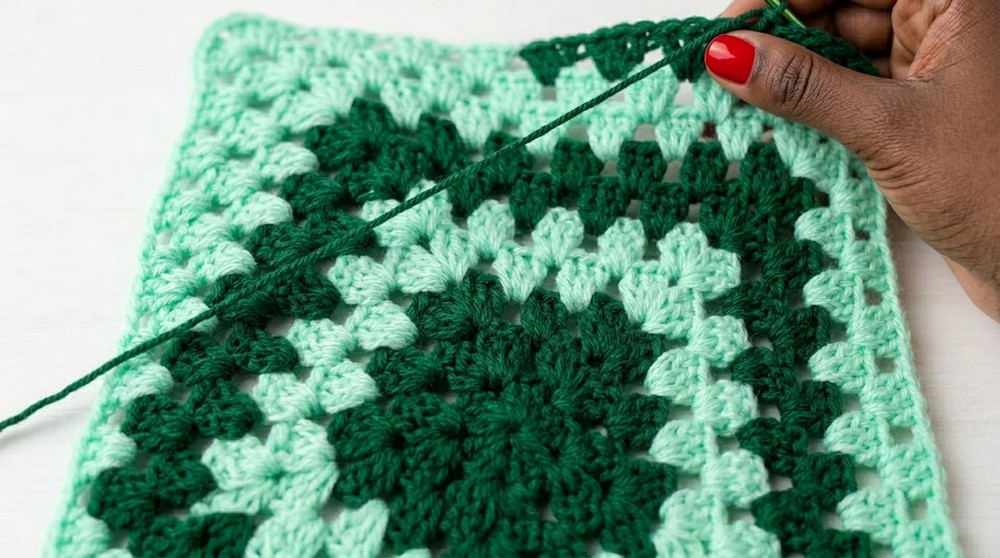
Step 2: Joining Panels
- Lay out both panels, right sides together.
- Single crochet or slip stitch the sides together, matching spaces.
- When joining, leave the top (waist edge) and lower edge (future legs) open.
- Finish with the seam on the inside, then turn right side out.
Step 3: Splitting for Legs
- With work right side out, fold joined piece in half (side seam to side seam).
- Find and mark the center of the bottom edge on both the front and back.
- Insert hook at one center mark; join yarn with sl st or sc; work a slip stitch or sc seam toward the crotch center and join second mark (about 2–3 inches).
- This forms the “rise” (center seam) between legs.

Step 4: Leg Openings
- With new yarn, join at inner thigh seam.
- Ch 3, work 3 dc in each ch-1 space around leg opening, ch 1 between each shell.
- Join rounds as needed; switch or alternate colors as you like.
- Repeat for 6–8 rounds (or as long as desired for shorts length).
- For a decorative finish: On last round, ch 3, work 3 dc in next space, sl st in next space, repeat for a scalloped edge.
Step 5: Waistband
- With Contrast Color (or as desired):
- Join yarn at waistband edge.
- Ch 3, work 1 dc in each st (or space) around top edge.
- Join with sl st.
- Next round: Ch 3, alternate FPdc and BPdc in each dc around (for ribbed effect). Join with sl st.
- Repeat ribbed round for 3–5 rows for a waistband 1.5–2” tall.
- Fasten off, weave in ends.
Assembly & Finished Size (Bullets)
- Each panel is worked as a large square using alternating color rounds and classic granny shell.
- Panels are joined at the sides, then center crotch is seamed to split for two leg openings.
- Leg edges are worked in the round in shell or granny stitch for desired inseam.
- Waistband is added in ribbing using front/back post double crochet.
- Ends woven in, all seams placed inside.
- Finished size fits your hip circumference (about 2” of negative ease for cotton or 1–2” positive ease for acrylic).
- Leg length and fit easily adjusted; waistband height and tightness are fully customizable.
Summary
Create your own unique pair of granny square shorts for a playful, retro feel! With easy granny stitch panels, bold color opportunities, and a stretchy ribbed waistband, these shorts are as comfy as they are stylish. Personalize your pair with your favorite colors for the perfect statement summer piece.