Crochet Beaded Bikini Top – Free Pattern and Tips
There’s a special satisfaction in making something both beautiful and practical from a simple ball of yarn. Imagine sitting in your favorite spot on a sunny afternoon, crocheting a bikini top for your next beach day or for just relaxing at home. As you work, not only are you creating a fashionable piece, but you’re learning new crocheting skills and exploring your creativity in every stitch. Starting this project is less about being an expert and more about enjoying the process and the excitement of making a unique summer top that truly reflects your personal style.
Easy Crochet Bikini Top Pattern for Girls This Summer
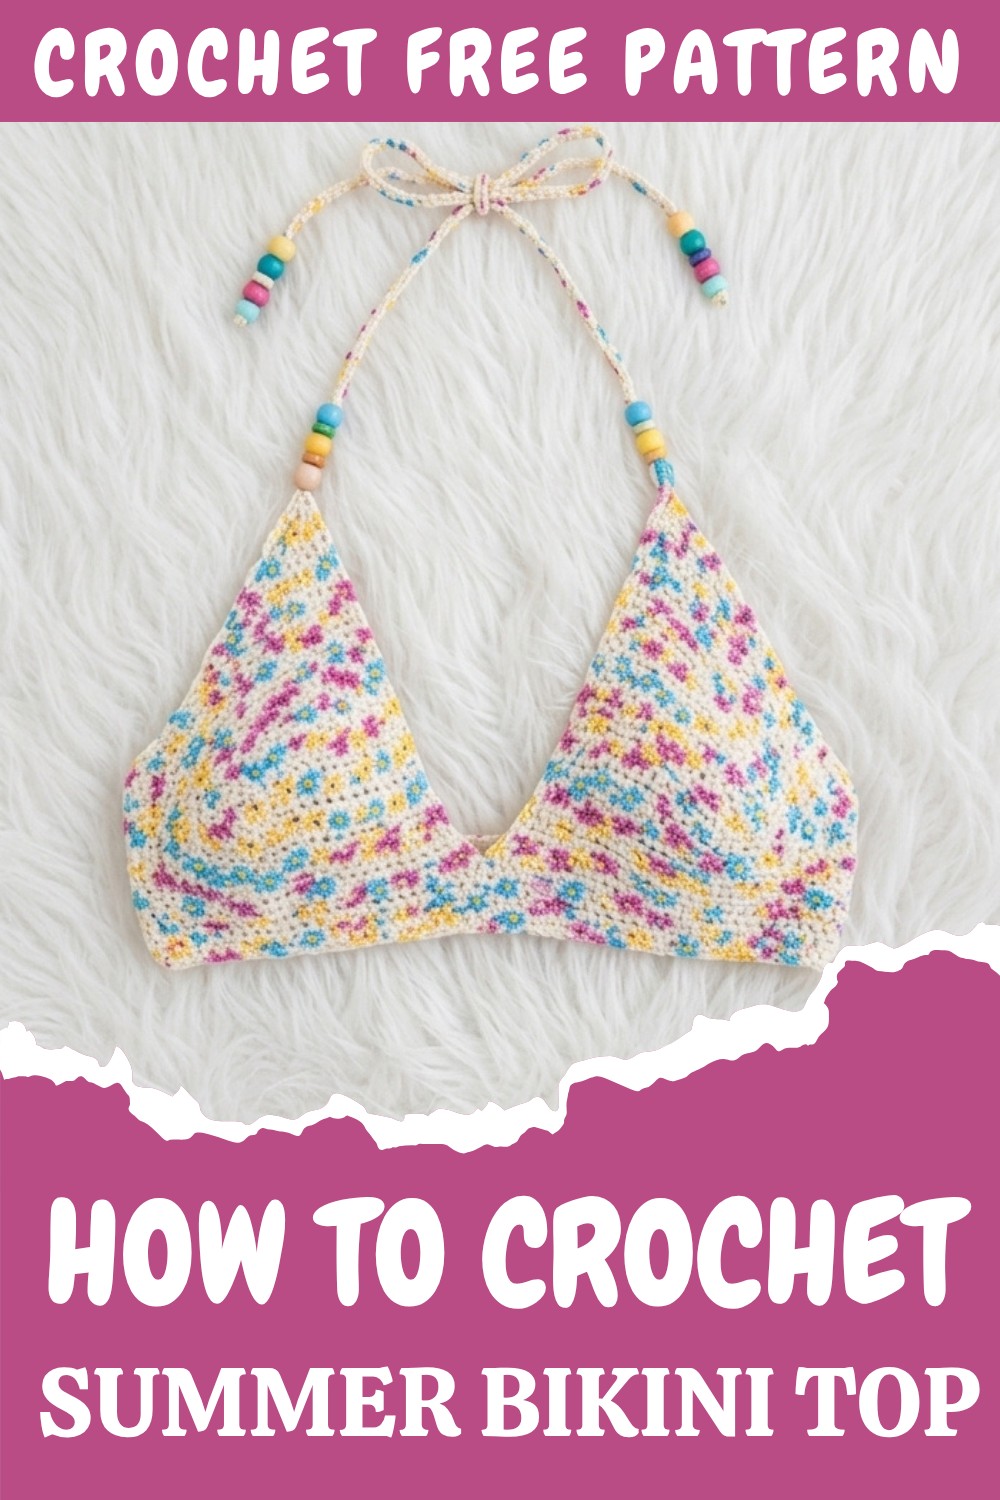
This bikini top is a great beginner project because it uses the basic double crochet stitch throughout. The triangle cup shape is stylish and suits every size, and you can really make it yours by choosing colors you love—maybe a calming pastel or a bold, bright shade to stand out. If you’re feeling fun, add beads to the straps for a sparkly accent. What makes this project even more interesting is its versatility: by making small tweaks, you could use almost the same pattern to crochet a cute crop top, a comfy bralette, or even a lightweight summer top for layering.
Here’s a quick size guide to help you adjust the bikini top just for you:
- Make your starting chain long enough to stretch from your underbust to your bust’s center point.
- For a bigger size or more coverage, add extra rows when making your cups.
- For a smaller fit, use a shorter chain and fewer rows.
- Try on your work as you go so you can adjust and get the perfect fit before finishing up.
Free Crochet Bikini Top Pattern
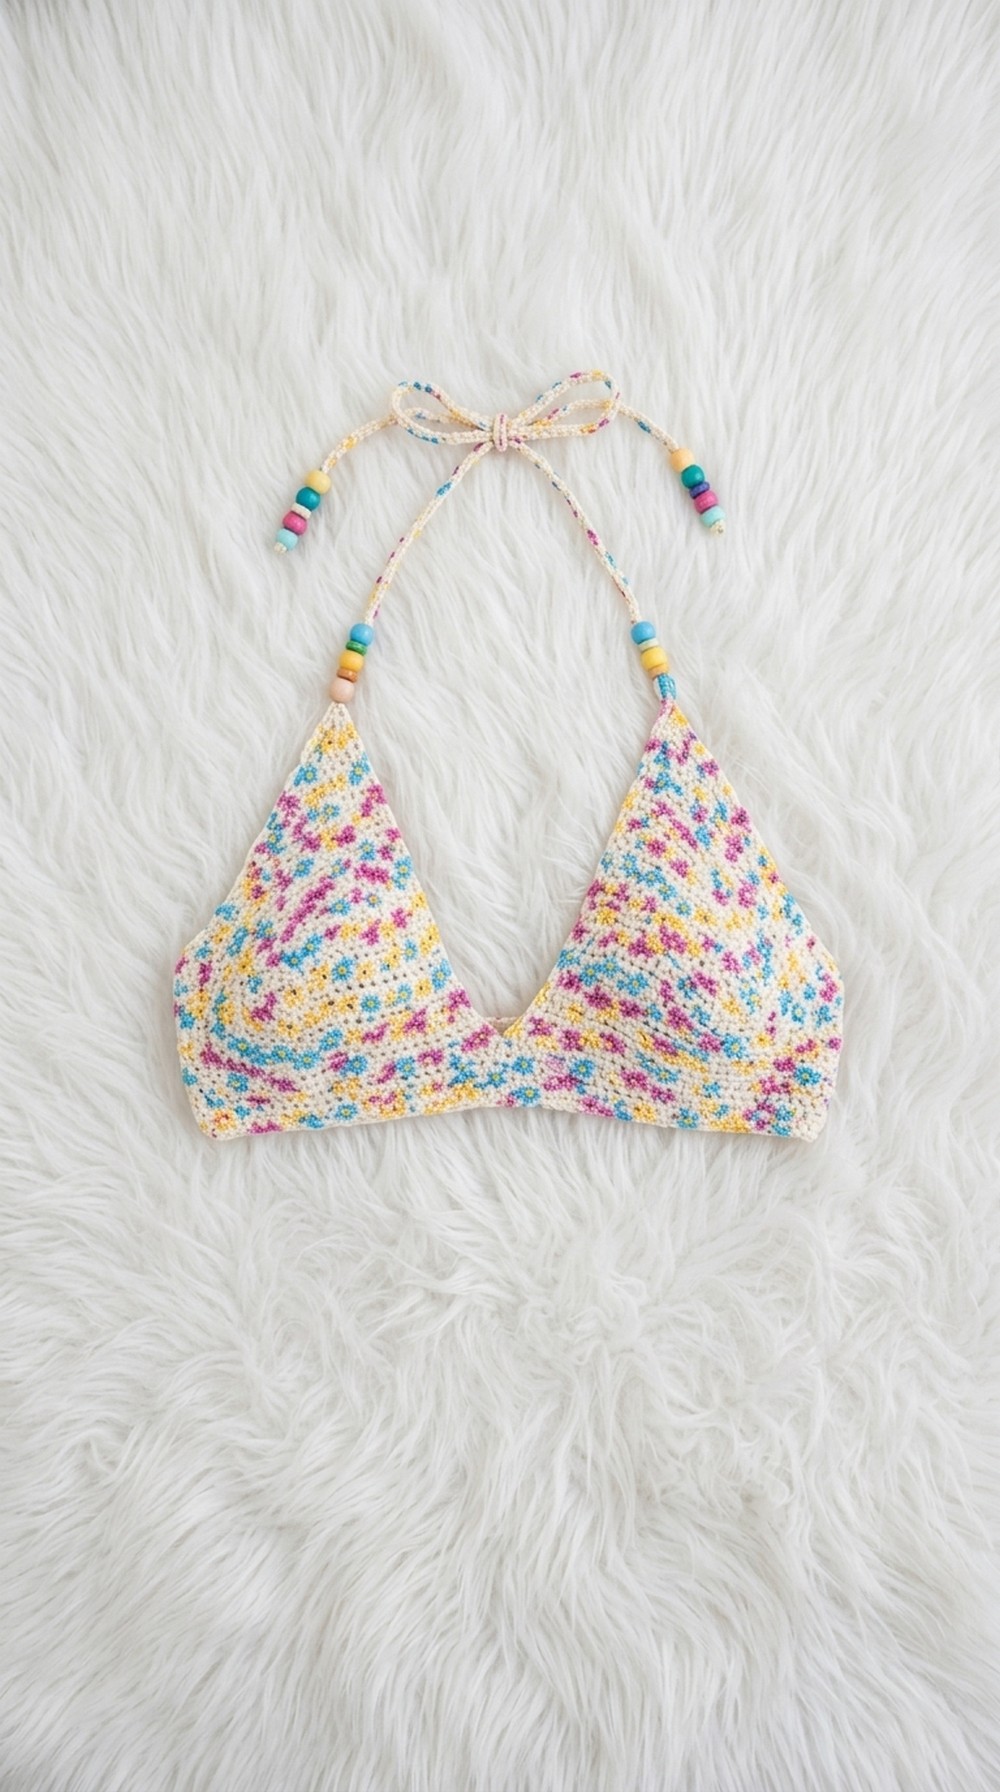
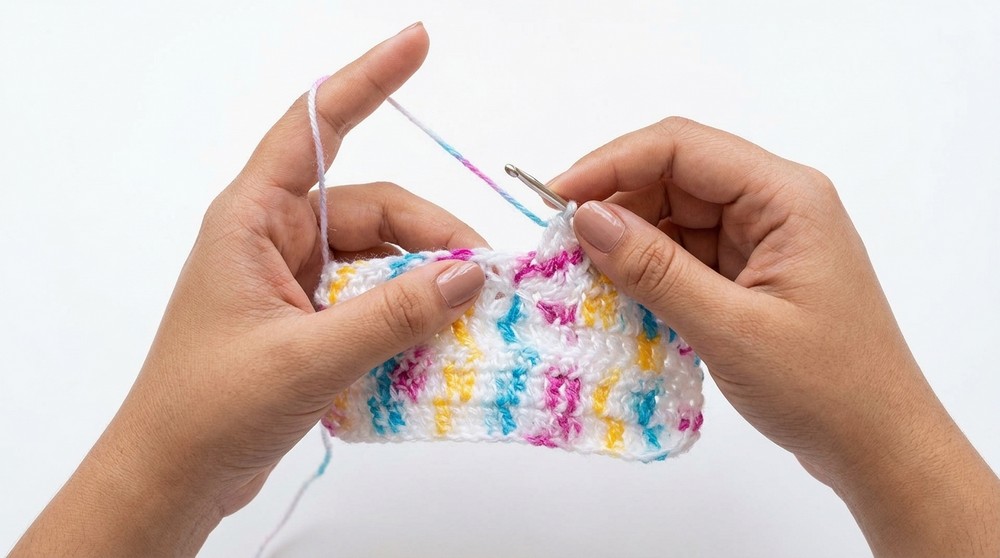
When it comes to actually creating your bikini top, be sure to start with a slip knot and make a chain long enough to go from your underbust to the center of your bust—measuring is key. Next, you’ll crochet rows using the double crochet stitch, building out the triangle cup shape by creating extra stitches at the tip of the triangle. Make a second cup just the same way, then connect the two cups with a row of double crochet stitches. For the finishing touches, crochet long chains to use as straps that tie around your back and neck, and if you like, thread colorful beads onto the ends before weaving in any loose threads for a neat finish.

As you follow the pattern and perhaps the video tutorial, you may notice one side looking less even or your cups not matching. This often happens if your stitch count changes by accident or your hand tension varies. You can fix this by checking each row as you go and comparing the two cups before joining them. If you notice your straps are too tight or too loose, simply add or remove some chains until they are comfortable.
Crochet Bikini Top with Beads – Step-by-Step Pattern
Skill Level
Beginner-Intermediate
If you are familiar with double crochet and working in rows, you can finish this project easily.
Materials
- Acrylic yarn (light/medium weight recommended)
- Crochet hook (size suitable for your yarn, e.g., 3.5–4.5 mm)
- Glass or acrylic beads (optional, for decoration)
- Yarn needle (for sewing in ends, adding beads, and joining cups)
- Scissors
Key Abbreviations (US Terms)
- ch = chain
- dc = double crochet
- sl st = slip stitch
- st(s) = stitch(es)
Special Notes
- Adjust foundation chain to match your size (more or fewer than 15 ch as needed).
- Number of rows determines the height/coverage of each cup.
- Add beads after crocheting for decoration, as shown in the video, or as you go.
- The straps’ length is adjustable.
- Make both cups the same for a symmetrical look.
Pattern
Step 1: Foundation Chain
- Make a slip knot.
- Ch 15 (add or subtract chains to suit your measurement: from underbust to center point of bust).
This forms the base of one bikini cup. Hold the chain against your body to ensure a good fit and adjust if needed.
Step 2: First Row
- Skip the first 2 chains from the hook.
- In the 3rd chain from hook, dc.
- Dc in each chain across to the end.
You’re making the base row. Skipping two chains acts as the first turning chain, giving height for the first dc row.
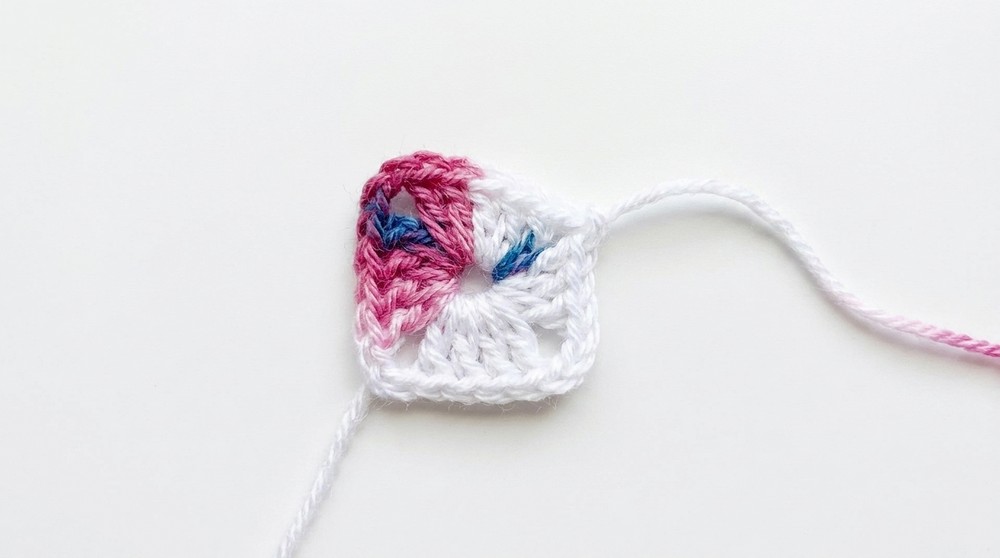
Step 3: Cup Point/Shaping
- In the last chain, work 3 dc in the same stitch.
- Ch 1, then 3 more dc into the same last chain.
This is a crucial step! Doing 3 dc, ch 1, 3 dc in a single point gives the triangle its “point” and lets you start working up the other side of the cup.
Step 4: Second Side of Foundation
- Working down the other side of the foundation chain, dc in each chain back to the start.
This creates a symmetrical triangle. Now you have worked both up and down the initial chain.
Step 5: Turn and Start Second Row
- Turn your work.
- Ch 3 (counts as first dc).
- Skip the first st.
- Dc in each st across to the center point.
Chaining 3 and skipping the first st is a neat way to begin a new row. Crochet up to the cup point for the next step.
Step 6: Cup Point – Second Row
- At the ch-1 space at the cup point, 2 dc, ch 1, 2 dc in the same space.
This keeps the top of the triangle growing evenly. Always work the increases into the chain space at the point.
Step 7: Down the Other Side
- Dc in each st down to end of row.
- Turn your work.
For every row, you’ll keep repeating this “up one side, make increases at the top, then down the other side” process.
Step 8: Repeat for Desired Coverage
- Repeat steps 5–7, always making the increases (2 dc, ch 1, 2 dc) in the ch-1 space at the point, and dc evenly along both sides.
- Make as many rows as needed for desired cup coverage (about 10 rows for full coverage, more or less if you like).
If unsure, hold the cup up to your body as you work to check size!
Step 9: Make the Second Cup
- Repeat Steps 1–8 for the second cup.
Both cups should be as similar as possible for a balanced finished top.
Step 10: Join Cups
- Place both cups side by side with the points facing upwards.
- With a new yarn strand, dc across the bottom edges to join the two cups together in a straight line.
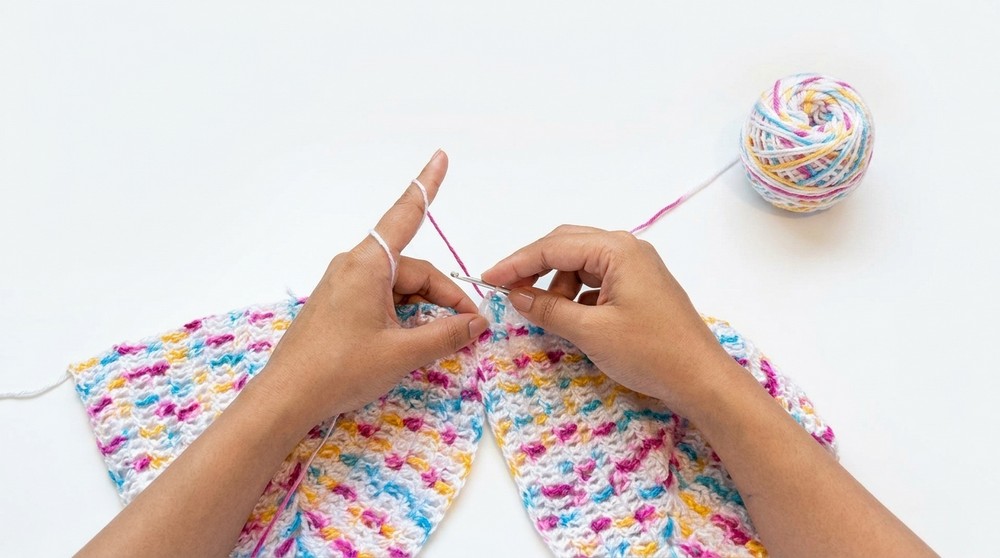
This creates the band of your bikini top. You can slip stitch, dc, or sew—whichever you find easiest.
Step 11: Make Straps
- Attach yarn to the top point of one cup.
- Ch 120 (or more for a longer strap), fasten off.
- Repeat for the other cup top (shoulder/neck straps).
- Attach yarn to outside corners of the joined cups and ch 120 for back ties on both sides, fasten off.
Straps let you adjust your bikini top for a perfect, secure fit each time.
Step 12: Add Beads (Optional)
- Decide where you want the beads (e.g., on the straps or the bottom edge).
- Slide beads onto yarn and sew in place with the yarn needle.
Try different placements before sewing! Beads add a fun decorative touch. Make sure they’re secure.
Step 13: Finishing
- Use your yarn needle to weave in all ends tightly and neatly.
- Check for any loose threads and trim.
Neat finishing helps your bikini last and look great.
Conclusion
You have made a stylish and unique crochet bikini top, with or without beads! This method is highly customizable for fit, coverage, strap length, and decoration. Experiment with colors, yarns, and beads for your own special style.
Pattern Correction & Tips
- Work stitches loosely if you want a softer, stretchier cup.
- Mark the cup point chain with a stitch marker for easy spotting every row.
- Try on your bikini top as you go to adjust fit.
- If you want more support, use smaller hooks/tighter stitches, or line the cups.
- For extra hold, reinforce straps by slip stitching back along the base chain.