Mini Bag with Bow Free Crochet Pattern
Crocheting your own mini bag with a bow is not only fun but a great creative project you can finish in just an afternoon. If you’re looking for a way to start your crochet journey, this pattern is a fantastic choice because it’s simple, practical, and lets you see results quickly. Whether you are a student, a beginner, or someone experienced, making this small bag gives you the chance to practice basic stitches and create something that is both stylish and useful. Plus, you’ll end up with a pretty accessory you can keep, gift, or even sell.
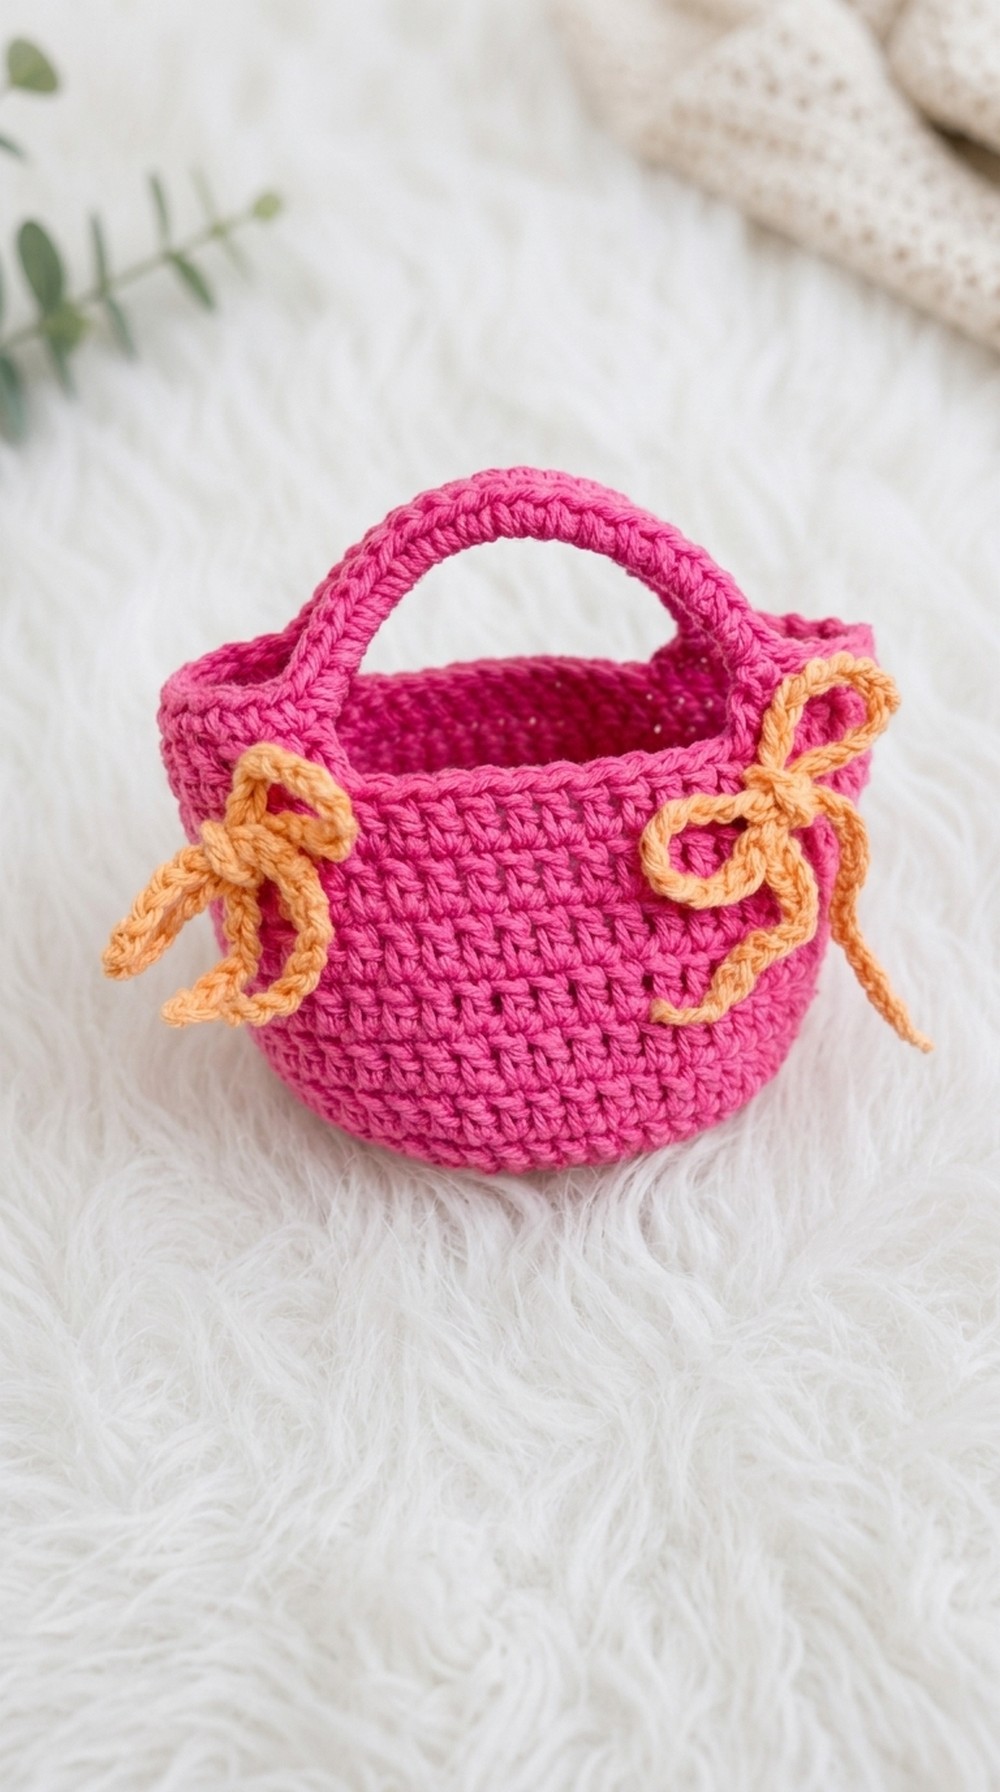
Elegant Crochet Mini Bag with Bow Pattern Design for Girls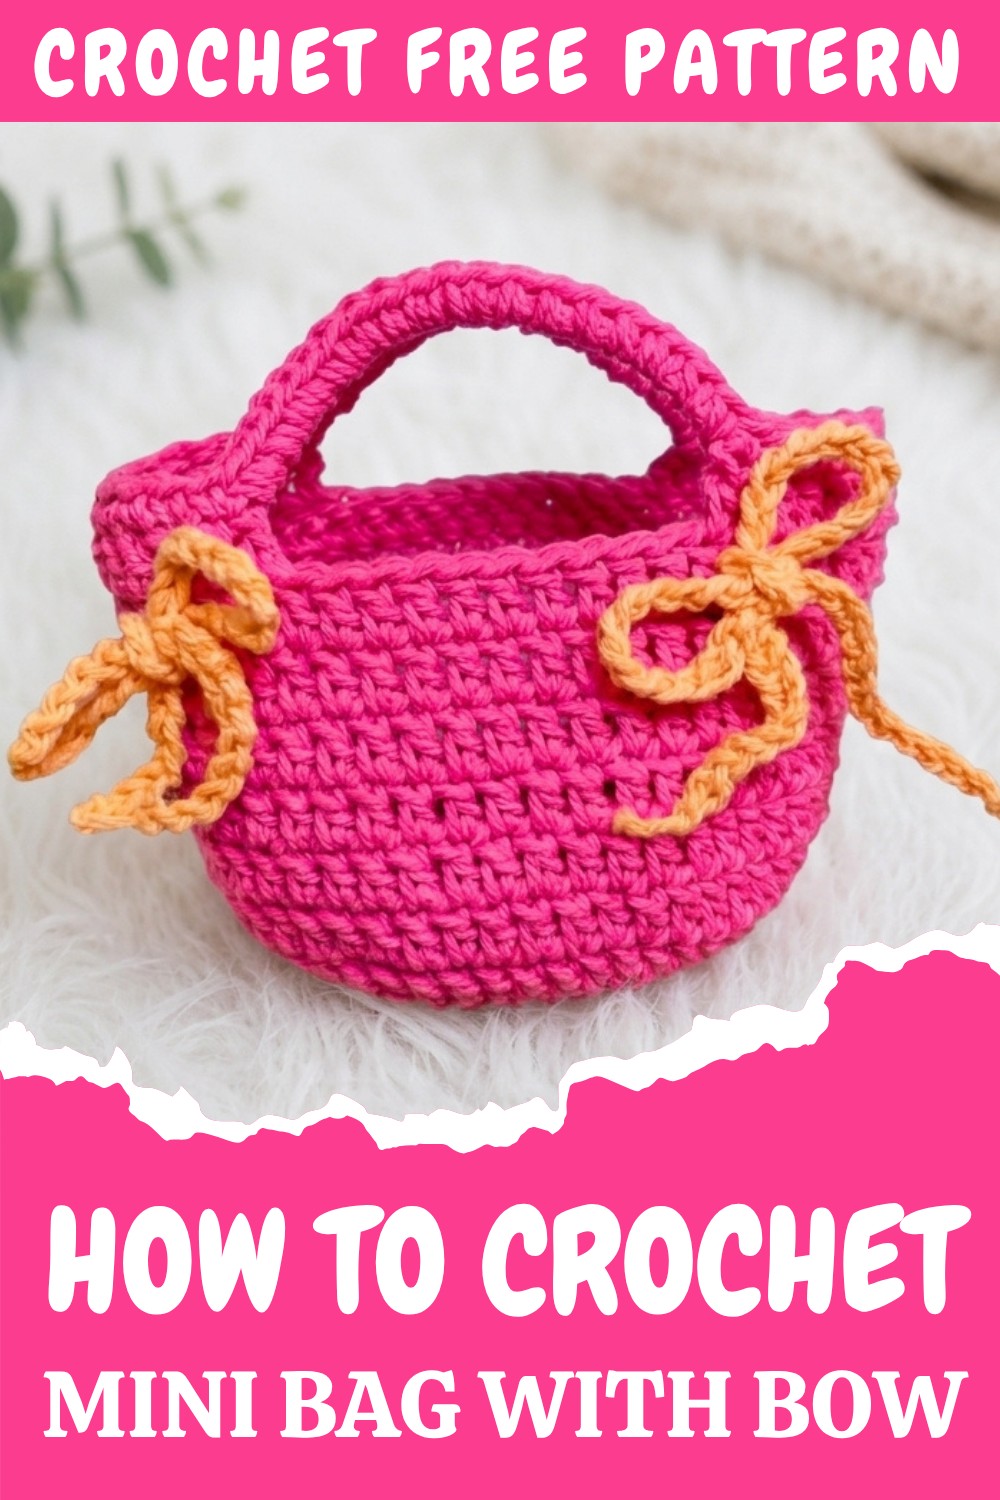
This mini crochet bag stands out for its adorable bow accent and neat, compact size. The pattern usually features classic crochet stitches such as single crochet or half double crochet, which are easy to learn and master. You can use any color you love—soft pastels give it a sweet, girly vibe, while bold shades add a trendy pop. The bow is the highlight, adding a lovely charm to the bag. With a few minor changes, you could turn this pattern into a coin pouch, a small gift bag, or even a stylish phone holder, simply by adjusting the size or omitting the bow. This makes the pattern versatile and great for experimenting.
Important steps to remember:
- Always start with a neat foundation chain to ensure your bag’s shape looks professional.
- Maintain even tension as you crochet so your stitches are uniform.
- When attaching the bow, sew it securely to avoid it coming loose with use.
- Check your stitch count in each round or row so the bag stays symmetrical.
While making your mini bag, you might experience common crochet issues, such as uneven edges or confusion following the pattern. To fix wobbly edges, count your stitches after each row or use stitch markers for guidance. If your bow doesn’t look right, try rewatching that segment of the video or refer to clear step-outs in the tutorial. Experiment with yarn weights and hooks if you want a sturdier or larger bag.
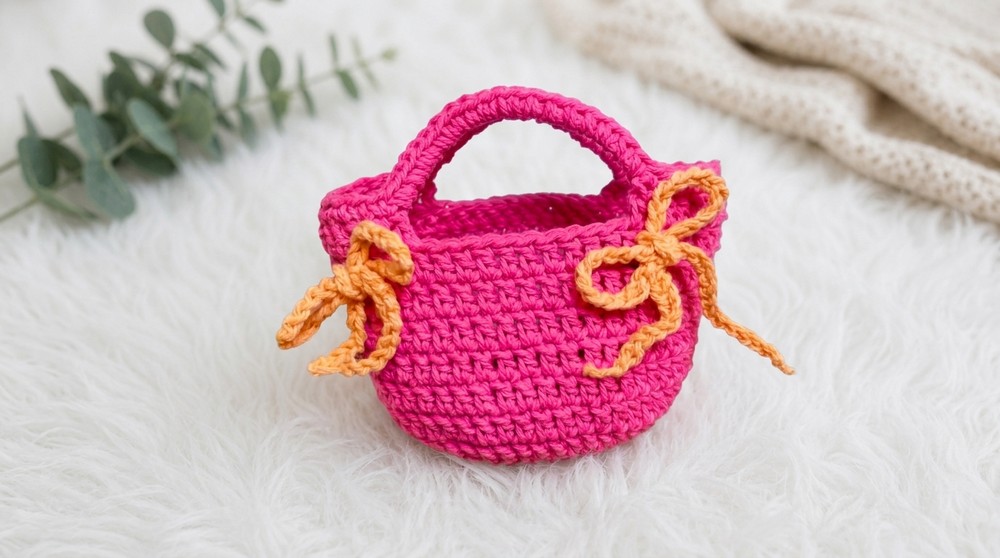
To get the best results, follow the video step by step, pausing when needed and practicing tricky parts like finishing and attaching the bow. For sizing, this mini bag generally measures around 12 cm by 14 cm, but you can easily adjust by adding or subtracting rows and stitches, making it perfect for your needs.
Mini Handbag Crochet Pattern
A fast and beginner-friendly crochet project, perfect as a mini purse or gift!
Skill Level
Beginner to Intermediate
Great for those comfortable with basic stitches and simple increases.
Materials
- 5-ply yarn, 100g
- 4 mm crochet hook
- Yarn needle (for sewing in ends)
- Stitch marker (to mark rounds)
- Scissors
Key Abbreviations (US Terms)
- ch = chain
- sc = single crochet
- dc = double crochet
- sl st = slip stitch
- st(s) = stitch(es)
- inc = increase (2 stitches worked into same stitch)
Special Notes
- Work the base in joined rounds and mark your round ends for accuracy.
- The body is worked with no increases, helping the bag hold its shape.
- Handles and finishing are easily adjustable.
- For a firmer bag, use sturdy yarn or add a lining.
Pattern
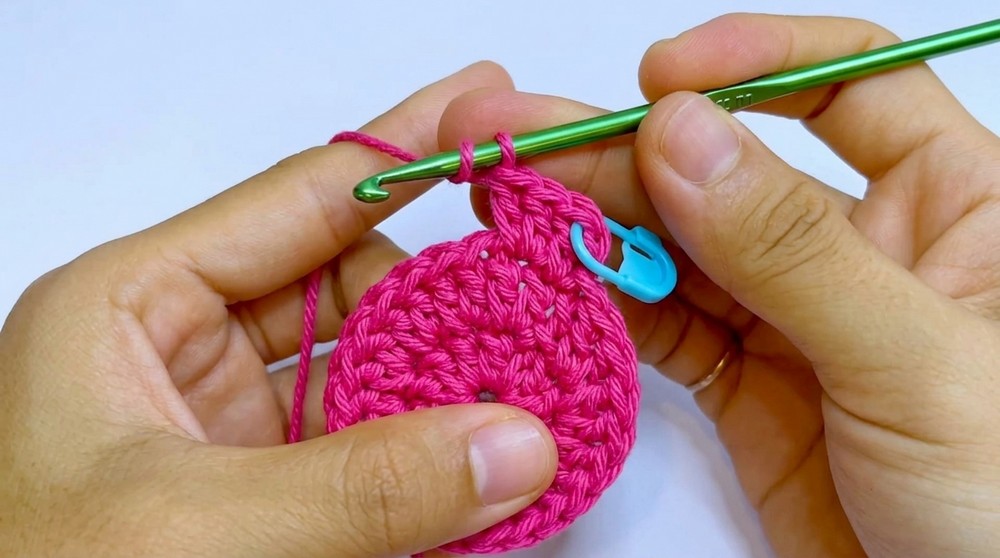
Step 1: Base – Foundation & Rounds 1-4
- Make a magic ring.
- Round 1: Ch 3 (counts as first dc), work 12 dc in the ring, sl st to join. (12 sts)
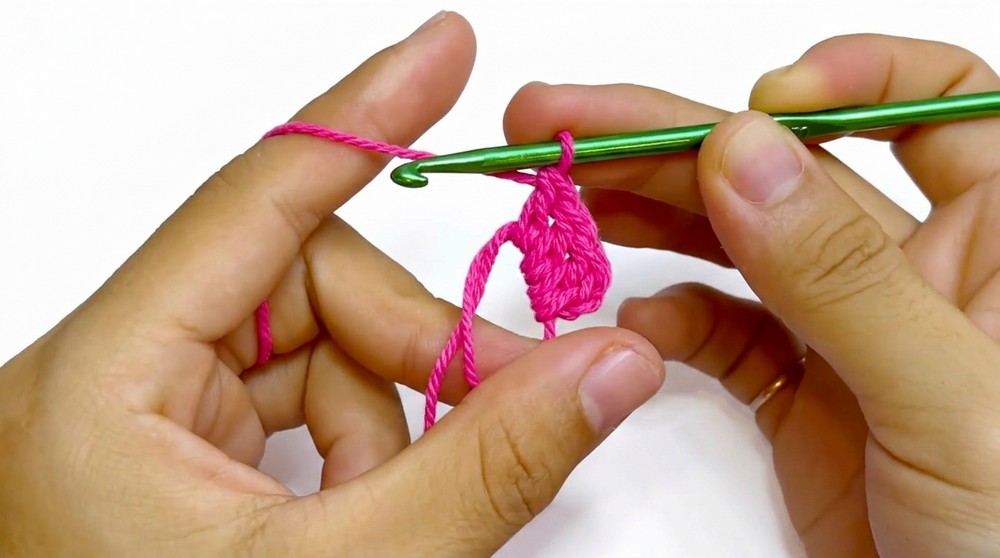 You’re making the center of the bag’s base. Pull the yarn tail to close the ring tightly before continuing.
- Round 2: Ch 2, 2 dc in each st around (increase dc in every stitch), sl st to join. (24 sts)This round doubles your stitch count for a flat, wider base. Use a stitch marker for your round end if needed.
- Round 3: Ch 2, (1 dc in next st, 2 dc in next st) repeat around, sl st to join. (36 sts)This time, you’re increasing every other stitch. This gentle growth keeps the base flat.
- Round 4: Ch 2, (1 dc in each of next 2 sts, 2 dc in next st) repeat around, sl st to join. (48 sts)
 You’re now creating a base large enough for the handbag.
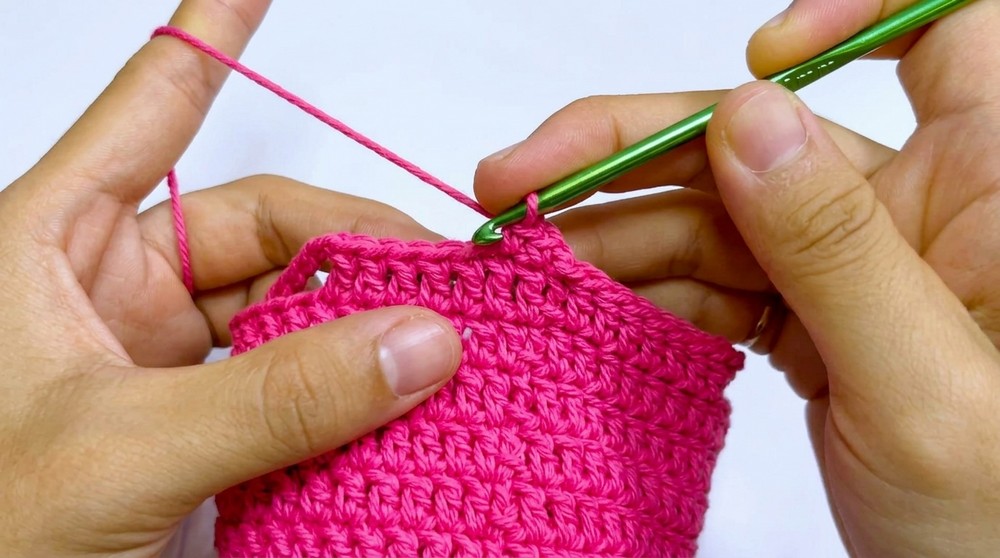
Step 2: Body – Rounds 5 to 10
- Rounds 5-10: Ch 2, 1 dc in each st around, sl st to join. (48 sts per round)There are no increases in these rounds, so the sides of the bag will start to come up and form the body, making it roomy and structured.
Step 3: Bag Handles – Round 11
- Ch 2, dc in each of the next 7 sts.
- Ch 15 (first handle base), skip 10 sts.
- Dc in next 14 sts (center of bag).
- Ch 15 (second handle base), skip 10 sts.
- Dc in last 7 sts, sl st to join.You’re forming two spaces for the handles by chaining and skipping stitches. The chains will be the base for the handles in the next round.
Step 4: Handle Edging & Finishing – Round 12
- Ch 1, sc in each of the next 7 sts.
- Sc 20 times evenly across the 15 ch handle.
- Sc in each of next 14 sts (bag center).
- Sc 20 times evenly across the second handle’s 15 ch.
- Sc in each of last 7 sts, sl st to join.
 This round covers the handle chain spaces with single crochet to make the handles strong and neat, and gives the bag a finished top edge.
Step 5: Fasten Off & Finish Edges
- Cut yarn, pull through, and use the yarn needle to sew and hide the ends inside your work.Securing and hiding ends ensures your work is tidy and durable.
Step 6: Optional Bow
- Make a slip knot and ch 55.
- Fasten off and tie into a bow; attach to the front of the handbag as desired.This adds a cute, decorative touch. You may sew it or tie it onto the handle.
Conclusion
Your mini handbag is now finished! This design is simple yet stylish, perfect for beginners, and can be further customized with color changes, buttons, or ribbons. The construction ensures a sturdy, usable bag in just a few hours.
Pattern Corrections & Tips
- If your base curls or ruffles, check your stitch count in each round.
- Adjust the handle chains for shorter or longer handles as you wish.
- For an even firmer base, use a second strand of yarn or add a fabric lining.
- Weaving in ends neatly gives a professional finish.