Free Crochet Cow Amigurumi Pattern

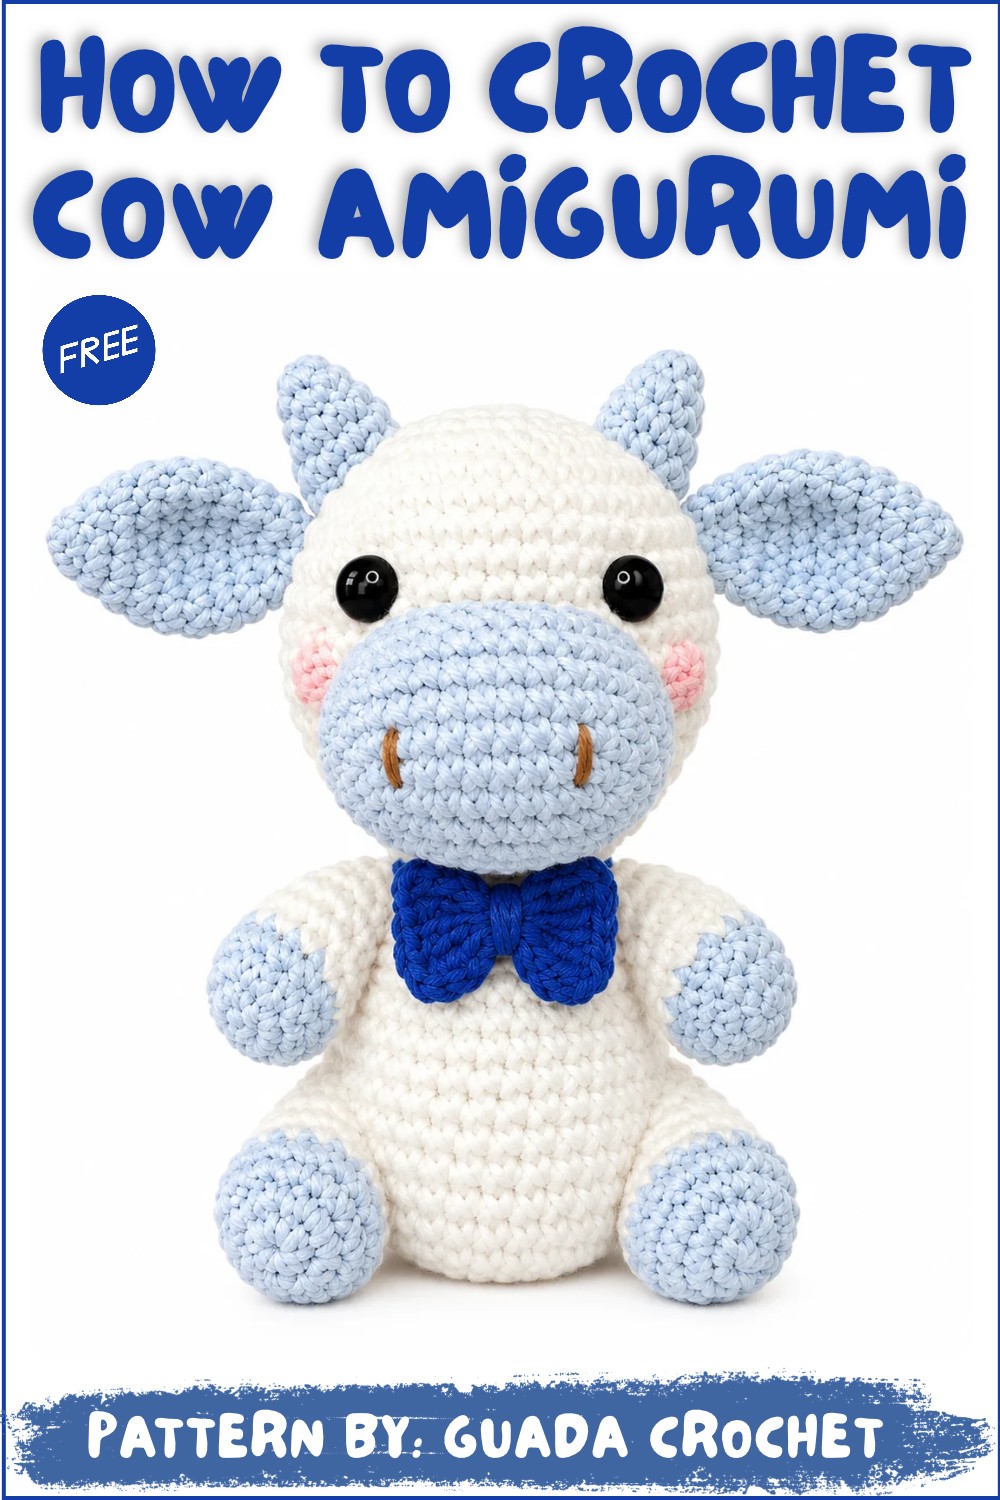
Delight in the joy of making an adorable keepsake with this Free Crochet Cow Amigurumi Pattern that’s sure to win hearts and spark smiles.
About The Designer:
Guada crochet shares clear, friendly crochet tutorials, with a focus on cute amigurumi projects and easy-to-follow patterns for different skill levels.
A small, handmade toy can add a lot of charm to your day. The Free Crochet Cow Amigurumi Pattern gives you a simple way to create a cute cow and bull pair with your own hands. The video walks you through each step slowly, so you can follow along even if you are still learning crochet.
Mini Cow Amigurumi – Free Crochet Pattern
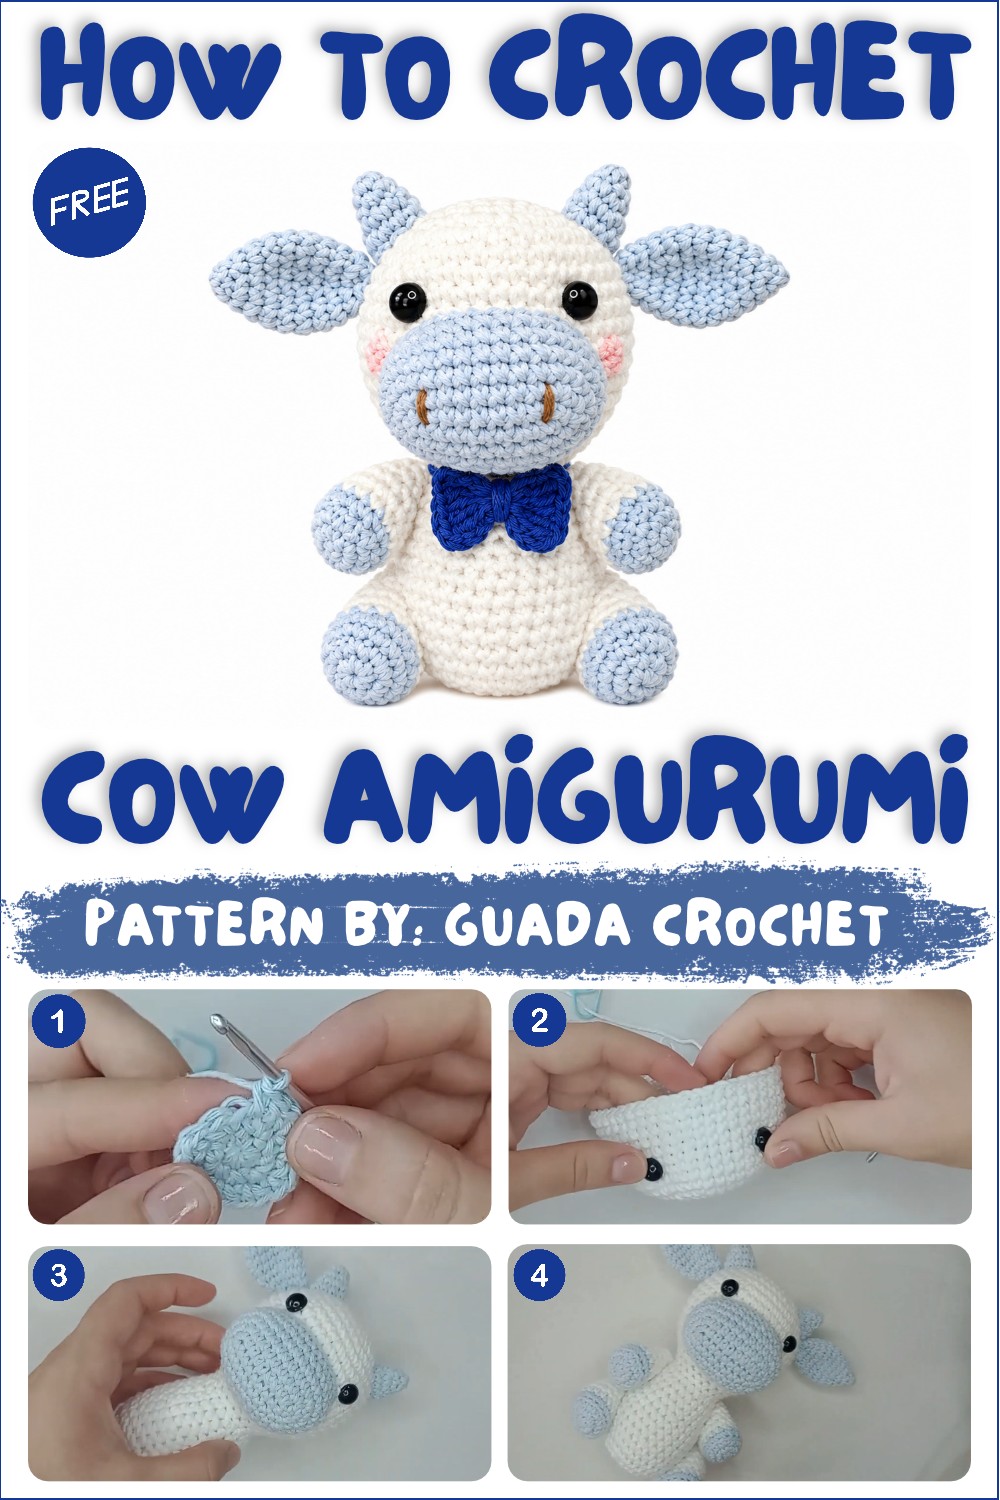
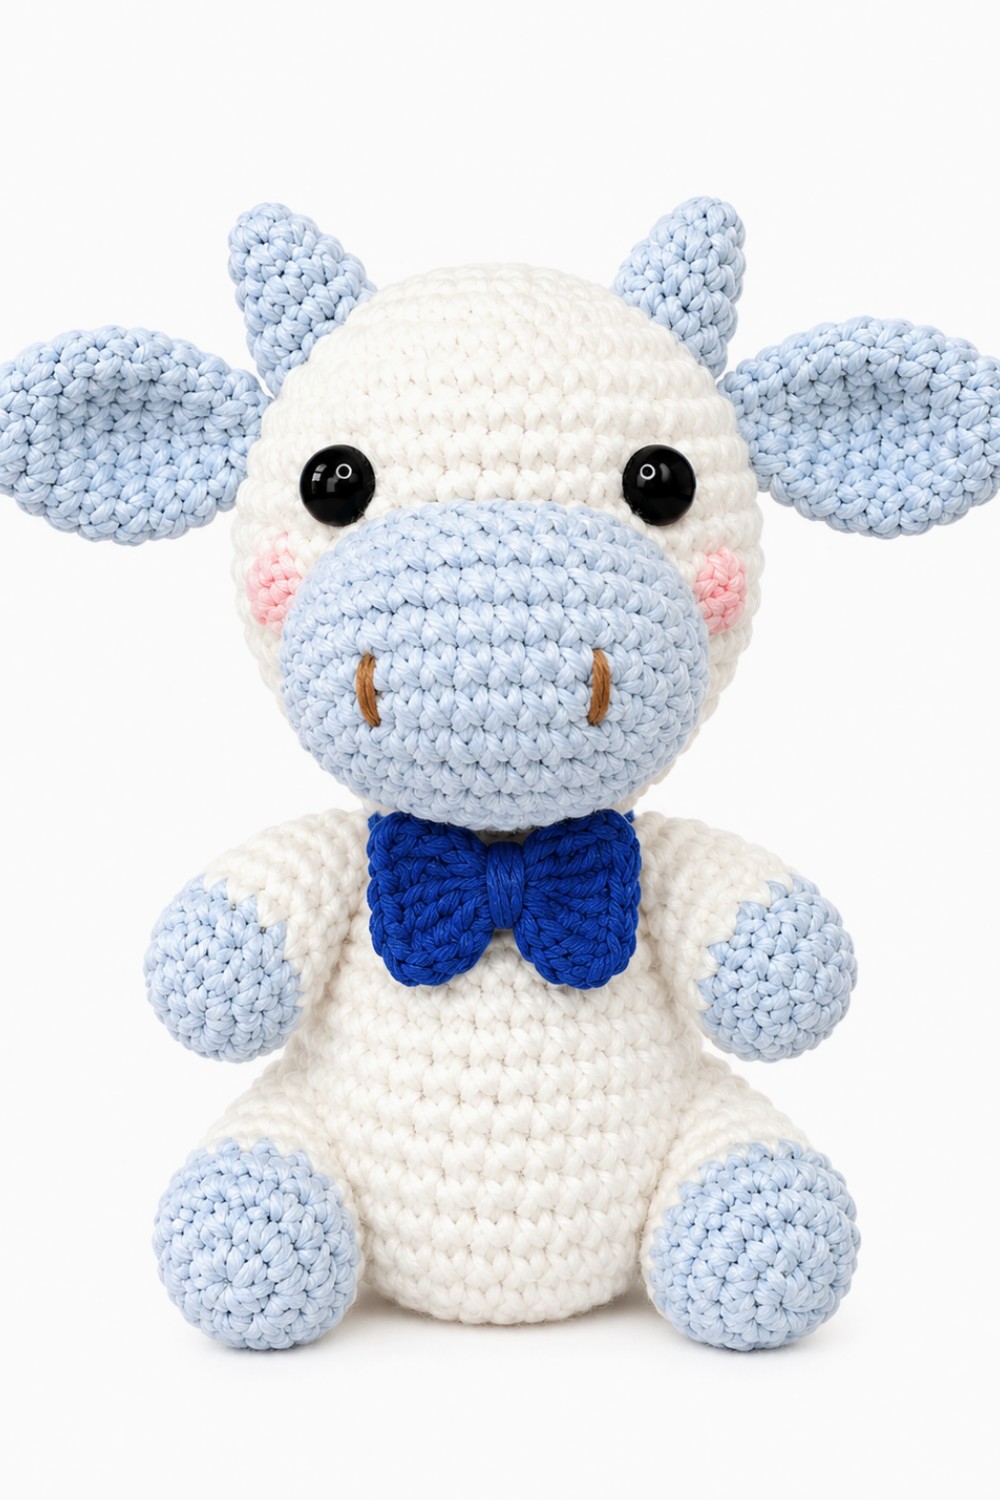
These tiny cows have round heads, plump bodies, and short little legs that make them look soft and friendly. The details are what make them special: small ears, neat horns, a sweet muzzle, and gentle embroidered eyes. You can choose classic cow spots, soft pastel shades, or brighter colors. Little touches like a bow tie for the bull or a flower for the cow help you give each one its own personality.
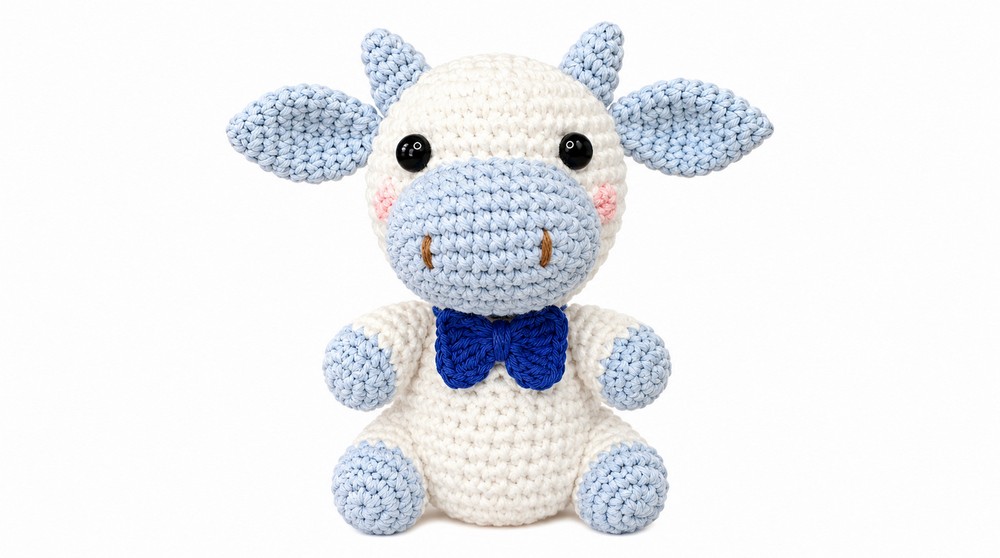
The finished amigurumi is small enough to be used in many ways. Attach a keychain ring and carry it on your bag, place it on a shelf as cute décor, or give it as a handmade gift to someone who loves cows or farm animals. Because it’s compact, it works well as a desk buddy, a backpack charm, or a sweet surprise in a gift box. Making it is relaxing, and the result is a toy that feels warm and personal.
Amigurumi Cow and Bull Couple Crochet Pattern by Guada Crochet
This comprehensive pattern guides you step-by-step to create a charming amigurumi cow and bull couple. The design features carefully shaped legs, ears, horns, muzzles, head, and body, all worked in rounds with smooth color transitions and fine detail work. Following this pattern allows you to crochet a lovable pair with realistic proportions and sweet expressions, perfect as gifts or collectibles.
Pattern Highlights
- Detailed stepwise construction of all parts: back legs, front legs, ears, horns, muzzle, head, body
- Use of color changes for realistic markings (white base with light blue/beige and detail colors)
- Working in rounds with magic ring starts and precise stitch increases and decreases
- Assembly instructions to attach all parts neatly for a polished amigurumi figure
- Final touches including embroidered nose, braided tail, and customizable accessories
Notes
- The pattern requires careful stitch counting and attention to color changes for smooth transitions.
- Work with a 3mm crochet hook through medium weight (~2mm thickness) yarn as specified.
- Stuff parts firmly with polyester fiberfill (bellón siliconado) to maintain shape.
- Use stitch markers for rounds when counting large stitches.
- Safety eyes (10mm) add life to the characters and must be attached securely before stuffing.
- Optional additions such as ribbons or blush for cheeks personalize your amigurumi duo.
- Ends must be woven in firmly to avoid unraveling during play or display.
Skill Level
Suitable for intermediate crocheters comfortable with:
- Magic ring (MR) technique
- Single crochet (SC), increases (INC), and decreases (DEC)
- Changing yarn colors mid-round
- Working in continuous rounds
- Attaching safety eyes and sewing amigurumi pieces securely
Materials
- Yarn: Approximate 2mm thickness, base color white, secondary colors light blue or beige, detail colors blue or brown
- Crochet hook: 3mm
- Safety eyes: Size 10mm
- Polyester fiberfill (bellón siliconado) for stuffing
- Tapestry needle
- Stitch markers
- Scissors
- Optional: Ribbon, blush for cheeks
Measurements / Sizing (Approximate)
- Size after assembly will depend on hook tension and stuffing but typically ranges between 15-20 cm tall for each amigurumi.
- Proportions modeled closely after real cattle features, balancing cuteness with realism.
Gauge & Stitch Pattern
- Gauge is flexible but using the recommended hook with appropriate tension ensures proportional shaping.
- Main stitches employed are single crochet (SC) worked in rounds with increases and decreases to form curves and shaping.
- Working in the back loops only for certain shaping effects in legs is required.
Stitch Abbreviations
| Abbreviation | Description |
|---|---|
| MR | Magic Ring |
| SC | Single Crochet |
| INC | Increase (2 SC in same stitch) |
| DEC | Decrease (single crochet 2 stitches together) |
Special Stitches
- Magic Ring (MR): Creates a strongly closed round center, essential for working circular amigurumi pieces.
- Back Loop Only (BLO) single crochet: Used in leg shaping for visual effect and structural definition.
- Color Change Mid-Round: Required to transition from base to accent colors for natural markings.
The Crochet Pattern
1. Back Legs
- Round 1: Start with a Magic Ring (MR). Work 6 single crochet (SC) into the ring.
- Round 2: 1 SC, then 1 Increase (INC) in next stitch; repeat pattern to give 9 stitches total.
- Round 3: Increase in every stitch; 18 stitches total.
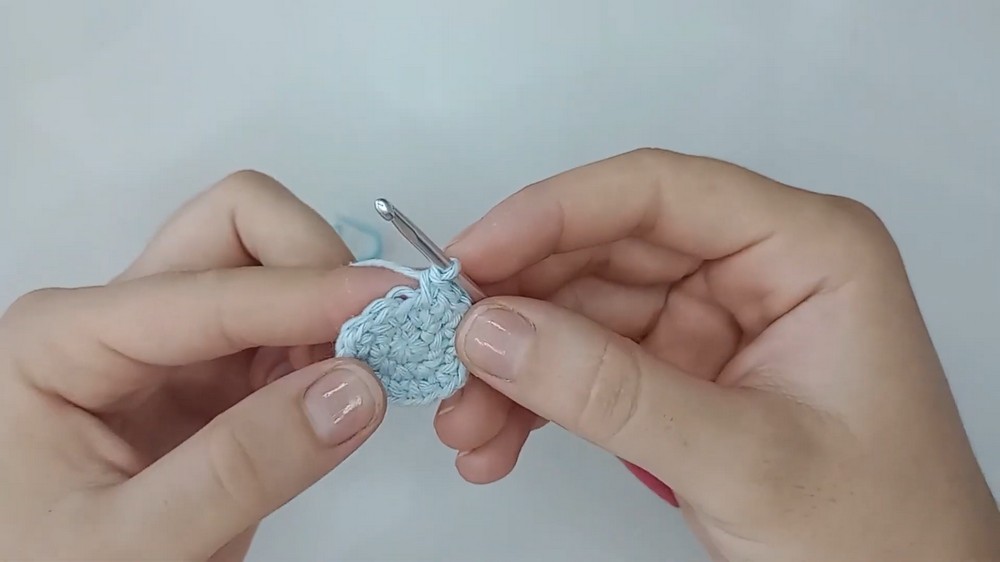
- Round 4: Work 18 SC in the back loops only (BLO) to help create textured shaping. At the end of this round, switch yarn color to white for the next rounds.
- Rounds 5-8: Work 18 SC evenly around in white color.
- Round 9: Work 1 SC, then 1 Decrease (DEC) to reduce stitches to 12 total.
- Round 10: Work 12 SC evenly to complete.
2. Front Legs
- Round 1: Begin with a Magic Ring (MR). Work 5 SC into the ring.
- Round 2: Increase in every stitch; total 10 stitches.
- Round 3: 1 SC, then 1 INC; total 15 stitches.
- Round 4: Work 15 SC in the back loops only (BLO), switching yarn to white at the start.
- Rounds 5-9: Work 15 SC evenly around in white, maintaining even tension.
- Round 10: 1 SC, then 1 DEC; 10 stitches finish this round.
3. Ears
- Begin with a Magic Ring (MR) and 6 SC.
- Gradually increase stitches up to 15 through rounds of increases, carefully working rounds to shape the curve of the ear.
- Then, decrease back down to 9 stitches over 11 rounds total to get a natural ear contour reflective of the animal, utilizing increases and decreases strategically.
4. Horns
- Crochet in rounds for 5 total rounds.
- Apply 3 Increases (INC) across rounds 3 and 4 to increase from initial stitches to a total of 12 stitches, shaping the tapering horn form.
5. Muzzle
- Start with a base chain of 11 stitches. This forms an oval foundation.
- Work in rounds expanding in an oval shape:
- By Round 3, increase the stitch count to 33.
- Follow with Rounds 4, 5, and 6 comprising 33 SC per round to maintain size and form.
6. Head and Body
- Head:
- Start with a Magic Ring (MR) of 6 stitches.
- Increase steadily, reaching 42 stitches by Round 6.
- Continue with 9 rounds (7–15) of even SC maintaining 42 stitches.
- Decrease gradually down to 18 stitches by Round 19.
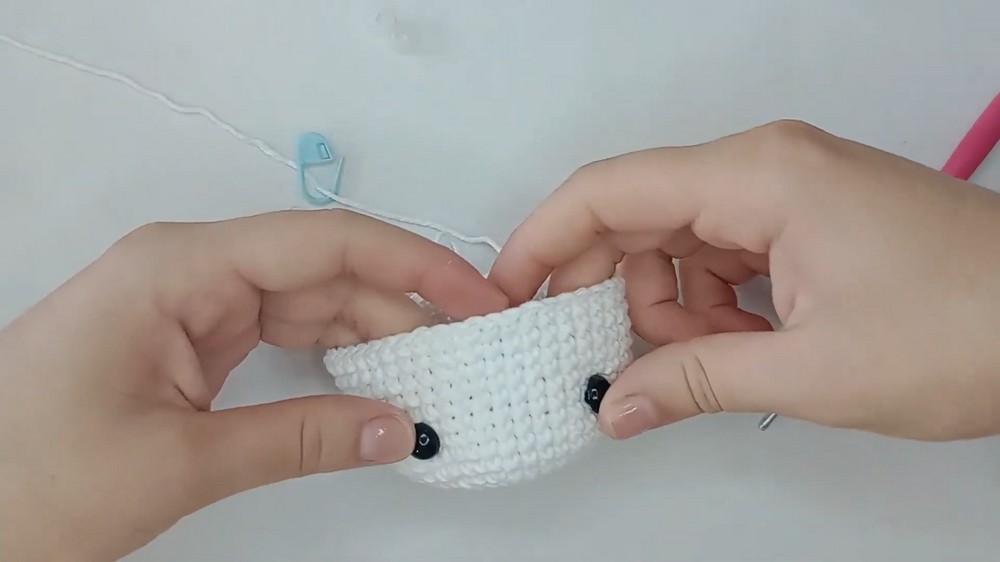
- Stuff firmly before moving on.
- Body:
- Continue from the head seamlessly.
- Increase to 36 stitches by Round 30.
- Maintain even rounds (31–33).
- Decrease to close up the shape by Round 36. Stuff adequately.
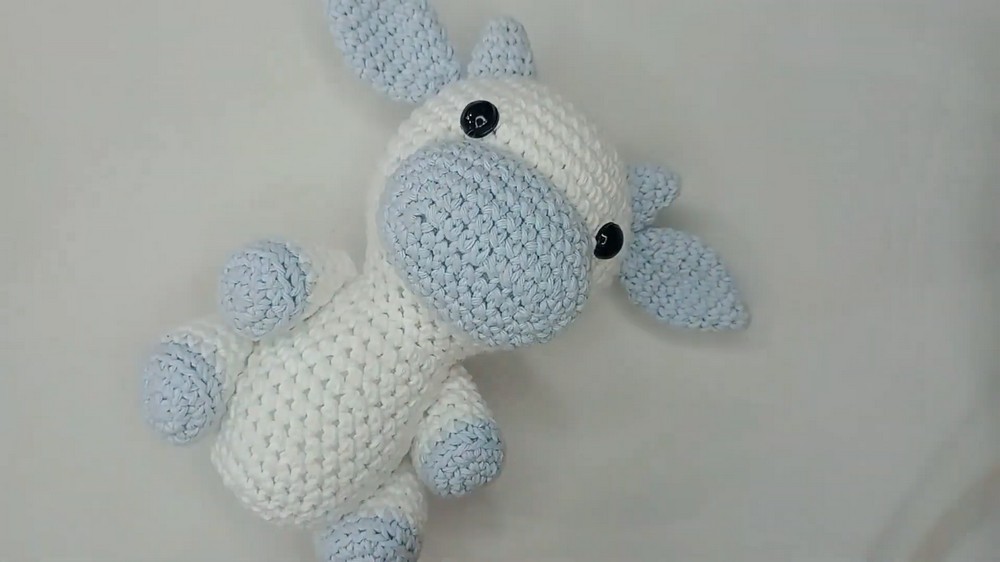
Assembly & Finished Size
- Attach the muzzle between Round 9 and Round 10 of the head securely using whip stitch or similar technique.
- Position the horns and ears atop the head as indicated, sewing firmly.
- Attach the front and back legs to the body symmetrically for stability and aesthetics.
- Embroider a brown nose carefully centered on the muzzle for character detail.
- Create a braided tail and sew it to the back of the body for finishing touch.
- Add accessories like a custom-made bow tie or apply blush to cheeks for extra personality.
- The final assembled couple’s size will range approximately 15-20 cm tall depending on materials and tension.
Conclusion
Crocheting this delightful cow and bull amigurumi couple is a rewarding project that combines foundational crochet techniques with intricate shaping and charming details. By following this carefully structured pattern, you will achieve beautifully proportioned figures that exhibit personality and craftsmanship. This pair makes a perfect handmade gift or a delightful addition to your collection of amigurumi friends. Focus on maintaining consistent tension, count stitches carefully, and enjoy the creative process of bringing these characters to life stitch by stitch.