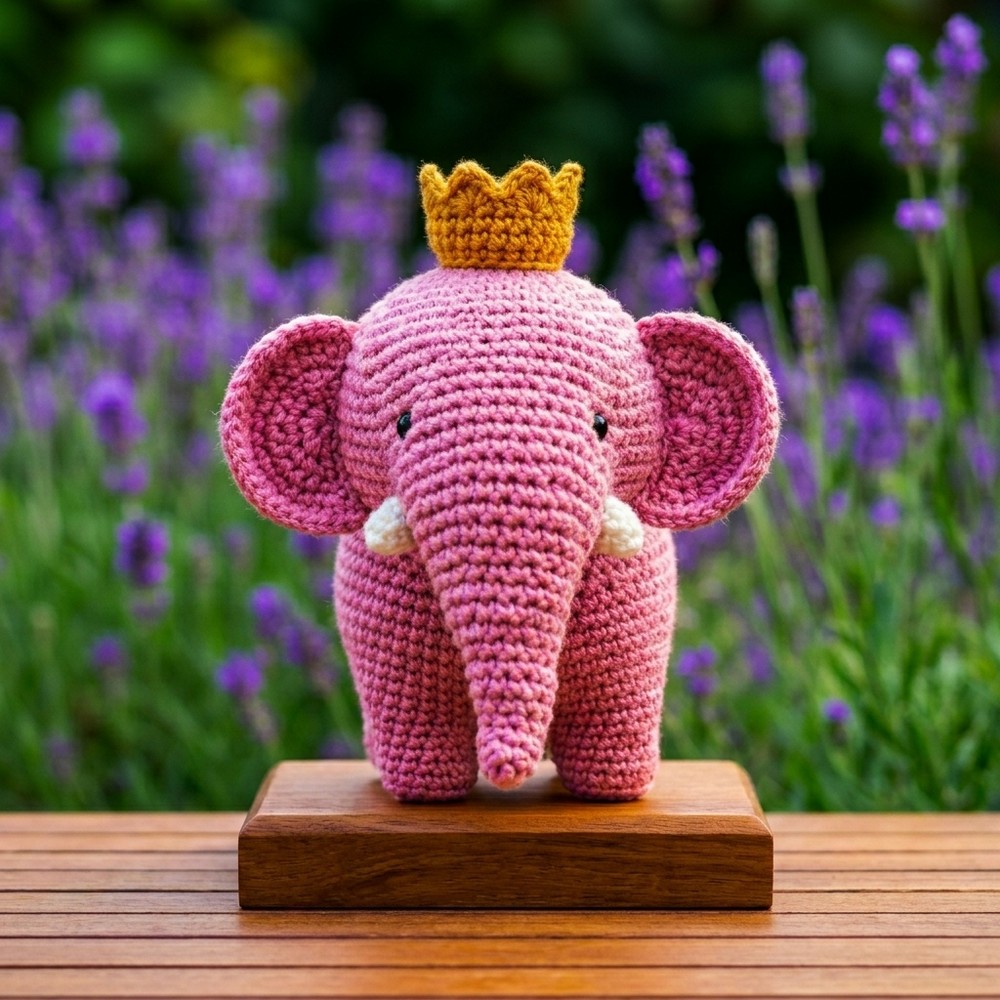
Free Crochet Elephant Amigurumi Pattern With A Crown

Crocheting small toys is a rewarding and enjoyable hobby that allows you to create delightful handmade items. One popular project is the Free Crochet Elephant Amigurumi Pattern, which helps you make a cute, soft elephant toy. With minor changes in color or size, this pattern can also inspire you to crochet other animals like mice, hippos, or donkeys, making it a versatile addition to your collection.
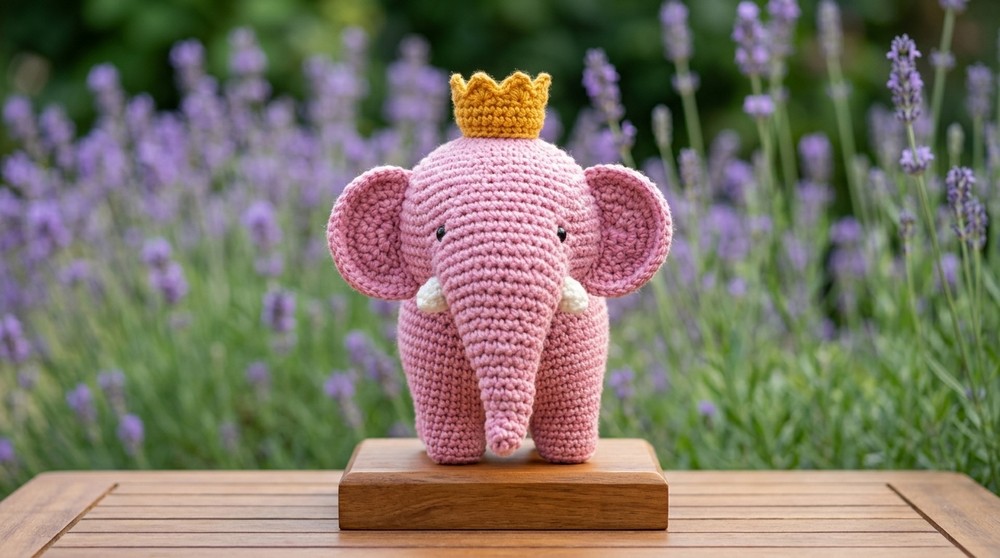
This elephant amigurumi is designed with a soft, round body and large floppy ears, creating a charming and recognizable shape. The texture is smooth and firm due to the tightly worked stitches, making the toy soft enough to cuddle but sturdy enough to hold its form. Standout features include its curved trunk and big, expressive eyes that give the elephant a friendly and sweet appearance. The project allows for easy customization with different yarn colors and sizes, making each elephant unique.
Crochet Elephant Amigurumi Free Pattern
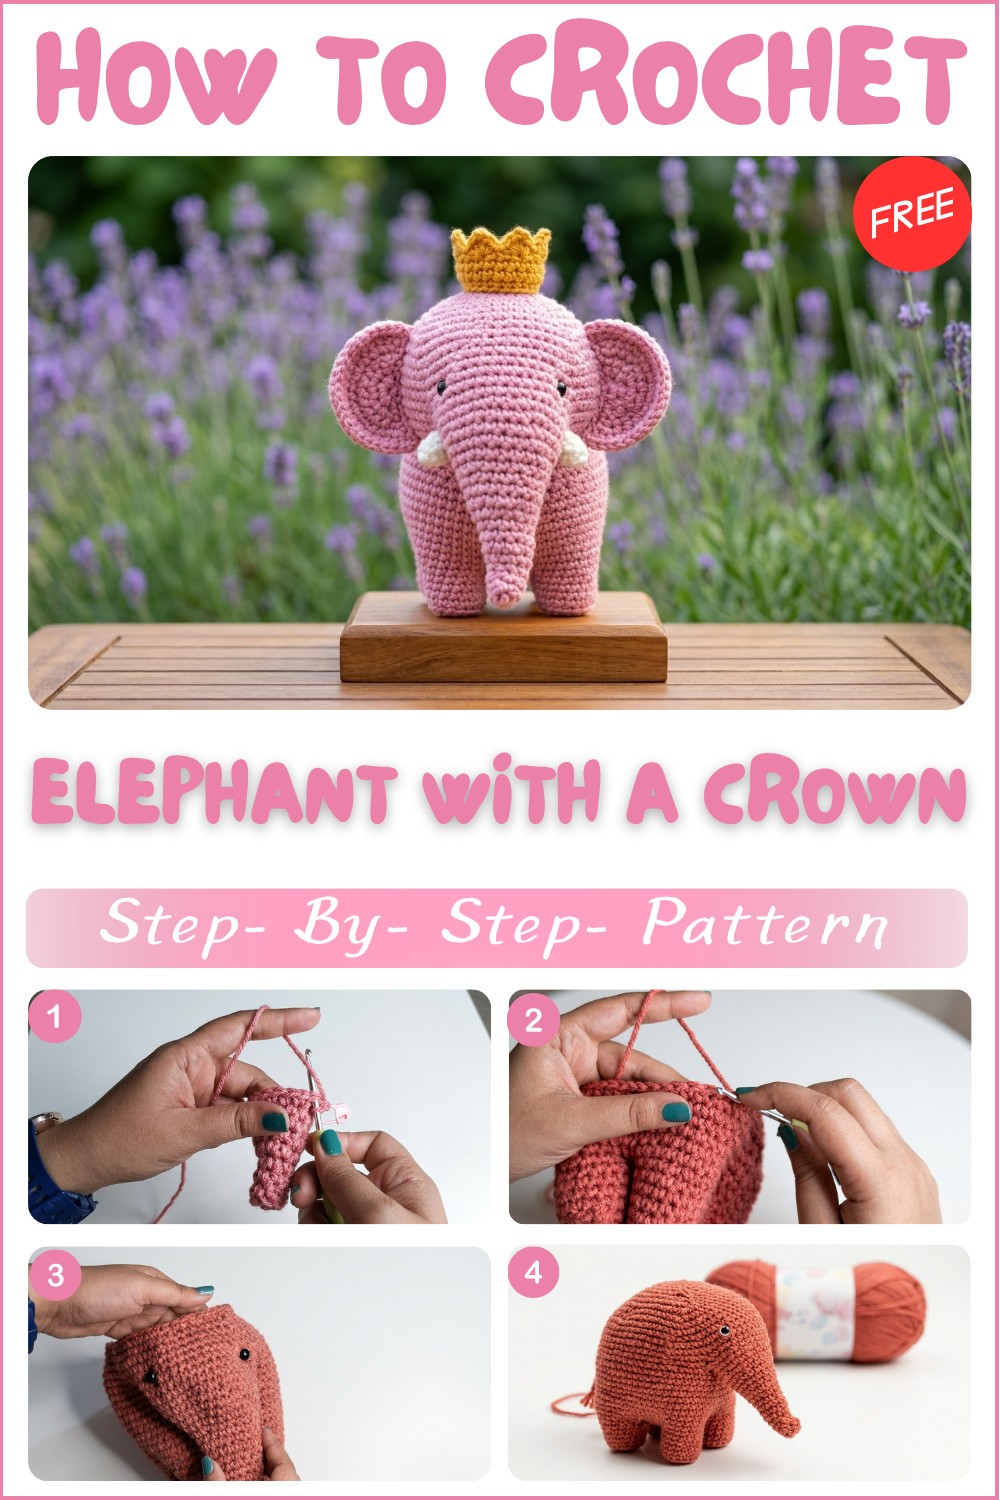
The pattern is suitable for beginners to intermediate crocheters, as it primarily uses the single crochet stitch—one of the most basic crochet stitches. This stitch ensures the fabric is tight, preventing the stuffing from showing through and keeping the toy’s shape intact. The step-by-step instructions guide you through assembling the parts, such as the body, ears, trunk, and eyes, making the process manageable even for those new to amigurumi.
This crochet elephant makes a thoughtful handmade gift and can be used as a decorative item in nurseries or living rooms. It also works well as a collectible piece for those who enjoy crafting a variety of amigurumi animals. Overall, this project is an excellent choice if you want to create a charming, soft toy while practicing fundamental crochet skills. It’s both satisfying and fun for crafters of various skill levels.
Amigurumi Elephant Crochet Pattern
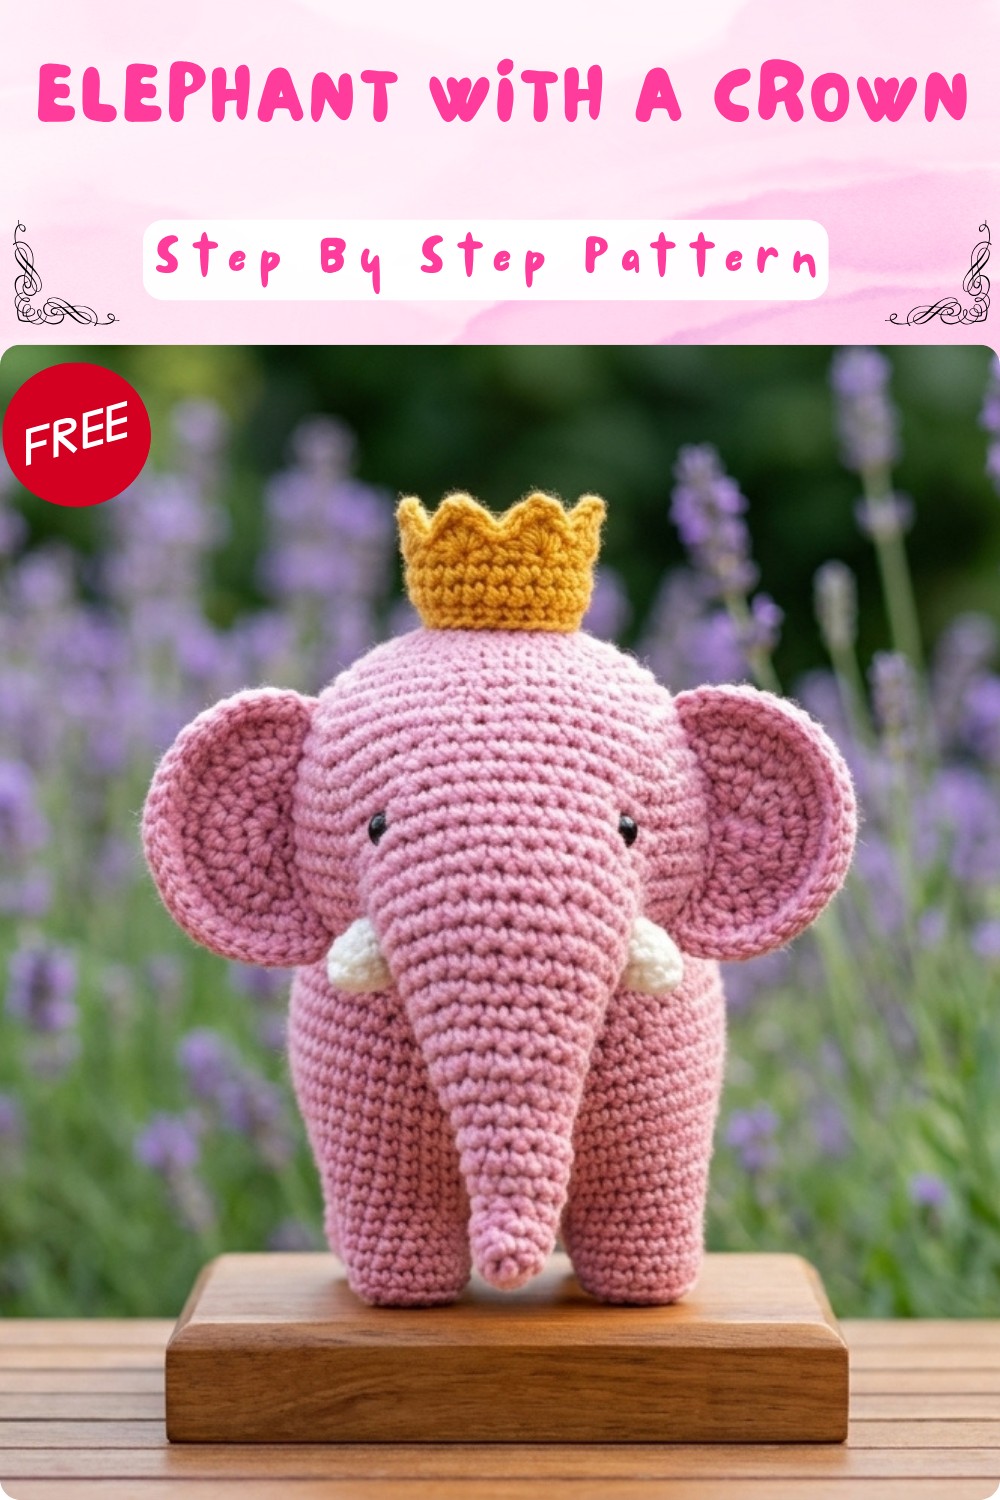
This adorable project is designed for minimal sewing and quick assembly—making it perfect for beginners or anyone looking for a speedy, satisfying make. You’ll create a charming elephant with a trunk, four legs, ears, tusks, a crown, and a tail, ideal for play, display, or gifting. The pattern uses basic amigurumi techniques and includes a few accessories so you can personalize your elephant.
Skill Level & Terminology
- Skill Level: Confident Beginner
- Terminology: US crochet terms
Materials & Tools
- Yarn: Lion Brand Pound of Love (DK/worsted; Oxford Grey for body), scraps of white yarn (tusks), additional color for crown (e.g., mustard)
- Hook: 3.5 mm crochet hook (or size to match your tension)
- Stuffing: Polyester fiberfill
- Safety Eyes: 1 pair
- Notions: Stitch marker, yarn needle, scissors
Gauge
Gauge is not critical for amigurumi, but stitches should be tight enough to hold stuffing.
Suggested Gauge:
- 5 rounds in single crochet = approx. 2 inches (5 cm) diameter
- Adjust hook size if necessary.
Abbreviations List
| Abbreviation | Meaning |
|---|---|
| ch | chain |
| sc | single crochet |
| sl st | slip stitch |
| inc | increase (2 sc in 1 st) |
| dec | decrease |
| BLO | back loop only |
| MR | magic ring |
| st(s) | stitch(es) |
Special Stitch Instructions
- Magic Ring (MR): Wrap yarn around your fingers, insert hook, pull up a loop, ch 1, and crochet required stitches into the ring. Pull tight to close.
- Invisible Decrease (dec): Insert hook into front loop of next st, then front loop of following st, yarn over and pull through both loops, yarn over and pull through last two loops.
- Back Loop Only (BLO): Insert hook only under the back loop of the stitch.
Finished Size
- Elephant: ~6 inches (15 cm) tall, ~4 inches (10 cm) wide (including ears)
- Crown: ~1 inch (2.5 cm) tall
- Tail: ~1 inch (2.5 cm) long
The Pattern Itself
Trunk
- Round 1: MR, 6 sc in ring. Place stitch marker.
- Rounds 2–4: 1 sc in each st around. (6 sts per round)
- Round 5: Inc in each st around. (12 sts)
- Rounds 6–8: 1 sc in each st around. (12 sts per round)
- Round 9: (1 sc, inc) repeat around. (18 sts)
- Rounds 10–12: 1 sc in each st around. (18 sts per round)
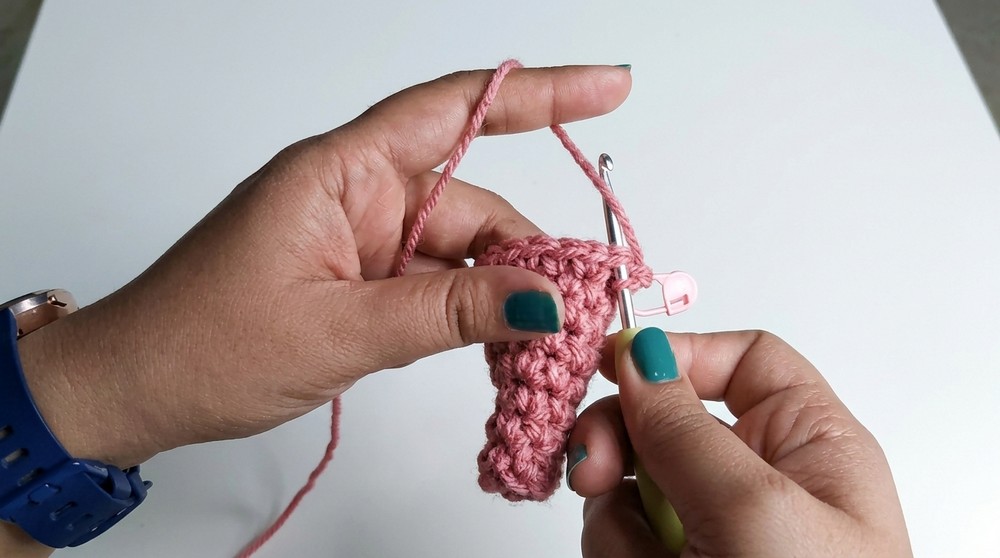
- Round 13: (2 sc, inc) repeat around. (24 sts)
- Round 14: 1 sc in each st around. (24 sts)
- Round 15: (3 sc, inc) repeat around. (30 sts)
- Round 16: 1 sc in each st around. (30 sts)
- Round 17: (4 sc, inc) repeat around. (36 sts)
- Round 18: 1 sc in each st around. (36 sts)
Fasten off and stuff. Set the trunk aside for later attachment.
This trunk is created in a tube with gradual increases for shaping. After stuffing, set aside for assembly.
Legs (Make 4)
- Round 1: MR, 6 sc in ring.
- Round 2: Inc in each st around. (12 sts)
- Round 3: (1 sc, inc) repeat around. (18 sts)
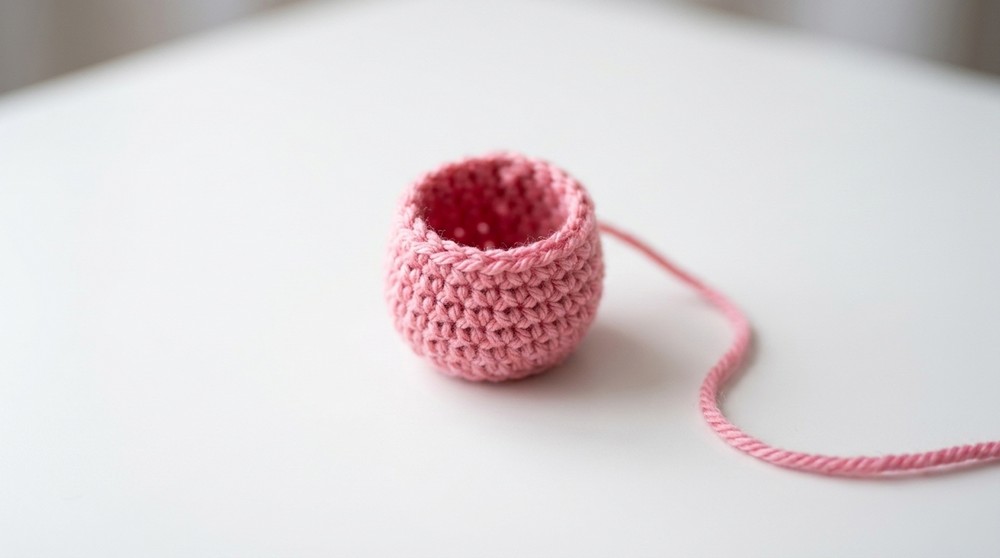
- Round 4: BLO, 1 sc in each st around. (18 sts)
- Rounds 5–7: 1 sc in each st around. (18 sts per round)
For first 3 legs: Fasten off. For 4th leg: Do not fasten off, keep attached.
Work four stout legs, using back loop only for round 4 to define the “foot” shape. The fourth leg remains attached for joining.
Joining the Legs
- Join the legs using slip stitch and then work 14 sc around the first leg, next leg, and so on, connecting each with slip stitch.
- Once all four are joined, connect the first and fourth legs (count back 14 sts, slip stitch to join), then 14 sc around.
You’ll now have four legs, joined in a circle with a center gap.
Legs are joined in a continuous loop, forming the elephant’s sturdy base.
Closing the Leg Gap
- Attach yarn to any leg. Chain 1.
- 4 sc around each leg’s inner edge (16 sts total).
- Using regular decreases, work around the gap until closed.
- Fasten off and sew the small center hole with yarn needle.
This step ensures a dense, stable base for your elephant. Adjust stuffing before closing.
Body
- Reattach yarn to the main part of legs.
- Rounds 1–2: 1 sc in each st around. (56 sts, based on 14 per leg × 4)
- Round 3: (13 sc, inc) 4 times. (60 sts)
- Round 4: (9 sc, inc) 6 times. (66 sts)
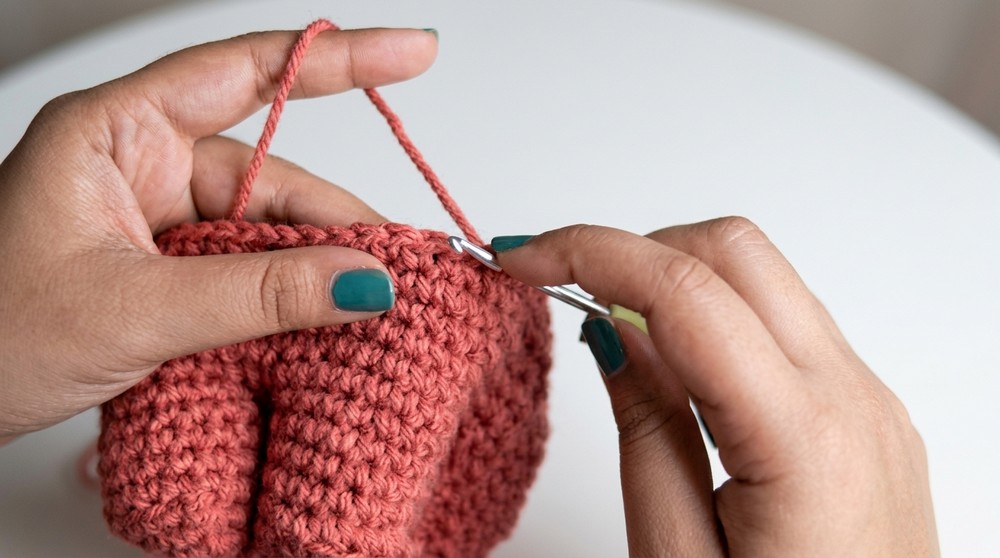
- Rounds 5–7: 1 sc in each st around. (66 sts per round)
- Round 8: (9 sc, dec) 6 times. (60 sts)
- Rounds 9–13: 1 sc in each st around. (60 sts per round)
You’ve built up the body, shaping for the elephant’s robust form. Stuff the body as you go.
Attaching the Trunk
- 30 sc from body, then slip stitch, holding trunk in place.
- 12 sc going through body and trunk, attaching.
- Continue working 1 sc in each st to stitch marker.
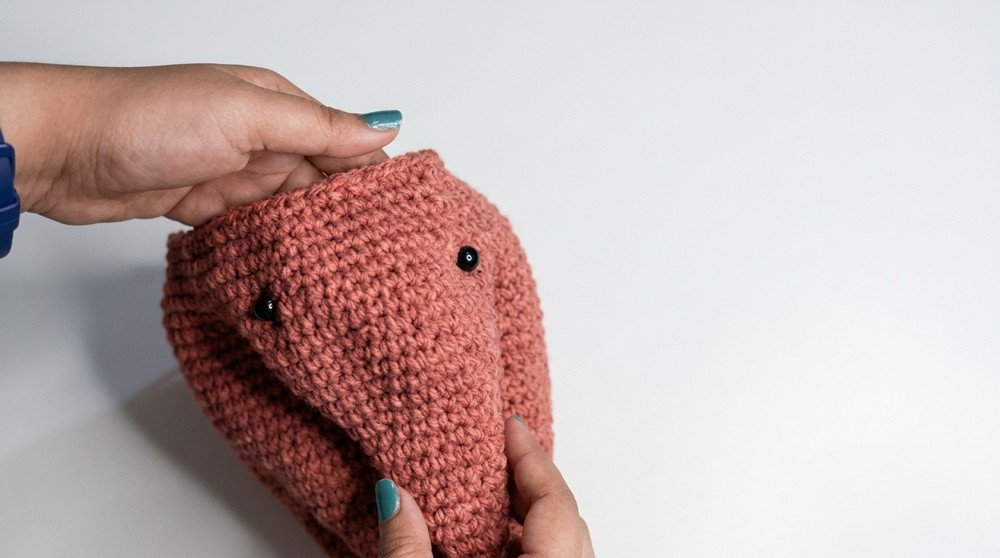
Attach trunk securely for shaping, working into both body and trunk for 12 stitches.
Head
- With trunk attached, 1 sc in each st around for 72 sts (48 remaining body + 24 trunk).
- Next round: (10 sc, dec) 6 times. (66 sts)
- Next round: 1 sc in each st around. (66 sts)
- Next round: (9 sc, dec) 6 times. (60 sts)
- Next round: 1 sc in each st around. (60 sts)
- Next round: (8 sc, dec) 6 times. (54 sts)
- Next round: 1 sc in each st around. (54 sts)
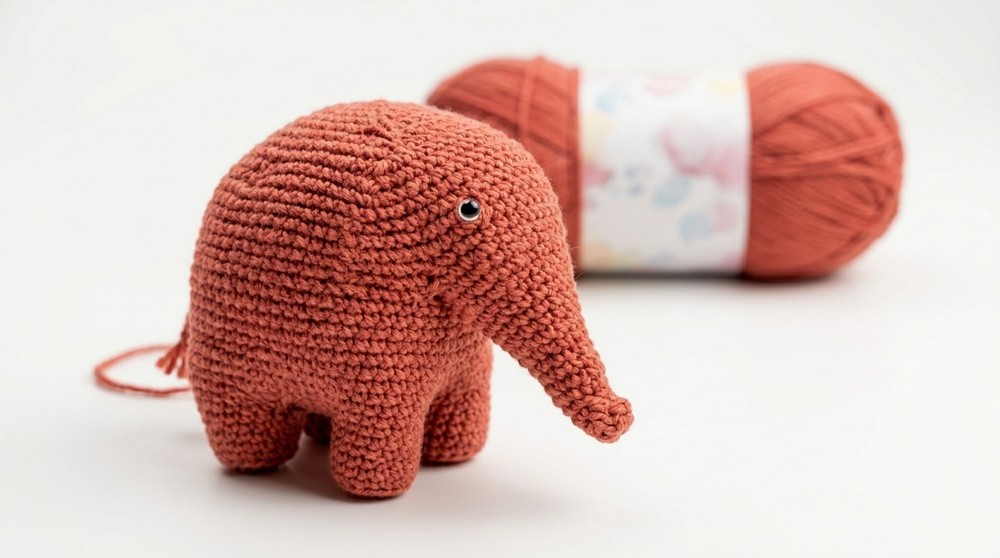
- Next round: (7 sc, dec) 6 times. (48 sts)
- Next round: (6 sc, dec) 6 times. (42 sts)
Shape the head, decreasing steadily. Add safety eyes after row 42. Place stuffing in head and body before closing.
- Next round: (5 sc, dec) 6 times. (36 sts)
- Next round: (4 sc, dec) 6 times. (30 sts)
- Next round: (3 sc, dec) 6 times. (24 sts)
- Next round: (2 sc, dec) 6 times. (18 sts)
- Next round: (1 sc, dec) 6 times. (12 sts)
- Final round: Dec around. Fasten off, sew shut.
Continue stuffing while closing for nice volume.
Ears (Make 2)
- Ch 2, turn. Into the second ch: 4 sc.
- Row 1: Ch 1, turn. Inc in each st (8 sc total).
- Row 2: Ch 1, turn. (1 sc, inc) repeat (12 sc).
- Row 3: Ch 1, turn. (2 sc, inc) repeat (16 sc).
- Row 4: Ch 1, turn. (3 sc, inc) repeat (20 sc).
- Row 5: Ch 1, turn. (4 sc, inc) repeat (24 sc).
- Row 6: Ch 1, turn. Sl st across all sts (neaten edge).
Fasten off with long tail for sewing.
Curled ears are shaped with increases. Sew to sides of head, curling slightly for cute dimension.
Tusks (Make 2)
- MR, 5 sc in ring.
- Rounds 2–3: 1 sc in each st around. (5 sts)
- Fasten off with long tail. Attach tusks on either side at top of trunk.
Tusks are simple tubes made from white yarn. Attach them snuggly below eyes.
Crown (Optional Accessory)
- Ch 22.
- Skip first ch, 21 sc in remaining chains.
- Rows 2–3: Ch 1, turn. 1 sc in each st across.
- For points: [Ch 3, skip first st, sl st in next, sc in next, sl st in next 3]; repeat for total of 7 points.
- Fold strip in half and join with sl st, chain 1, sl st along edge. Fasten off.
The crown is a tiny strip with points. Sew or display atop elephant’s head.
Tail
- Ch 5, fasten off, split ends for fringe. Sew to rear.
Simple chain with split ends for a charming tail.
Assembly & Finishing
- Sew ears to head, curling slightly.
- Attach tusks to trunk, stitch securely.
- Sew on tail at back.
- Stitch crown to head or leave as accessory.
- Weave in all ends, add extra stuffing if needed.
- Adjust trunk, ears, legs, and tail for lifelike pose.
Conclusion
This amigurumi elephant is easy to assemble, requires minimal sewing, and produces a delightful, robust toy or decorative piece. The pattern combines basic stitches—single crochet, slip stitch, increases, decreases—with accessible amigurumi methods. Personalize your creation with accessories or alternate yarn colors as desired.