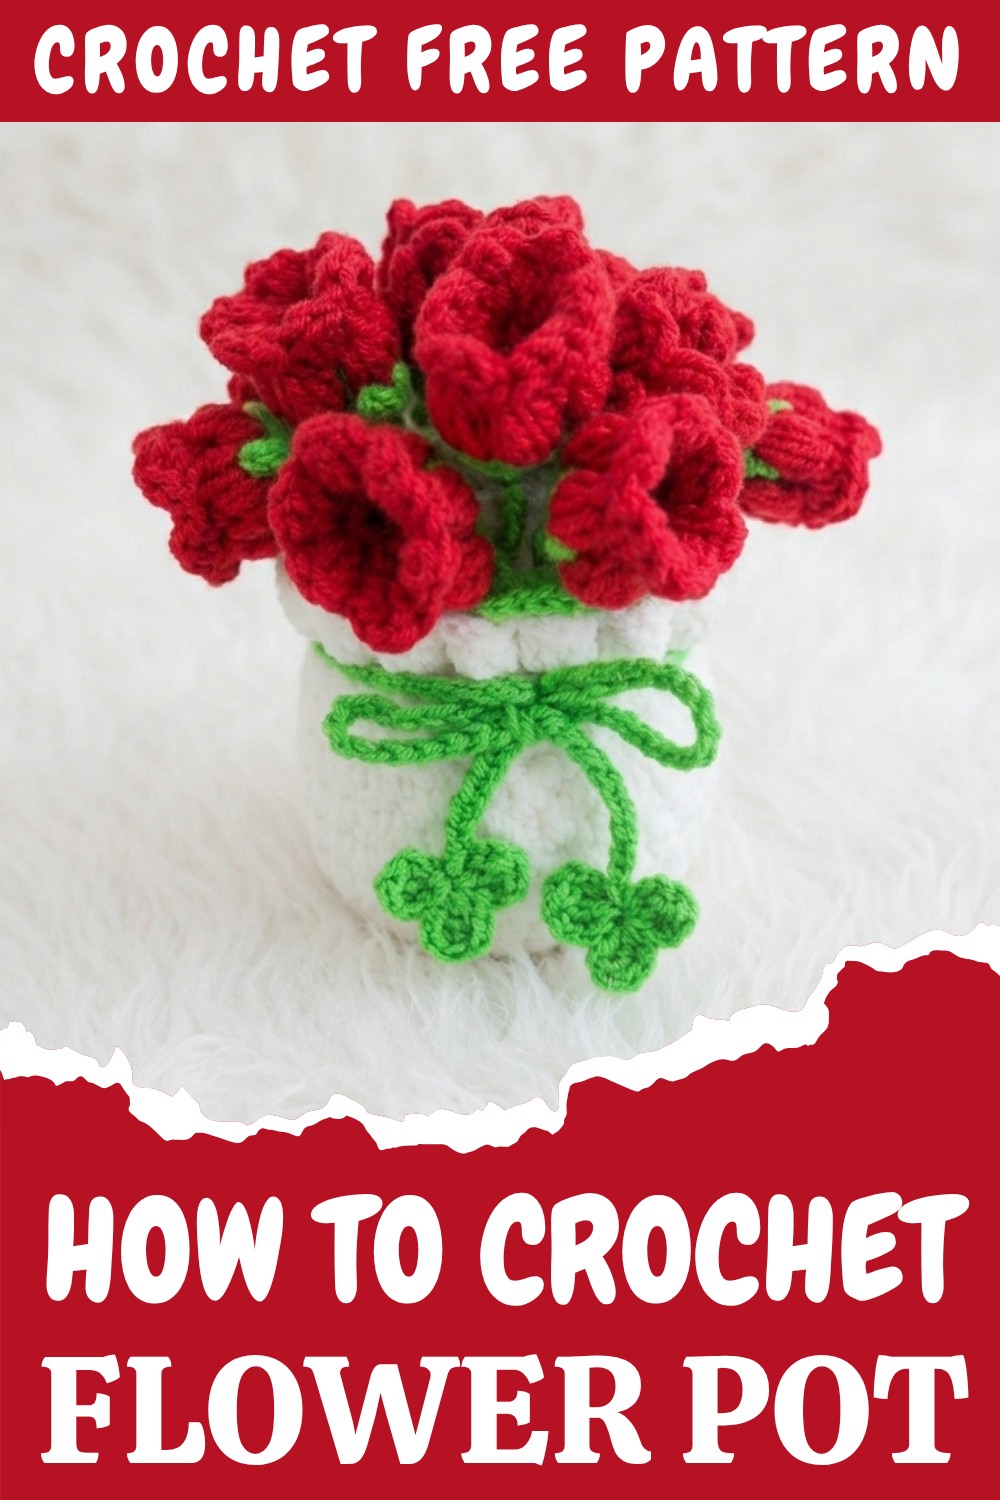
Trendy Crochet Flowerpot Pattern for Eco-Friendly Home Style
Instantly protect your table in style with the Free Crochet Flowerpot Pattern for a modern, functional accent at every meal.
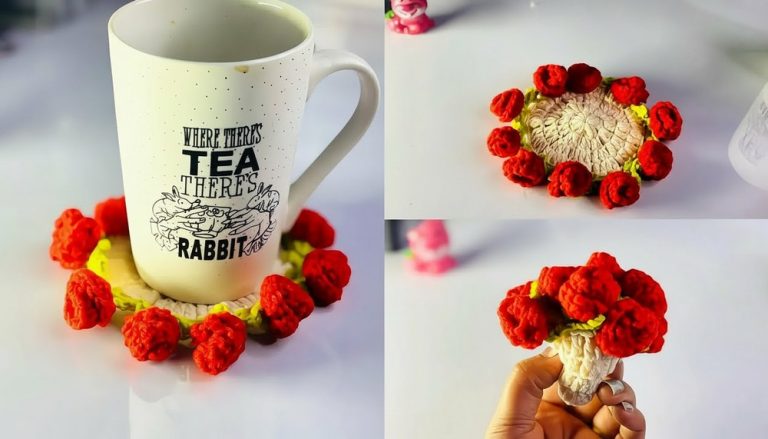
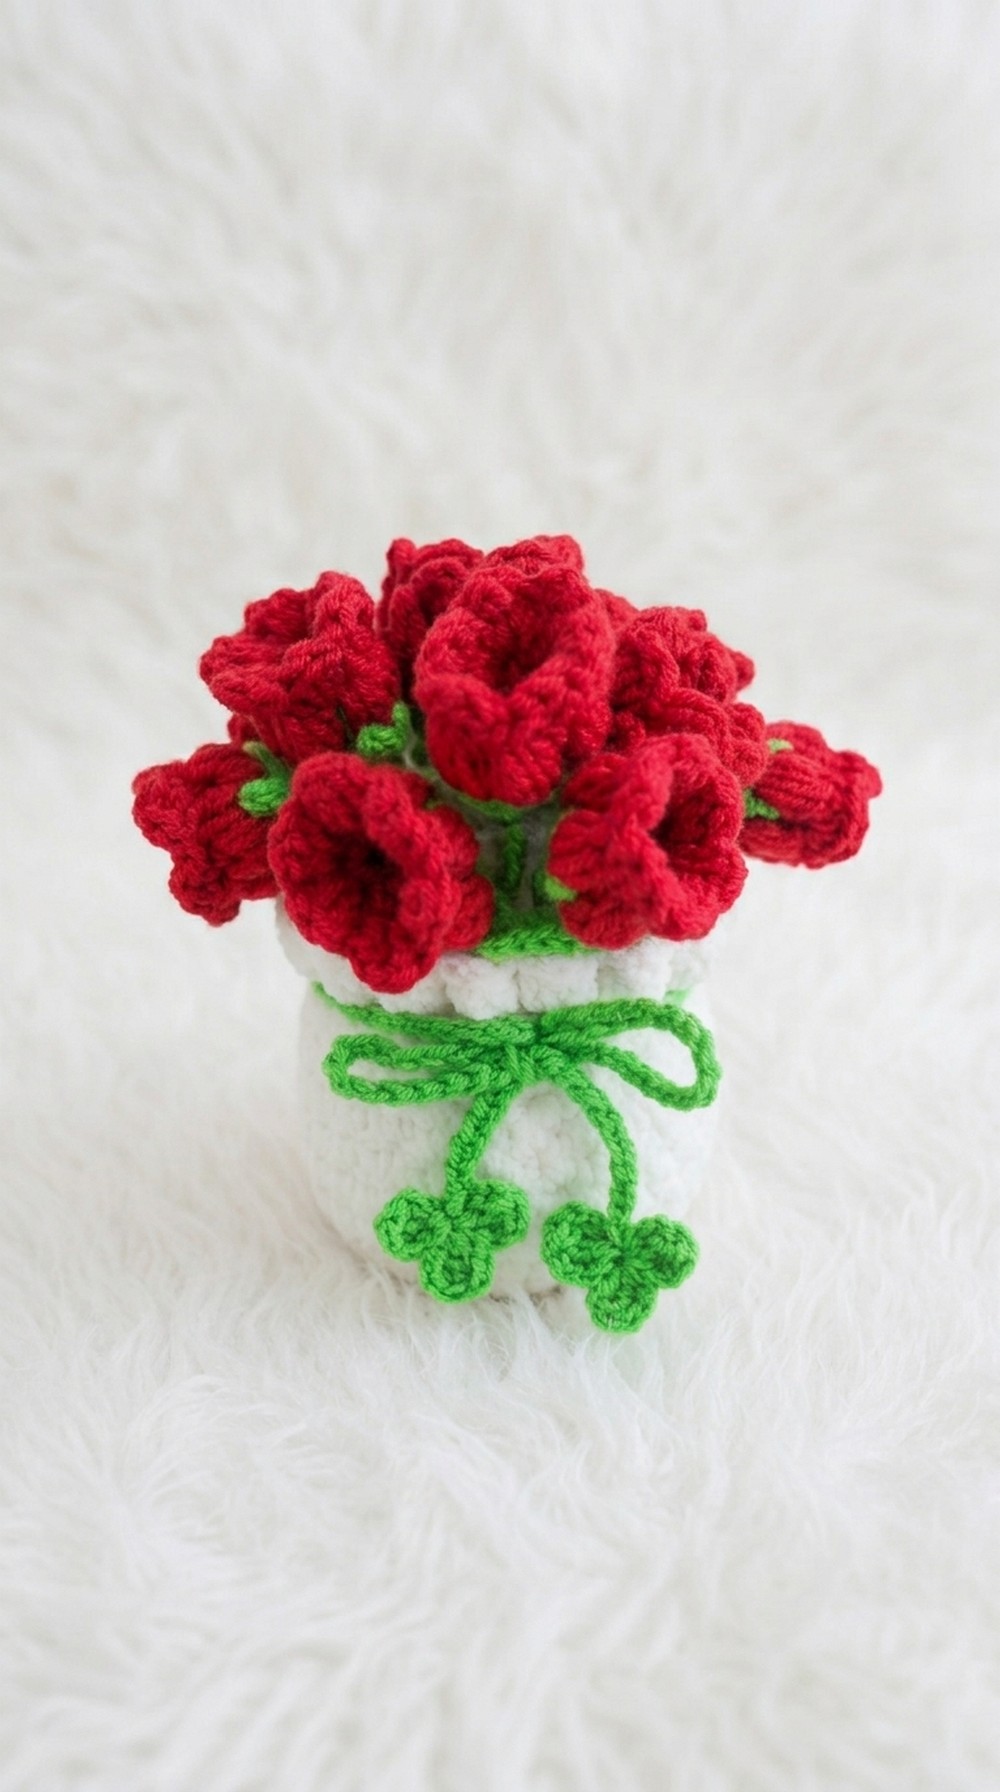
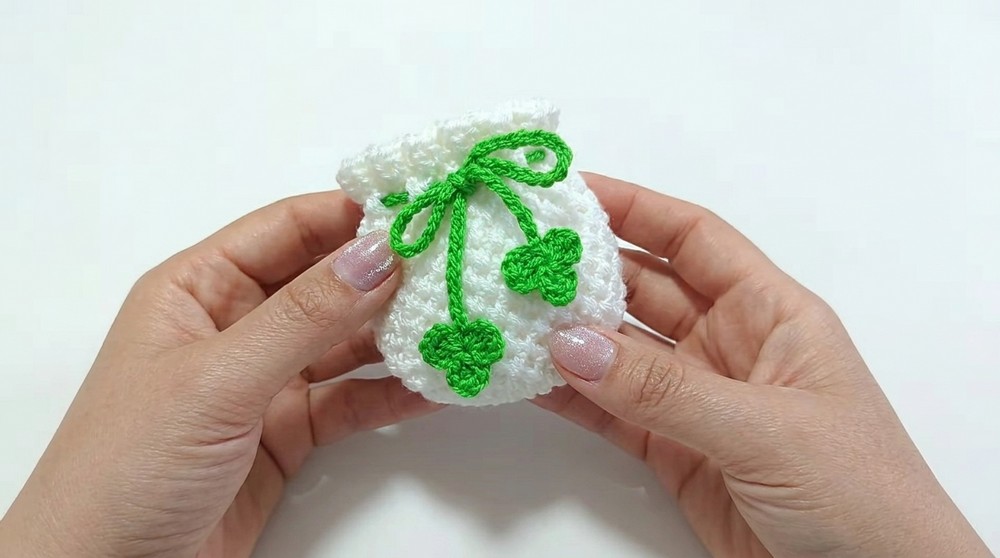
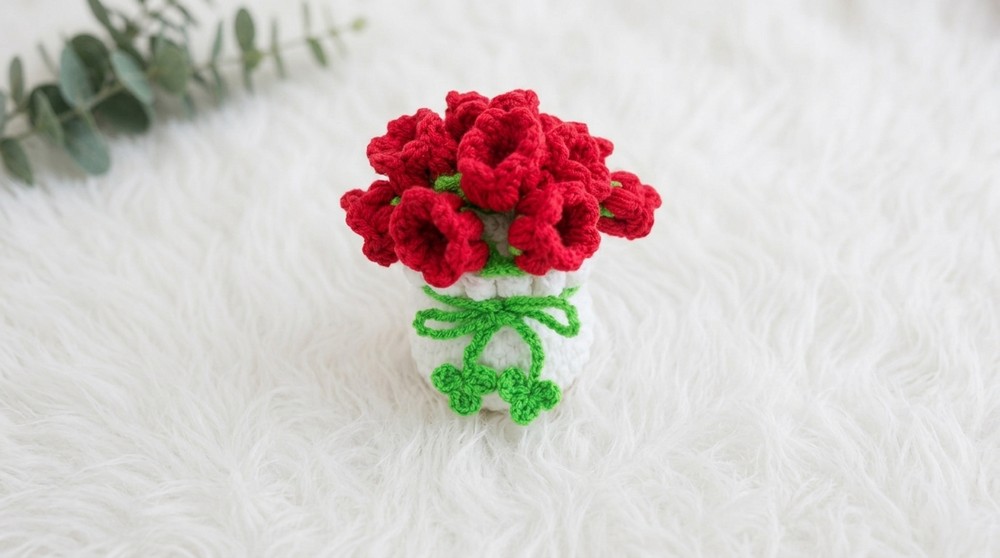
Crocheting this lovely Flowerpot pattern is both a fun and satisfying project for anyone who enjoys handmade home décor. It combines practicality and beauty, as it helps organize your coasters while adding a decorative touch to your table or countertop. What makes this pattern stand out is the basketweave stitch, which creates a textured, woven pattern that gives the flowerpot a sturdy yet elegant appearance. The combination of off-white yarn for the base and a contrasting green yarn for the bow and finishing accents makes the pattern visually appealing, though you can always play around with colors to suit your preferences. Adding ruffled edges further elevates its uniqueness, giving the pot a charming and playful effect.
Artistic Free Pattern Crochet Flowerpot for Beautiful Plant Accessories
This flowerpot can hold a variety of coaster designs, such as tulips or sunflowers, making it perfect for themed tablescapes. The magic ring technique ensures a tidy start, while alternating between normal single crochet stitches and elongated single crochet stitches achieves the basketweave texture effortlessly. Whether you use this piece for purely decorative purposes or daily organization, it’s sure to become a statement item that blends creativity and functionality.
Other Things You Can Crochet From This Pattern
The skills learned through this pattern can be adapted into other creative projects:
- Storage baskets: Use the basketweave technique for larger organization bins.
- Planter covers: Create unique designs for pots or vases.
- Decorative trays: Build flat-bottom trays for serving or display.
- Gift baskets: Utilize the ruffled edges for handmade gift packaging.
Why This Pattern is Perfect for You
- Beginner-friendly yet visually impressive.
- Practical while adding a charming touch to your home.
- Easily customizable with colors and sizes.
- Great as a gift idea or fun project for themed décor.
Let this crochet flowerpot brighten up your space while doubling as a functional organizer!
Crochet Flowerpot with Basketweave Stitch
Create a beautiful and functional crochet flowerpot to store your coasters or decorate your space. This design uses the basketweave stitch to give a textured, intricate look while being sturdy and practical. With added details like ruffles and a cute bow, you can personalize this project with your choice of colors. Whether for your own use or as a gift, this flowerpot will be a lovely addition to any space.
Skill Level & Terminology
- Skill Level: Beginner to Intermediate.
- Terminology: Written in US terms.
Materials & Tools
- 2 mm acrylic yarn in off-white for the base.
- Green yarn (used doubled) for additional decorations.
- 2.5 mm crochet hook for the flowerpot.
- Scissors.
- Tapestry needle for weaving ends.
Gauge
Gauge is not critical for this flowerpot, but aim to maintain consistent tension throughout the pattern for a clean and polished look.
Abbreviations List:
- ch: Chain
- sl st: Slip Stitch
- sc: Single Crochet
- dc: Double Crochet
- inc: Increase (2 stitches into the same space).
- long sc: Elongated Single Crochet (explained below).
What You Will Learn From This Pattern
- Master the basketweave stitch for a unique textured design.
- Create decorative ruffles for creative borders.
- Use precision with magic ring techniques for clean starts.
- Add embellishments like bows to elevate your project.
Special Stitch Instructions:
Magic Ring:
- Wrap yarn around your fingers to form a loop, with the working yarn crossing over the tail.
- Insert your hook under the loop, pull up a loop, and create the first stitch to stabilize the ring. Continue working stitches into the loop.
- Pull the tail to tighten and close the ring.
Elongated Single Crochet (long sc):
- Instead of inserting your hook into the top strand of the stitch, insert it into the lower part of the previous round, enveloping the entire stitch. Pull up and finish as you would a normal sc.
- This stitch adds depth and texture, mimicking the look of basketweave.
Finished Size
- Diameter: Approx. 15 cm (6 inches).
- Height: Approx. 7 cm (3 inches) including ruffled edges.
The Pattern Itself
Follow these detailed step-by-step instructions to complete your flowerpot:
Base of the Flowerpot
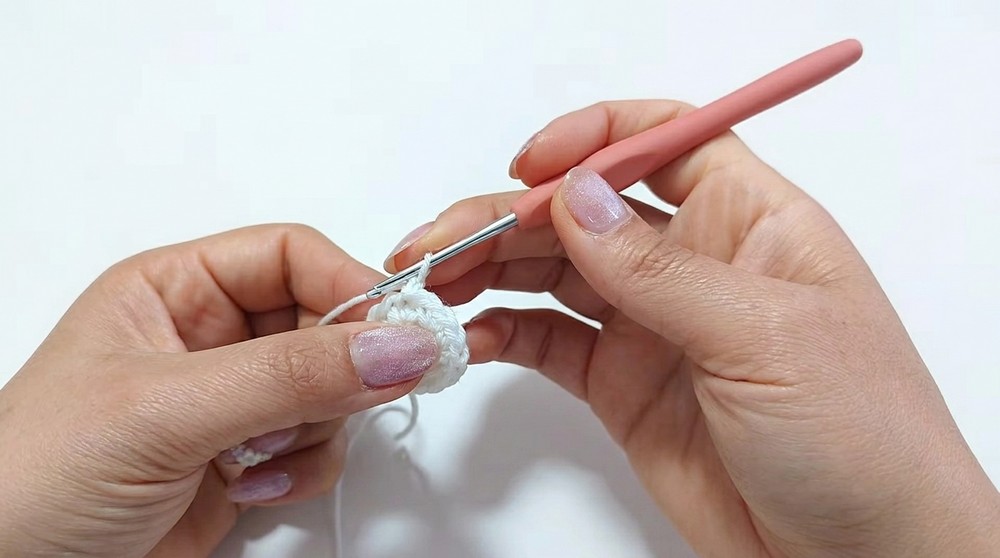
Round 1:
- Start with a magic ring using off-white yarn.
- Work 8 sc into the ring.
- Pull to close the ring and join with a sl st into the first sc.
The magic ring creates a clean circular base. You should now have a small round piece with 8 stitches.
Round 2:
- Ch 1, then work 2 sc in each stitch (increase in every stitch).
- Join with a sl st into the first sc.
- Total: 16 sc.
Round 3:
- Ch 1, then work 1 sc in the first stitch, 2 sc in the next stitch (inc).
- Repeat this sequence (1 sc, 1 inc) all the way around.
- Join with a sl st.
- Total: 24 sc.
Round 4:
- Ch 1, work 2 sc, 1 inc around the round (repeat sequence).
- Join with a sl st.
- Total: 32 sc.
Round 5:
- Ch 1, work 3 sc, 1 inc around the round (repeat sequence).
- Join with a sl st.
- Total: 40 sc.
The base should now lay flat and have a clean circular shape. Ensure your work is evenly spaced to avoid any warping.
Sides of the Flowerpot
Round 6:
- Ch 1, work 1 sc in each stitch (no increases).
- Join with a sl st.
- Total: 40 sc.
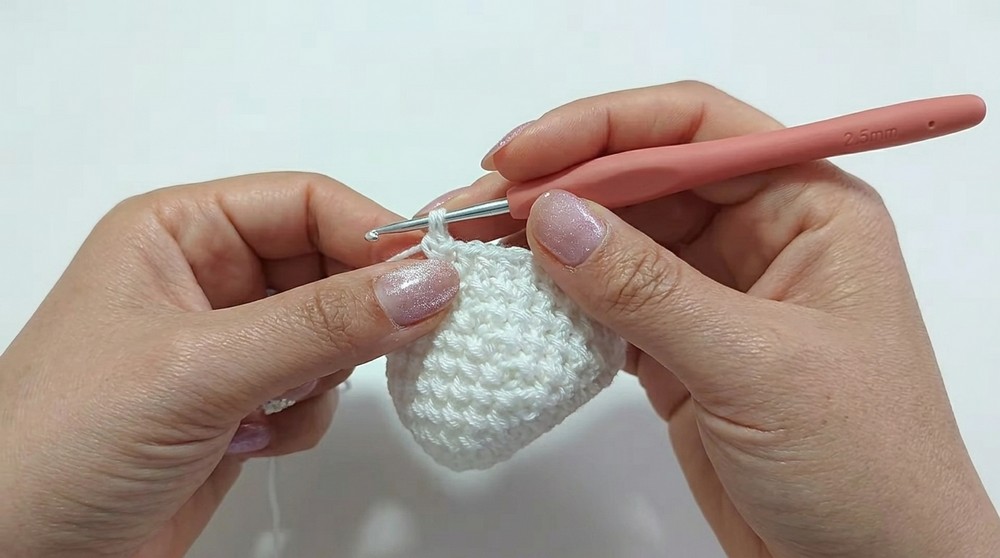
Basketweave Stitch Design
Round 7:
- Ch 1, work 1 sc into the top of the stitch, then work 1 long sc into the bottom loop of the previous round (elongated stitch).
- Alternate between 1 sc and 1 long sc around the round.
- Join with a sl st.
Round 8:
- Begin with a long sc into the lower part of the stitch (to align with the design).
- Continue alternating long sc and sc, matching the previous round’s placement.
- Join with a sl st.
Rounds 9-15:
- Repeat the basketweave sequence (alternate long sc and sc) for 7 more rounds.
At the end of the basketweave section, your flowerpot should have a sturdy texture and an intricate woven design. This stitch is perfect for creating depth.
Top Ruffle Design
Round 16:
- Ch 1, work 2 sc, sc2tog (decrease) around the entire round.
- Join with a sl st.
- Total: 32 sc.
Round 17 (Ruffle Border):
- Ch 1, work 3 dc into the front loop of the stitch, then work 3 dc into the back loop of the next stitch.
- Alternate front loop and back loop clusters of 3 dc around.
- Join with a sl st and fasten off.
This step creates a beautiful ruffle edge that adds elegance and texture to the flowerpot.
Green Bow Decoration
- Magic Ring: With green yarn, create a magic ring and work:
- 2 ch, 1 dc, 2 ch, and sl st into the ring.
- Repeat this sequence 3 more times to form 4 bow loops.
- Pull tight to close the ring.
- Chain Tie:
- Make 100 chains, and work into the third chain from the hook:
- (sl st, 2 ch, 1 dc, 2 ch, sl st) into the same chain.
- Repeat this motif along the chain to create decorative accents.
- Make 100 chains, and work into the third chain from the hook:
- Attach the bow to the flowerpot with a simple knot or small stitching in place.
Assembly & Finishing
- Weave in any loose ends with a needle. Cut off excess yarn.
- Attach the green bow to the flowerpot using a small knot or fabric glue.
- Finalize the shape of the basketweave and ruffle edges by adjusting them with your fingers.
How to Start and Stitches Used
This crochet Flowerpot starts from the center with a magic ring and progresses through rounds of single crochet (sc), basketweave stitch (alternating sc and long sc), and ruffle edges using double crochet (dc). The bow decoration is crocheted separately using chains and dc clusters.
Why You’ll Love This Project
- Easy for beginners with step-by-step guidance.
- Perfect gift idea for organizing coasters or small items.
- Stunning textured finish with customizable colors.
- An elegant yet practical addition to your home!