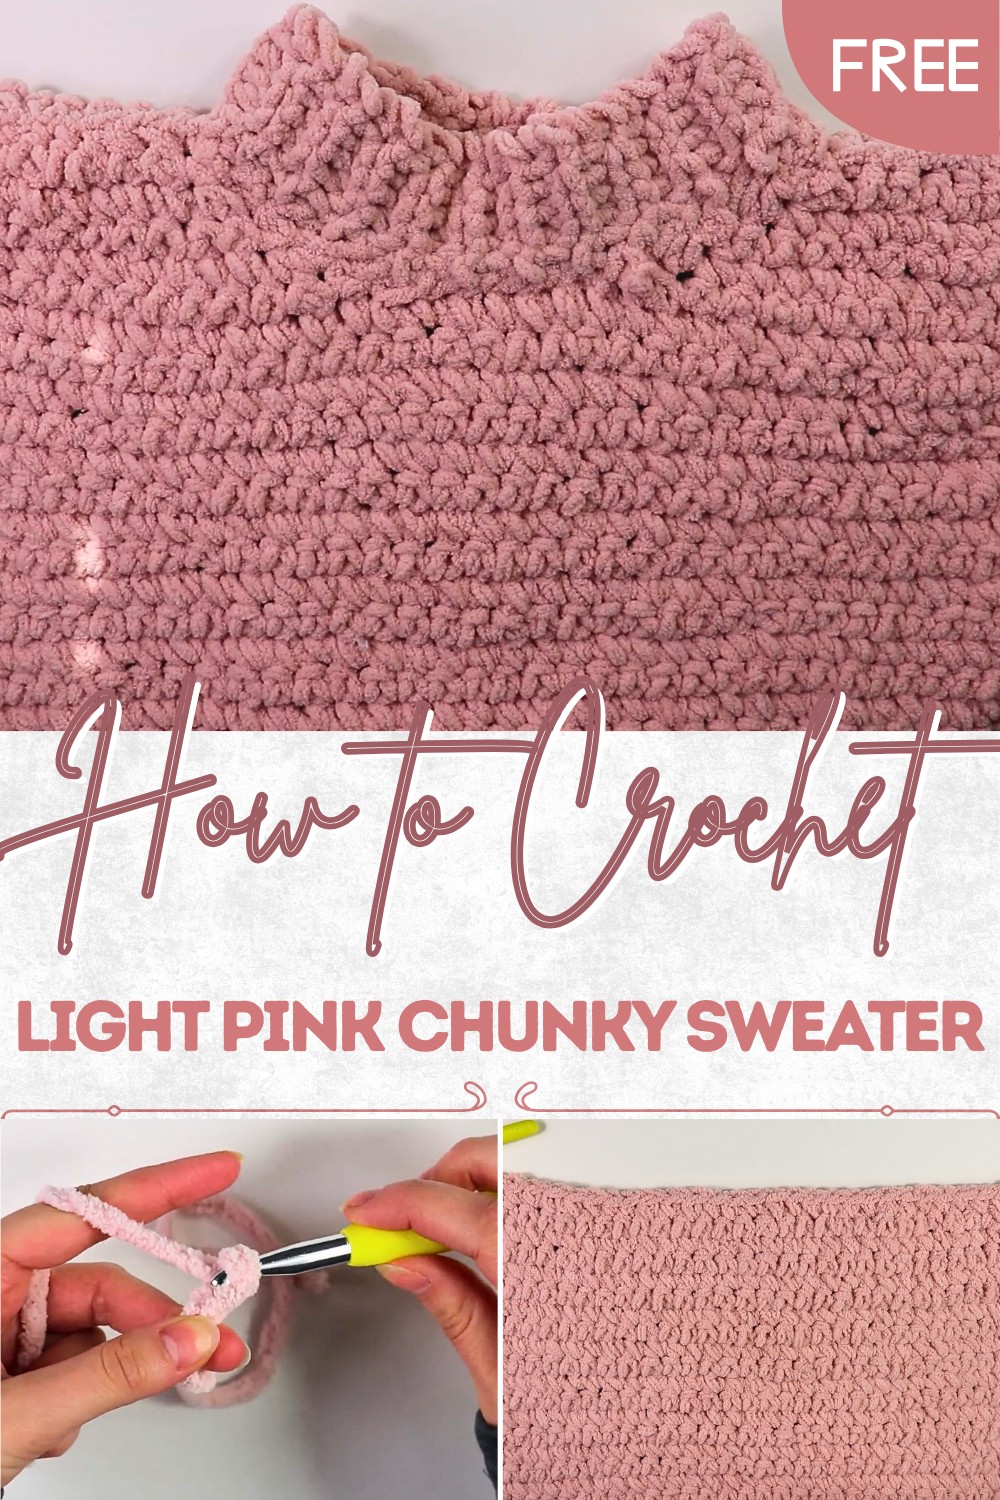
Ultimate Crochet Chunky Sweater Pattern for Chilly Evenings
Cozy up with this crochet chunky sweater pattern that offers simple steps and comforting warmth perfect for relaxing days and stylish nights.
Imagine wrapping yourself in something soft warm and full of comfort as you go about your day. A crochet chunky sweater pattern brings this feeling to life with a thick cozy texture and simple stitched beauty that anyone can appreciate. This sweater looks wonderful in any color and is perfect for cool mornings sitting by the fire or stepping out on crisp evenings.
Snuggly Crochet Chunky Sweater Pattern to Keep You Warm
You can use your crochet chunky sweater pattern for family gatherings movie nights or even a peaceful walk in the park. It feels special because it is made with your hands and you get to decide how long or loose you want it. Big buttons a pocket or even a hood can make it your own style. The beautiful part is you do not need fancy tools or lots of practice to enjoy making and wearing a chunky sweater. It is all about feeling good and warm wherever life takes you.
Materials
- Yarn: Super bulky, fluffy yarn (check label for 8–9 mm hook compatibility; sample yarn not specified, but select a thick yarn for puffiness)
- Hook: 8 mm crochet hook
- Notions:
- Large tapestry/yarn needle
- Scissors
- Ruler or measuring tape
- Optional: Stitch markers for seaming
Key Abbreviations (US Terms)
| Abbreviation | Meaning |
|---|---|
| ch | Chain |
| sl st | Slip stitch |
| sc | Single crochet |
| dec | Decrease (sc2tog) |
| rep | Repeat |
| st(s) | Stitch(es) |
Special Notes & Tips
- Sizing: Example is for Small (36 rows on border and 33 rows for front panel); modify stitch/row counts for different sizes.
- Gauge/Sizing Adjustment: Always check fit as you go and adjust number of rows and stitches for your preferred length and width.
- Seaming: All sewing is done with the wrong side facing you.
- Fit: Leave 6.5” (16.5 cm) at armholes when seaming sides for sleeves.
Pattern
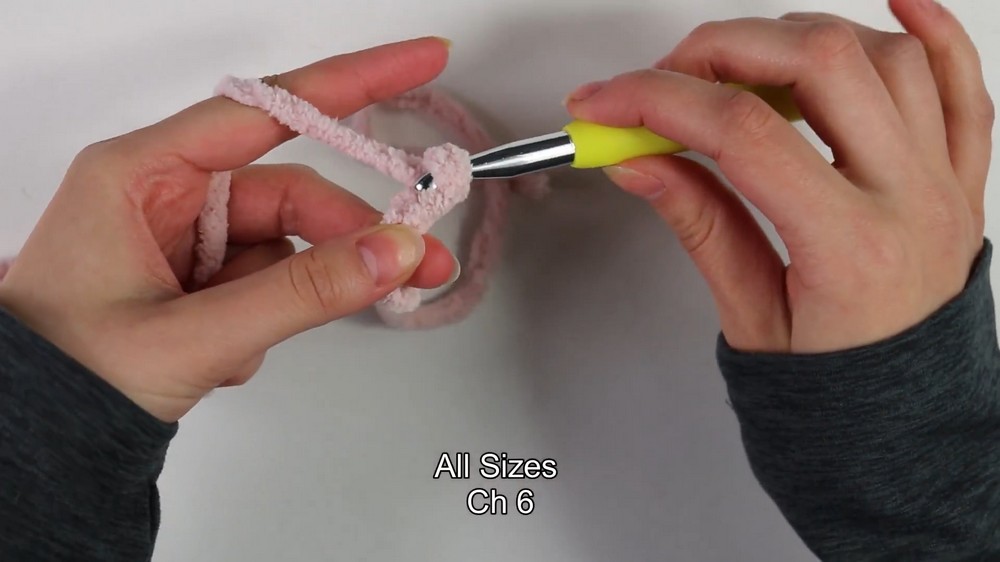
BOTTOM BORDER (Make 2: Front & Back Panels)
- Ch 6.
- Row 1:
- Skip first ch, sl st in each of next 5 ch across. (5 sts)
- Ch 1, turn.
- Row 2:
- Sl st in first st (regular, through both loops),
- Back bar sl st (in BLO) in next 4 sts,
- Ch 1, turn.
- Row 3:
- Back bar sl st in next 4 sts,
- Sl st in last st (regular),
- Ch 1, turn.
- Repeat Rows 2 & 3 until you have 36 rows (or desired panel width).
- Do not fasten off. Continue directly to front or back panel.
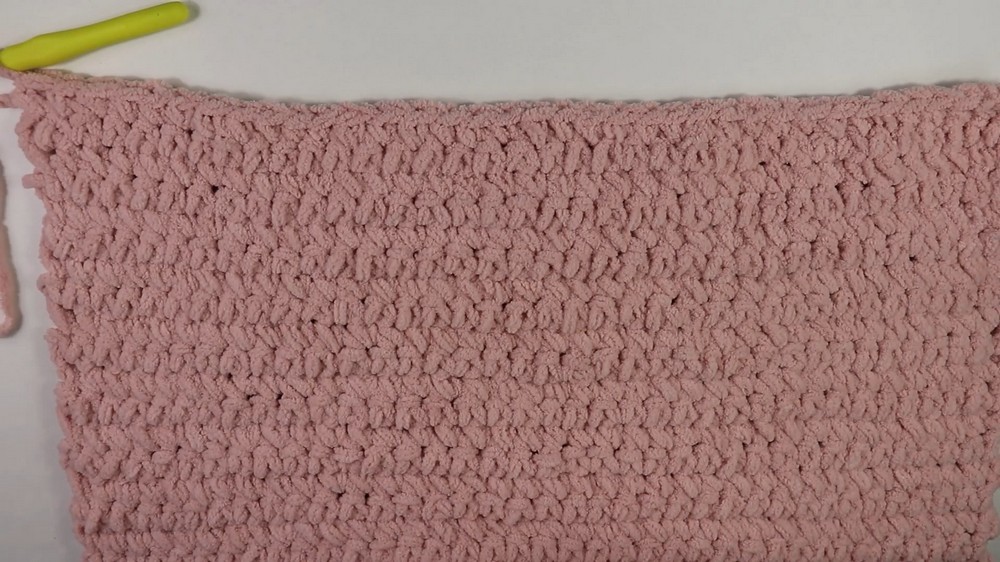
FRONT & BACK PANEL (Make 2)
- Foundation Row:
- Ch 1.
- Work 1 sc into the end of each border row across (36 sc).
- Row 1:
- Ch 1, turn.
- Sc in each st across.
- Repeat Row 1 for 33 rows (or desired panel length).
- Do not fasten off on the first panel.
- Continue on to first shoulder strap.
- Continue on to first shoulder strap.
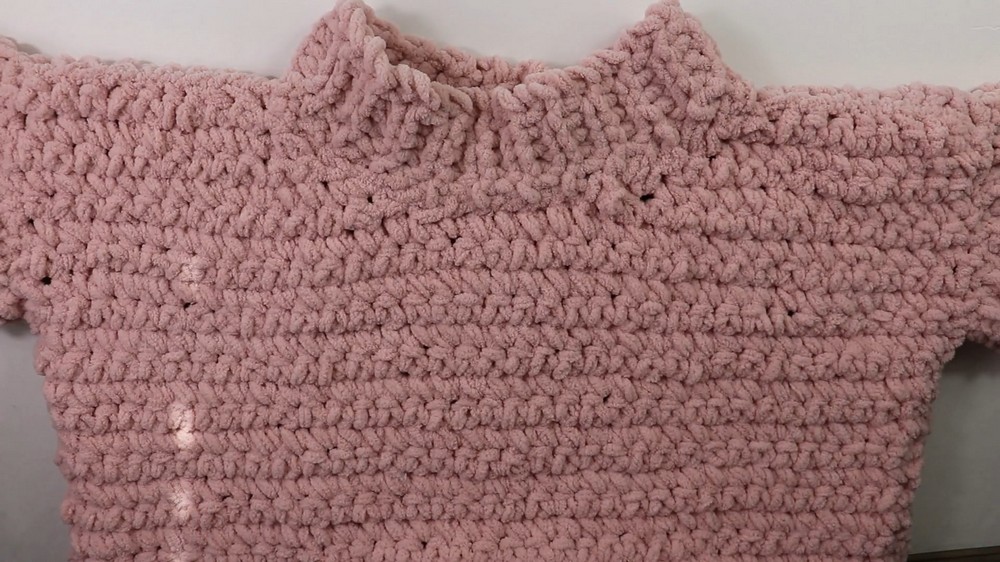
SHOULDER STRAPS
First Shoulder Strap (worked from last row of panel):
- Ch 1, turn.
- Sc in first 13 sts,
then sc2tog (single crochet decrease) over next 2 sts,
ch 1, turn. - Row 2:
- Sc2tog over first 2 sts,
- Sc to end of row,
- Ch 1, turn.
- Row 3:
- Sc across to last 2 sts,
- Sc2tog over last two,
- Ch 1, turn.
- Repeat Rows 2–3 to make 5 rows total for the strap.
- The decreases are always on the same side of each row, forming a diagonal strap.
- Fasten off.
Second Shoulder Strap (attach yarn at opposite side):
- Attach with sl st into 7th st from end (skip 6 unworked sts).
- Ch 1.
- Row 1:
- Sc2tog over first 2 sts,
- Sc to end,
- Ch 1, turn.
- Row 2:
- Sc across to last 2 sts,
- Sc2tog over last two,
- Ch 1, turn.
- Repeat Rows 1 & 2 to make 5 rows total.
- Fasten off.
Repeat full instructions above to make the second panel (back panel).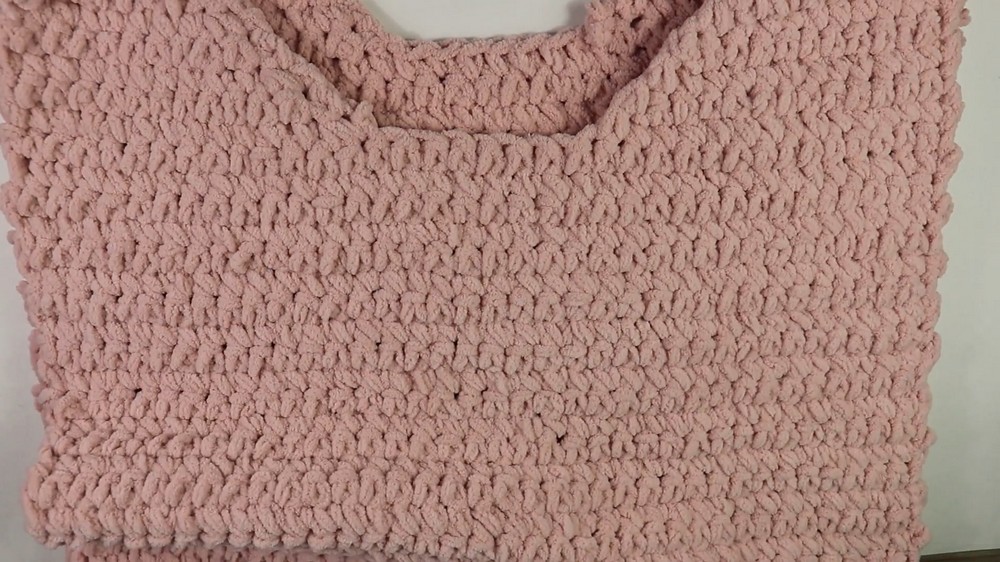
SLEEVES (Make 2)
- Ch 36 (or adjust for desired sleeve length).
- Row 1:
- Skip first ch, sl st in next 5 ch,
- Sc in each ch across to end,
- Ch 1, turn.
- Row 2:
- Sc in each st across until last 5 sts,
- Back bar sl st in next 4 sts,
- Sl st (regular) into last st,
- Ch 1, turn.
- Row 3:
- Sl st in first st (regular),
- Back bar sl st in next 4 sts,
- Sc in each st across to end,
- Ch 1, turn.
- Repeat Rows 2 & 3 for 21 rows (or desired sleeve width).
- Fasten off.
Repeat for second sleeve.
COLLAR
- Ch 6.
- Row 1:
- Skip first ch, sl st in next 5 ch,
- Ch 1, turn.
- Row 2:
- Sl st in first st,
- Back bar sl st in next 3 sts,
- Sl st in last st,
- Ch 1, turn.
- Repeat Row 2 for 42 rows (or desired length to fit neckline).
- Fasten off.
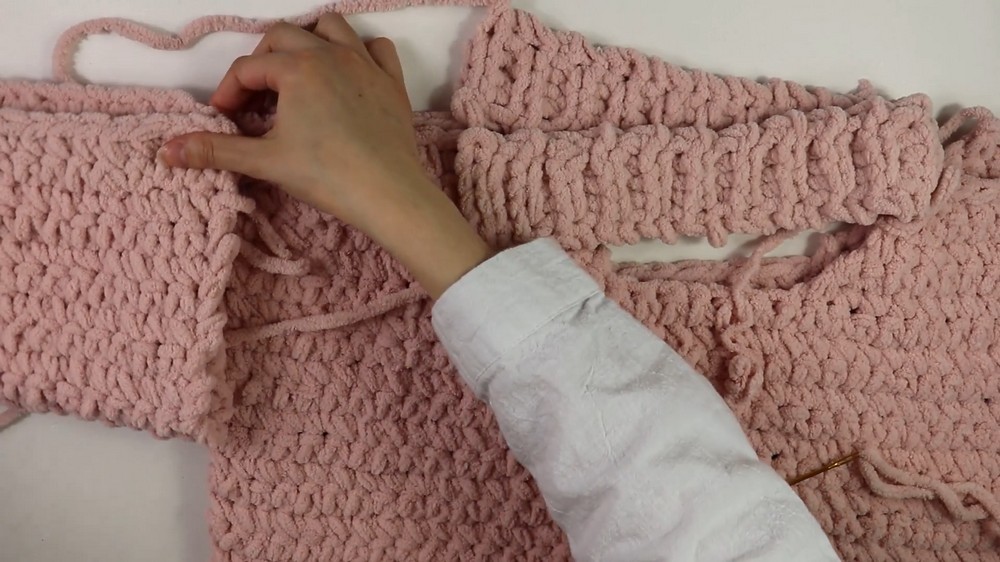
ASSEMBLY
- Seam Panels:
- Place 2 panels with wrong sides facing.
- Whip stitch up each side edge, leaving top 6.5” unseamed for sleeve openings.
- Seam Shoulders:
- Whip stitch each shoulder strap to panel’s top edge, aligning carefully.
- Add Collar:
- Whip stitch collar evenly around neckline.
- Assemble Sleeves:
- Fold each sleeve in half (lengthwise), whip stitch long edge to form tube.
- Attach each completed sleeve evenly to armhole, whip stitch around.
- Weave in all ends to finish.
Conclusion
This puffy, fluffy sweater pattern uses easy, repetitive stitches and bulky yarn to give a warm, cozy look. Customizing the length/width of your panels and sleeves is simple, making this an excellent beginner-friendly or relaxing advanced crochet project.
Pattern Corrections and Tips
- Correction: There were minor inconsistencies in the row and stitch numbers; always count and check your sizing, adding or subtracting as needed for your measurements.
- Tip: For neater edges, keep your slip stitches relaxed—tight slip stitches can make seaming difficult.
- Tip: Block each panel and sleeve gently before assembly for best results.
- Customization: Adjust rows and stitch counts for your own fit. Check sleeve width and length as you go.