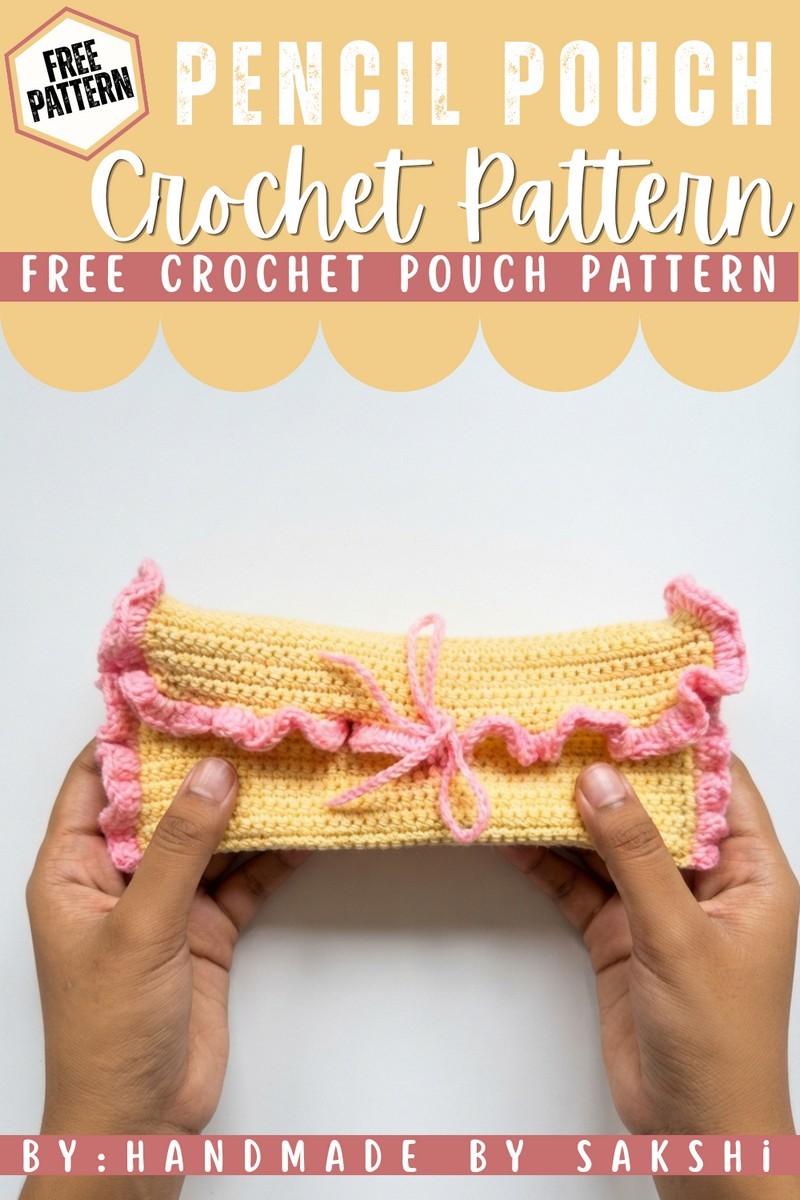
Pencil Pouch Free Crochet Pattern – Great for Beginners

Organize your stationery in style with this Free Crochet Pencil Pouch Pattern, designed to help you create a cute and functional pouch with ease.
Finding a stylish way to keep your pencils and pens organized is easier than you might think, thanks to a fun and practical project that I’m excited to share. The free crochet pencil pouch pattern is a simple yet charming pattern perfect for anyone who loves handmade accessories with a personal touch. Enjoy creating pieces that are both useful and inviting to make.
Cute Free Crochet Pencil Pouch Pattern for Kids
This pencil pouch has a neat rectangular shape and a textured feel that’s soft but durable. It’s designed to be functional without sacrificing style, fitting nicely into backpacks or desks. What makes this pouch special is its secure closure, you can choose between a zipper or drawstring, whichever suits your style and skill level. Plus, it’s easy to customize the size to fit anything from a handful of colored pencils to a full set of brushes.
Working on this pouch involves basic stitches like single crochet and half double crochet, usually made in rows, which keeps the process straightforward whether you’re a beginner or experienced. I recommend using a cotton-blend yarn since it offers just the right balance, it’s sturdy enough to hold shape but soft enough to showcase the stitch definition beautifully. This design was inspired by my own need for a compact, handmade holder that can tackle everyday mess with ease and charm.
This free crochet pencil pouch makes a thoughtful gift for students, artists, or anyone who appreciates a little handmade organization in their lives. Feel free to play with colors, add cute appliques, or even stitch in initials for a personal flair. If you want a project that’s quick, rewarding, and functional, this pattern is definitely worth trying.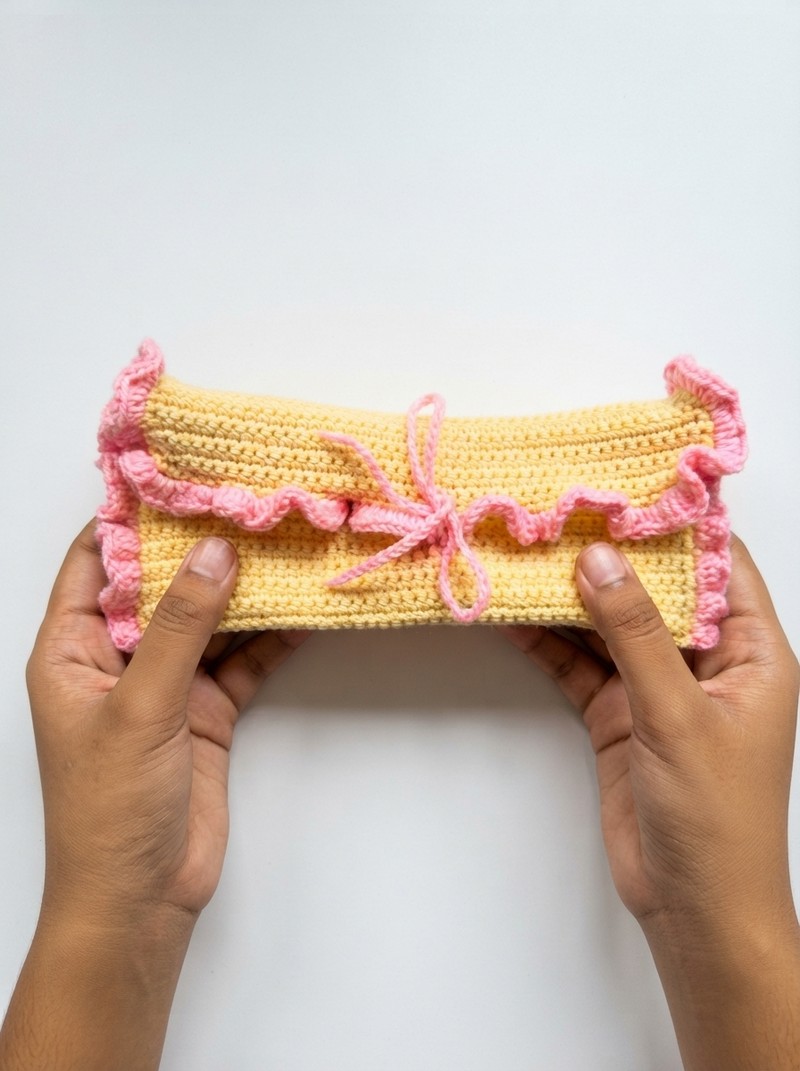
Crochet Pencil Pouch Pattern
Introduction
This tutorial will guide you through creating a simple and cute crochet pencil pouch using 100% acrylic yarn. Designed for everyday use, this pouch features a sturdy single crochet fabric, a handy drawstring closure, and a decorative frill edge. Follow these step-by-step instructions to make your own practical and colorful pouch, perfect for stationery or small essentials.
Quick Overview Of Pattern
- Created with a single long panel using only single crochet stitches.
- Easy rectangular construction closed on both sides using single crochet joins.
- An additional section added for forming a pouch flap.
- Features a charming frill (ruffle) edge for decoration.
- Drawstring closure constructed from crochet chains.
- Beginner-friendly with clear, repetitive steps.
Notes
- Pattern is written using US crochet terms.
- The pouch is worked flat as a large rectangle and seamed down both sides.
- The frill edge and drawstrings are added after assembly.
- Tension should be even; keep edges straight for best results.
- The opening flap is shaped with decreases for a snug closure.
- All yarn tails are securely woven in for a tidy look.
Skill Level
Beginner – Advanced Beginner
- Suitable for anyone comfortable with single crochet, chaining, joining pieces, and simple decreases.
Materials
- 100% acrylic yarn (main color + contrast for frills)
- 3 mm crochet hook
- Yarn needle (darning needle)
- Scissors
Measurements / Sizing
- Panel foundation chain: 45 chains (width)
- Panel worked for: 40 rows (length for pouch body)
- Additional flap section: 8 rows + 3 rows of decreasing for a closing shape
- Finished size: approx. 8″ x 3″ when closed
Gauge
Not strictly required; ensure your fabric is not too loose. Aim for a firm, dense single crochet.
Stitch Abbreviations
- ch – chain
- sc – single crochet
- sc2tog – single crochet two together (decrease)
- sl st – slip stitch
- st(s) – stitch(es)
- hdc – half double crochet
Special Stitches
- sc2tog (single crochet decrease):
Insert hook into st, yarn over, pull up loop (2 loops on hook), insert hook into next st, yarn over, pull up loop (3 loops), yarn over and draw through all 3 loops. - Frill (ruffle) edging:
3 hdc in one stitch makes a ruffled effect.
The Crochet Pattern!
1. Foundation and Main Body
- Make a slip knot.
- Chain 45 for the foundation (width).
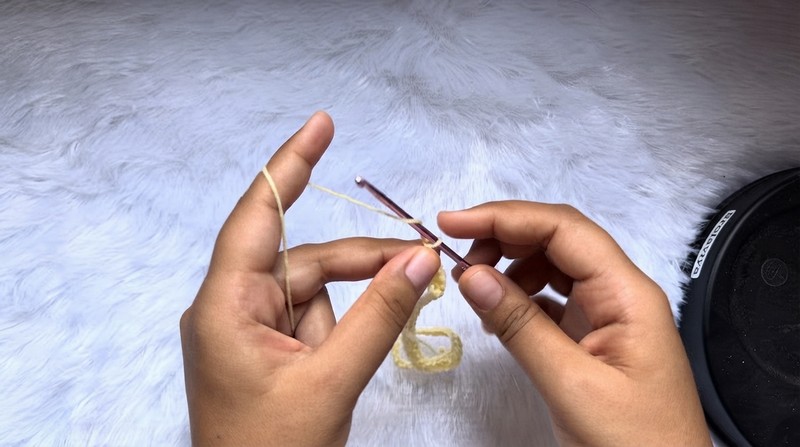
- Beginning in the second chain from the hook, sc in each ch across to the end. (44 sc)
- At the last st: ch 1, turn.
- Rows 2–40:
- Sc in each st across.
- Ch 1, turn at end of each row.
- After completing row 40, you have a rectangle.
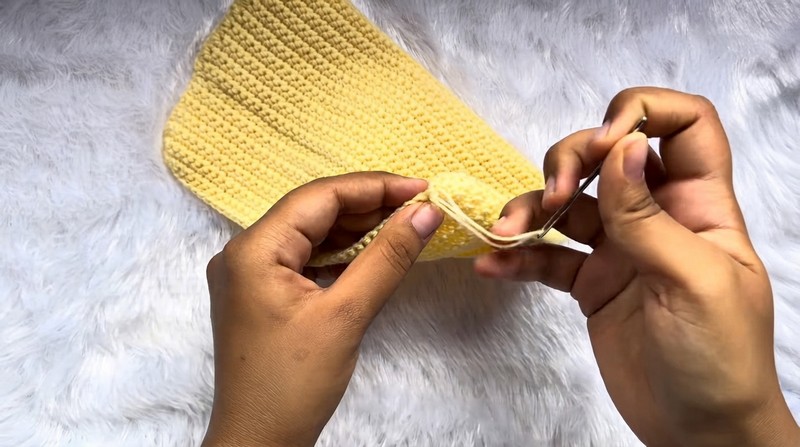
2. Forming the Pouch & Seaming
- Fold the rectangle so the short sides meet.
- Using your hook and yarn:
- At one side edge, join with sc through both layers to seam closed.
- Sc in each stitch across the side.
- Weave in end with yarn needle.
- Repeat for the other side to close the second edge.
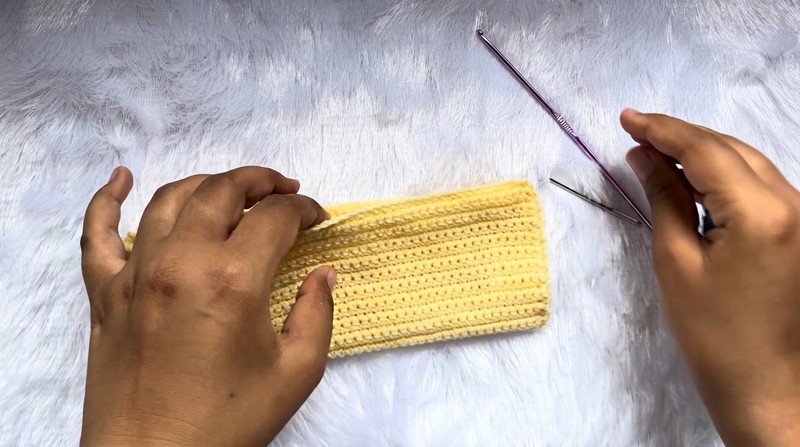
3. Flap Section
- On one open edge, join yarn at the corner to begin the pouch flap.
- Chain 1.
- Single crochet in each stitch across this edge to the end. Ch 1, turn.
- Repeat single crochet rows (ch 1, turn) for a total of 8 rows.
- Shaping (tapering for closure):
- Next row: sc2tog over first 2 sts, sc across to last 2 sts, sc2tog. Ch 1, turn.
- Repeat decrease row 2 more times (3 decrease rows total).
- Fasten off.
4. Edging (Seaming Final Sides if needed & Weaving in Ends)
- Join yarn at any flap side to neaten the edge using sc if needed.
- Weave in all visible ends using a yarn needle.
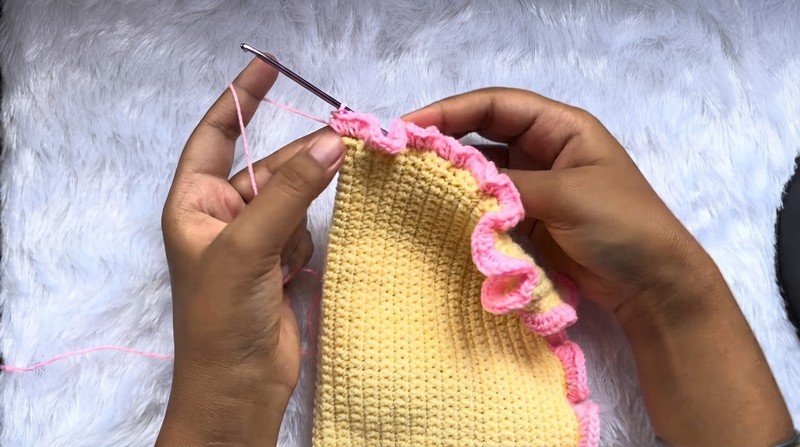
5. Frill (Ruffle) Border
- Join contrast yarn at one side of the flap (corner).
- Ch 2, then work 3 hdc in the same st.
- In every st along the flap edge, work 3 hdc in each stitch to create frills.
- Continue from one corner, along the flap, to the other corner.
- At the end, ch 1, fasten off, and weave in ends inside the frill.
6. Drawstring Chains
- On the pouch opening (just below the frill section), join yarn on one side.
- Ch 45 for the first drawstring.
- Skip 2–3 stitches, insert hook through both layers, pull chain through—repeat on the other side to create the drawstring closure.
- Make another chain of ch 45 for the second drawstring, inserting in the same way but from the other side.
- Tie the ends of both chains together in a knot at the center for closure. Weave in any hanging yarn ends.
Assembly & Finished Size
- Sides securely closed with single crochet seams.
- Flap accented with frill edging.
- Drawstrings threaded and knotted for closure.
- Finished size approx. 8″ x 3″ (adjust according to your chain and yarn).
Conclusion and Ending Words
Your crochet pencil pouch is complete!
You can now fill it with pens, pencils, or any small essentials. This project is simple, customizable, and makes a lovely accessory or gift.