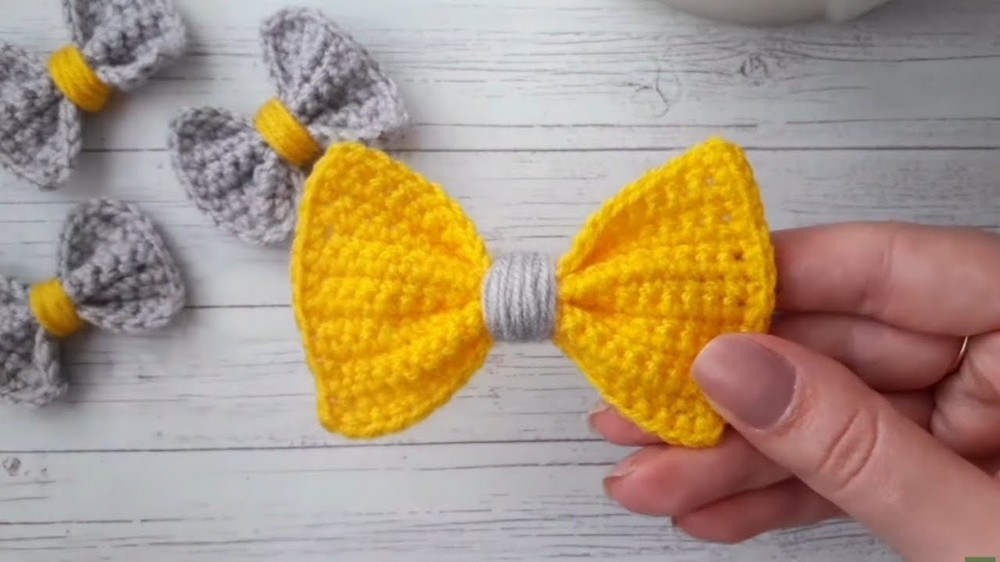
Whimsical Crochet Bow Pattern to Brighten Your Projects
Perfect for all skill levels this crochet bow pattern offers simple instruction for making a cute bow that add a sweet touch to any accessory.
A cute bow can make anything look more special at home. This bow is easy to make and can be used to decorate a bag, hairband, clothes, shoes, or even a gift for a friend or family member. With a crochet bow pattern, anyone can follow simple steps to create a beautiful shape, no matter their skill level. People enjoy adding a bow to a room, blanket, cushion, or basket because it brings joy and makes ordinary items feel exciting.
Charming Crochet Bow Pattern for Hair Accessories
You can choose any color or size to suit your style, and the finished bow feels nice in your hand. Giving a handmade bow to someone shows care and makes them smile. Each bow you make adds charm and happiness to your daily life. With a crochet bow pattern, everyone can take part in making things brighter and more beautiful, and it is a wonderful way to share fun and creativity with others.
Materials Needed
- Yarn: Any type and size (thinner yarn makes a daintier bow; thicker yarn makes a bolder bow)
- Recommended: Worsted weight cotton or acrylic
- Hook: Sized to match your yarn suggestion
- For worsted weight: Size H/5.0 mm or as preferred
- Yarn needle (for weaving in ends)
- Scissors
- Optional: Contrasting yarn for the bow center, pins for shaping
Key Abbreviations (US Crochet Terminology)
- Ch: Chain
- Sc: Single Crochet
- Sl st: Slip Stitch
- St: Stitch
- FO: Fasten Off
Special Notes
- The bow is made as a small rectangle, then cinched in the center.
- Adjust the number of beginning chains for width; adjust number of rows for height.
- This pattern is highly customizable to create different bow sizes.
Pattern Instructions
A. Main Bow
- Foundation Chain:
- Ch any number for desired width of bow (e.g., Ch 10 for a small bow).
- Ch 1 extra for turning.
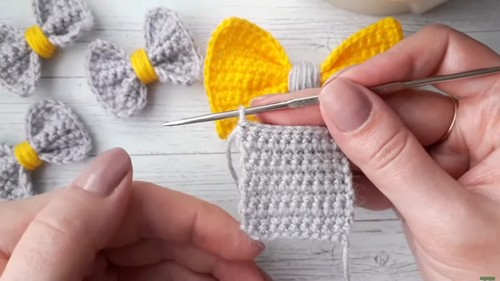
- Row 1:
- Sc in 2nd ch from hook and in each ch across.
- (Number of sc = total chains minus 1)
- Turn.
- Row 2:
- Ch 1, sc in each st across the row.
- Turn.
- Repeat Row 2 until the piece forms a balanced rectangle (keep proportions for a bow shape; usually 6–10 rows for a small bow).
- Do not fasten off yet.
B. Border (Optional for Neat Edges)
- Ch 1, sc evenly around the rectangle, placing 1 sc in each row-end along the sides and 1 sc in each st along the top and bottom.
- At each corner, ch 1 to turn.
- Join with a sl st to the first sc at the end of the round.
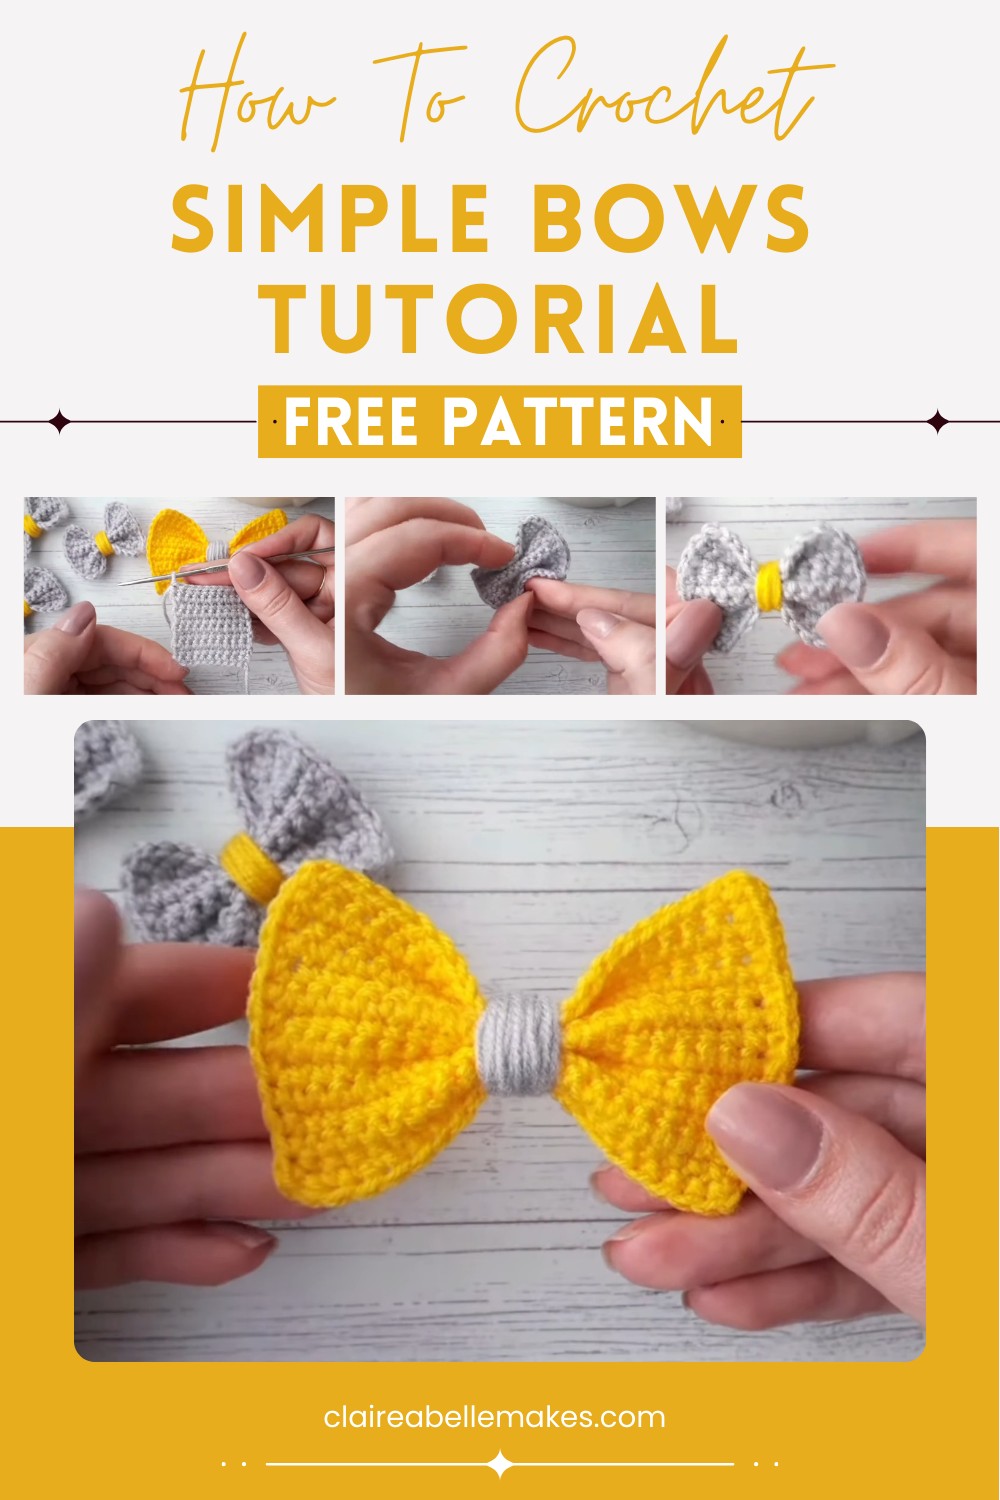
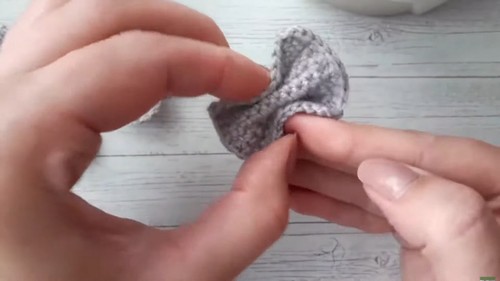
C. Shaping the Bow
- Cinch Center:
- Pinch the rectangle in the center accordian-style or gather as desired.
- Hold with pins or fingers.
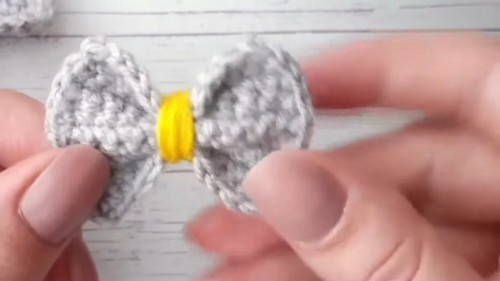
- Center Wrap:
- Take a contrasting or matching yarn.
- Wrap it firmly several times around the center of the bow to form the classic bow shape.
- Adjust and align the loops for symmetry.
- Tie the yarn securely at the back; weave in ends.
D. Finishing
- Cut any excess yarn.
- Shape the bow neatly.
- Attach as desired to hair clips, headbands, bags, or clothing.
Conclusion
This easy crochet bow is perfect for beginners and can add a handmade touch to your projects. Adjust the size and colors to suit your needs, and enjoy experimenting with different yarns.
Pattern Correction & Tips
Pattern Correction:
- Be sure to sc in the very last stitch of every row to maintain even edges.
- Add a side border for a polished finish if desired.
Tips:
- For a larger bow, increase your starting chain and add more rows for height.
- The border step keeps bow edges straight and crisp—recommended for a neater look.
- Use a safety pin or hair clip to turn your bow into a functional accessory!
- Wrap yarn tightly around the center to ensure the bow keeps its shape.