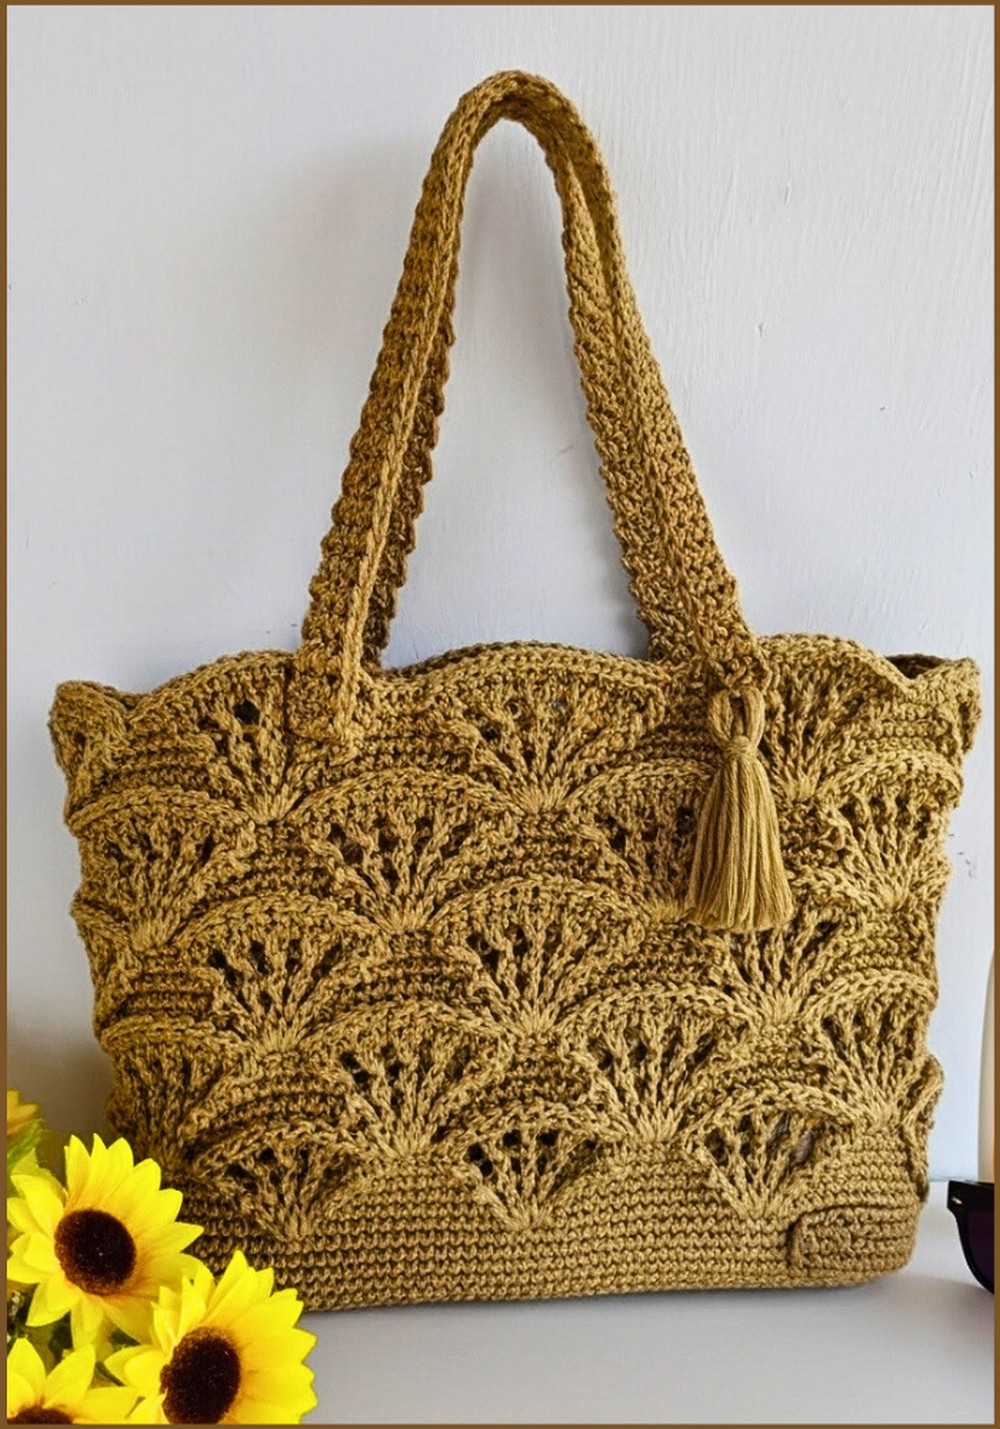
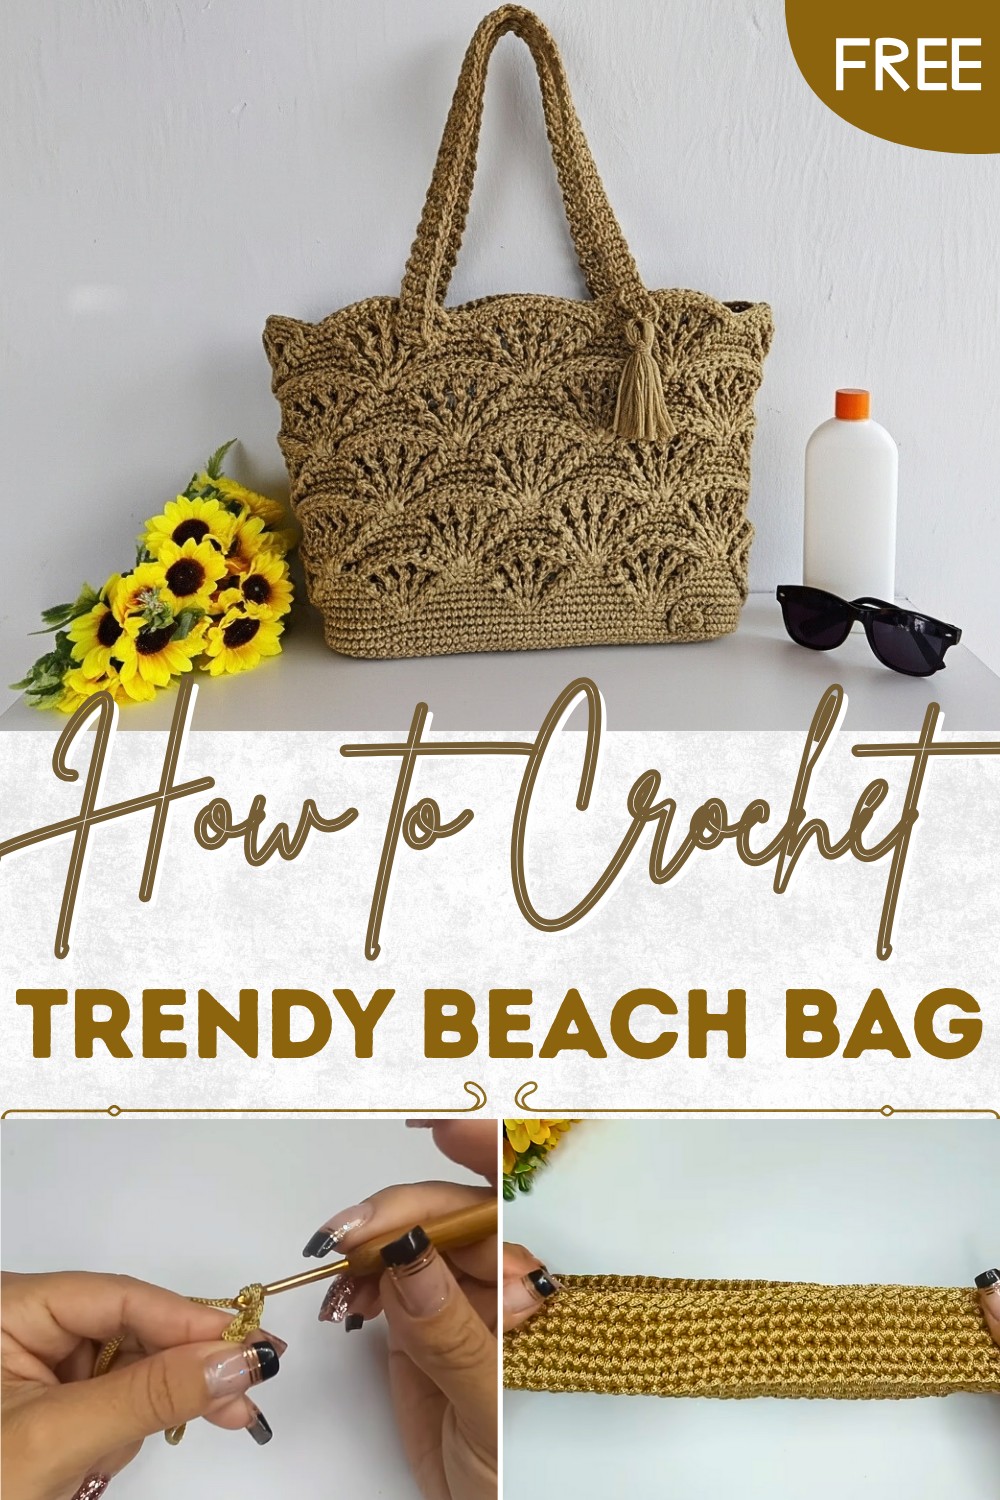
Breezy Crochet Beach Bag Pattern Perfect for Coastal Escapes
Sunshine awaits with this crochet beach bag pattern that helps you easily organize your essentials for fun outdoor days while staying stylish.
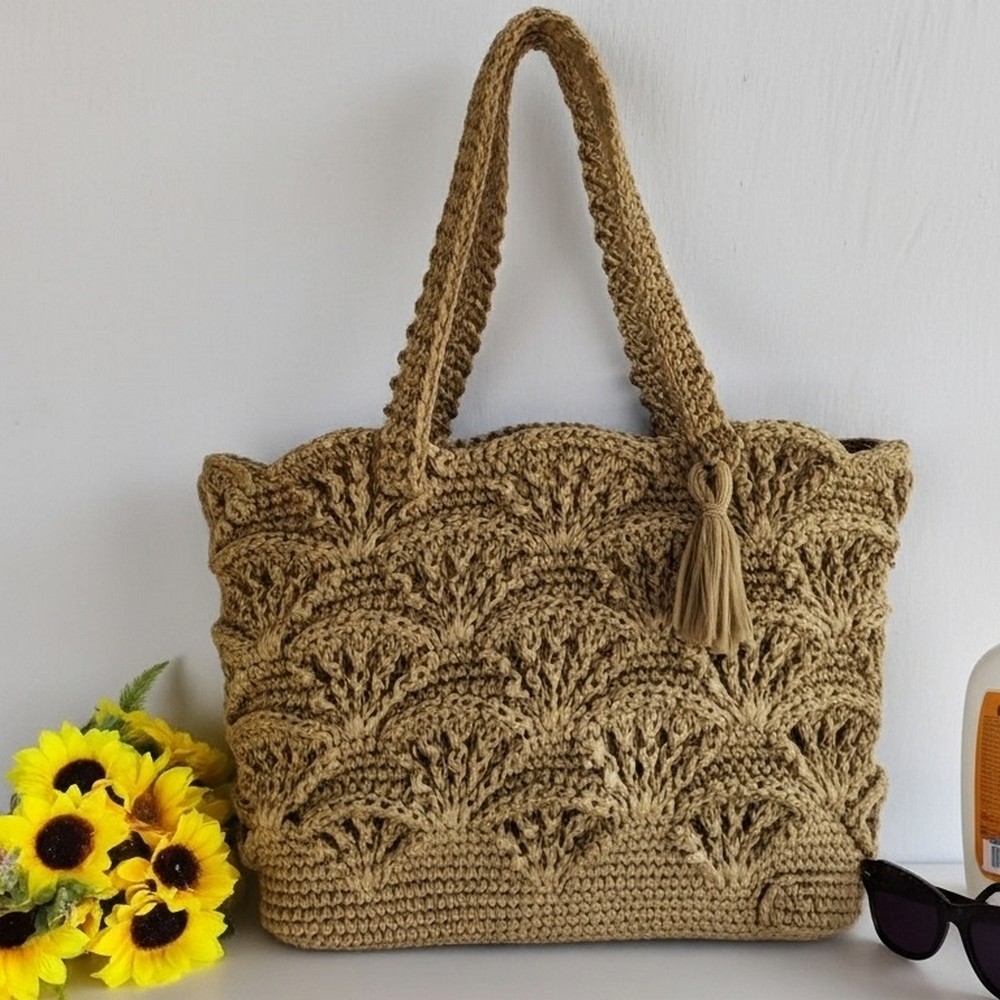
Bright and beautiful bags always catch everyone’s eyes when visiting sandy shores or spending a fun day by the pool. Soft threads come together in eye-catching patterns to hold towels snacks or even seashells collected under the sun. A crochet beach bag pattern offers endless opportunities for personal style letting anyone pick favorite colors or special shapes. Large and sturdy this type of bag often holds more than enough for a full day out making it the perfect friend for any summer adventure.
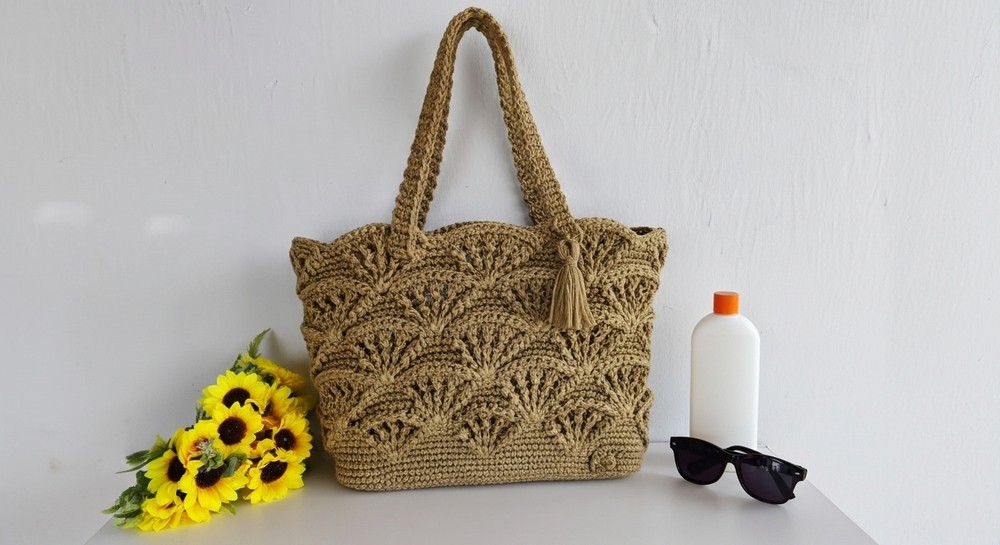
Sun-Ready Crochet Beach Bag Pattern to Brighten Every Outing
Whether relaxing at a picnic spot or shopping in a local market its strong texture keeps everything safe inside. Each stitch tells a story of care patience and the joy of using handmade pieces in everyday life. Carrying one brings both pride and usefulness as it stands out in any crowd while staying practical. It’s more than a bag it’s a part of sunny memories and happy days spent outside.
Materials
- Yarn: Nautical Yarn (polypropylene, 5mm, Tex 2400), 500g
Recommended alternative: 3mm Nautical Yarn or sturdy cotton string for a smaller bag - Hook: 4.0 mm (G) crochet hook (Adjust size if using thinner yarn. For cotton Barbante or Barroco, use 6.0 mm)
- Notions:
- Scissors
- 4 stitch markers
- Measuring tape
- Tapestry needle
- Optional: 1–2 large magnetic buttons for closure
- Decorative label
- Optional: universal fabric glue
- Optional: lining fabric and sewing tools
Abbreviations (US Terms)
| Abbreviation | Meaning |
|---|---|
| ch | chain |
| sc | single crochet |
| sl st | slip stitch |
| dc | double crochet |
| st(s) | stitch(es) |
| rep | repeat |
| sk | skip |
| blo | back loop only |
| RS/WS | right/wrong side |
Special Notes
- Bag is worked in spiral and joined rounds; use stitch markers to track round beginnings.
- Yarn and hook size will affect final bag size and firmness. Always measure after foundation chain.
- Fan (or “lequinhos”) stitch is worked in double crochets, alternating with sc sections.
- Handles and closure can be adapted as desired.
Pattern Instructions
1. Base
Foundation Chain
- Ch 31.
- Measure foundation chain: It should be approx. 23cm using 5mm nautical yarn. Adjust as necessary (more or fewer chains) for desired width.
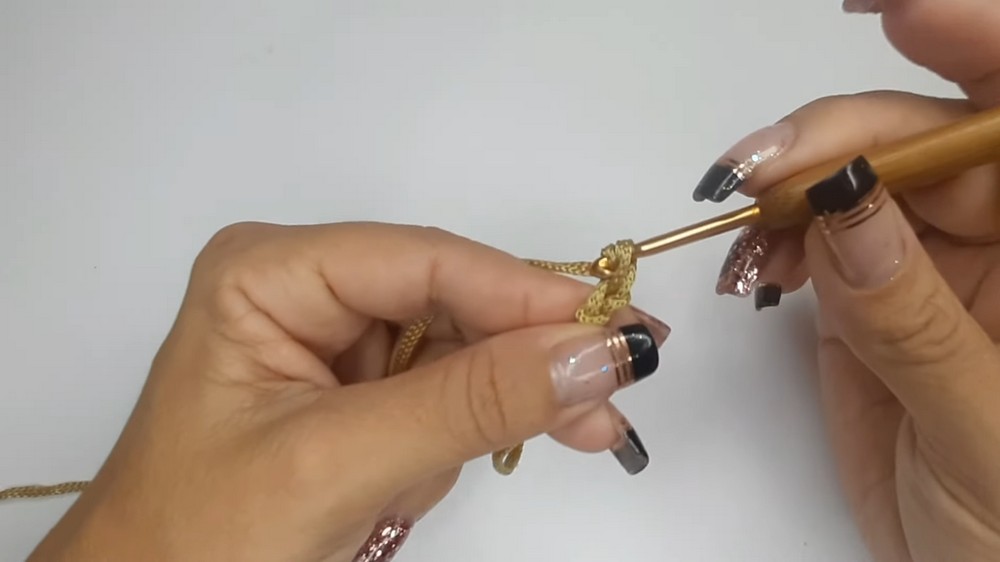
Row 1 — Foundation Single Crochet
- Sk first chain, sc in 2nd ch from hook (mark this as curve start).
- Sc in each ch across through 28 chains (straight edge).
- Last chain: Work 5 sc into last chain (forming curve; mark first sc for increases).
- Rotate work: Sc in each ch along the unused edge of foundation chain (another 28 sc for straight edge).
- At foundation end, work 5 sc into chain (second curve).
- Total: 66 sc.
2. Base Rounds — Increase Rounds
Round 2
- Work sc in each st along straight edges (28 sc per side).
- At each curve (set of 5 sc), work 2 sc in each (increase into every stitch).
- Total after Round 2: 76 sc (10 increased at curves).
Round 3
- In curve: Work [2 sc in next st, 1 sc in next st] around each curve.
- Straight edges: work 1 sc in each st.
- Total after Round 3: 86 sc.
Round 4
- Curves: Work [2 sc in next st, 1 sc in next 2 sts] around each curve.
- Straight edges: 28 sc each.
- Total after Round 4: 96 sc.
- If you want a wider base, add another round with [2 sc, 1 sc in next 3] at the curves—otherwise, continue.
3. Side Transition
Transition Round
- To create an upright edge, work the next round in BLO (back loop only):
- Join yarn (if ended previous round), ch 1, sc in blo in each st around (96 sc).
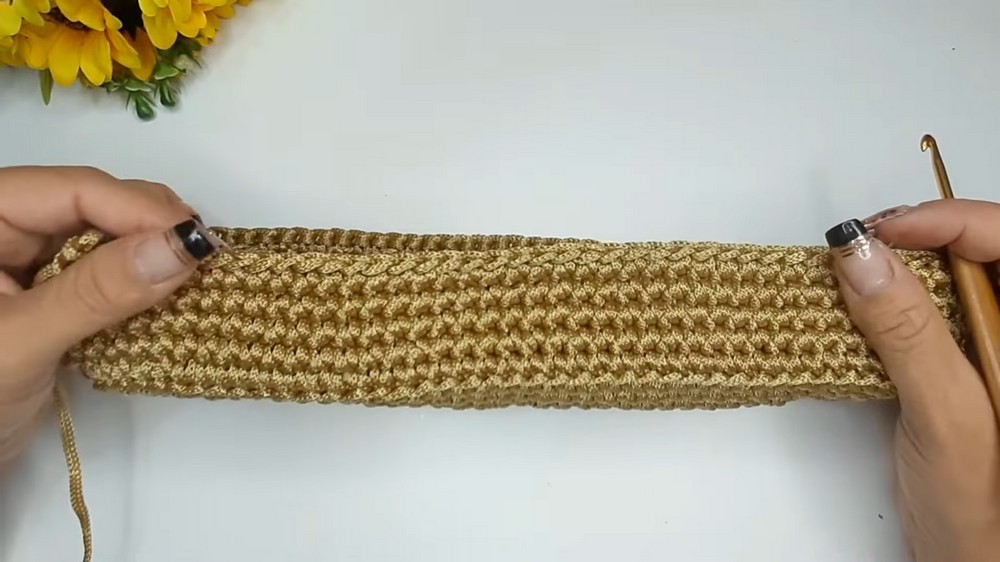
Height Establishing Rounds
- Work sc in both loops in each st around spirally or joined for 4 more rounds.
- You should have a “basket” shape with ~7cm height.
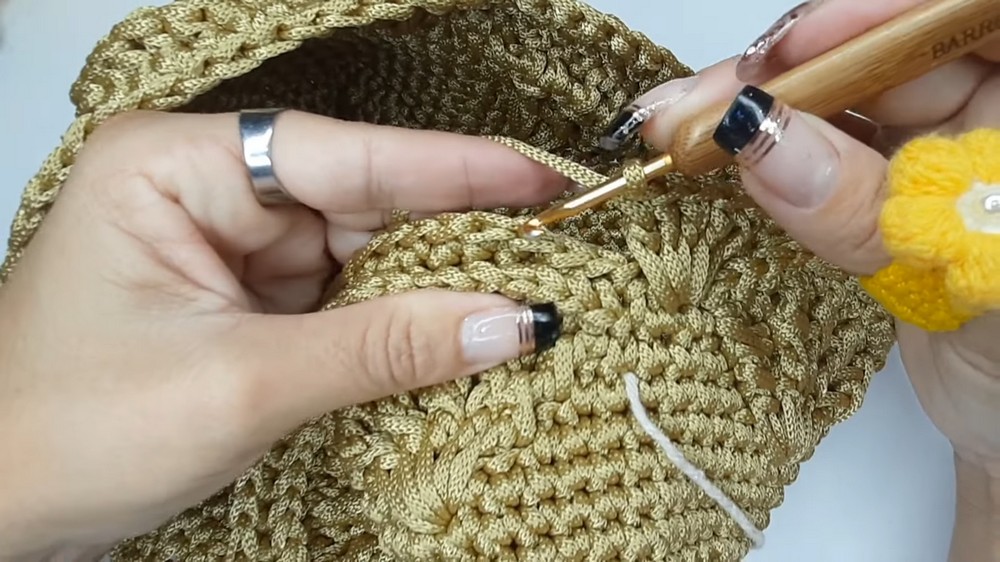
4. Fan Stitch Pattern (“Lequinhos”)
Fan Setup
- Mark center bottom of bag for starting point (this helps pattern alignment).
- The pattern will use fans of 5 dc.
Fan Pattern Round
- Work: [Sc in next 7 sts, sk 2, 5 dc in 3rd st (fan), sk 2, sc in next 7]
- Continue pattern all the way around, adjusting to fit (typically 8 fans around).
- If patterning doesn’t align, you may need to shift starting point or adapt spacing by a stitch.
Fan Pattern — Repeat Rounds
- After each fan round, sc between fans, skipping 2 at each end.
- Next round: Reduce sc sequence (i.e., in next round sc 5, skip 2, fan in next, etc.)
- Each pattern round increases fan size:
- Round 1: Fans of 5 dc, sc sections of 7 sc
- Round 2: Fans of 7 dc (sc 5 each side)
- Round 3: Fans of 9 dc (sc 3 each side)
- Round 4: Fans of 13 dc (sc 1 each side)
- Then, begin reducing back to fans of 5 dc—repeat for desired height.
- Work for ~22 rounds or until bag is desired height.
5. Ending/Finishing
- Join final round neatly: Use a simulated chain or invisible join (see transcript for details).
- Weave in all ends, using tapestry needle and burn/secure tips if using polypropylene yarn.
6. Handle/Strap Construction
Simple Solid Handles (as shown):
- Leave approx. 20cm tail; ch 4, sk first ch, sc in next 3 ch.
- Ch 1, turn; sc across.
- Repeat rows for needed length (approx. 70 rows = ~60cm for shoulder length).
- Make 2 handles.
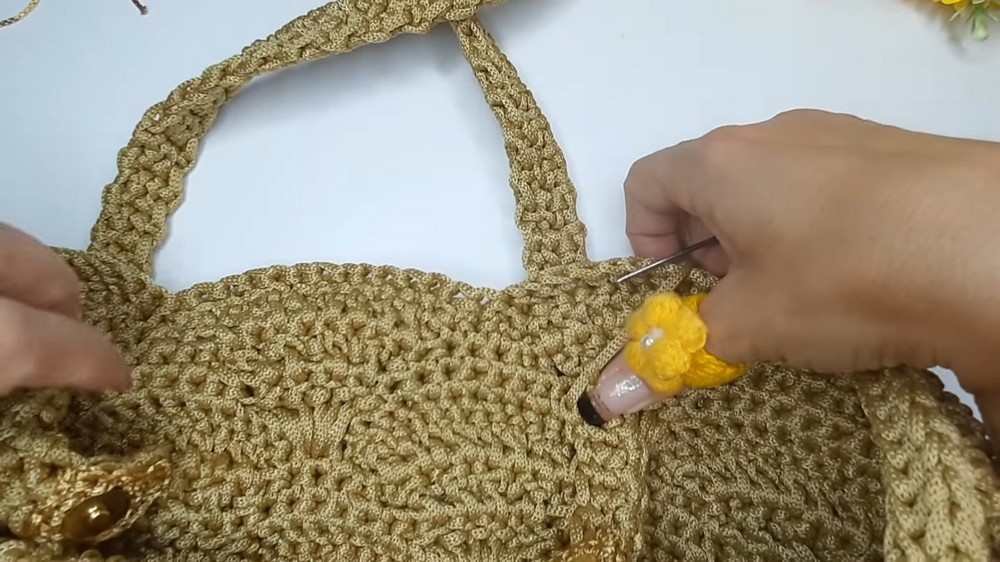
Attachment
- Sew ends of handles to “fan” points on bag:
- Place handles at center of side fans
- Sew through space between stitches, not through yarn, to avoid fraying
- Burn/secure yarn tips as needed
- For decorative finish, add a ring/label
7. Closure/Buttons
- Make small rectangle tabs:
- Ch 6, sc in next 5 ch, turn, repeat for 5 rows (for larger tab).
- For smaller tab: Ch 4, sc in 3, repeat for 11 rows.
- Sew buttons to tabs and tabs to bag at desired position (recommend 1 or 2 buttons, placed symmetrically).
- Sew opposite button part to bag for secure closure.
- Optionally use universal fabric glue for extra security.
8. Optional Lining
- Cut lining fabric to fit bag base and sides; sew or glue lining inside bag, folding/smoothing for neat finish.
Conclusion
This Nautical Yarn Fan Stitch Tote Bag is sturdy, structured, and fashionable—perfect for beach/pool, but adaptable for everyday.
With a bold pattern and firm shape, it stands out in any color or fiber.
Handles, closure, and lining can be customized.
Pattern Correction & Tips
- Correction:
- In foundation round, total should be 66 sc; round 2 = 76; round 3 = 86; round 4 = 96.
- Pattern alignment may need minor spacing adjustment, depending on yarn and hook.
- Tips:
- Polypropylene (nautical yarn) isn’t stretchy. Don’t make stitches too tight.
- To increase size, add more chain to base, expand curve increases, or use larger hook or thicker yarn.
- Decorative tabs/buttons can be attached with glue and sewn for durability.
- For a softer bag, substitute cotton yarn and use a larger hook.
- Avoid piercing yarn directly when sewing—go between stitches.