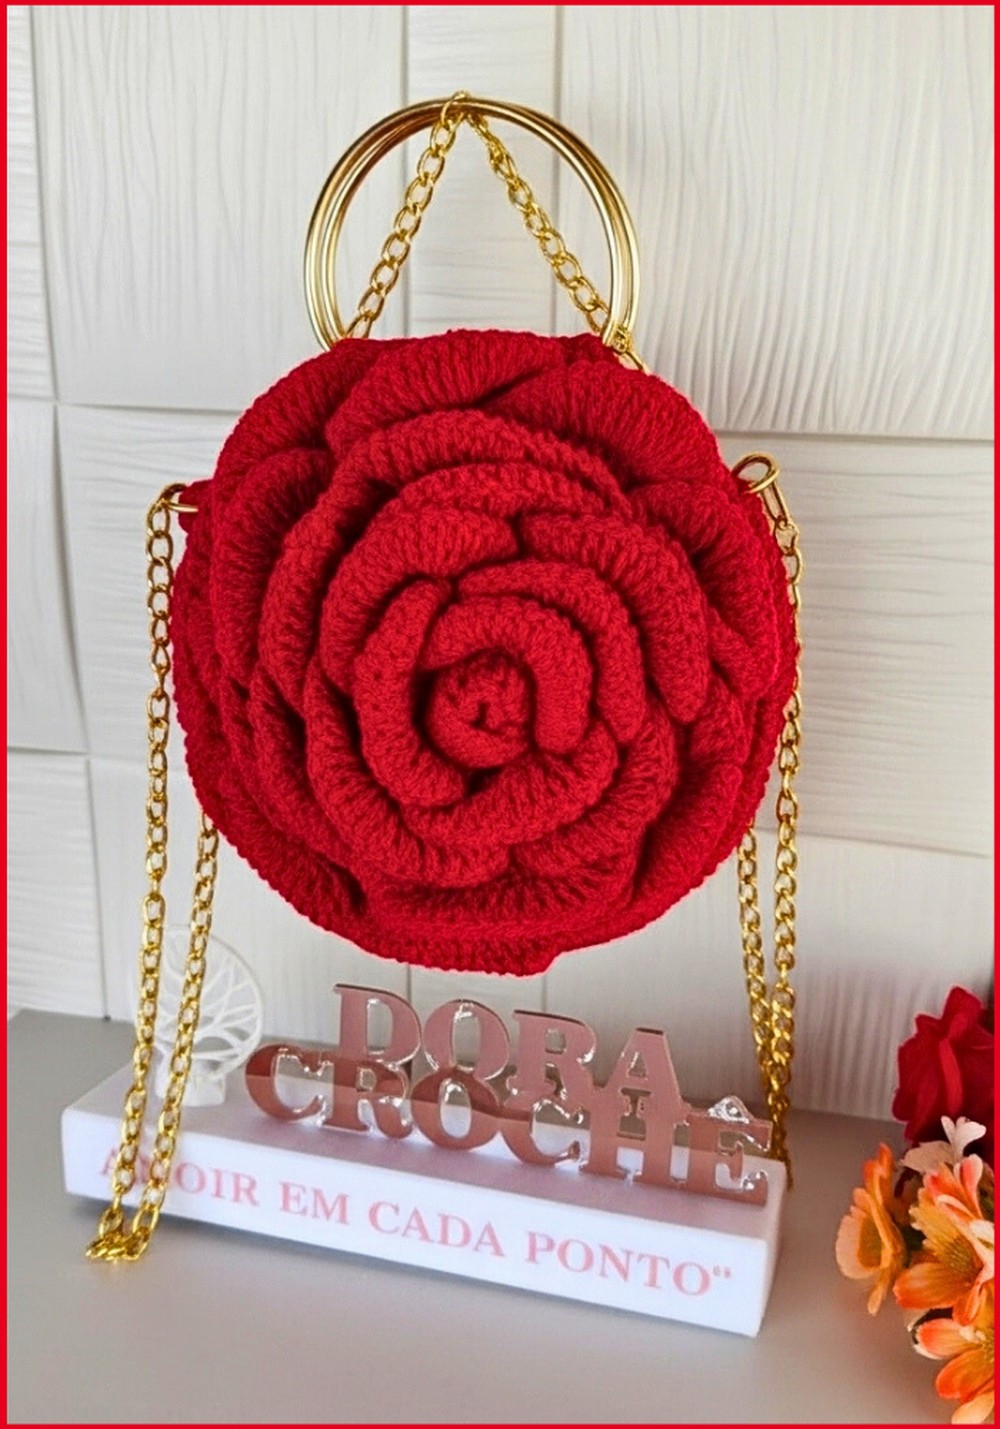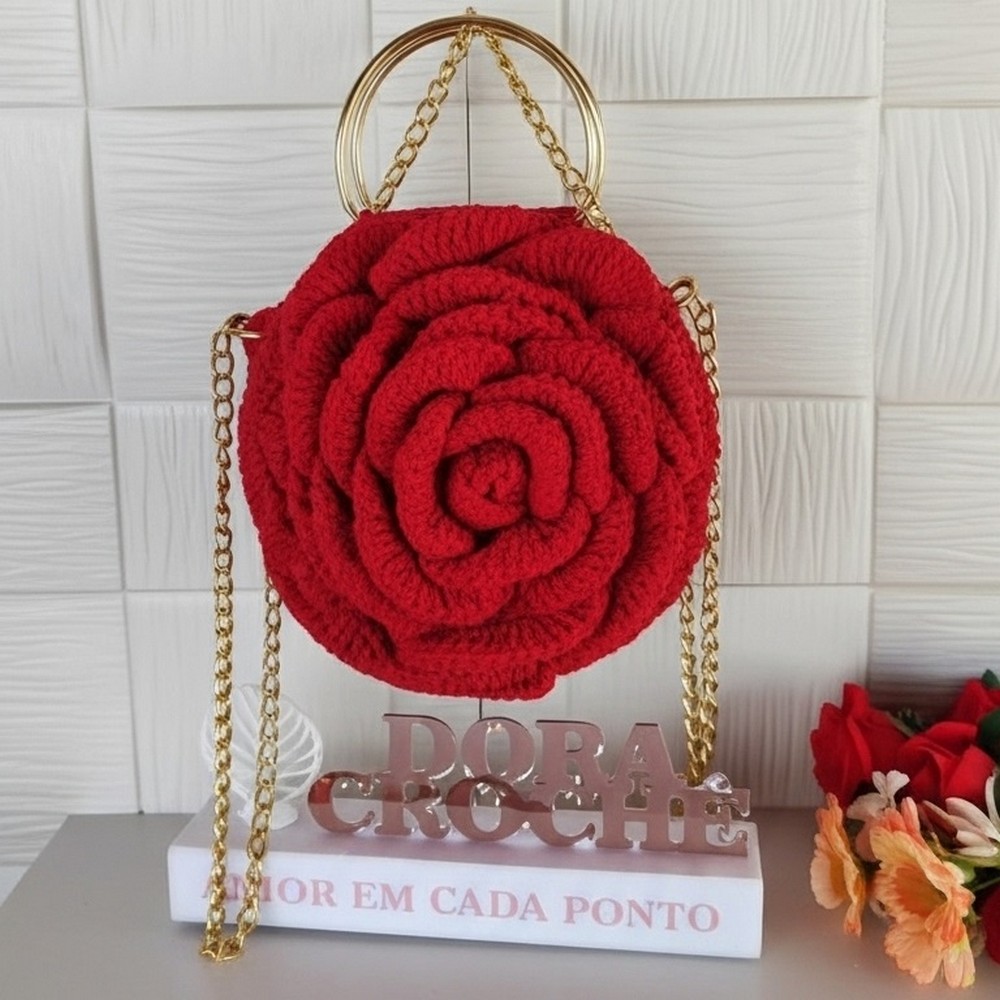
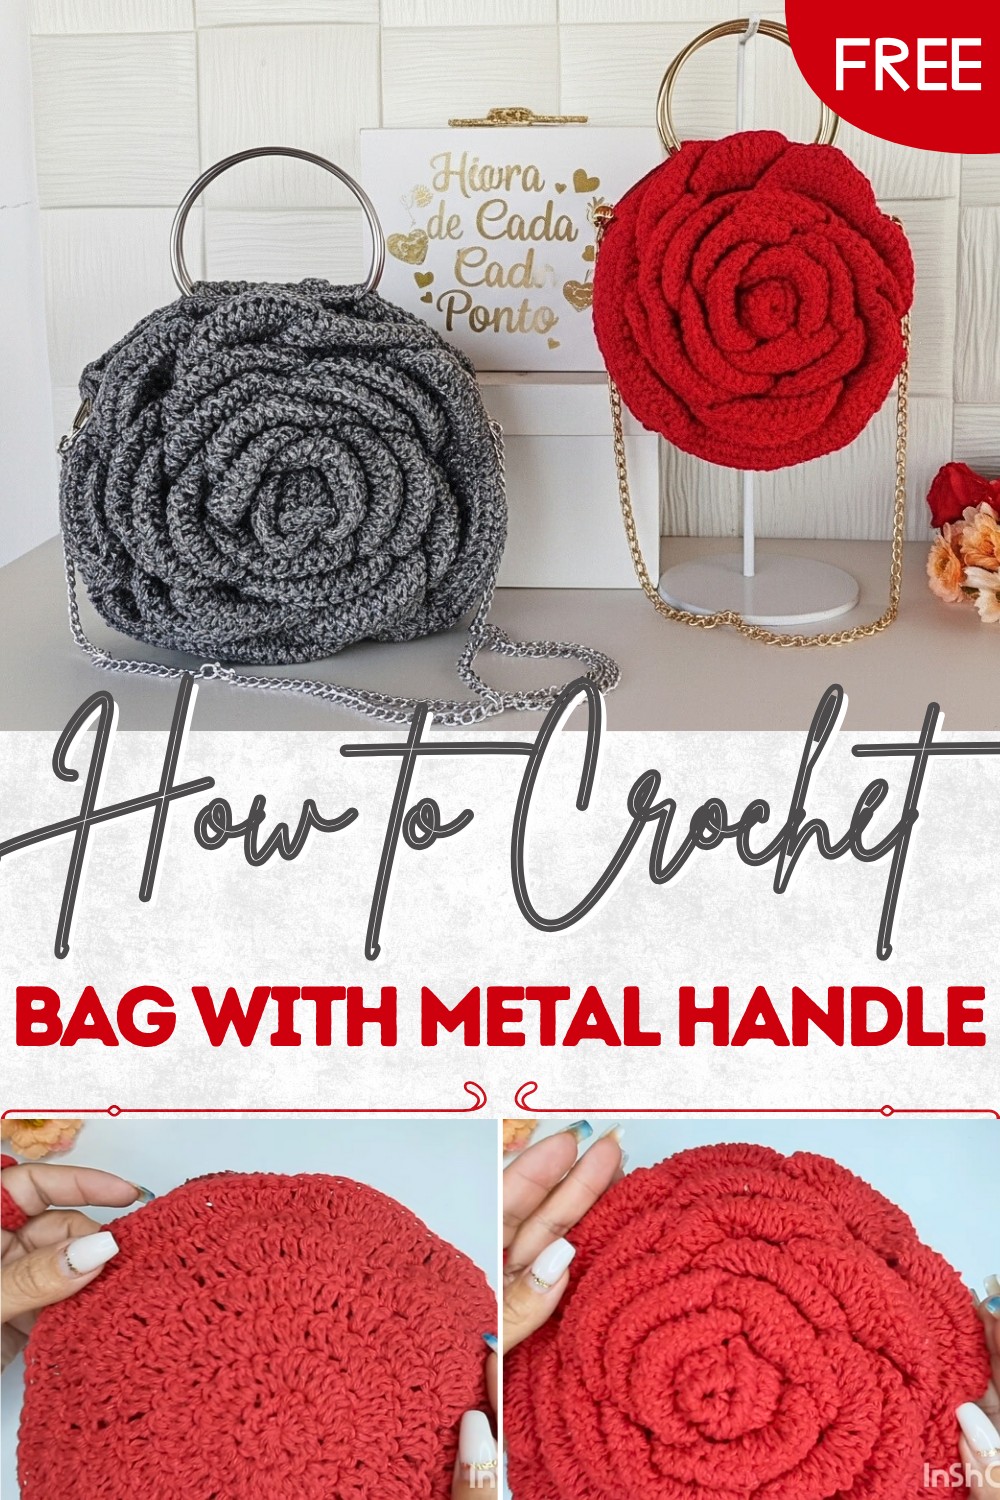
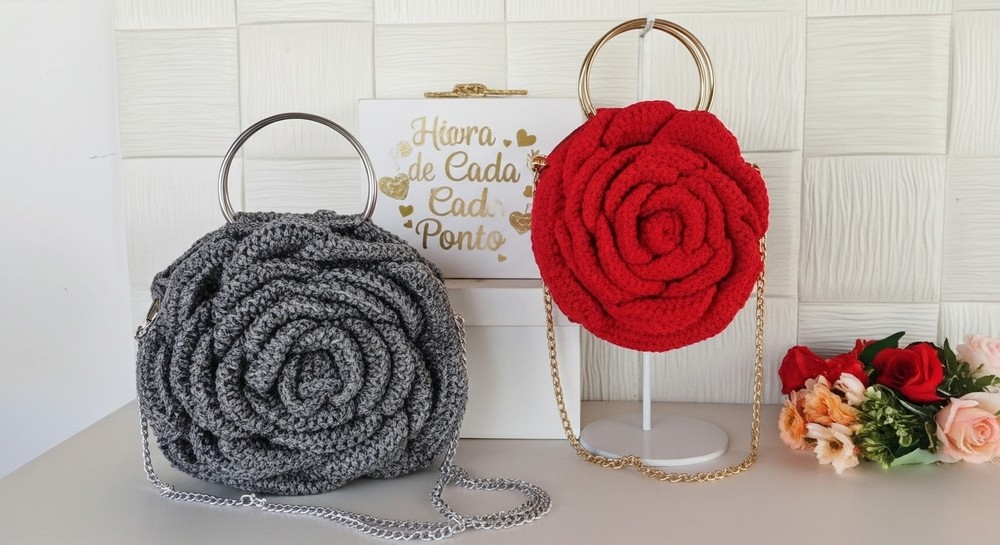
Versatile Crochet Bag with Metal Handle Pattern for Daily Essentials
Stylishly express your personality with crochet bag with metal handle pattern for an effortless fashion and practical use on any occasion.
Soft yarn comes together with a bright metal handle to create a bag that stands out wherever you go. This crochet bag with metal handle pattern gives you a stylish look for shopping days, family visits, or walks to the park. Your hands stay comfortable while the shiny handle adds a smart touch that everyone notices. Each bag can be bright or gentle in color, strong and easy to carry.
Graceful Crochet Bag with Metal Handle Pattern to Elevate Any Look
Even if you are new to making bags, this pattern is simple and friendly, helping you enjoy every step. It is not just useful for carrying small things like keys or snacks, but also adds a special charm to your outfit. A crochet bag like this is perfect for any age and can be a lovely gift or a nice treat for yourself.
Materials
- Yarn:
- Main Option: Twine or cotton string, No. 6 or No. 8 (“Barbante Six”, Euroroma or comparable)
- Alternate Option: Nautical rope, size compatible for bags (yarn weight 4–5, or as preferred)
- Hook: 3.5 mm to 4.5 mm crochet hook, or hook that meets your tension (adjust for firm, non-slouchy fabric)
- Notions:
- Scissors
- Tapestry needle
- Stitch markers
- Thin cardboard (for lining template)
- Fabric glue (optional, for lining)
- Sewing needle & sewing thread (lining attachment)
- Bag hardware:
- Metal chain strap or preferred handle (with rings/clasps)
- 2 metal magnetic buttons or bag snaps
- Custom label (optional)
- Lining: Cotton or sturdy woven fabric
Key Abbreviations (US Terms)
| Abbreviation | Description |
|---|---|
| ch | chain |
| sl st | slip stitch |
| sc | single crochet |
| st(s) | stitch(es) |
| rep | repeat |
| rnd | round |
Special Notes
- The bag is worked bottom-up, starting with a round base and expanding petals.
- Chain spaces left unworked at the opening ensure a wide, structured mouth for the bag.
- The number of stitches, hook size, and yarn type will affect your final bag’s size—see TIPS below if you wish to adjust.
- The lining is attached after crocheting; a template is used for cutting, and glue/basting is used before sewing.
- A step-by-step video for the full base and petal construction is referenced in the pattern, but key construction steps (petal and body joinery, handle installation) are clarified here.
Pattern Instructions
1. Crochet the Base and Body of the Bag
> NOTE: For this specific bag, it's essential to first follow the referenced video (Mega Pink Petal Bag) for **base and petals construction up to the final petal round. > In summary:**> - **Work base:** 12 dc in a magic ring. Inc every round in dc to 84 dc. Stop increasing, and work petal rounds as shown in video.> - **Pause after final petal rounds and BEFORE the upper edge and handle application.**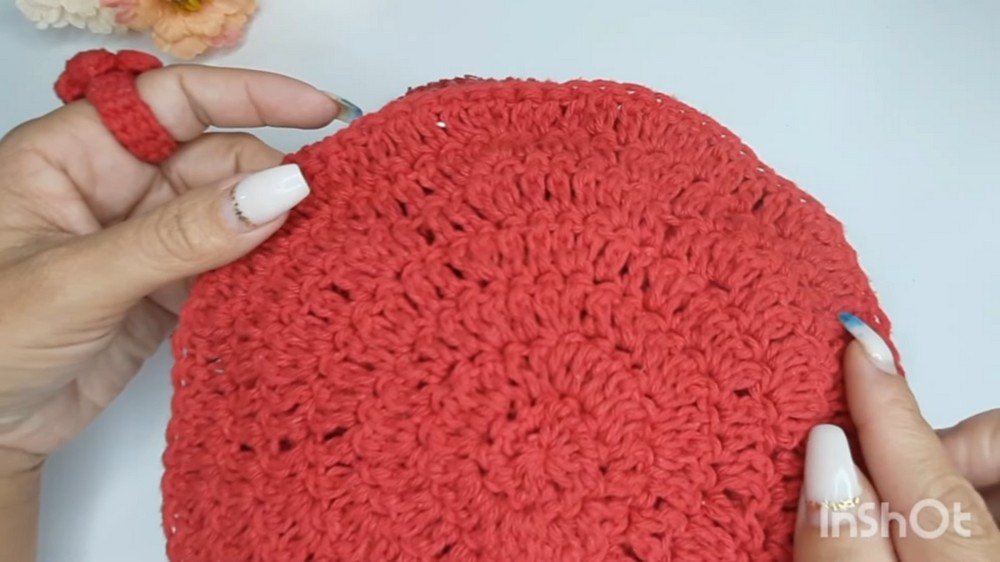
2. Prepare for Handle Application & Upper Edge
A. For Twine/String Yarn (e.g., Barbante Six)
- After 7 rounds in dc (ending with 84 dc):
- Do not work extra rows in sc. Start petal construction as directed in video.
- On the round after final petal round:
- Work 1 sc in each st around for a neat edge.
B. For Nautical Rope
- Work 7 rounds of dc to 84 dc.
- Add 1 round of sc all the way around, THEN divide for handle attachment as below.

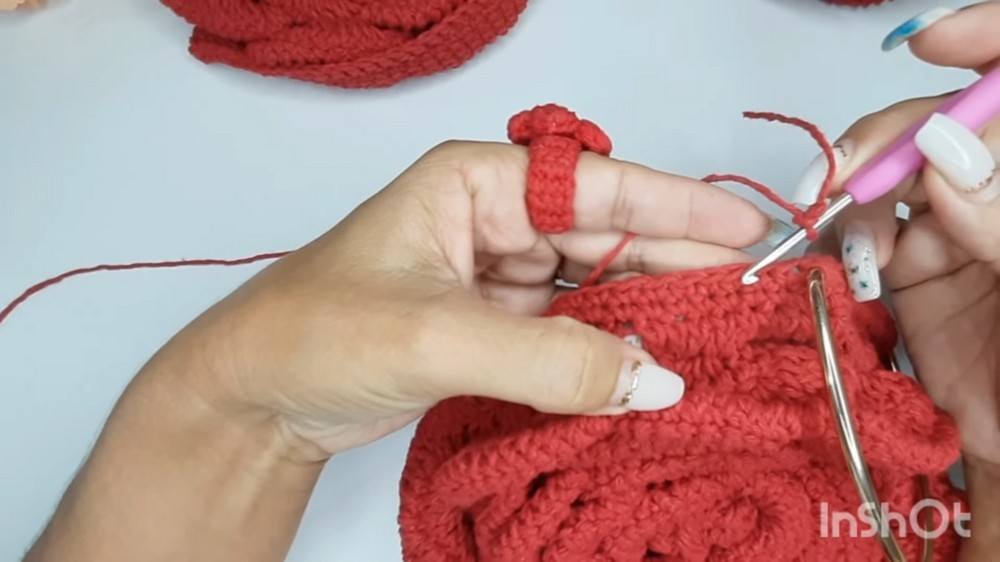
3. Shaping the Opening for Handle Attachment
- After the final petal round and edge:
- Work 1 full round of sc around the top edge, joining with a sl st at beginning.
- Next round (for bag opening):
- ch 1, sc in each st until 7 sts before the side seam/desired edge (to space handles evenly).
- Pause here; proceed to handle attachment below.
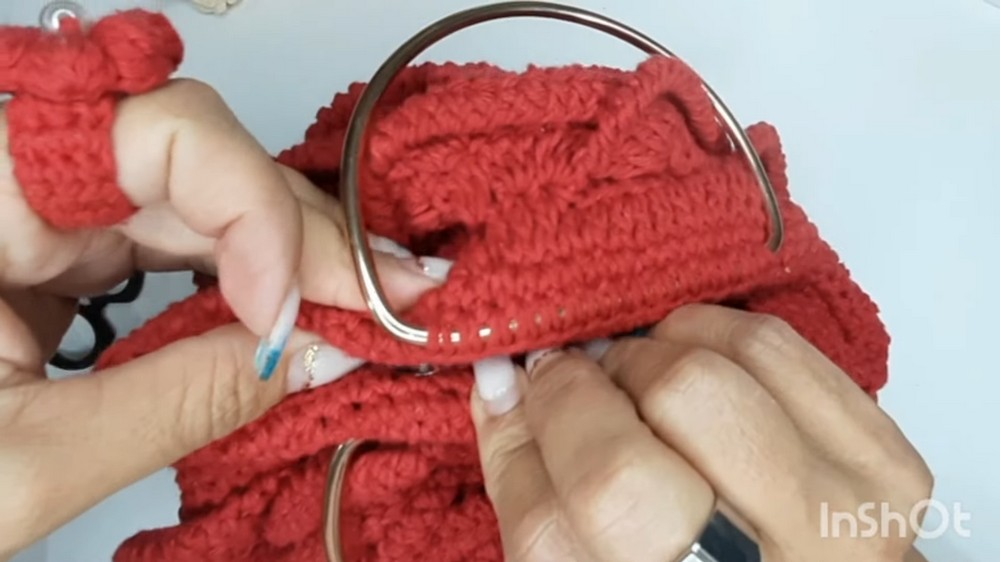
4. Attach the Metal Strap/Handle
- Counting from the starting point, leave 7 sc unworked before the segment for attaching the handle.
- Take the chain strap/handle; hold in place on the bag to mark your 15 sc attachment points.
- Begin attaching the handle as follows:
- Insert hook through sc at the start of attachment zone, through the leather/fabric/metal ring of the strap, then complete sc as normal.
- Repeat: Work 15 sc, securing the strap in place.
- Resume sc along the bag edge, leaving another 7 sc unworked at the other edge of the handle.
- Continue sc to close the round, join with sl st.
Adjust the number of stitches between strap attachments (14–15) according to your yarn, bag size, or hardware width.
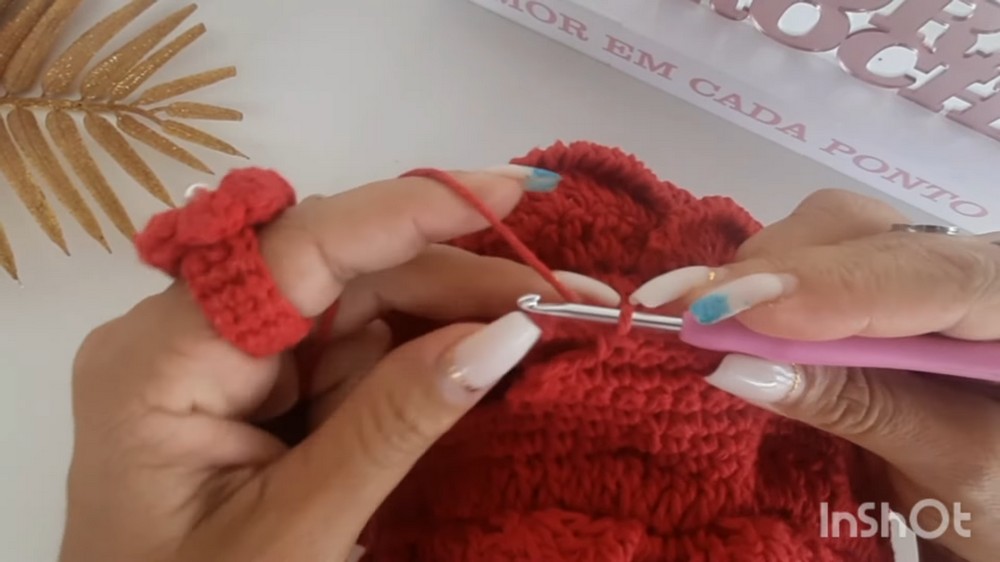
5. Upper Edge Reinforcement (Side Rows)
- Turn work. ch 1.
- Work 1 sc in each st across the handle section and the adjacent 7 sc on both sides.
- Turn. ch 1. 1 sc in each st across.
- Repeat for 2–3 total rows (for a sturdy band under the handles).
- FO, leaving tail for sewing if needed.
6. Bag Lining (Optional But Recommended)
- Make a cardboard template:
- Trace bag shape, cut template about 1–1.5 cm larger on all sides.
- Cut your lining fabric using the template.
- Sew sides of lining (with zigzag or straight stitch; or simply zigzag edges).
- With the bag wrong-side out, insert lining, fold over excess at the edge, and pin in place.
- Glue edge (optional) for holding, then hand or machine sew lining to bag with small back stitches or whip stitch.
- If desired, add an inner pocket prior to sewing lining shut.
7. Seaming the Bag Sides
- With RS together, work sl st or sc through both sides, matching petal and stitch placement for a balanced look.
- FO and weave in all ends.
8. Adding Finishing Touches
- Magnetic Clasps/Buttons:
- For this wide-mouth design, attach TWO magnetic clasps between handle attachments, spaced evenly (see video for precise placement).
- Insert prongs of clasp through lining and bag; fold prongs out for security.
- Add Chain/Strap:
- Attach the chain, aligning rings to bag side gaps or hardware.
- Attach Label:
- Sew or glue label onto outside of bag as desired.
- Optional: Add decorative tassel, bead, or charm.
Conclusion
This elegant floral-petal bag features a sturdy, reinforced open top and a removable metal chain handle. Lining is highly recommended for best shape and strength. The size can be adapted using thicker yarn (No. 8 or nautical rope) or by increasing the number of base stitches/rounds.
Test handle placement by pinning before sewing, and adjust stitch counts for your specific hardware.
Pattern Corrections & Tips
- To upsize bag (for a more substantial look):
- Use heavier twine (No. 8 or nautical rope).
- Increase hook size one step if fabric is too stiff.
- Add 1 round of increases to base, keeping stitch multiple for petals and upper edge consistent.
- Smoother shape:
- The upper edge will curve or “curl” inwards if you use too many rows of sc without shaping; block gently if needed.
- Handle placement:
- Always leave the SAME number of stitches unworked at each side of the opening for symmetry.
- Petals:
- Flatten and shape petals with steam or blocking (as fibers allow) before assembly.
- Lining:
- For professional finish, make lining slightly smaller than bag, with a straight top.
- Use invisible or matching thread for sewing.