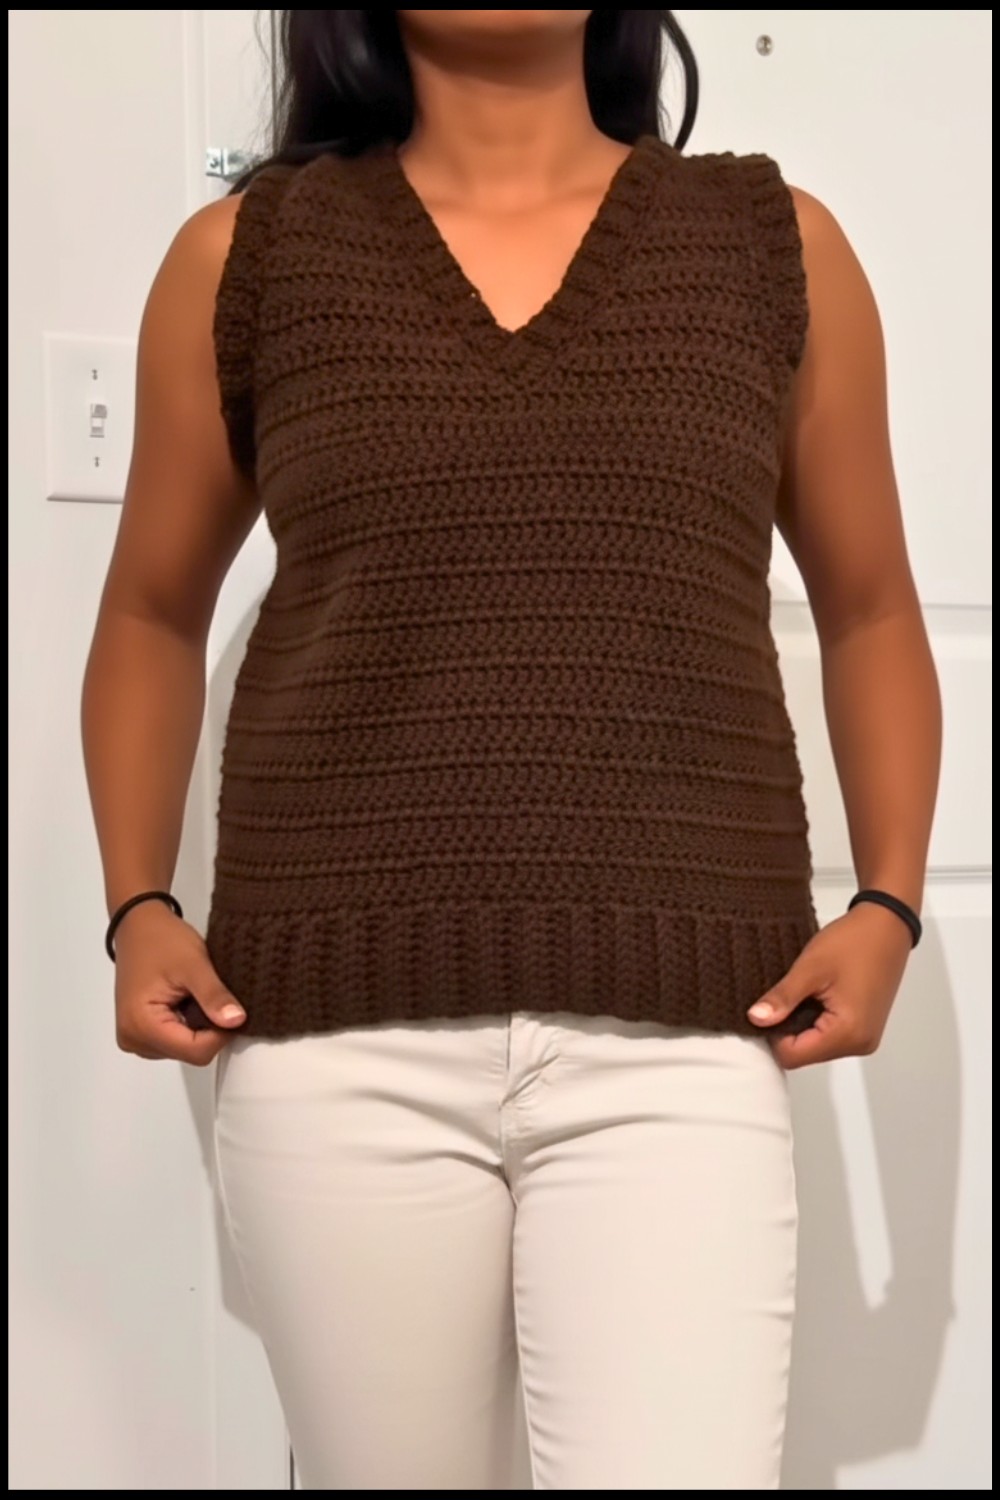
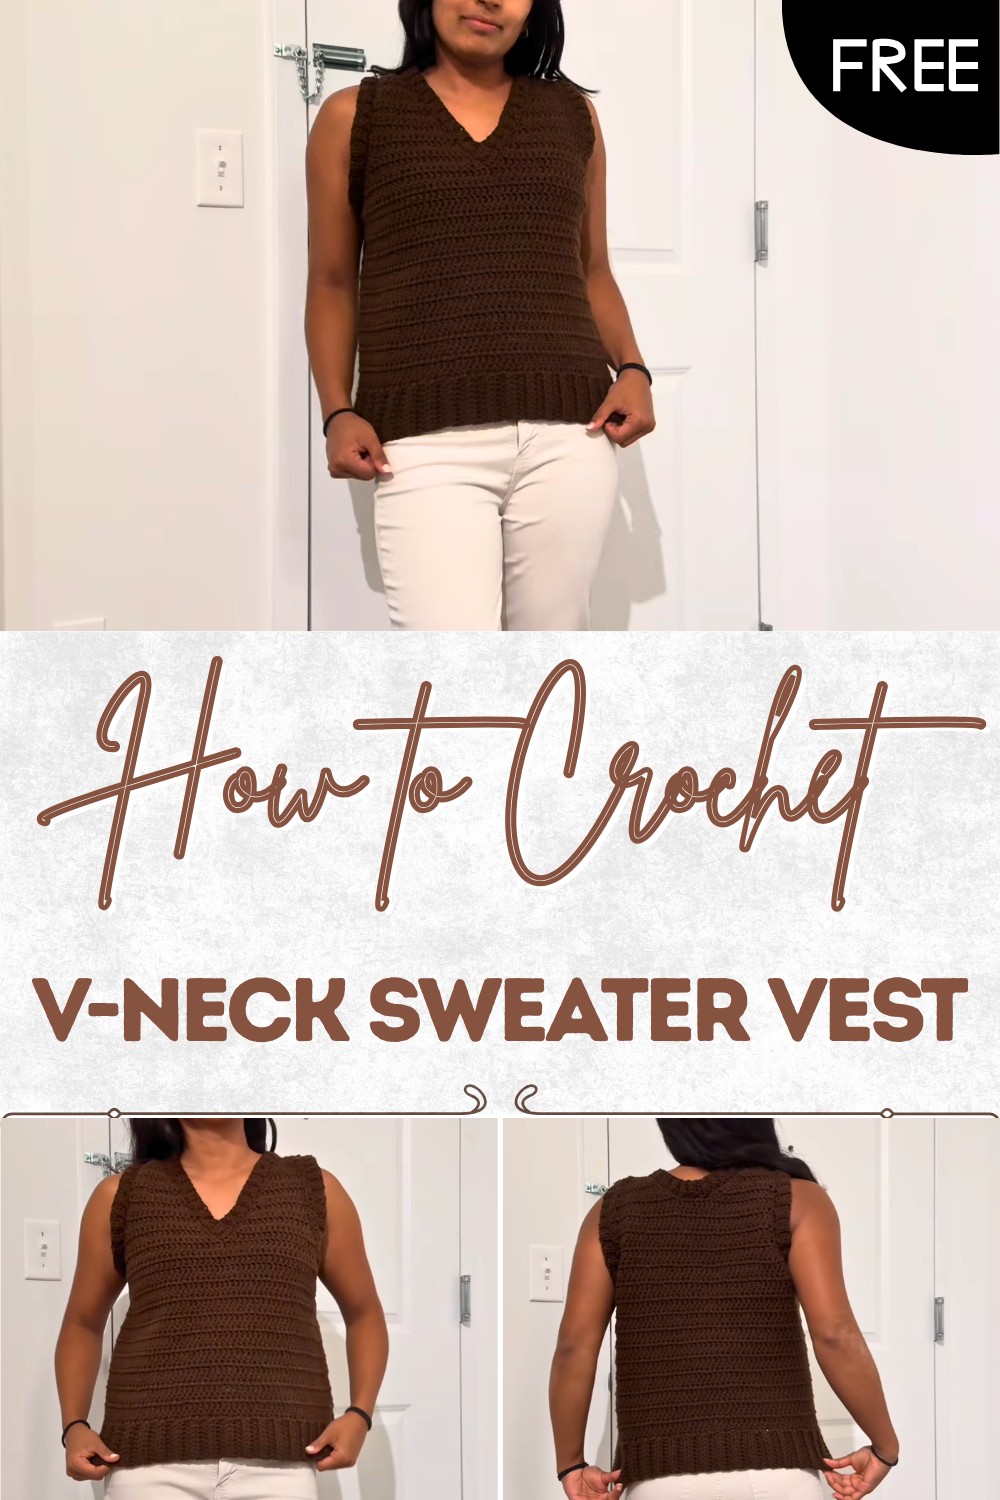
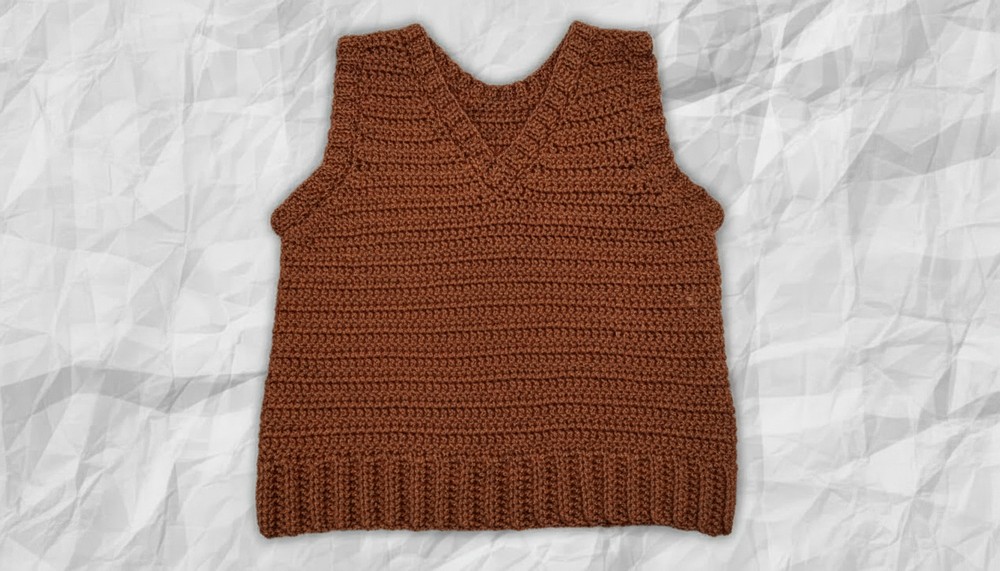
Free Pattern – V-neck Sweater Vest for Any Season
Stay stylish and comfortable with this free crochet V-neck sweater vest pattern that offers cozy warmth adds classic charm & suits any outfit.
Soft warm and stylish you can slip into a handmade vest that feels like a gentle hug every time you wear it. The lovely shape flatters every body with its smooth lines and deep V-neck giving you a smart look that goes with anything in your closet. Using the crochet V-neck sweater vest pattern anyone can make one for themselves or someone they love and enjoy a cozy layer with a special personal touch.
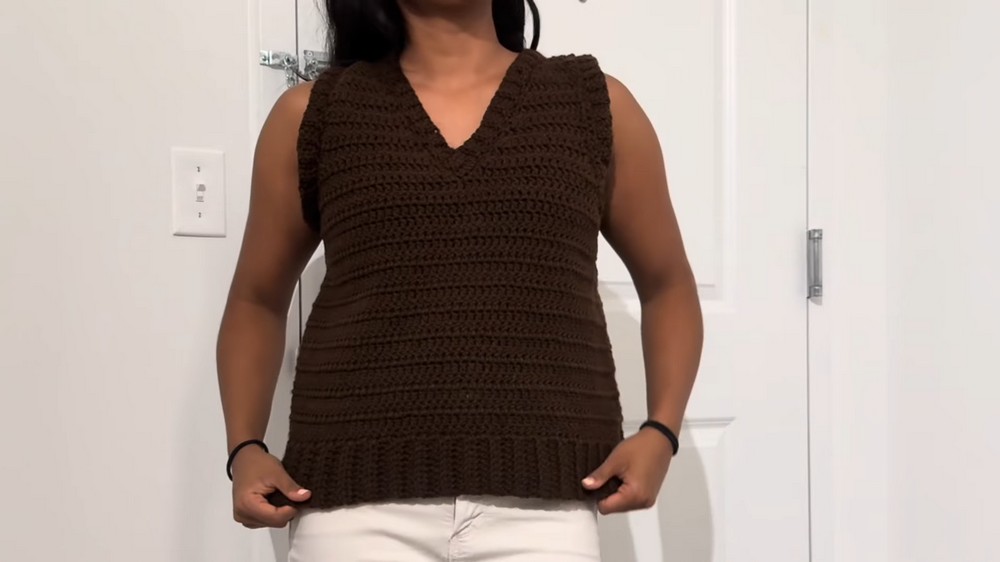
Free Crochet V-neck Sweater Vest Pattern Perfect for Layering
You can wear this piece over a shirt to stay warm on cool days or by itself for simple comfort. The beauty of this design is how easy it is to make with simple steps and a relaxing style that fits all ages and sizes. Bright colors or calm shades every choice makes your vest extra special and adds joy to your daily outfits. This charming vest brings comfort confidence and a homemade feel to any season.
Crochet Sweater Vest Pattern
Materials
- Yarn: Approximately 250g medium weight (worsted, #4) acrylic yarn (Brown shown; color of choice)
- Hook: 5mm (US size H-8) crochet hook
- Yarn needle
- Scissors
- Stitch markers (optional, for marking armhole/neckline shaping)
Key Abbreviations
- ch = chain
- sc = single crochet
- hdc = half double crochet
- dc = double crochet
- sl st = slip stitch
- BLO = back loop only
- dec = decrease
- st(s) = stitch(es)
Special Notes
- The ribbing is worked back loop only.
- The vest is constructed bottom-up, shaped in rounds, then separated for arm/neck shaping in rows.
- The ribbing and panels should be divisible by 8 for ease of shaping.
- Adjust length and width as desired for other sizes.
Pattern
1. Bottom Ribbing
- Make a slip knot.
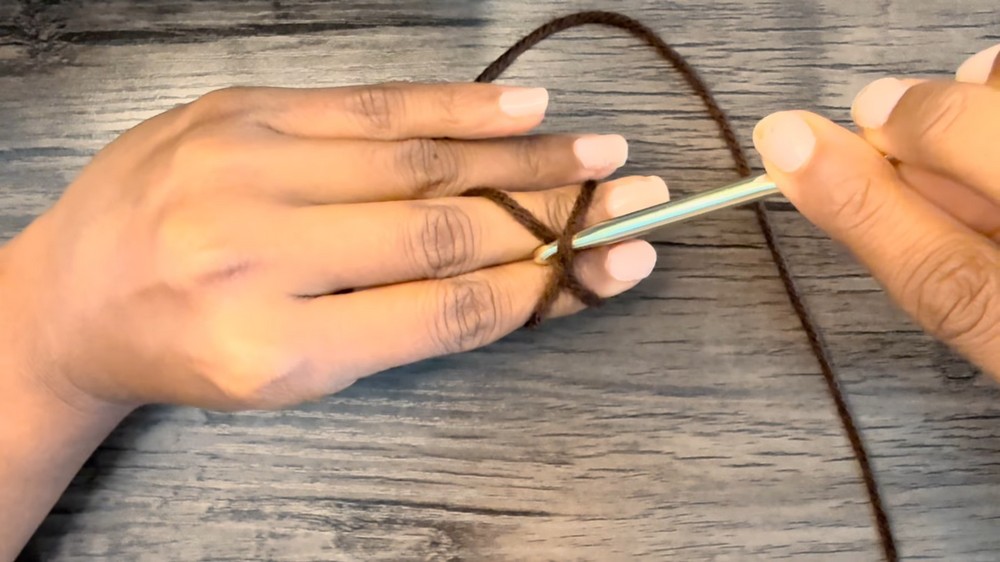
- Ch 10 (9 for ribbing width + 1 turning ch).
- Row 1:
- hdc in 2nd ch from hook, hdc in each ch across (9 hdc).
- Turn.
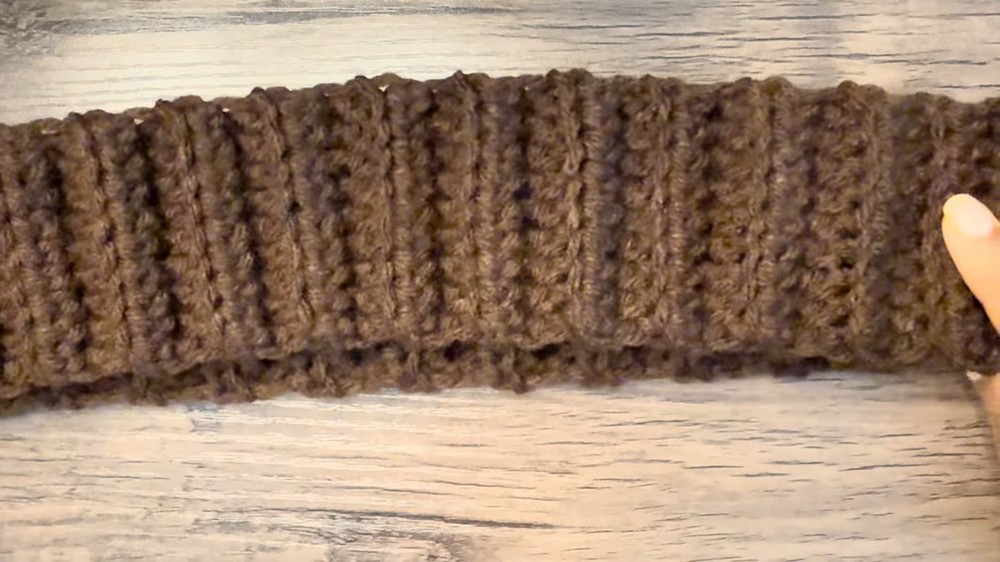
- Row 2:
- Ch 1, hdc in BLO in each st across. Turn.
- Repeat Row 2 until ribbing fits comfortably around body; for size small, 80 rows (about 66 cm without stretching; ensure total rows are divisible by 8).
- Join ends:
- Bring both ends together (untwisted), ch 1, and sl st through top loops only of both sides to seam the ribbing into a circle.
- Rotate seam horizontally to begin working the body.
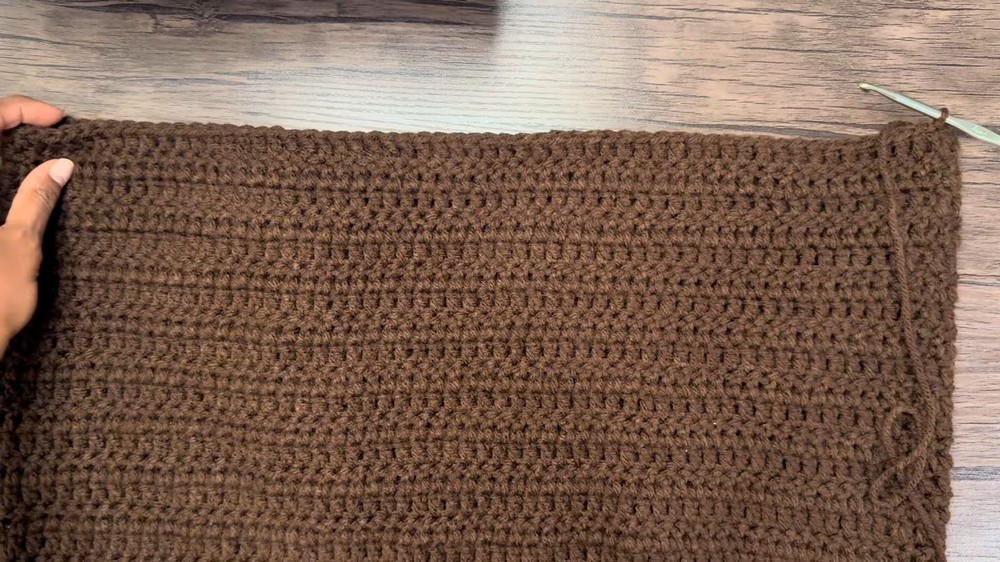
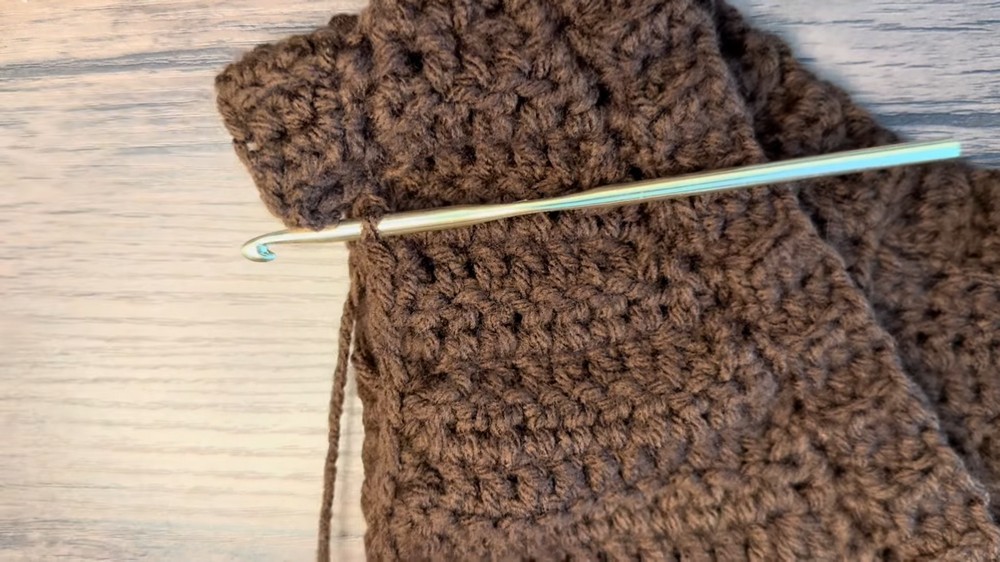
2. Body of Vest
- Ch 2 and begin working along the ribbing edge.
- Round 1:
- Insert 1 dc into each ridge and the two rows beside it; repeat pattern of dc in ridge, dc in row, dc in row for entire round.
- Stitch count should be 1.5 times the ribbing rows (e.g., 80 rows = 120 dc).
- Sl st to top of first dc to join round.
- Round 2–18:
- Ch 2, turn, dc in each st around.
- Skip the initial ch 2 when beginning each round, work the last dc into the stitch the ch 2 emerges from.
- Sl st to join at end.
- Turn after each round to maintain a straight seam.
- Tip: Adjust number of rounds for desired body length; for example, 18 rounds results in ~22–23 cm including ribbing.
3. Armhole & Panel Shaping
A. Marking and Separation
- Mark halfway points of round (use stitch markers): Count to 60th st (out of 120 for small), mark, and similarly on opposite side.
- You now work flat in rows for front/back shaping.
B. Armhole Decreases
- Ch 2, turn.
- dc3tog over first three stitches (double crochet three together):
- Yarn over, insert in first st, pull up loop, pull through 2.
- Yarn over, insert in 2nd st, pull up loop, pull through 2.
- Yarn over, insert in 3rd st, pull up loop, pull through 2.
- Yarn over, pull through all loops.
- Dc across to 3 sts before the stitch marker.
- dc3tog over last three stitches before marker.
- Repeat for 2 more rows (do 3 decrease rows).
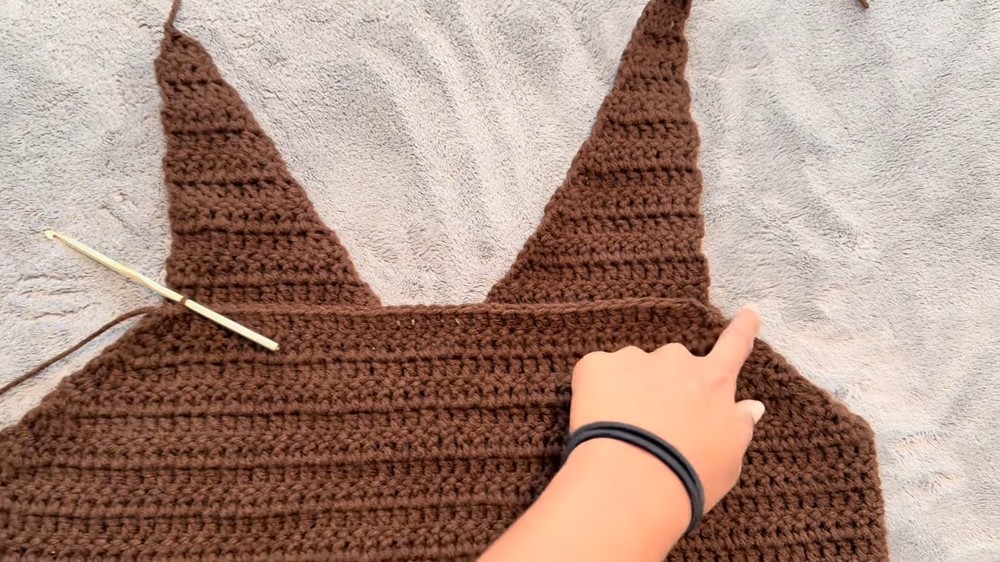
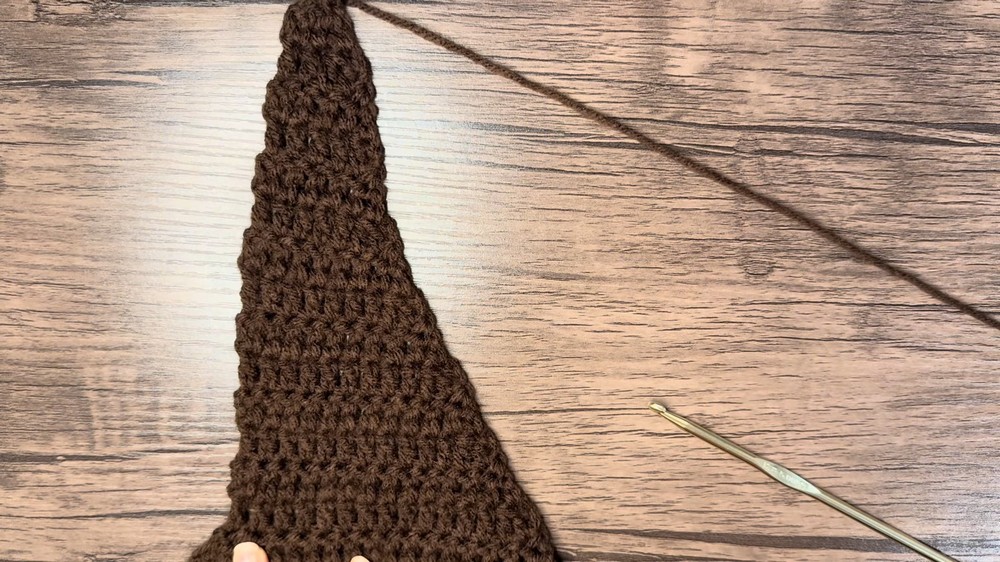
4. Front Panel & V-Neck Shaping
- Count stitches on last decrease row (e.g., 48 for small). Divide in half, mark center.
- Begin left side (after armhole decreases):
- Ch 2, turn, dc3tog at armhole, dc to two sts before center marker, dc2tog at neckline.
- Next row: Ch 2, turn, dc2tog at neckline, dc to last three sts, dc3tog at armhole.
- Repeat, alternating, for 13 rows—only decrease at neckline after armhole shaping is complete.
- Fasten off with two sts at the top.
- Begin right side:
- Attach yarn to outer edge, ch 2, mirror above sequence: dc3tog at armhole, dc across, dc2tog at neckline, repeat for shaping.
5. Back Panel & Neckline
- Attach yarn at marked halfway stitch.
- Repeat armhole decrease rows:
- dc3tog at beginning and end of row for 6 rows (3 before neckline decrease, 3 after).
- Work even rows:
- 6 rows dc across (no decreases).
- Back neckline decreases:
- For the next 6 rows, dc up to 11th st, dc3tog, finish row.
- Mirror sequence on other side so both shoulders are even.
- Fasten off at top.
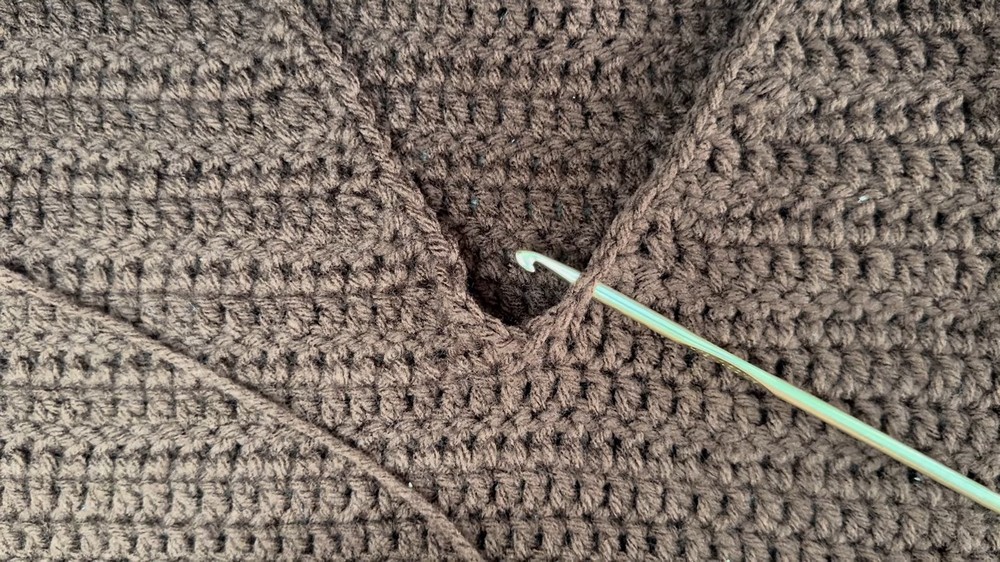
6. Joining Shoulders
- Thread yarn needle with fastening-off tail.
- With panels laid flat, whip stitch through top loops only of front and back panels to join.
- Knot, weave in ends.
- Repeat for both shoulders.
7. Neckline Ribbing
A. Single Crochet Border
- Attach yarn with slip knot at neckline.
- Ch 1, sc into each row side around neckline (including V-point, shoulder seams).
- Sl st to first sc and fasten off.
B. Neck Ribbing
- Attach yarn three sts to the right of center V-neck (or desired width of ribbing).
- Ch 1, hdc in next three sts across (rib width).
- Slip stitch to opposite side to anchor ribbing.
- For next row: slip stitch two or three together along neckline, turn, hdc in BLO across rib.
- Repeat pattern: chain one, turn, hdc in BLO, slip stitch at neckline edge (two or three together as needed).
- Continue working ribbing around neckline and up V-neck. At the end, fasten off and sew last row to first with a yarn needle.
8. Armhole Ribbing
- Attach yarn at top of armhole, ch 1.
- Sc into side of each row around armhole, sl st to first sc to close.
- Chain 4 (for 3 ribbing sts + turning ch).
- Turn, hdc in each ch across.
- Slip stitch to next stitch along edge, slip stitch two together.
- Continue: chain one, turn, hdc in BLO across ribbing, slip stitch to next stitch, slip stitch two together.
- Repeat around armhole; fasten off and sew ribbing ends together.
- Repeat for second armhole.
9. Finishing
- Weave in all loose ends securely inside the vest with a yarn needle.
Conclusion
This sweater vest is stylish, classic, and versatile. The minimal sewing makes it quick to work up, and the ribbed edges add professional finishing touches.
Pattern Corrections & Tips
Corrections:
- Ensure ribbing and stitch counts are precisely divisible as indicated.
- For the neckline ribbing, adjust the slip stitch sequence as needed to keep rib laying flat.
- When joining shoulders, check panel length alignment before sewing.
Tips:
- Try on the vest before sewing shoulders—adjust panel length or neckline depth for custom fit.
- For larger sizes: increase ribbing rows and body stitch count, and extend the number of panel/neckline rows.
- Blocking the vest after completion will help even out stitches and improve fit.