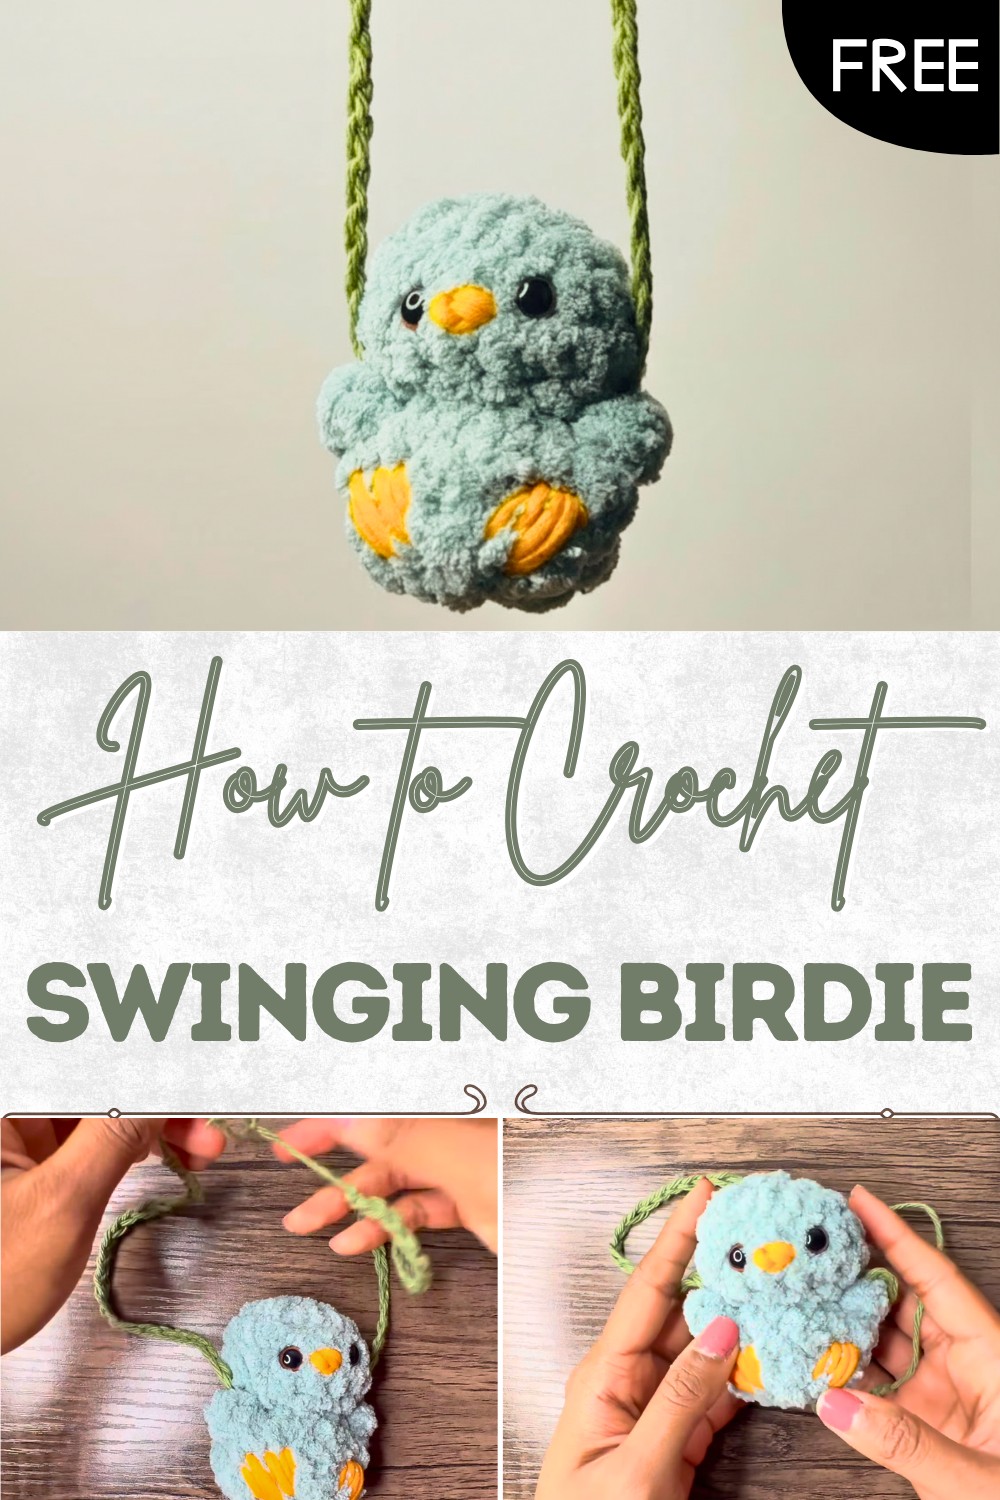
Free Crochet Swinging Birdie Pattern Ideal for Gifts
Swing into creativity with this Free Crochet Swinging Birdie Pattern, that moves gently and adds playful charm to any space with ease.
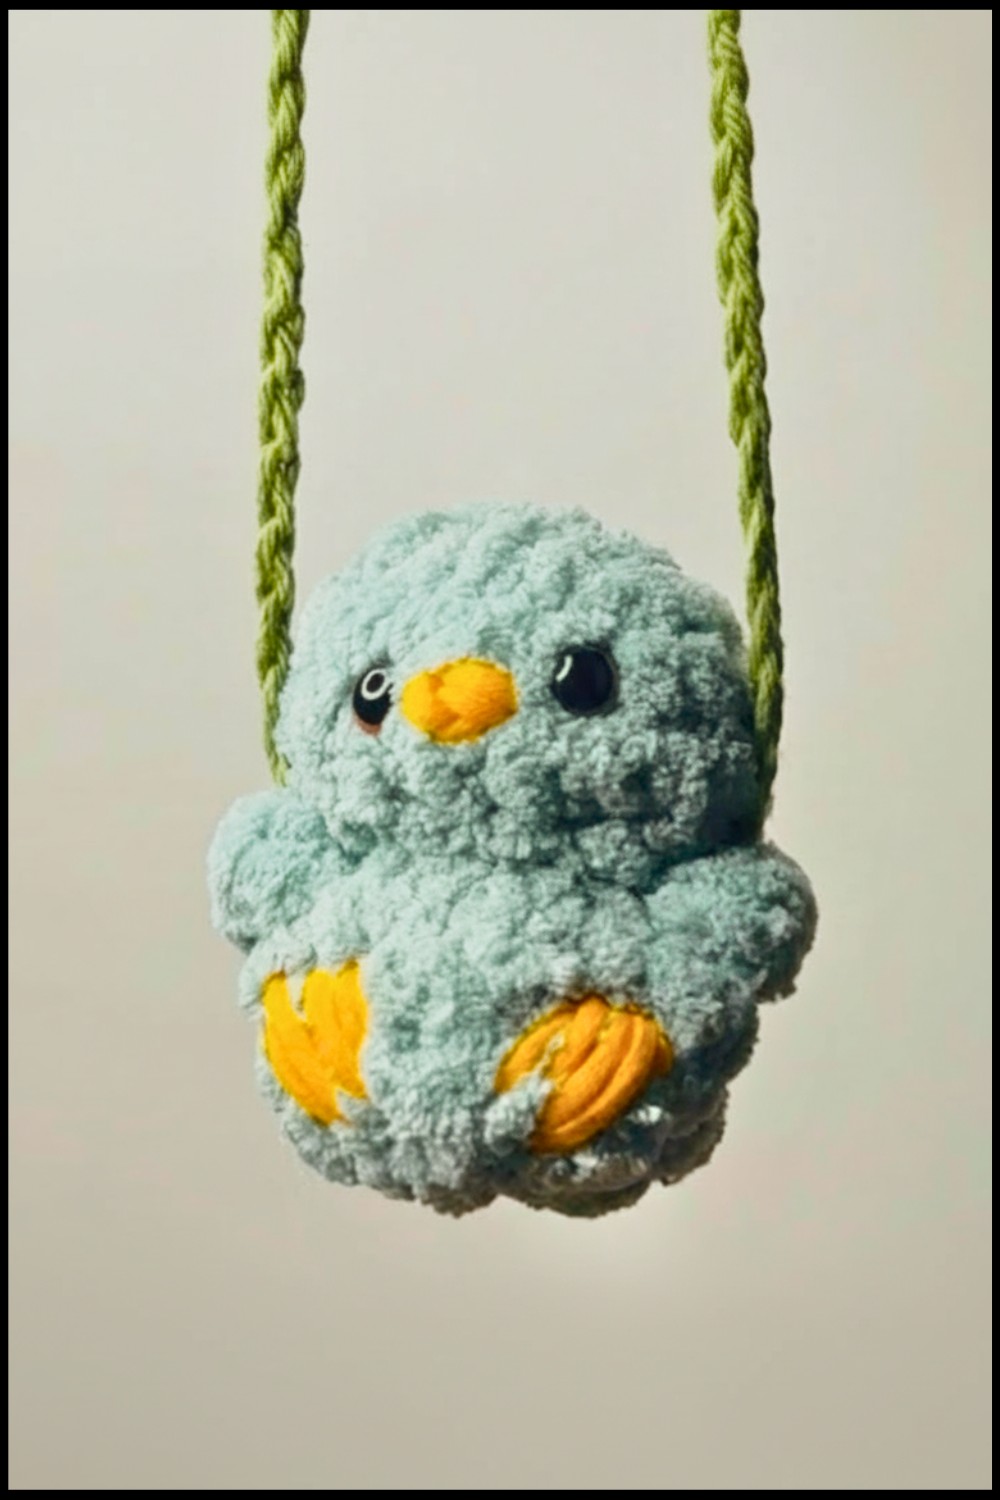
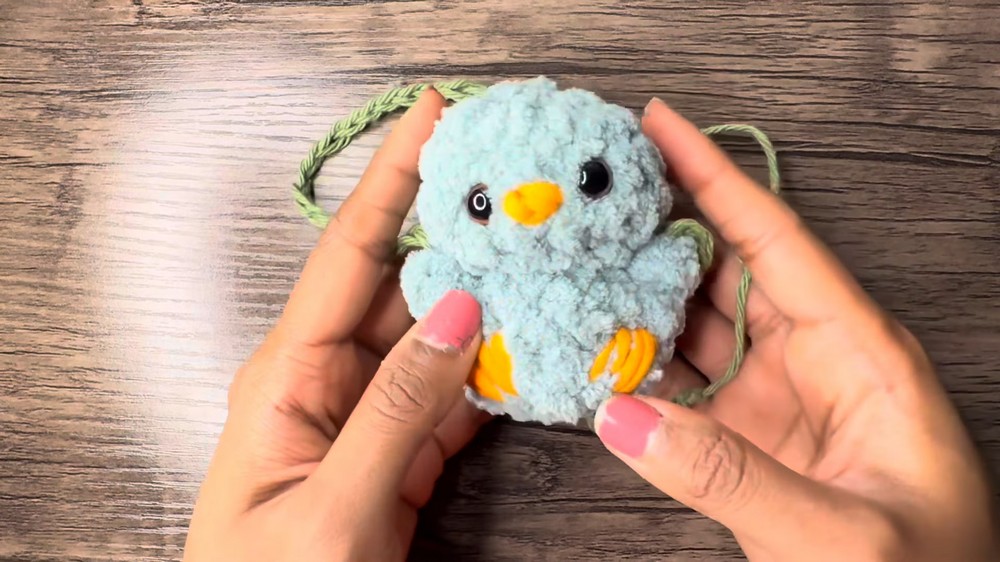
A small cheerful bird hanging and gently swaying on its own little swing like it’s ready to bring a smile to your face every day. This adorable handmade treasure brightens up any spot in your home or even your car and can be gifted to kids and grownups alike. With its round blue body tiny orange beak and cute feet holding onto a soft green swing it feels full of charm and warmth.
Free Crochet Swinging Birdie Pattern for Home Decor
Using the simple and creative crochet swinging birdie pattern anyone can make this joyful decoration adding a touch of color and happiness wherever it goes. The easy crochet steps and playful design make it perfect for beginners or anyone looking to create something special without any fuss. You can choose your favorite colors and even make a little flock making each bird a friendly companion that adds comfort delight and a little fun to your daily life.

Swinging Birdie Crochet Pattern
Materials
- Yarn:
- Blue (body and arms), Orange (beak and feet), Green (swing)
- Worsted (Medium, #4) or similar, small amounts of each
- Hook: 5 mm (US H-8)
- Fiberfill (for stuffing)
- Safety eyes (or black yarn for embroidered eyes)
- Yarn needle
- Scissors
- Stitch marker
Key Abbreviations (US Terms)
- ch = chain
- sc = single crochet
- st(s) = stitch(es)
- inc = increase (2 sc in 1 st)
- dec = decrease (single crochet 2 together)
- FLO = front loop only
- sl st = slip stitch
- puff st = puff stitch (see Special Notes)
Special Notes
- The bird is worked in continuous rounds. Use a stitch marker to keep your place.
- Puff stitch: [Yarn over, insert hook, pull up a loop] 3 times in same stitch, yarn over, pull through all loops on hook.
- Add safety eyes after head shaping and before closing the body.
- Adjust the number of beginning chains for the swing to alter finished size.
Pattern
Bird Head & Body (Blue Yarn)
- Head:
- Make a magic ring.
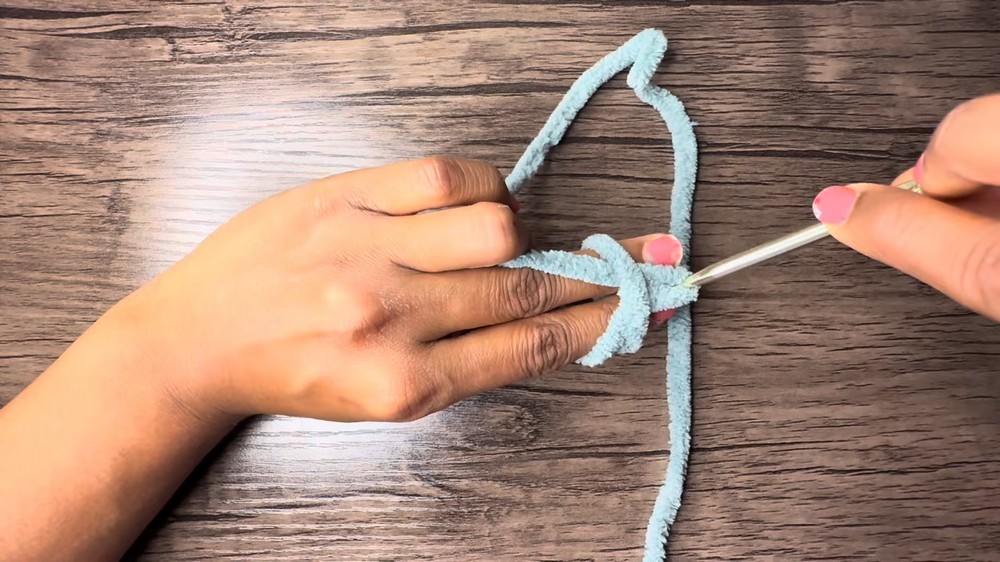
- Rnd 1: 8 sc into magic ring. (8)
- Rnd 2: inc in each st around (2 sc in each st). (16)
- Rnd 3–4: sc in each st around. (16 per round)
- Make a magic ring.
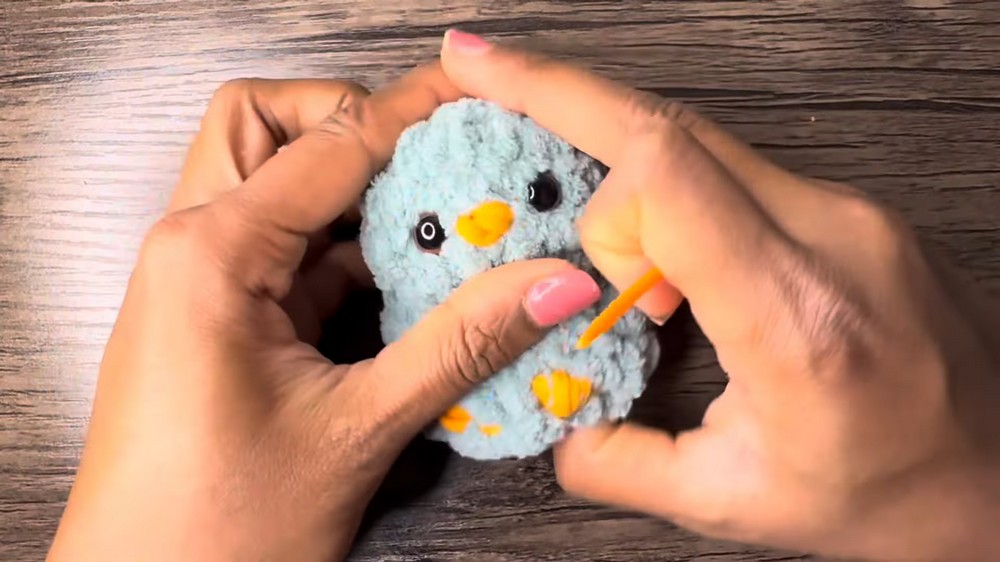
- Beak (Orange Yarn, Make Directly on Head):
- Secure orange yarn to 1 stitch (front center).
- Ch 1, fasten off, and pull yarn tails inside the head.
- For a larger beak, repeat in same stitch.
- Eyes:
- Place safety eyes 1 st away from each side of beak.
- Attach stoppers securely on inside.

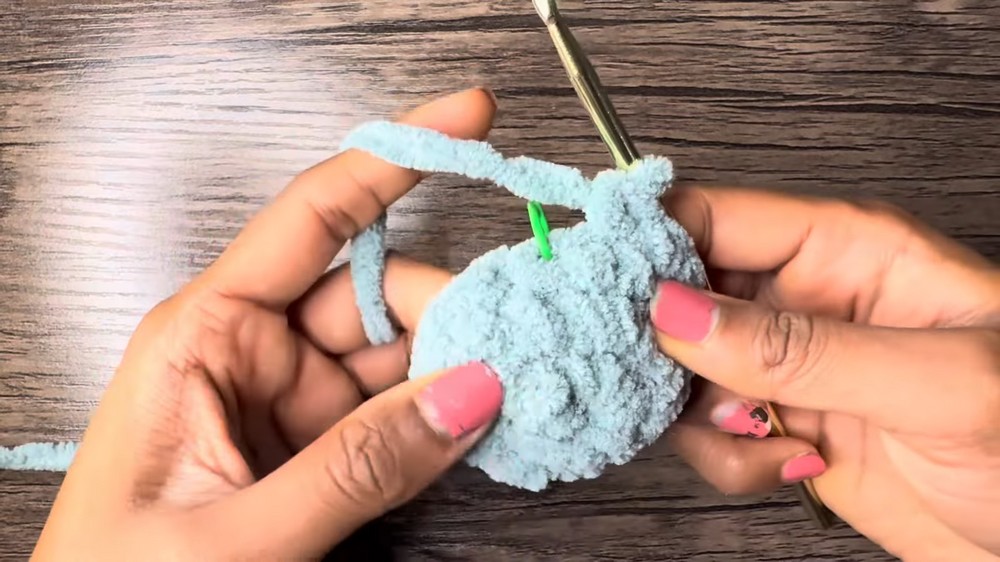
- Body:
- Rnd 5: dec around (insert hook in next st, pull up loop, insert in following st, pull up loop, yarn over, pull through all 3 loops). (8)
- Rnd 6: FLO – inc in each st around (2 sc in FLO of each st). (16)
- Rnd 7: [sc in each of next 3 sts, inc]; repeat around. (20)
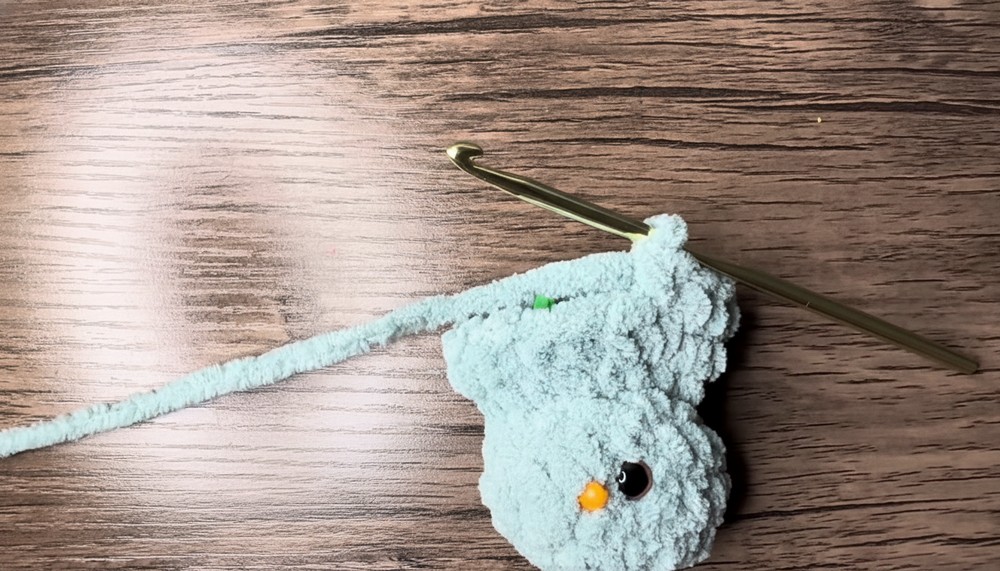
- Feet (Round 8):
- Rnd 8: sc in next 10 sts. In next st, attach orange yarn and puff st (FLO) for first foot, ch 1. Drop orange, work sc in next 2 sts with blue. Reattach orange, puff st (FLO) for second foot, ch 1. Drop orange, sc to end using blue. (20)
- Cut and secure orange yarn inside.
- Stuff the Bird: Firmly but gently stuff the head and body.
- Body Closure:
- Rnd 9: dec around. (11)
- Rnd 10: Stuff remaining body space. dec around, ending with 5 sts.
- Fasten off, thread yarn tail onto needle, weave through final stitches, and pull to close hole. Hide yarn tail inside body.
Arms (“Swing Holders,” Blue Yarn)
(After Swing is attached; see below)
- From 6–7 rows down on sides of body, position hook under 2 sts, pull up a loop of blue yarn.
- Puff stitch (see Special Notes) around green swing cord and the 2 sts, sl st to secure, fasten off.
- Hide yarn tail inside body.
- Repeat for the second arm on the other side.
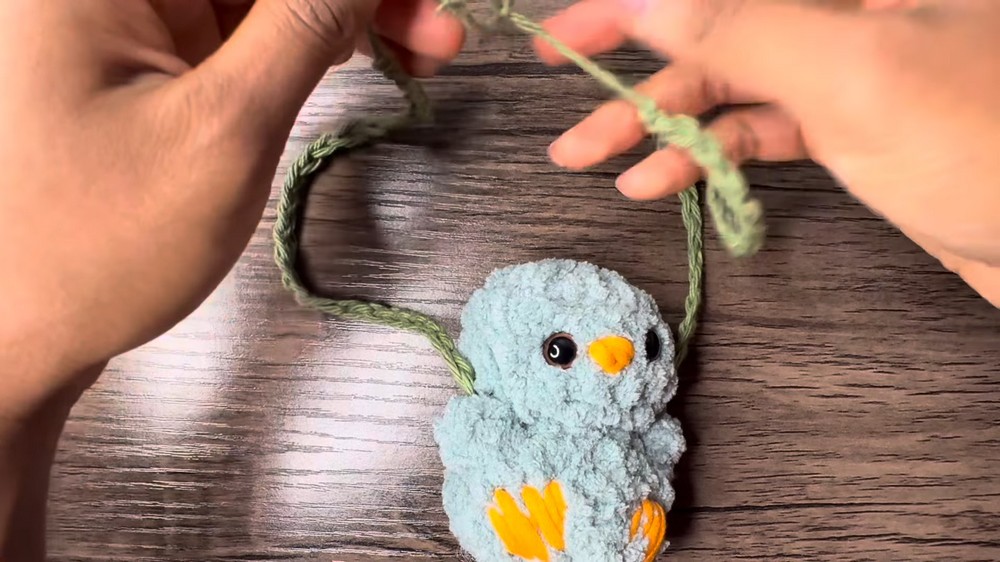
Swing (Green Yarn)
- Ch 65 (or longer/shorter, as preferred).
- Ch 1 more, fasten off, and cut yarn, leaving tails for tying.
- Place chain under bird between feet; position arms above.
- Attach swing at arm spot beneath head (see “Arms”).
- Bring both ends to the top and tie a secure knot.
Finishing
- Weave in all loose ends.
- Optional: Adjust puff stitches on feet for visibility and evenness.
- Trim excess yarn ends.
- Birdie is ready to swing!
Conclusion
Enjoy your unique swinging birdie! Perfect as a gift, car charm, or cute home accent. Adjust body, swing, and leg colors as desired for personalization.
Pattern Corrections & Tips
Corrections:
- For a neat finish, keep increases and decreases well aligned.
- Add fiberfill gradually as you close the body.
Tips:
- Arms and feet are best formed with tight puff stitches for durability.
- If you don’t have safety eyes, embroider or use small buttons.
- Block the swing chain flat for a tidy look.