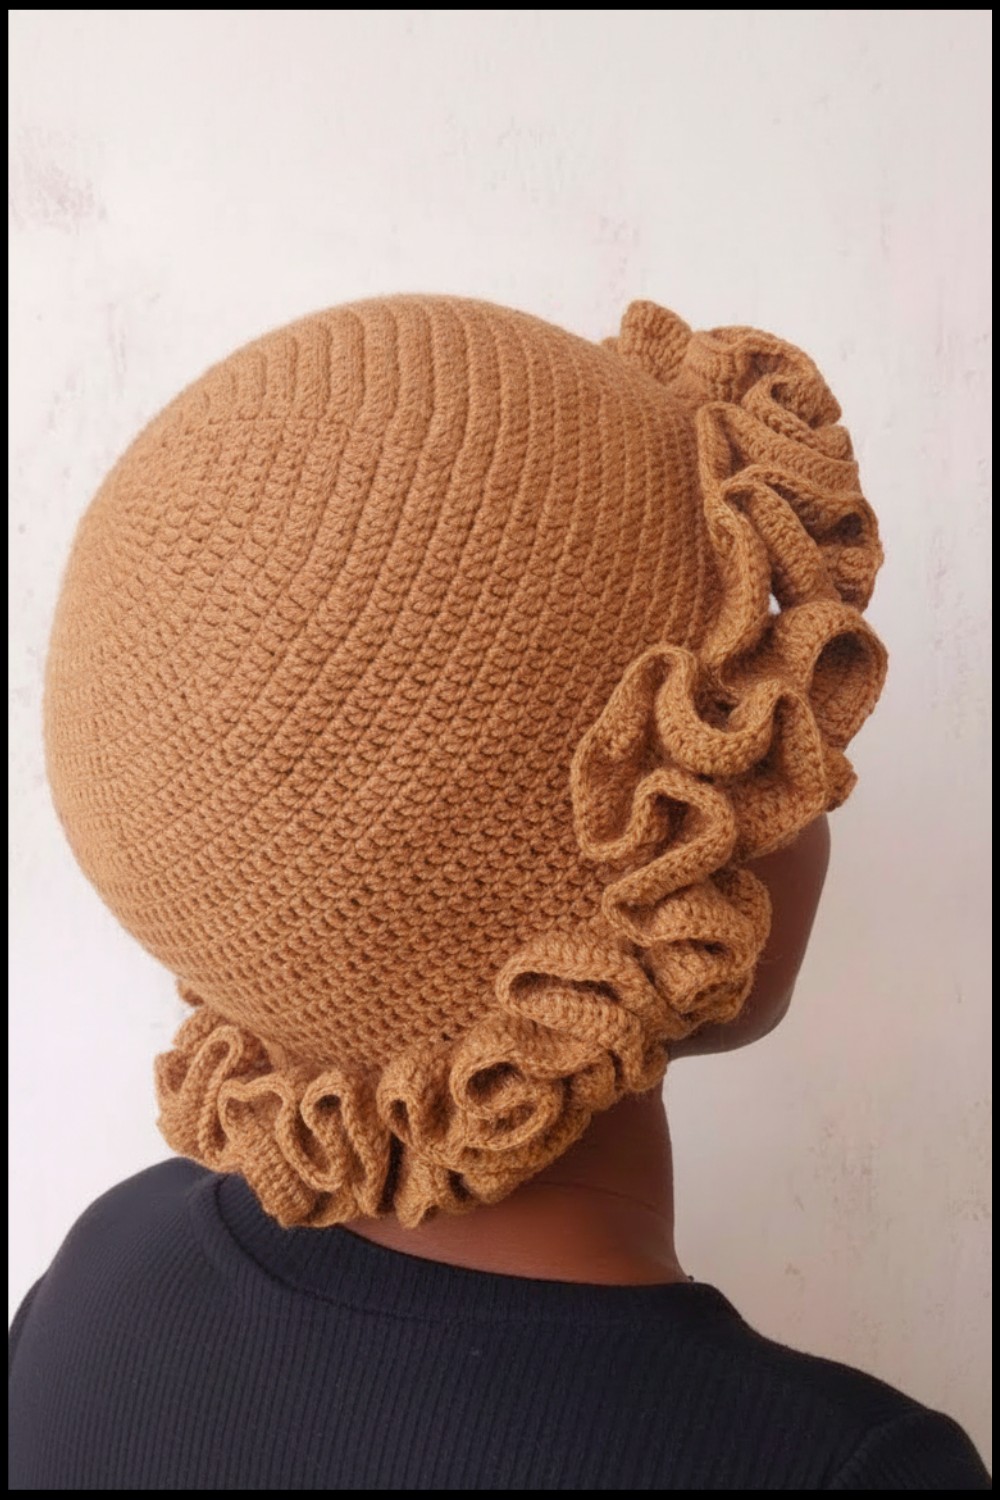
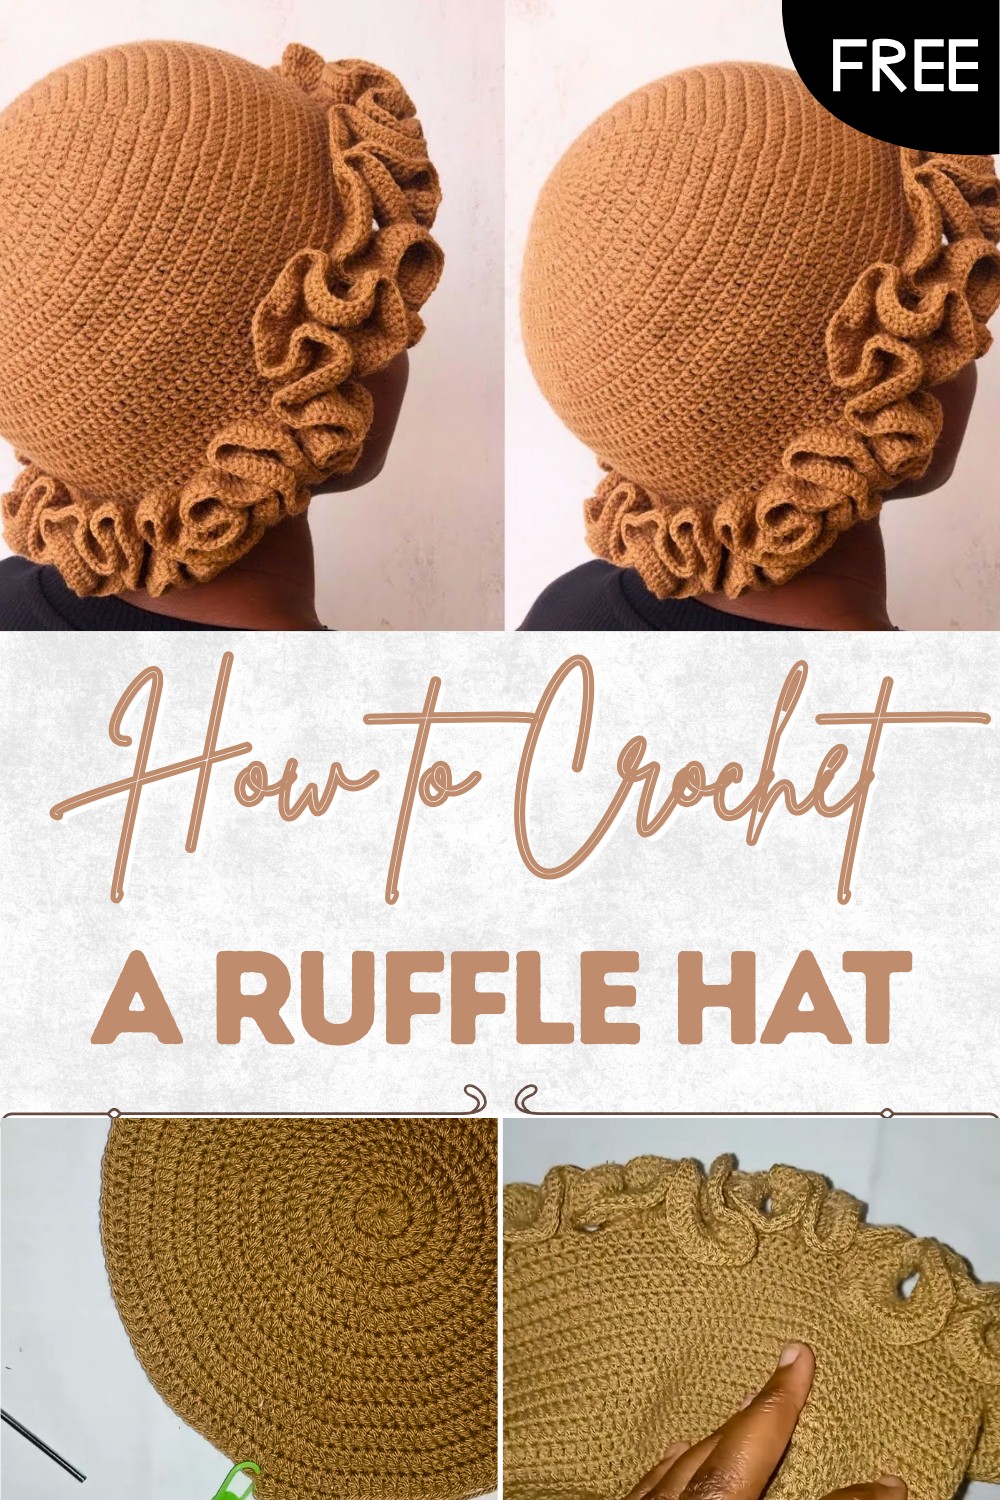
Free Crochet Ruffle Hat Pattern Perfect for Gift Giving
Experience with this Free Crochet Ruffle Hat Pattern, the beauty of ruffles and enjoy a cozy charming accessory that brings warmth and style.
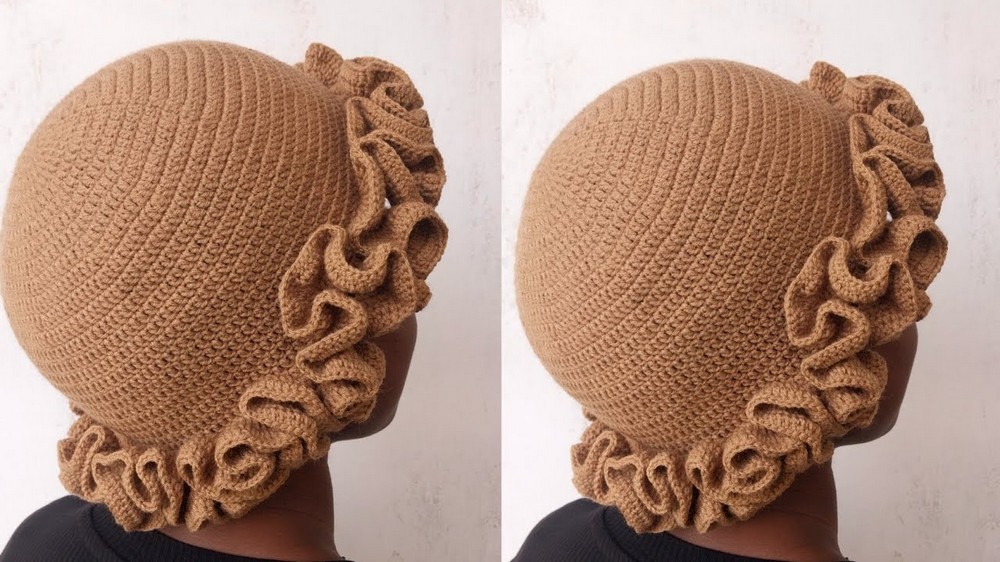
Soft waves decorate every edge and each curve looks like a playful ripple in a gentle breeze. Wearing a hat with frilly edges brings a smile because it adds fun to any outfit and feels light on your head. The Crochet Ruffle Hat pattern helps you create these lovely layers by working simple stitches into a circle and then making the ruffles grow outward. This hat keeps your head warm on chilly days and also looks pretty for photos or gatherings with friends and family.
Free Crochet Ruffle Hat Pattern for Winter Fashion
You can pick any color yarn so it always matches what you want to wear and the style fits kids and adults. People often enjoy how easy it is to make because the ruffles grow quickly and the hat finishes fast. Try this pattern to give your wardrobe something new and creative and you will grab attention everywhere with your fun and cheerful look.
Free Crochet Ruffle Hat Pattern
Materials
- Yarn: Lightweight (fine, category #2) yarn
- Hook: 1.5 mm crochet hook (or hook labeled “number 6” as shown in video)
- Tape measure
- Stitch marker (or pin)
- Scissors
- Yarn needle (for weaving in ends)
Key Abbreviations
| Abbreviation | Stitch/Meaning |
|---|---|
| ch | chain |
| dc | double crochet |
| st(s) | stitch(es) |
| sl st | slip stitch |
| rep | repeat |
| rnd | round |
Special Notes
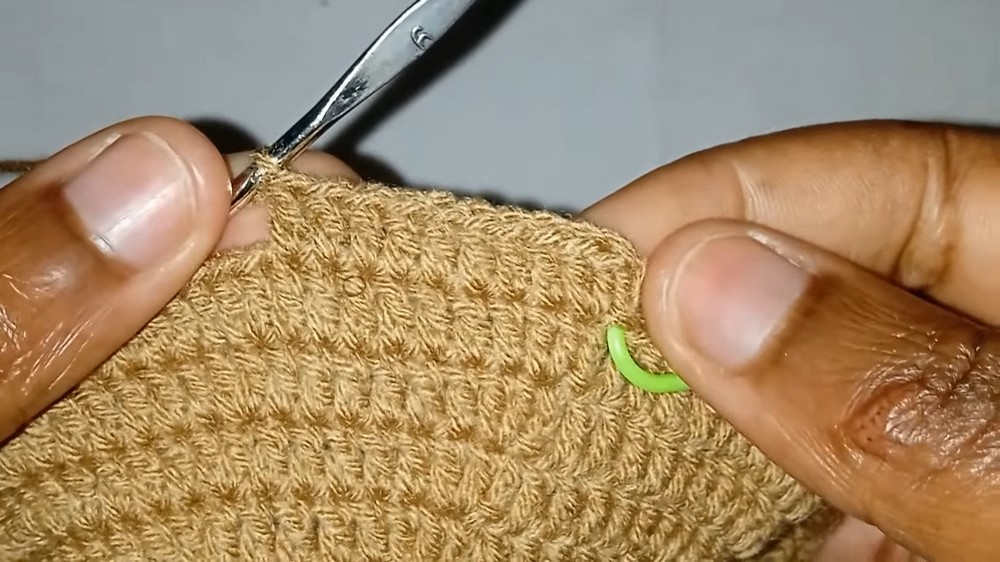
- Stitch marker is used at each sl st join to keep track of rounds.
- If you are using a different yarn weight or hook, focus on measurements, not row counts.
- The hat is worked in joined rounds—not continuous spiral. Do not work into the joining sl st.
- Count stitches at the end of each round to ensure accuracy.
- Measurements: Stop increases at a hat top circle of about 6.5 inches diameter. Make the body of the hat to a depth (from increase stop) of about 4 inches (or as preferred).
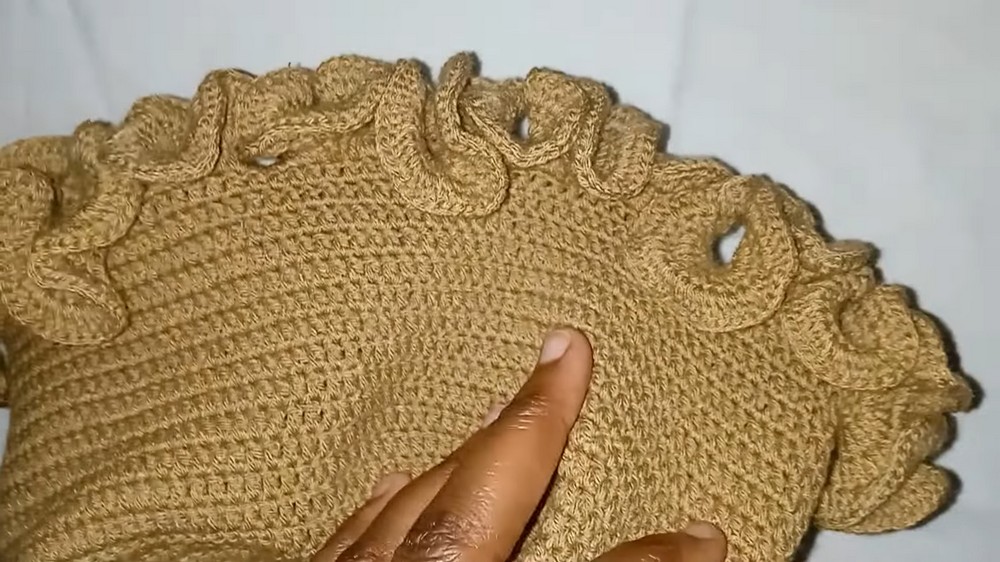
- Ruffles are created by working multiple dcs in each st.
Pattern Instructions
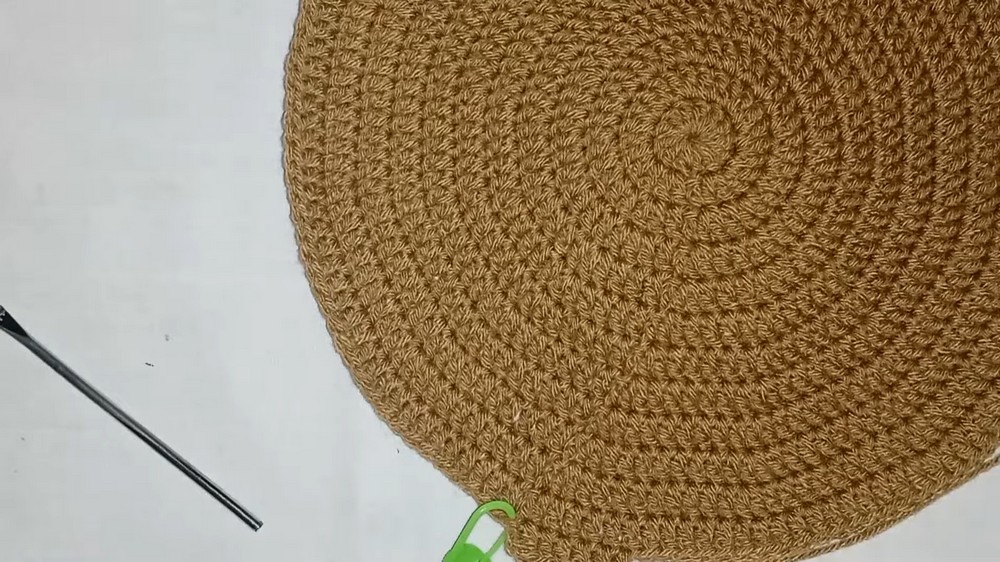
Hat Crown
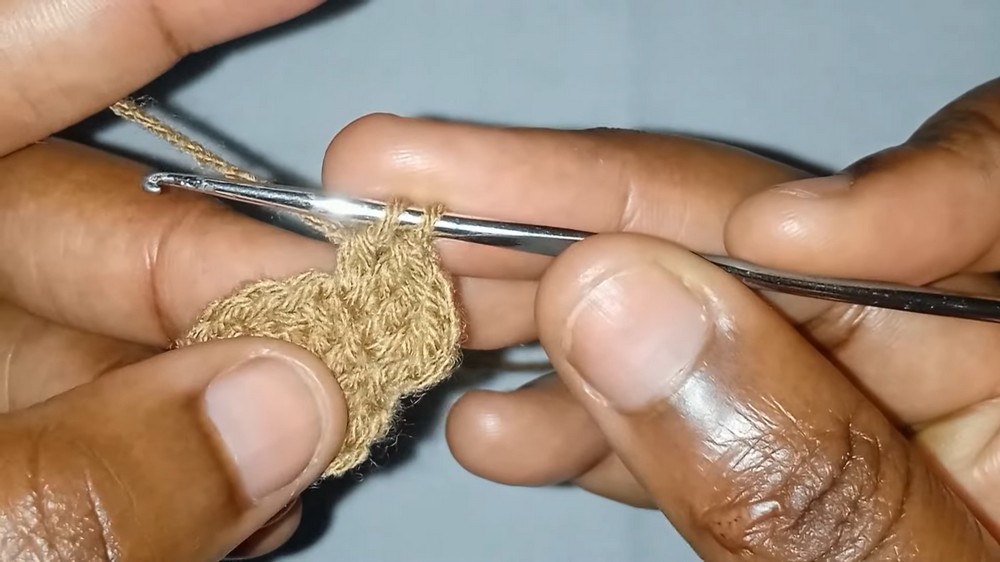
Rnd 1:
- Make a magic ring.
- Ch 2 (does not count as dc), 12 dc into the ring.
- Pull ring tight, sl st into the first dc.
- (12 sts)
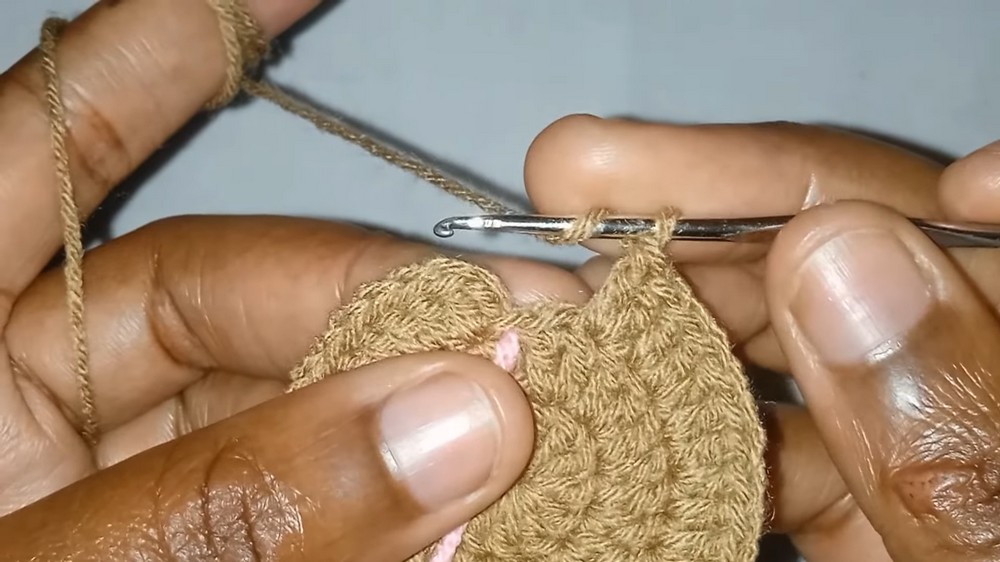
Rnd 2:
- Ch 2, 2 dc in same st as join/sl st.
- 2 dc in each st around.
- Sl st to first dc. (24 sts)
- Place stitch marker in sl st after joining every round so you don’t accidentally work into it.
Rnd 3:
- Ch 2, 2 dc in same st as join, 1 dc in next st, 2 dc in next st; rep around.
- Sl st to first dc. (36 sts)
Rnd 4:
- Ch 2, 2 dc in same st as join, 1 dc in next 2 sts, 2 dc in next st; rep around.
- Sl st to first dc. (48 sts)
Rnd 5:
- Ch 2, 2 dc in same st as join, 1 dc in next 3 sts, 2 dc in next st; rep around.
- Sl st to first dc. (60 sts)
Rnd 6:
- Ch 2, 2 dc in same st as join, 1 dc in next 4 sts, 2 dc in next st; rep around.
- Sl st to first dc. (72 sts)
Rnd 7:
- Ch 2, 2 dc in same st as join, 1 dc in next 5 sts, 2 dc in next st; rep around.
- Sl st to first dc. (84 sts)
Rnd 8:
- Ch 2, 2 dc in same st as join, 1 dc in next 6 sts, 2 dc in next st; rep around.
- Sl st to first dc. (96 sts)
Rnd 9:
- Ch 2, 2 dc in same st as join, 1 dc in next 7 sts, 2 dc in next st; rep around.
- Sl st to first dc. (108 sts)
Rnd 10:
- Ch 2, 2 dc in same st as join, 1 dc in next 8 sts, 2 dc in next st; rep around.
- Sl st to first dc. (120 sts)
Rnd 11:
- Ch 2, 2 dc in same st as join, 1 dc in next 9 sts, 2 dc in next st; rep around.
- Sl st to first dc. (132 sts)
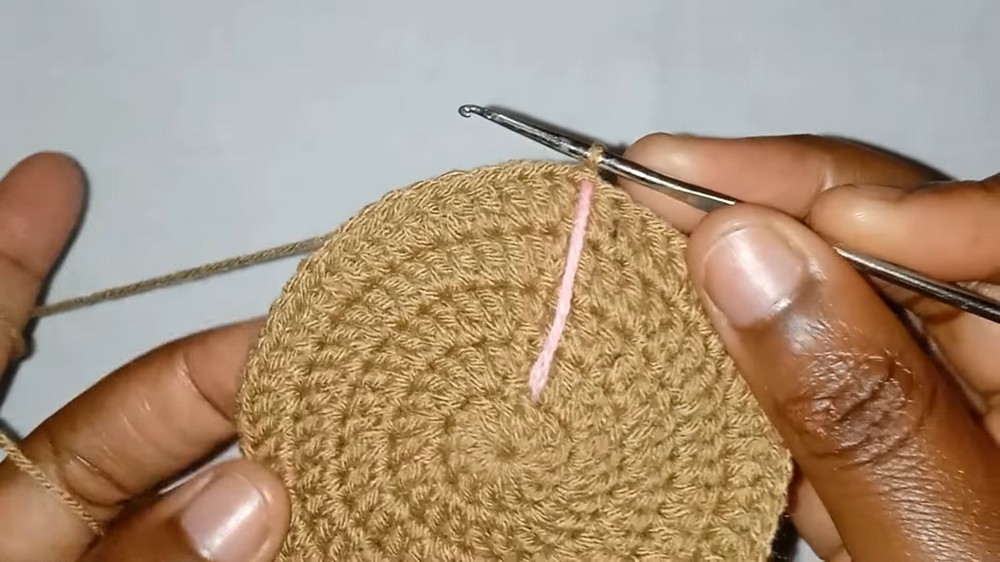
At the end of Rnd 11: Hat top should measure ~6.5 inches across.

Hat Body
Rnds 12–25:
- Ch 2, dc in same st as join and in each st around (no increases).
- Sl st to first dc.
- Replace marker at each join.
- Work until the body (from the row where you started no increases) measures about 4 inches.
- Adjust number of rounds as needed for your preferred crown depth.
Hat Ruffle Brim
Rnd 26 (Ruffle Row 1):
- Ch 2, 3 dc in same st as join, 3 dc in next st; rep in each st around.
- Sl st to first dc.
Rnd 27 (Ruffle Row 2):
- Ch 2, 2 dc in same st as join, 2 dc in each st around.
- Sl st to first dc.
Rnd 28 (Ruffle Row 3):
- Rep Rnd 27: Ch 2, 2 dc in same st as join, 2 dc in each st around.
- Sl st to first dc.
Rnd 29 (Optional, to finish ruffle with a tidy edge):
- Ch 2, dc in same st as join, dc in each st around (no increases).
- Sl st to first dc.
Finishing
- Ch 1, cut yarn, pull through, and tighten.
- Weave in all ends with a yarn needle.
- Gently block if desired to shape ruffles.
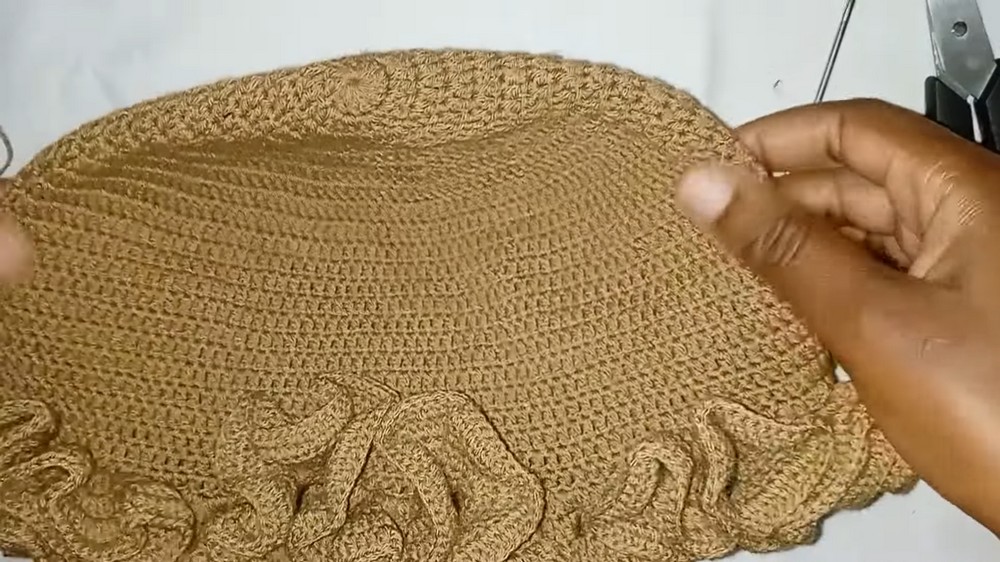
Conclusion
You have completed a dramatic ruffle hat using lightweight yarn, producing a flared, show-stopping brim with secure, neat stitches and adjustable fit. This pattern is optimized for light yarn and a small hook, but can be adapted—simply watch the diameter and depth measurements, not just rows.
Pattern Corrections & Tips
- Pattern Correction: Do not work into the sl st join of any round; always skip it and work into the next dc (use a stitch marker to avoid confusion).
- Tip: Measure your hat top frequently for fitted results.
- Tip: If you use a different yarn weight or hook, ignore row counts and follow the 6.5-inch diameter for the crown and 4-inch depth for the body.
- Tip: Weave in ends as you go for a neater finish.
- Tip: To keep ruffles extra full, do not skip any stitches on ruffle rounds.