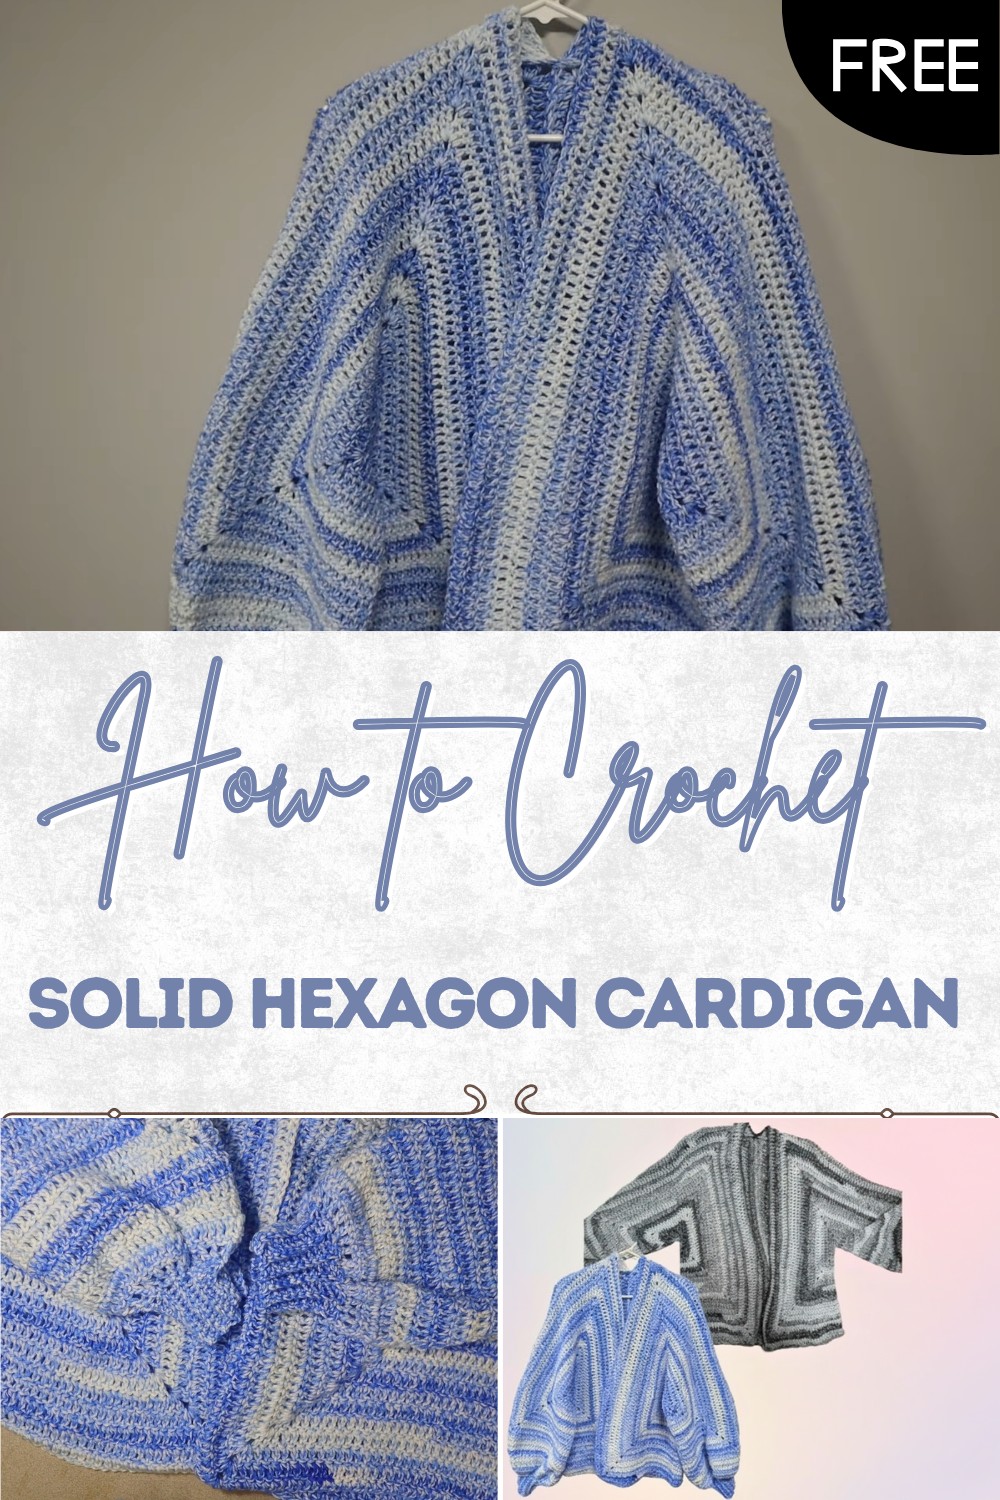
Solid Hexagon Cardigan Free Crochet Pattern
Enjoy cozy comfort with this free crochet solid hexagon cardigan pattern that offers warmth showcases style and fits perfectly for any outfit
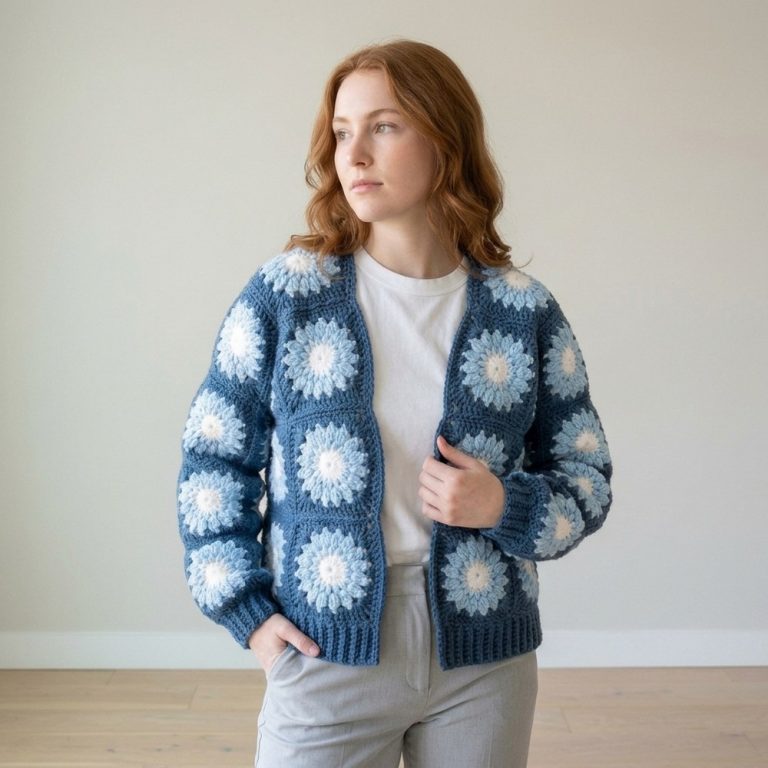
What if your favorite sweater was made from strong shapes that joined together like a puzzle? Bright shades and soft yarn combine to make a cardigan that feels solid and gentle at the same time. With the crochet solid hexagon cardigan pattern, you can let your creative side shine by using one color or blending many, making each piece unique. The neat hexagon shapes give the cardigan a modern and stylish look, catching everyone’s attention.
Free Crochet Pattern – Solid Hexagon Cardigan
This cardigan is simple to slip on, perfect for working around the house, visiting friends or relaxing. The pattern is easy for anyone to follow, so you can enjoy making something special without feeling confused. Add big buttons, make the sleeves long or short, and it will still fit your style. Wearing this cardigan means you get warmth, happiness and a touch of handmade care every day. It’s a fresh way to turn yarn into something beautiful and useful.
Solid Hexagon Cardigan (Long Sleeves) – Crochet Pattern
Materials List
- Yarn:
- Weight: Worsted (Medium #4)
- Amount: Approx. 1400 yards for a size Large (see yardage estimate for other sizes)
- Recommended: Big Twist Ombre or any similar yarn
- Hook: 5.5 mm or 5.75 mm (I-9/J-10) (adjust for gauge and desired drape)
- Notions:
- Tapestry needle
- Scissors
- Stitch marker (optional but helpful for starting rounds)
Key Abbreviations (US Terms)
- ch: chain
- sc: single crochet
- dc: double crochet
- sl st: slip stitch
- sk: skip
- st(s): stitch(es)
- BL: back loop only
Special Notes
- Two hexagon panels are crocheted and sewn together for this cardigan.
- The chain 3 at the start of each round counts as a dc.
- For best results, use worsted weight yarn and hook sizes as recommended.
- Cardigan size is determined by the number of rounds on each hexagon panel.
- This pattern is adjustable for custom fit and sleeve length.
- Cuffs and borders can be personalized in length and color.
Pattern Steps
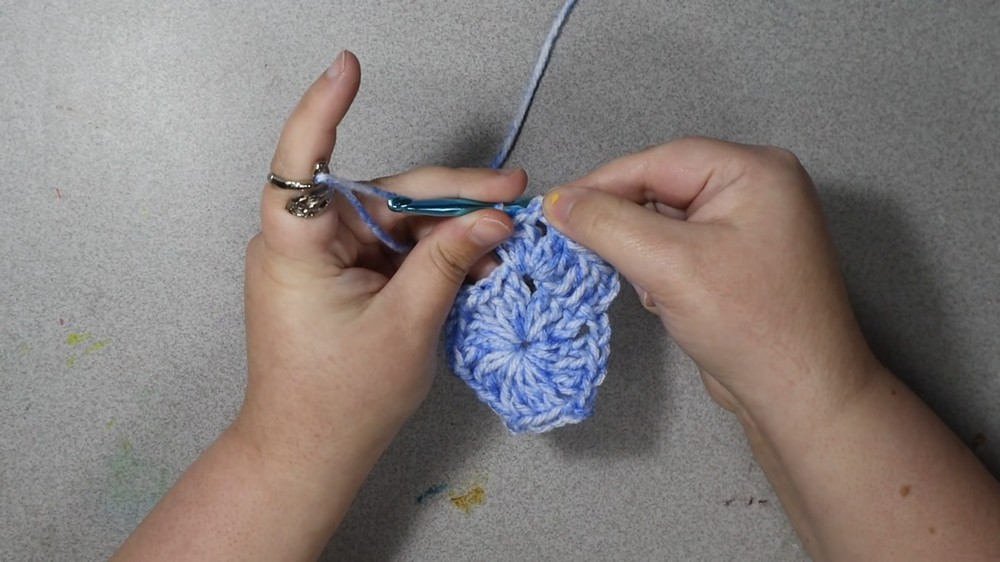
1. Hexagon Panel (Make 2)
Start with slip knot.
Round 1:
- Ch 5. Sl st in first ch to form a ring.
- Ch 3 (counts as first dc), 2 dc in ring, ch 2 (first corner).
- [3 dc in ring, ch 2] Repeat until you have 6 clusters of 3 dc, separated by ch 2 spaces.
- Sl st in top of initial ch 3 to join.
- Pull tail to close center tightly.
Round 2 and onward:
- Ch 3 (counts as first dc), dc in each dc across cluster from previous round.
- At each corner (ch 2 space): [2 dc, ch 2, 2 dc] all in corner space.
- Continue around, joining with sl st to top of ch 3 at end of round.
- Repeat for number of rounds as follows:
Size Chart (Rows per Panel; “Rows” = Rounds)
| Size | Rows per Panel |
|---|---|
| XS | 15 |
| S | 16 |
| M | 17 |
| L | 18 |
| XL | 19 |
| 2X | 20 |
| 3X | 21 |
Note: For longer sleeves or body, add extra rows as needed. For shorter sleeves, subtract rows.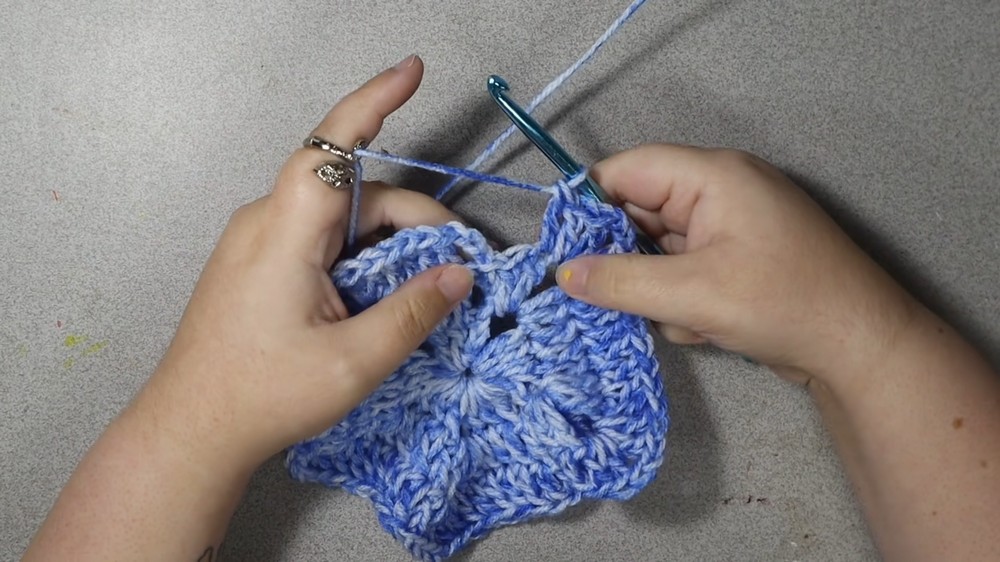
2. Join New Skein (If Needed)
- When you run out of yarn mid-row, overlap old and new yarn, tie both with a strong knot, and continue crocheting over the tails for extra security.
3. Sleeve Length Extension
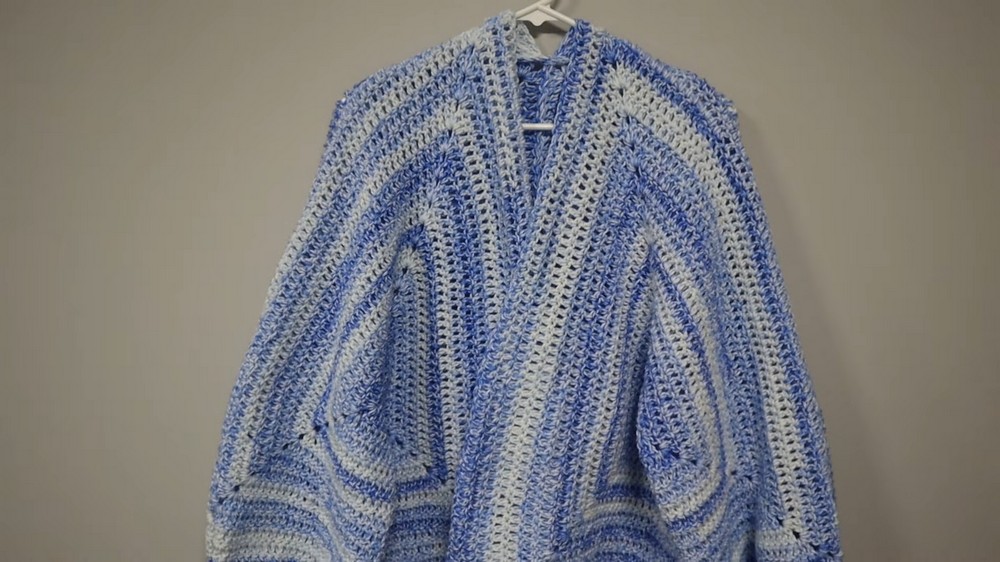
- After completing all panel rounds, fold hexagon in half at the final round/tail to form cardigan shape.
- For sleeve extension, attach yarn at the sleeve edge.
- For every size: Add rows so the total sleeve length is 22 rows (including panel rounds).
- E.g. For Large: Panel = 18 rows; sleeve extension = 4 rows.
- Each row: ch 3 (counts as dc), dc across (no corners). Turn; repeat for required rows.
Final sleeve row:
- Ch 3, dc in first st, sk 1, dc in next; repeat across to end.
- This draws in the sleeve for the cuff.
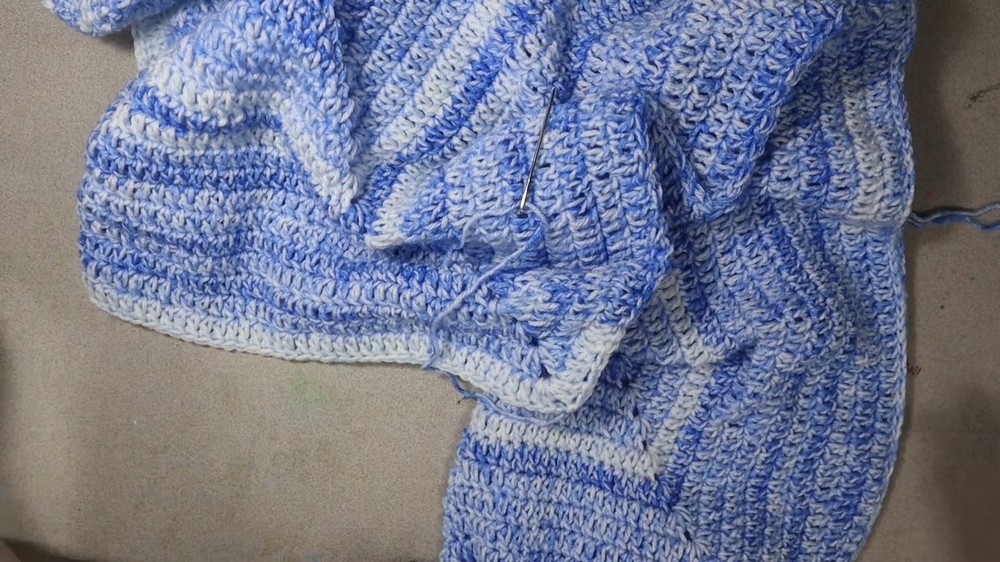
4. Panel Assembly
- Make two identical hexagon panels as above.
- Place panels together, right sides facing.
- Start at sleeve opening and slip stitch (or sew with tapestry needle) along the top edge and sleeve to join.
- Repeat for second panel.

5. Sleeve Cuff (Ribbed)
- With same or contrast yarn at sleeve edge, ch 11 (customize for desired cuff height).
- Row 1: sc in 2nd ch from hook and across (10 sc).
- Row 2: sl st to the next 3 sts on sleeve edge, turn.
- Row 3: sc in BL only across (10 sc), ch 1, turn.
- Repeat Rows 2-3 all the way around the sleeve edge, slip stitching into sleeve edge for a ribbed cuff.
- At end, join cuff edges with sc or sl st.
- Fasten off, weave ends in.
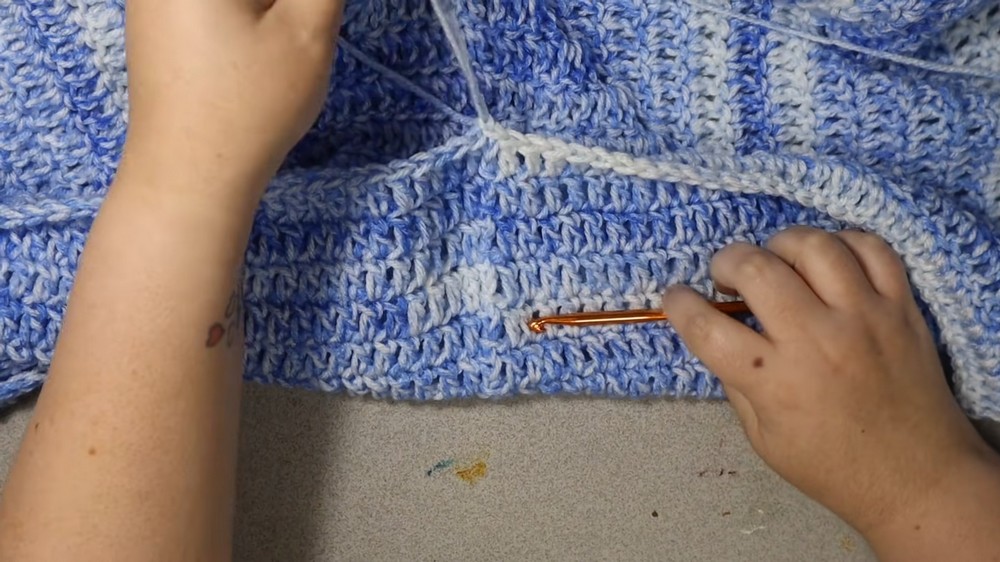
6. Back Seam
- Lay cardigan with back edges together (where panels meet).
- Using tapestry needle and yarn, sew up the back seam, knot securely and weave in ends.
- Alternatively, attach yarn and sl st across the seam for quicker joining.
7. Optional Border/Length
- To add length or a border: Attach yarn at lower edge, sc up front, around neck, and down other front edge.
- For more length, sc or dc in rows along the bottom edge until desired length is achieved.
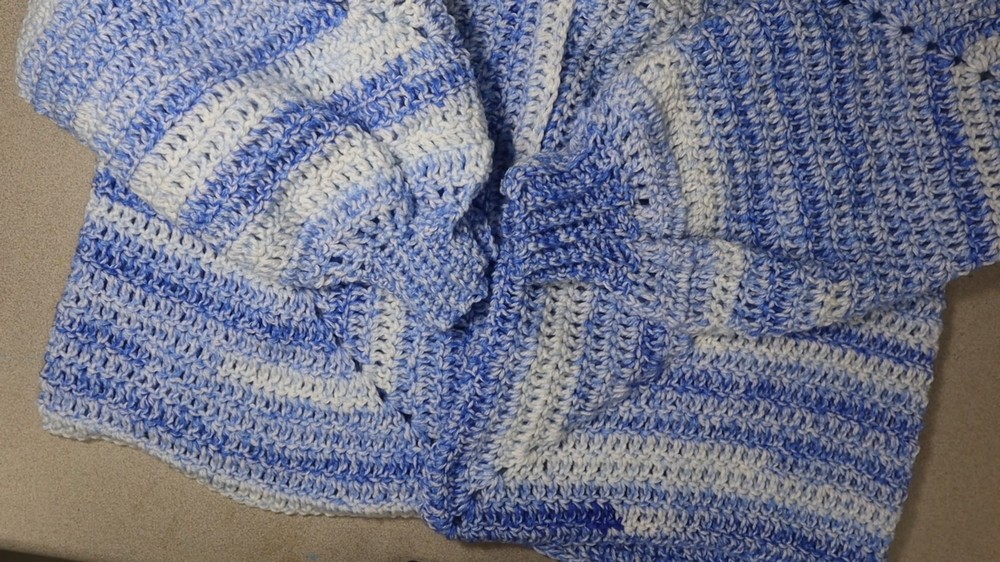
Completion
- Turn cardigan right side out.
- Weave in all loose ends.
- Try on and adjust cuffs, border, and length as desired.
Conclusion
You now have a classic, customizable hexagon cardigan with long sleeves and ribbed cuffs! This beginner-friendly design uses basic stitches and minimal seaming for a polished finish. Borders and cuffs allow for personalization in both color and length.
Pattern Corrections & Tips
- Stitch placement: Do not crochet into slip stitches at row ends; only into dc stitches for proper shape.
- Corners: Ensure each corner consists of [2 dc, ch 2, 2 dc] for sharp hexagon angles.
- Sizing: For best results, use worsted weight yarn and recommended hook size. Adjust panel rounds for custom fit.
- Sleeve/cuff: For tighter cuffs, use smaller hook or reduce chain length.
- Assembly: When slip stitching panels, align corners carefully for a neat finish.
Tips:
- Use stitch markers to track your rounds and corners.
- Customize sleeve length and cuff width to your own measurements.
- Mix colors for fun, gradient, or contrasting looks.