Crochet a SpongeBob Applique Pattern | Easy Tutorial

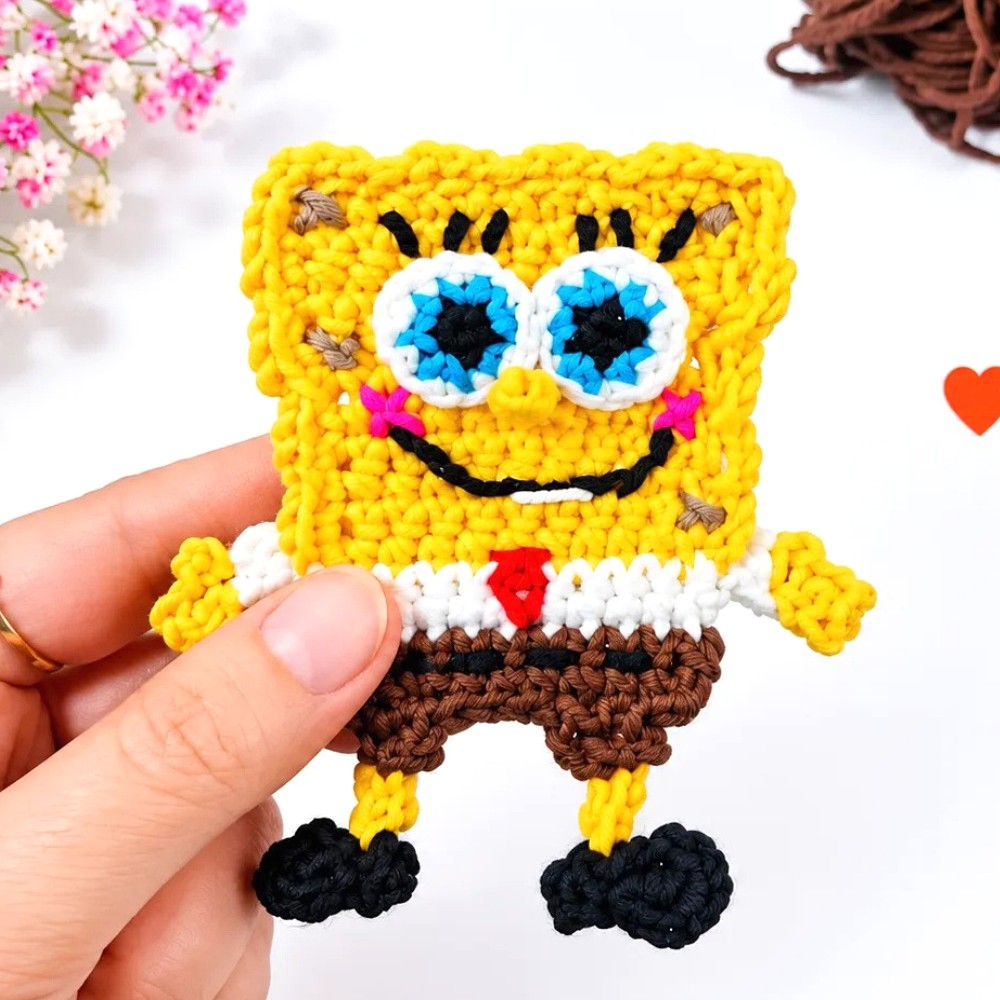
Show off your love for Bikini Bottom with the Free Crochet SpongeBob Applique Pattern and sew the cheerful yellow patch onto the front of your backpack.
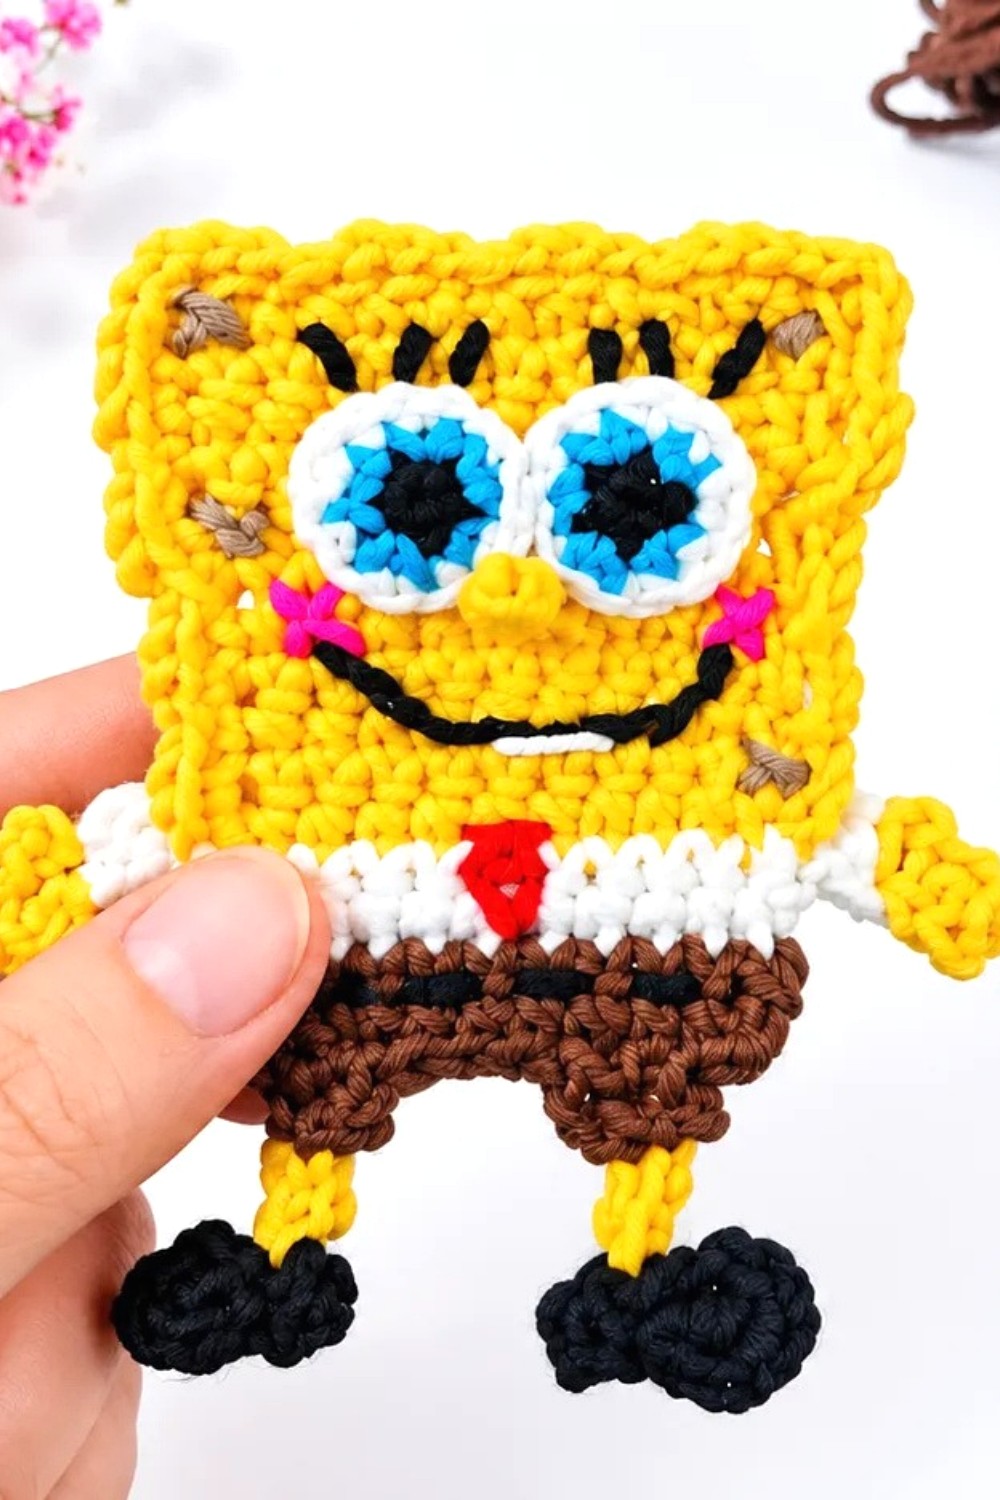
Cartoon fans often spot a favorite character from across the room. That’s the fun of the Free Crochet SpongeBob Applique Pattern, which takes his familiar square face and turns it into a flat patch. His yellow color catches your eye first. Then the big eyes and grin give the little design the look people know from the show.
Free Crochet SpongeBob Applique Pattern
Where you put it changes the whole feel. Center it on a canvas tote for a bold cartoon detail, or set it near the bottom of a fabric book sleeve so it peeks out from the corner. On a school backpack, a broad front panel gives the face room to stay visible between the seams. A solid blue background plays up the underwater theme, and dark denim shows the yellow clearly.
Meet Neda
Playful faces turn up across yarnish_love. Neda’s lion appliqué is one example of how she uses a face as the main feature of a small crochet piece. The channel offers ideas for people who like giving a familiar animal or cartoon character a place on something they use every day.
Before attaching the patch, lay it on the surface and step back a little. That quick check helps you see whether a pocket flap, strap, or zipper will cover part of the face. Once you like the placement, stitching around the edge can hold the patch flat. You could also sew it onto a plain drawstring bag and use that to wrap a small gift for someone who still quotes their favorite episodes.
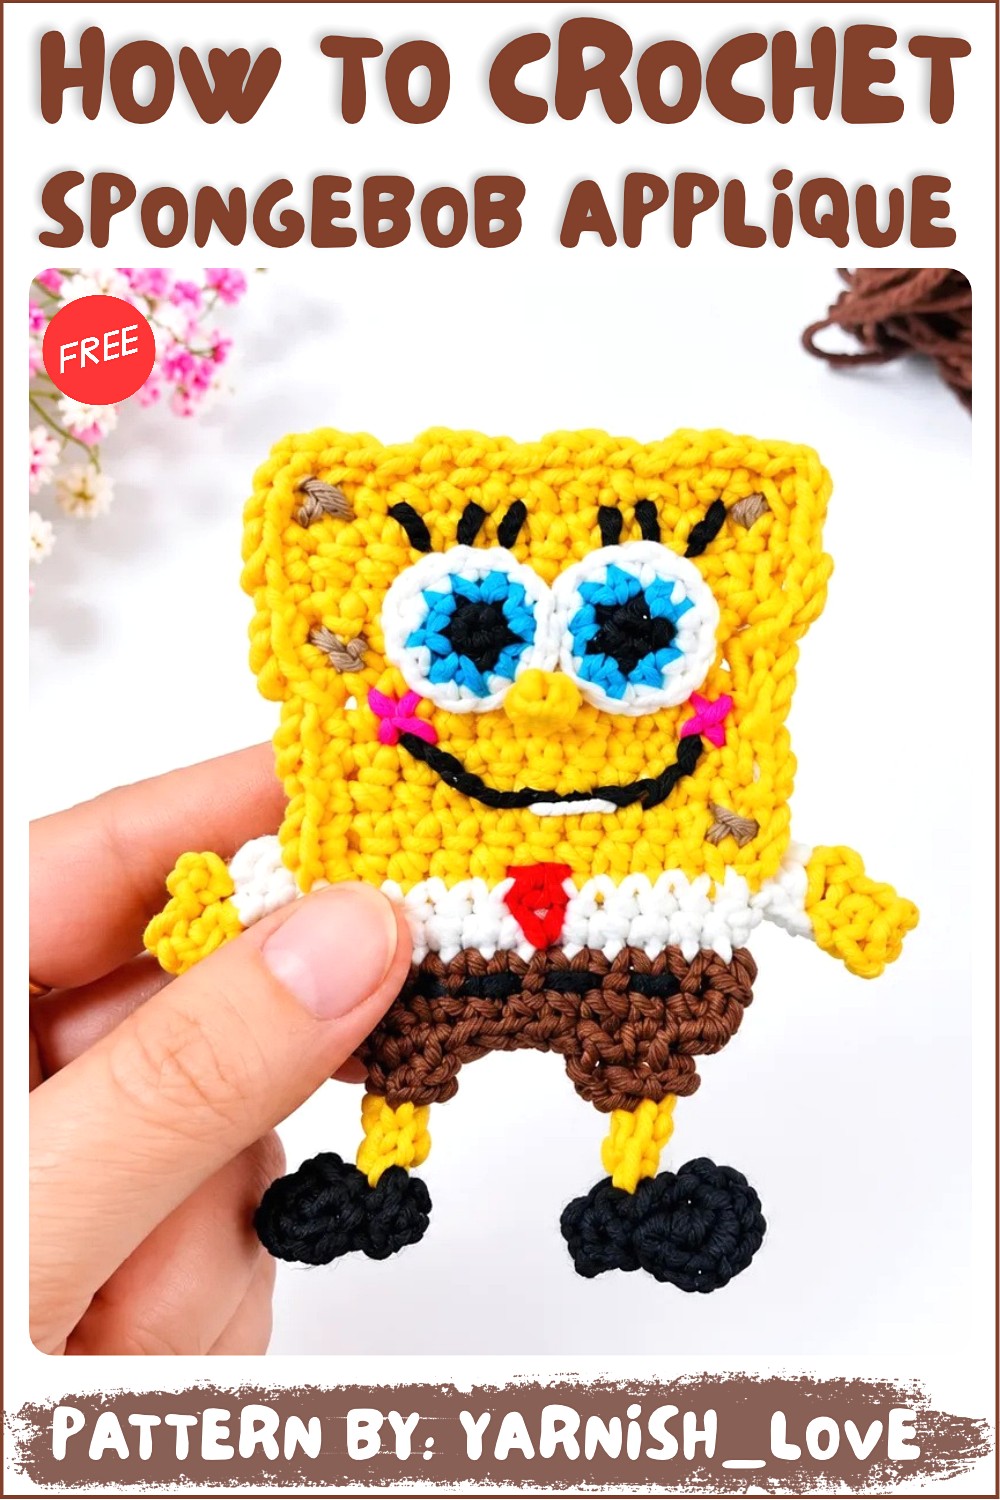
SpongeBob Crochet Appliqué Pattern
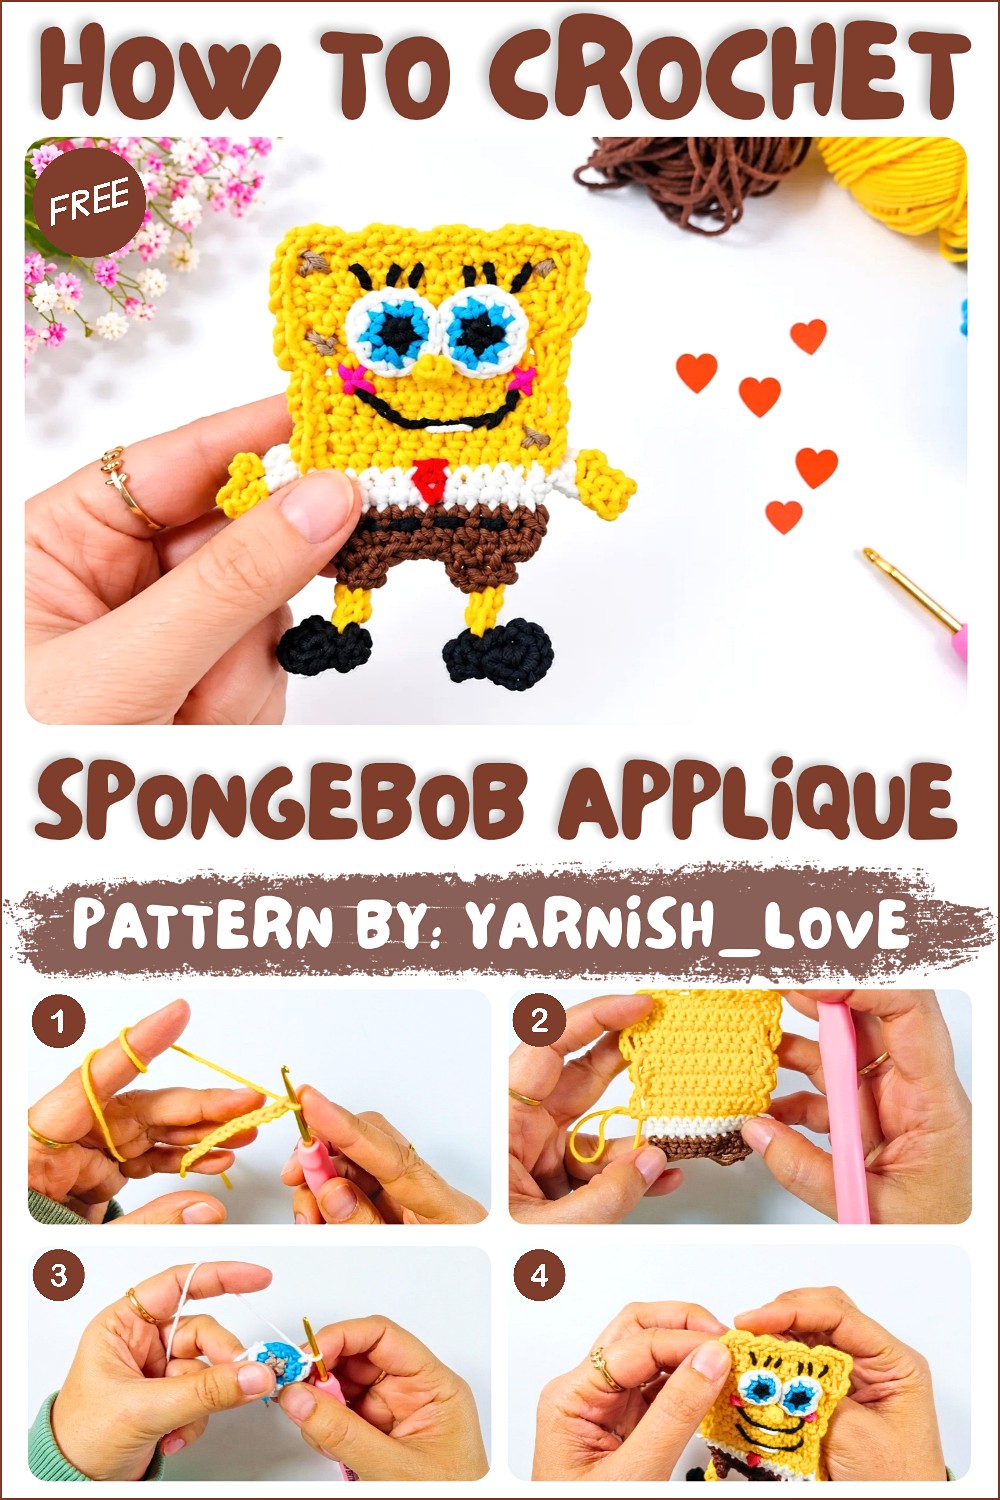
Create this delightful SpongeBob SquarePants appliqué, a perfect addition to children’s clothing, bags, hats, or even as a playful decoration. This pattern combines simple crochet techniques and fun details to bring SpongeBob to life.
Skill Level
Intermediate – This pattern uses a mix of basic stitches and more advanced details and shaping techniques, making it suitable for those with some crochet experience.
Materials
- Yarn: YarnArt Jeans (or similar lightweight yarn) in the following colors:
- Yellow (body)
- White (shirt, sclera of the eyes)
- Brown (pants)
- Blue (eyes)
- Black (shoes and pupils)
- Red (tie and socks)
- Hook Size: 2.5 mm crochet hook
- Notions:
- Yarn needle for sewing and weaving in ends.
- Scissors.
- Stitch markers (optional).
Stitch Abbreviations
- Ch: Chain
- MR: Magic Ring
- Sl St: Slip Stitch
- SC: Single Crochet
- HDC: Half Double Crochet
- DC: Double Crochet
Useful Tips
- Yarn Changes: For clean color changes, finish the last yarn over of the final stitch in the current color with the new yarn color.
- Magic Ring: Adjust the loop snugly to ensure a small, seamless center when using the magic ring technique.
- Counting Stitches: Keep track of your stitch counts in each round or row to ensure your work stays consistent. Use stitch markers to denote the beginning of a round, if necessary.
- Shaping: Follow instructions carefully during shaping rounds. The decrease rows are essential for giving SpongeBob his classic shape.
- Assembly: Lay out all the completed parts to determine their placement before sewing them together. Use invisible stitches with a matching yarn color for each piece.
- Customizing Size: To make different-sized appliqués, adjust the size of your yarn and hook accordingly.
Pattern Instructions
1. Body
This section creates SpongeBob’s body, including his head, shirt, and brown pants.
- Foundation:
- Create a slip knot and Ch 13.
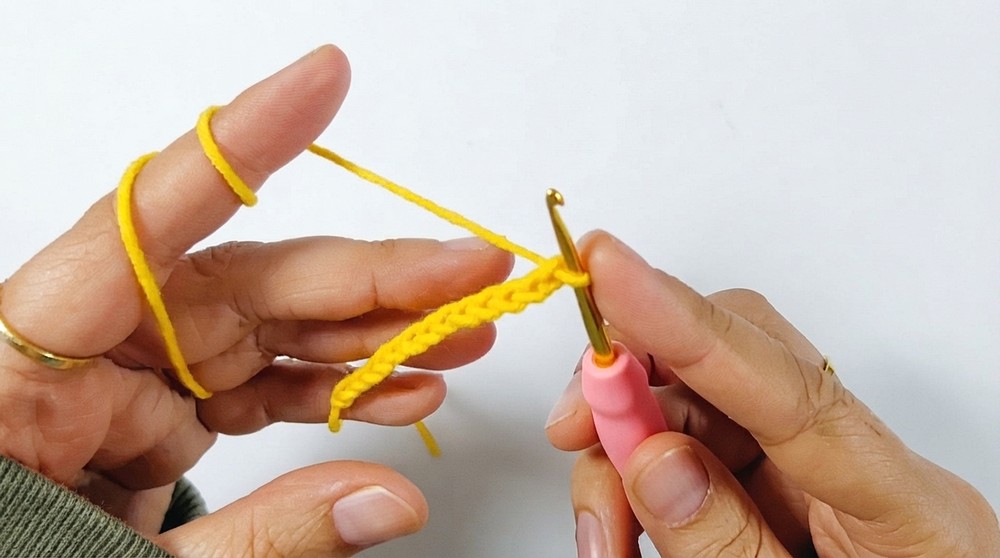
- Create a slip knot and Ch 13.
- Round 1 (Base):
- Work SC into the back bumps of the chain, starting from the second chain from the hook.
- You will have a total of 12 SC at the end of the row.
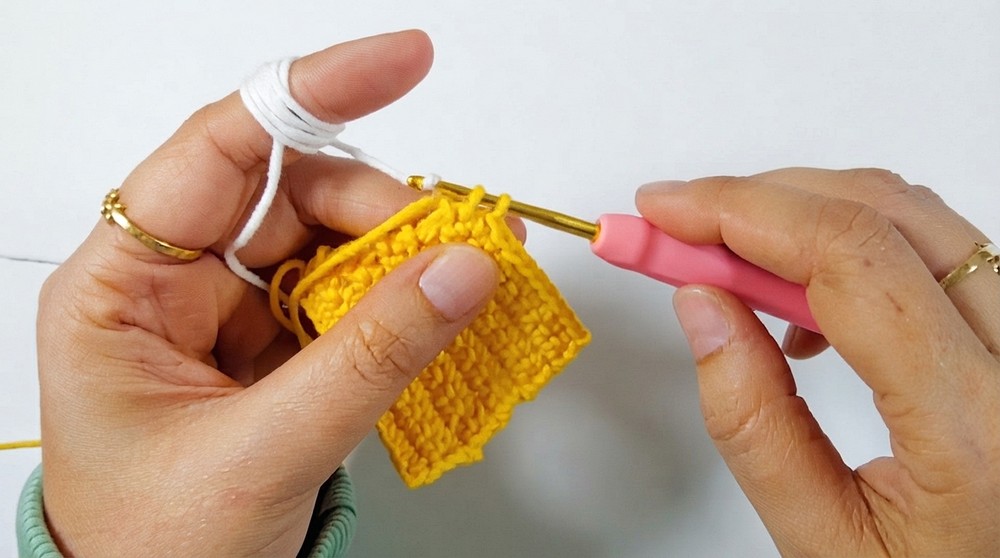
- Rounds 2-3:
- Ch 1, then turn the work.
- Work 1 SC in each stitch for a total of 12 SC per row.
- Round 4 (Shaping the Body):
- Ch 1, turn.
- Begin with a decrease (sc2tog) in the first two stitches.
- Work 1 SC in each of the remaining stitches.
- You will have 11 SC total by the end of this round.
- Round 5 (Continue Shaping):
- Ch 1, turn.
- Begin again with a decrease (sc2tog).
- Work 1 SC in each of the remaining stitches.
- You will have 10 SC in this row.
- Rounds 6-11 (Straight Sides):
- Ch 1, turn.
- Work 1 SC in each stitch across the row, maintaining 10 SC per row.
- This forms the base of SpongeBob’s body.
- Round 12 (White Shirt):
- Switch to white yarn for SpongeBob’s shirt.
- Ch 1, turn.
- Work 1 SC in each stitch (10 SC per row).
- Round 13 (Complete the Shirt):
- Ch 1, turn.
- Repeat: 1 SC in each stitch (10 SC total).
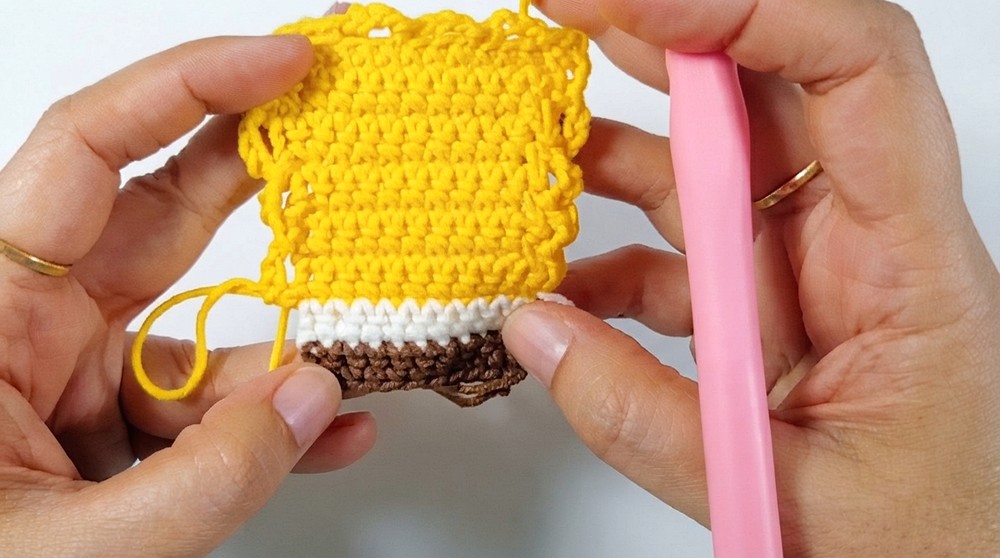
- Rounds 14-15 (Brown Pants):
- Switch to brown yarn for SpongeBob’s pants.
- Ch 1, turn.
- Work 1 SC in each stitch (10 SC total per row).
2. Border (Textured Sponge Edges)
- Switch back to yellow yarn.
- To add a textured design around the face, work Ch 3 at intervals around the head section, securing with Sl St.
- Continue the decorative edge around the body to complete SpongeBob’s sponge-like texture.
3. Legs & Shoes
- Shoes (Black Yarn):
- Create a MR, then:
- Ch 2, work 1 DC into the ring.
- Ch 2, and Sl St to close.
- Then: Ch 1, 1 SC into the ring, Ch 1, and Sl St to join.
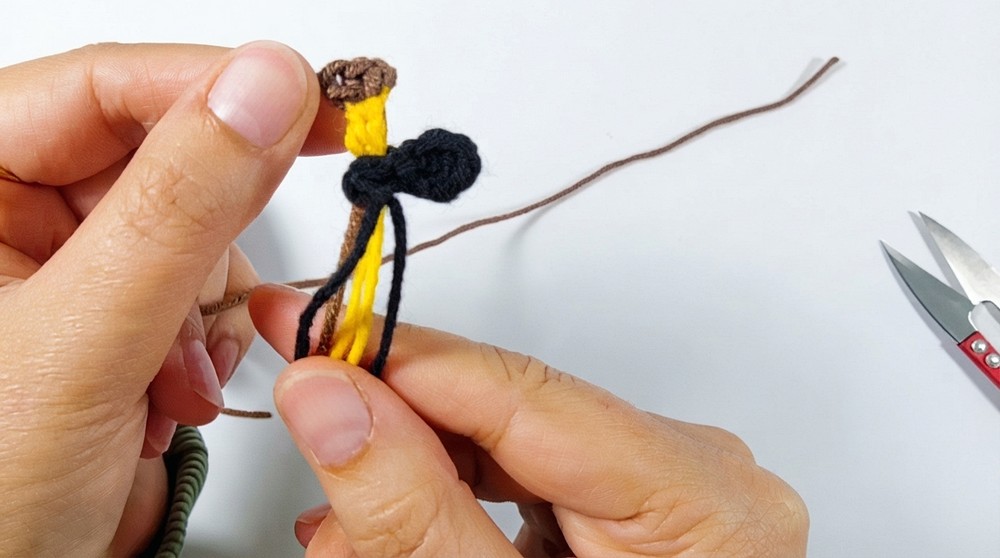
- Create a MR, then:
- Legs (Red and Brown Yarn):
- Join red yarn, then:
- Ch 3, and Sl St back along the chain for the sock.
- Attach brown yarn to the base of the sock. Crochet 3 SC stitches to create a small leg segment.
- Join red yarn, then:
Repeat the process to create the second leg and shoe.
4. Eyes
SpongeBob’s iconic eyes are created with three separate sections: center, iris, and sclera.
- Center (Black Yarn):
- Make a MR, then work 5 SC into the ring.
- Sl St to join and fasten off.
- Iris (Blue Yarn):
- Attach blue yarn to one SC in the center.
- Work 2 SC in each stitch around (for a total of 10 SC).
- Fasten off at the end of the round.
- Sclera (White Yarn):
- Join white, then work into the blue stitches:
- Slip stitch into the first stitch,
- 2 SC in the next stitch,
- Work 1 HDC into the next stitch,
- Work 2 HDC in the following 2 stitches,
- Work 1 HDC in the next stitch,
- Work 2 SC in the next stitch,
- Then 1 SC, and Sl St to finish.
- Fasten off and leave a tail for sewing.
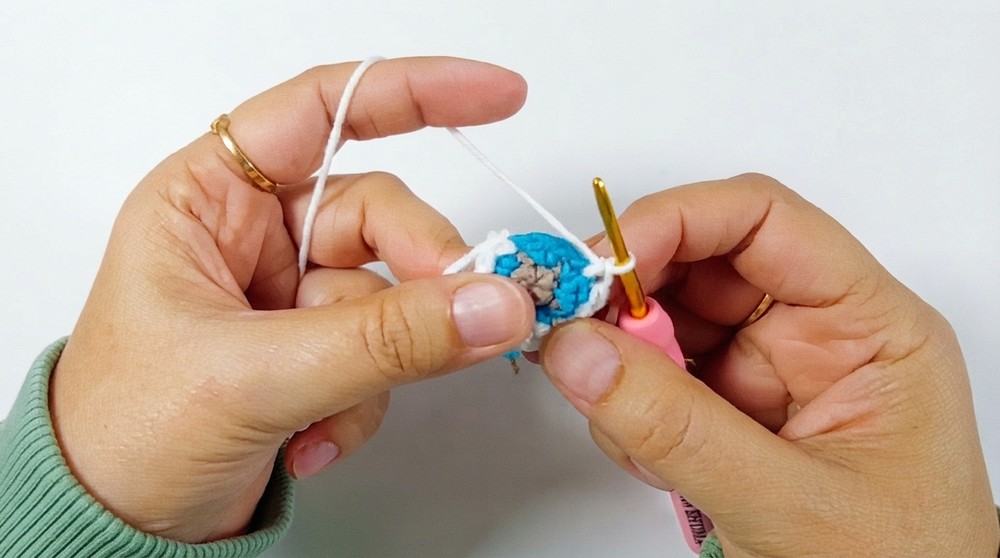
- Join white, then work into the blue stitches:
Repeat this process to create the second eye.
5. Details
- Hands (White Yarn):
- Create a MR, work 2 SC into the ring, and then fasten off.
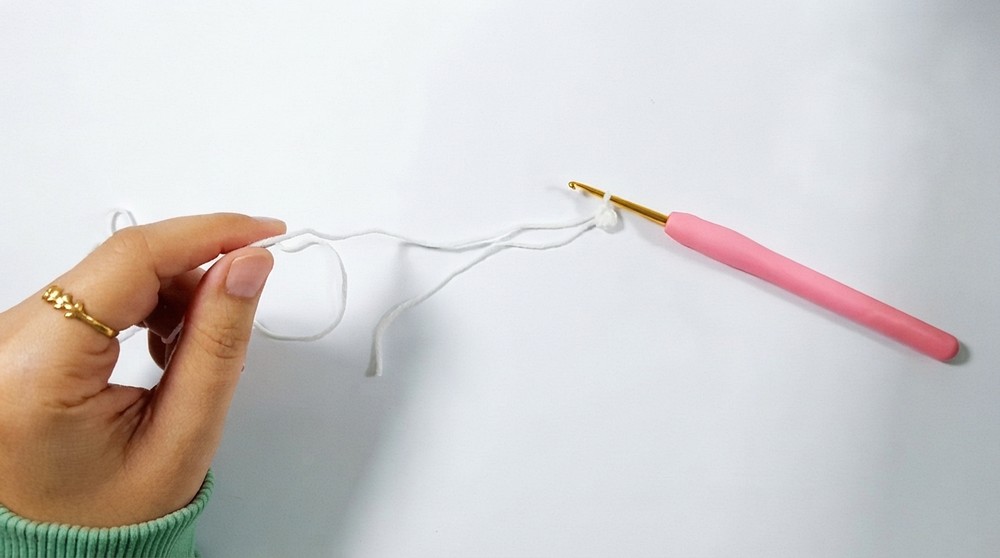
- For the second round, attach white yarn, Ch 2 and work 1 HDC into the center.
- Fasten off with a tail for sewing. Repeat for the second hand.
- Create a MR, work 2 SC into the ring, and then fasten off.
- Nose (Yellow Yarn):
- Create a MR, then work 3 SC into the ring.
- Fasten off, leaving a tail for sewing.
Assembly
- Body and Border:
- Add the decorative yellow border to the body. This will enhance the sponge effect and give the body a finished look.
- Sew Eyes:
- Position the eyes on the yellow section of SpongeBob’s face. Sew neatly using matching yarn colors for a seamless finish.
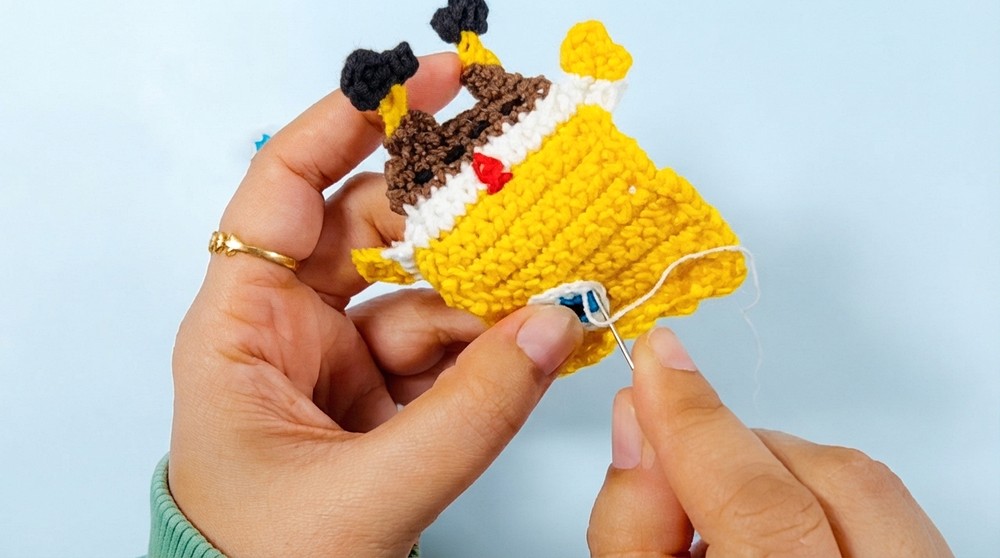
- Position the eyes on the yellow section of SpongeBob’s face. Sew neatly using matching yarn colors for a seamless finish.
- Sew Nose and Mouth Details:
- Place the nose in the center of the face, slightly below the eyes, and attach securely.
- Optionally, you may embroider SpongeBob’s mouth using black yarn for added detail.
- Attach Legs and Shoes:
- Position the legs and shoes at the bottom of the brown pants and sew them in place. Make sure they are evenly spaced.
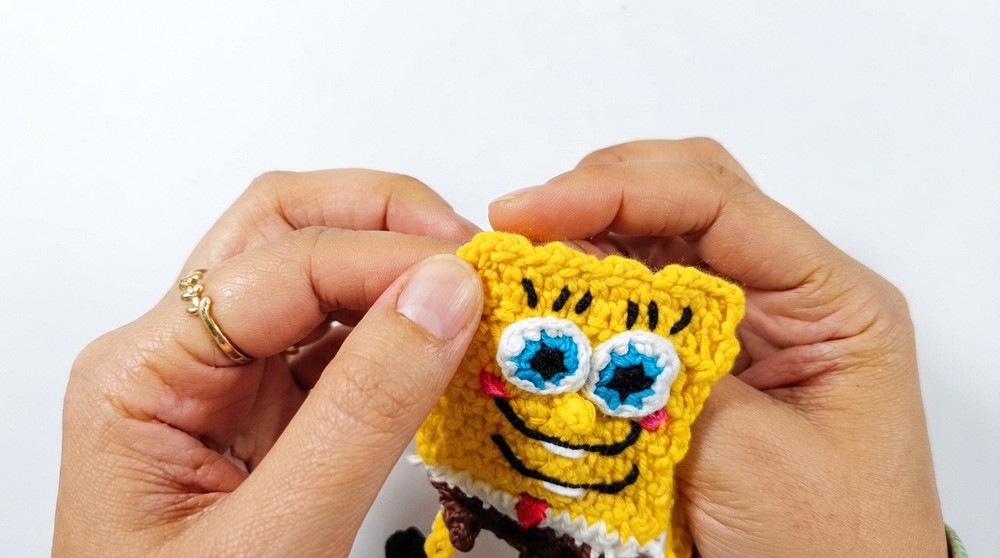
- Position the legs and shoes at the bottom of the brown pants and sew them in place. Make sure they are evenly spaced.
- Add Arms/Hands:
- Position the hands along the sides of the white shirt section and securely sew them in place.
- Final Details:
- Add any additional details, such as buttons, freckles, or tie details, to complete the look.
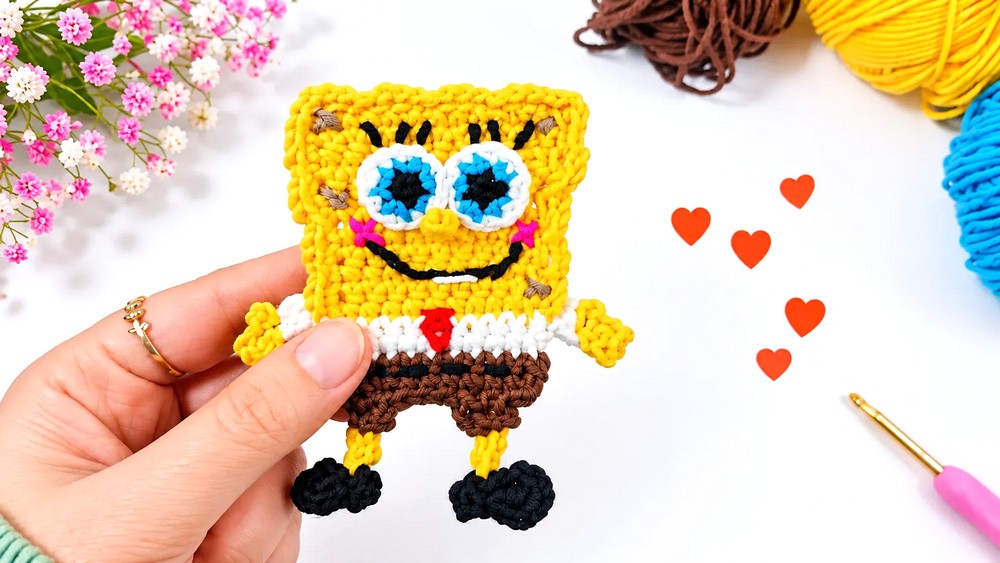
- Add any additional details, such as buttons, freckles, or tie details, to complete the look.
Conclusion
This SpongeBob appliqué brings joy and character to your crochet projects. With its delightful details—such as the textured sponge border, colorful eyes, and brown pants—this fun design is sure to become a favorite. Use it for accessories, garments, or décor, and customize it by experimenting with different colors and sizes. Focus on precision during assembly for a well-crafted finish that showcases SpongeBob in all his quirky charm.