Crochet Strawberry Granny Square With Easy Pattern & Tutorial

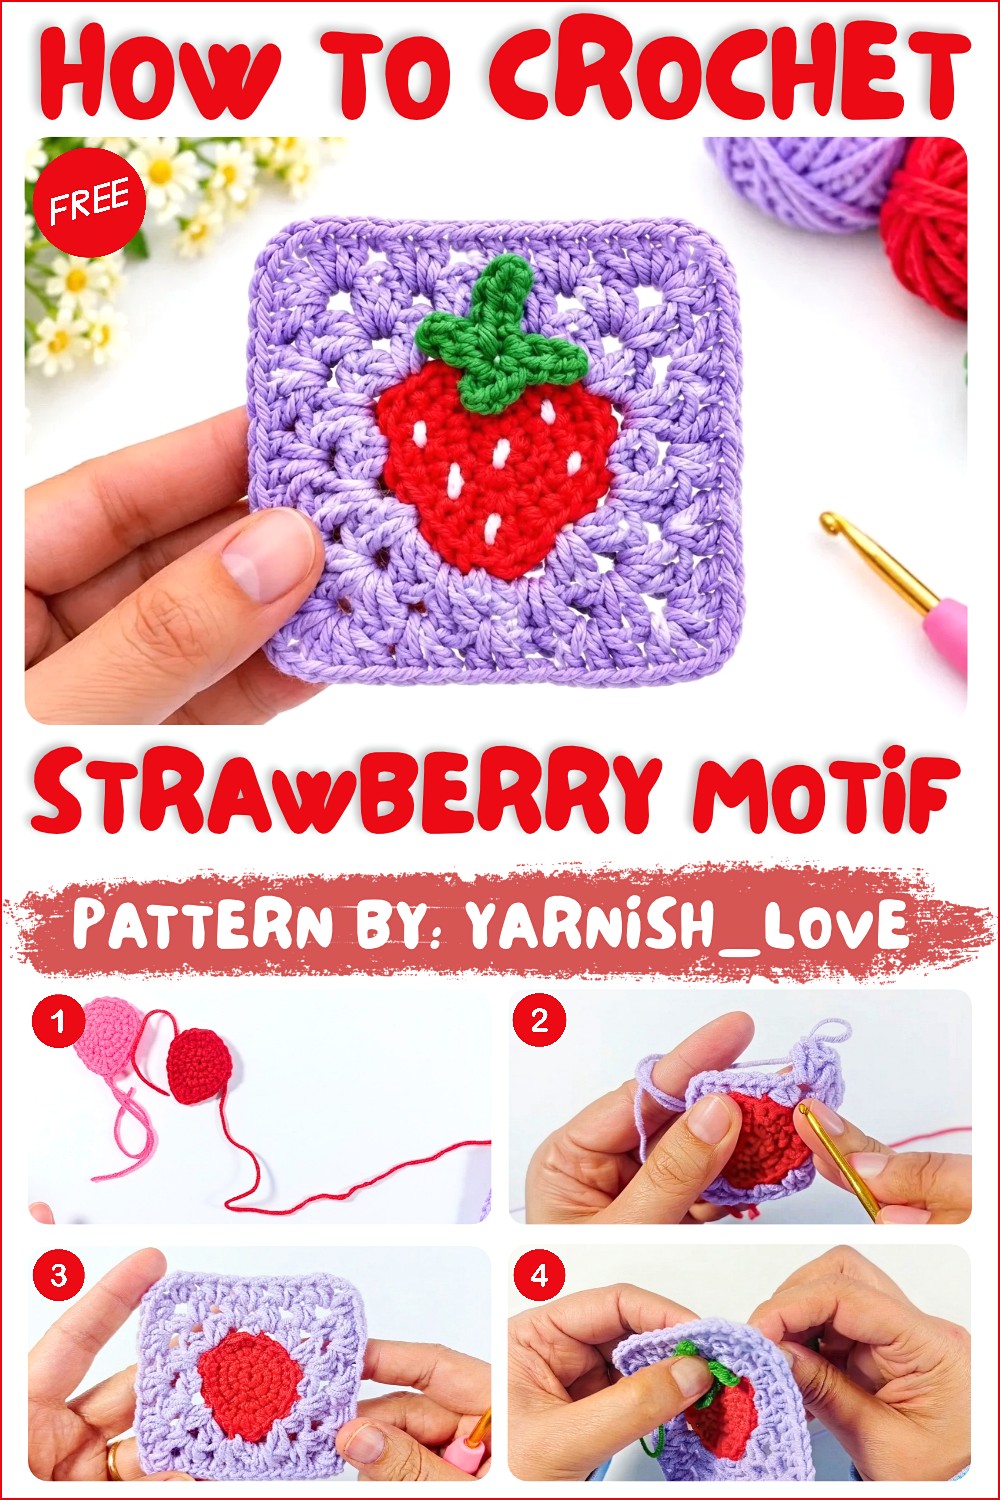
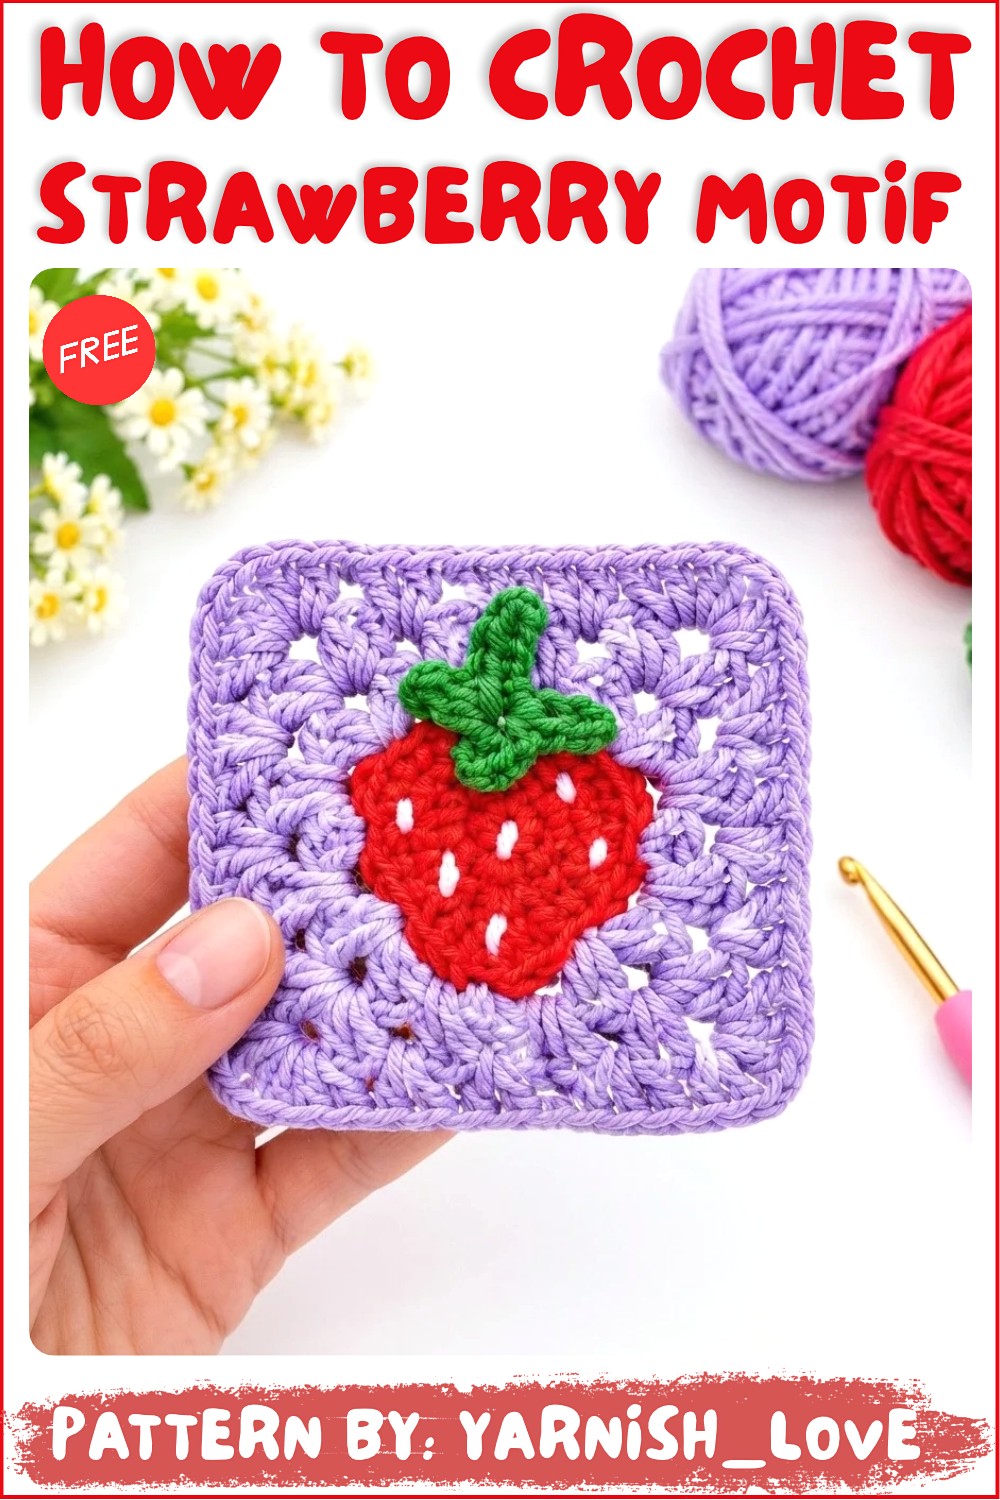
Pair the Free Crochet Strawberry Granny Square Pattern with solid blocks for a berry-themed blanket or use a single square to dress up a pillow cover.
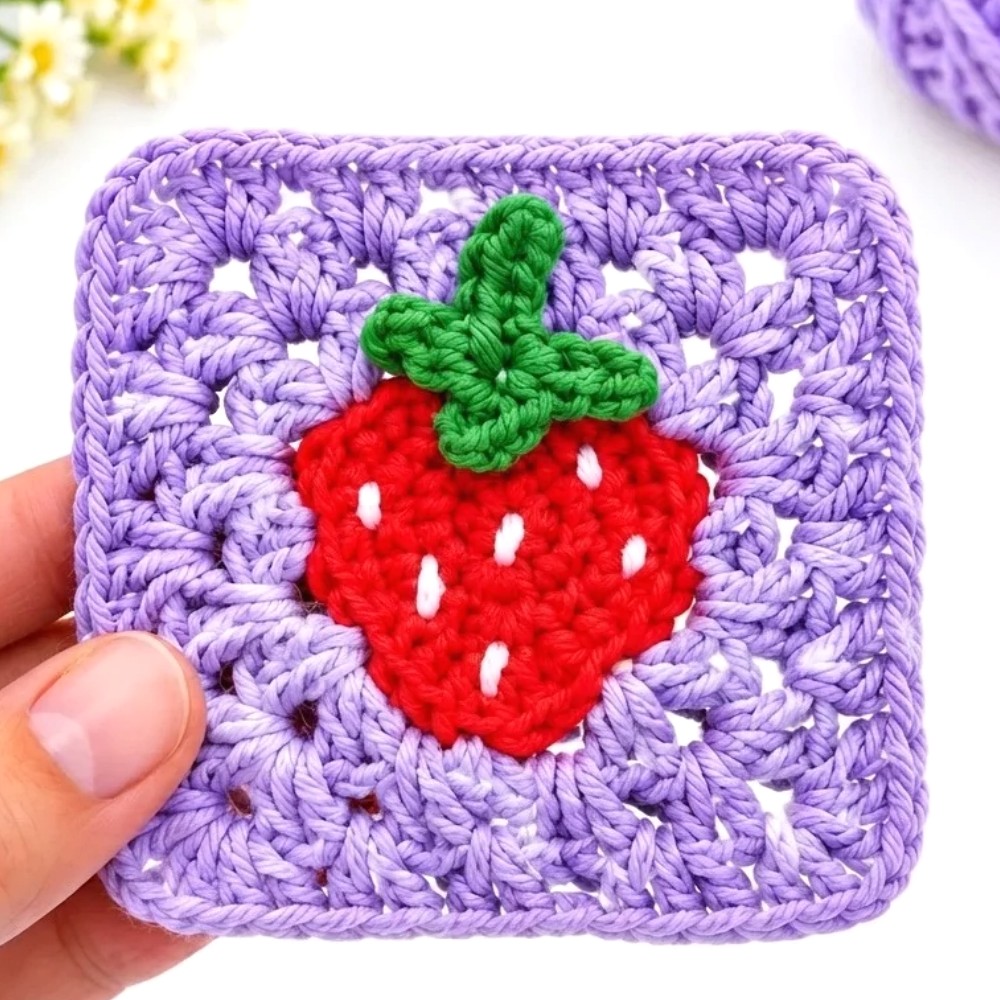
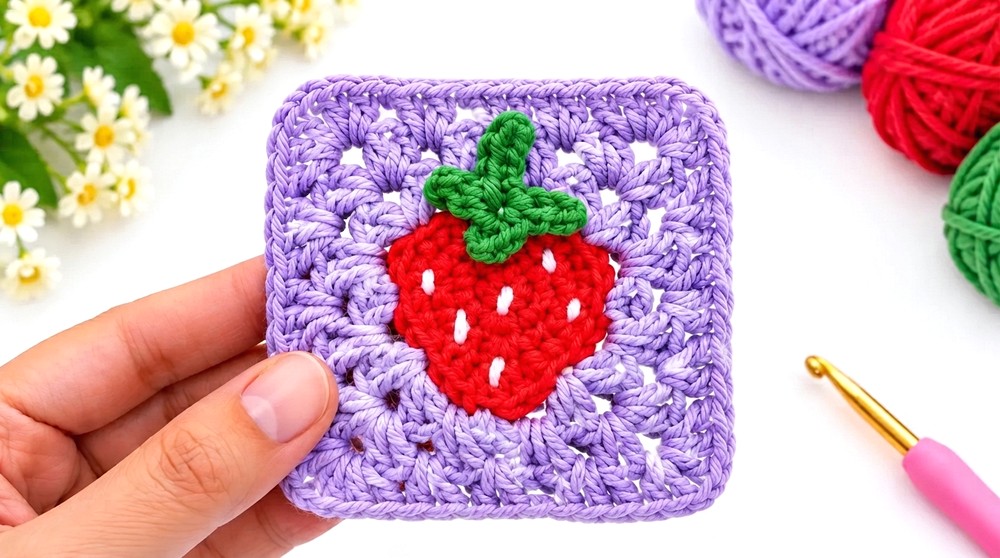
Plain blocks can use an eye-catching accent when a patchwork project starts to feel too uniform. The Free Crochet Strawberry Granny Square Pattern gives you a berry motif with four straight sides, so it can sit alongside other squares in the same project. Its fruit shape gives the panel a clear subject while the square outline keeps the whole piece easy to arrange.
Free Crochet Strawberry Granny Square Pattern With Patchwork Pillow
About the Designer
Neda shares fruit motifs on yarnish_love, including a strawberry appliqué with a leafy top and stitched seeds. Her channel also features granny squares, so there’s plenty to browse when you want to pair a fruit shape with a project. The flat strawberry works as a small accent on its own.
Start with its place in the finished item. For a pillow front, one berry block surrounded by solid squares draws the eye to the middle. Spread the fruit motifs farther apart for a small wall hanging, where each one has room to stand out. On a blanket, a row of berries along just one edge can give the same idea a quieter finish. White or pale pink framing keeps the fruit easy to see, while a deeper green can pull the leaf color into the rest of the layout. 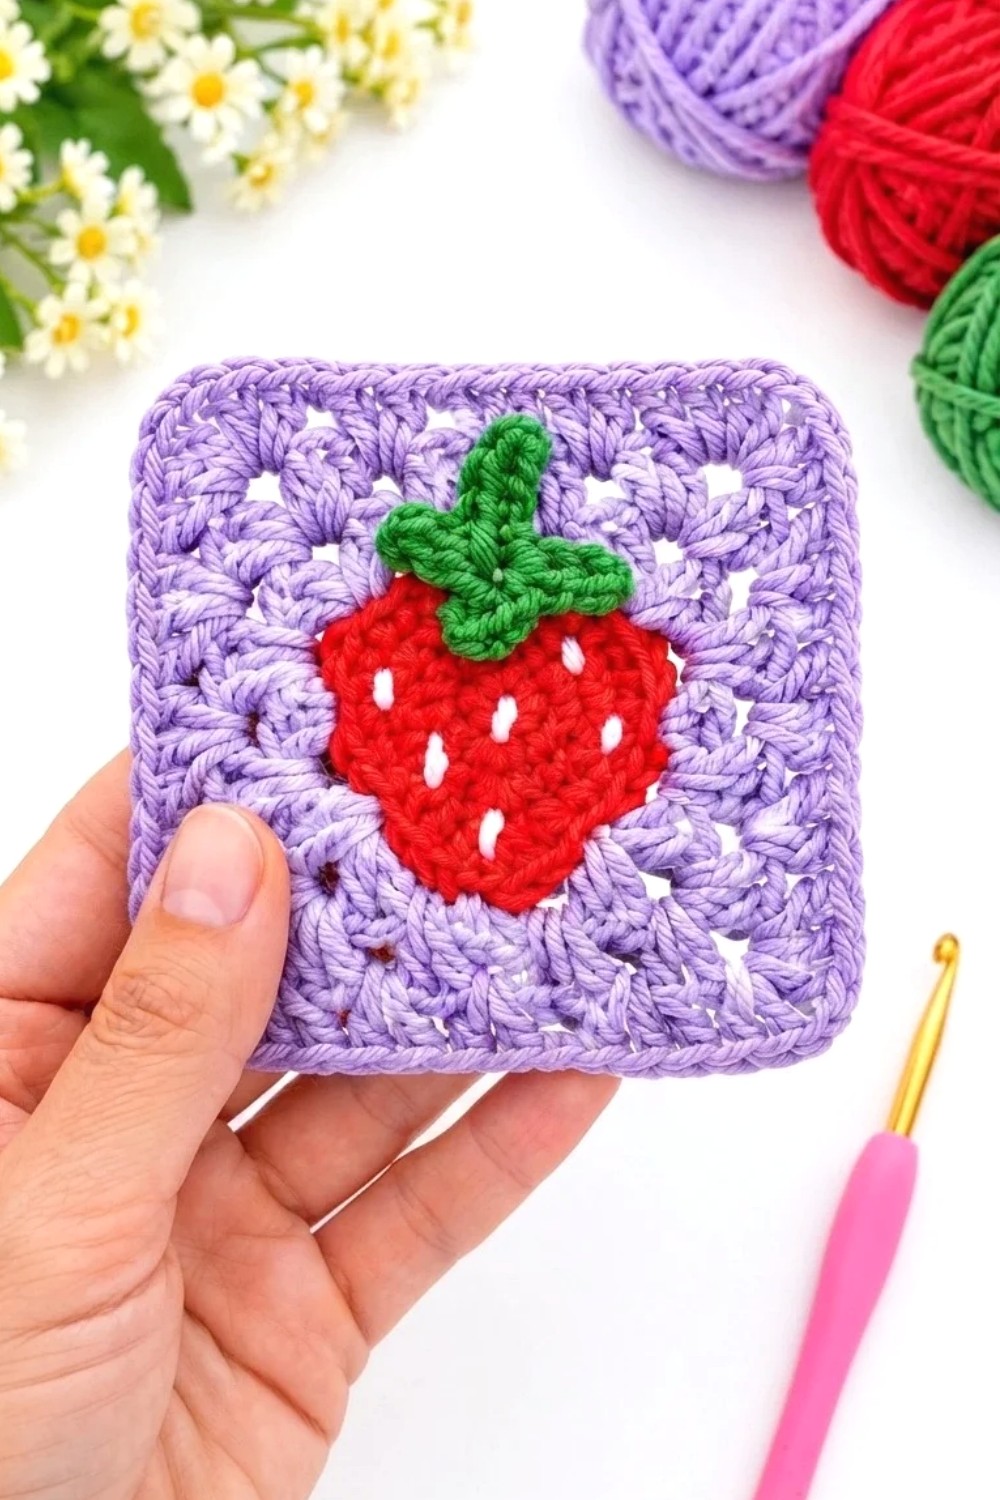
This square also works on its own as a patch for a fabric basket. You could even set a finished block beside the plain ones before joining anything and see which spacing suits the project. Moving a few squares around at that stage is an easy way to decide how much fruit detail you want in the finished piece.
Crochet Strawberry Granny Square Pattern
This pattern creates a charming strawberry motif at the center of a classic granny square, finished with a small leaf and stem detail. It is suitable for blankets, cushions, bags, or any project where a sweet, fruit-inspired accent is desired. The structure combines simple rounds with basic shaping to form both the strawberry and the surrounding square.
Skill Level
Intermediate
The pattern uses basic stitches but requires comfort with shaping, working in the round, using a magic ring, forming granny-style corners, and attaching small appliqué pieces (leaves and stem).
Materials
- Yarn: Yarn Jeans (or similar lightweight yarn) in at least two colors:
- Red or pink for the strawberry
- Green for the leaves and stem
- Optional: a contrasting color for the granny square background if desired
- Hook: 2.5 mm crochet hook
- Notions:
- Yarn needle for weaving in ends and sewing the leaves/stem
- Scissors
- Stitch markers (optional, to mark corners or round starts)
Stitch Abbreviations
Only stitches mentioned in the transcription are included:
- MR: Magic Ring
- Ch: Chain
- Sl St: Slip Stitch
- SC: Single Crochet
- HDC: Half Double Crochet
- DC: Double Crochet
Useful Tips
- Magic Ring: Keep the loop adjustable while working Round 1 so you can pull it tight to close the center neatly.
- Counting Stitches: After each round, count your stitches to ensure you maintain the correct stitch count, especially during increase rounds and corner formation.
- Back Loop Work: When instructed to use the back loop, insert your hook into the loop furthest from you at the top of the stitch for a subtle texture and clean shaping.
- Corners in Granny Square: Consistency is important; corners are built using clusters and chain spaces (2 HDC, Ch 2, 2 HDC). Maintain this structure in each round to keep the square even.
- Leaf and Stem Piece: Leave a long tail when fastening off the green yarn; this will be used to sew the leaf cluster securely to the top of the strawberry.
- Blocking: After completing your granny square, lightly block it if needed to open up the stitches and even out the sides.
Pattern Instructions
1. Strawberry Center
This section forms the strawberry-shaped motif that sits in the middle of the granny square.
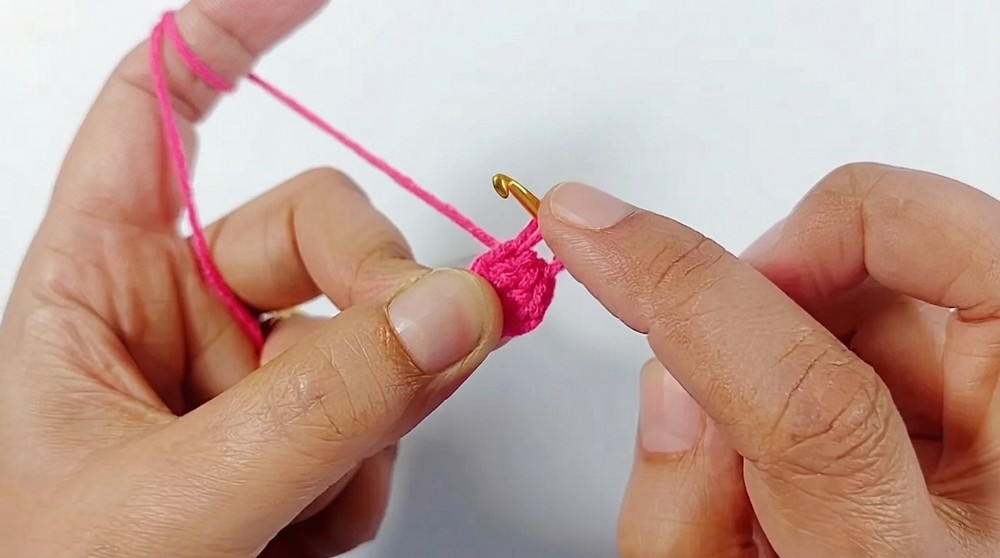
- Magic Ring (Center Start):
- Make a MR.
- Ch 1, then work 6 SC into the ring.
- Pull the ring gently to close.
- Sl St to the first SC to join the round.
- Round 2:
- Ch 1.
- Work 2 SC in each stitch around. You will have 12 SC total.
- Sl St to join the round.
- Round 3 (Shaping):
This round begins forming the broader part and slight point of the strawberry.- Ch 1.
- Pattern overview: You will alternate single crochets and increases, with special 3-SC clusters in one stitch to form the broader curve/corners:
- Work 1 SC in the next stitch.
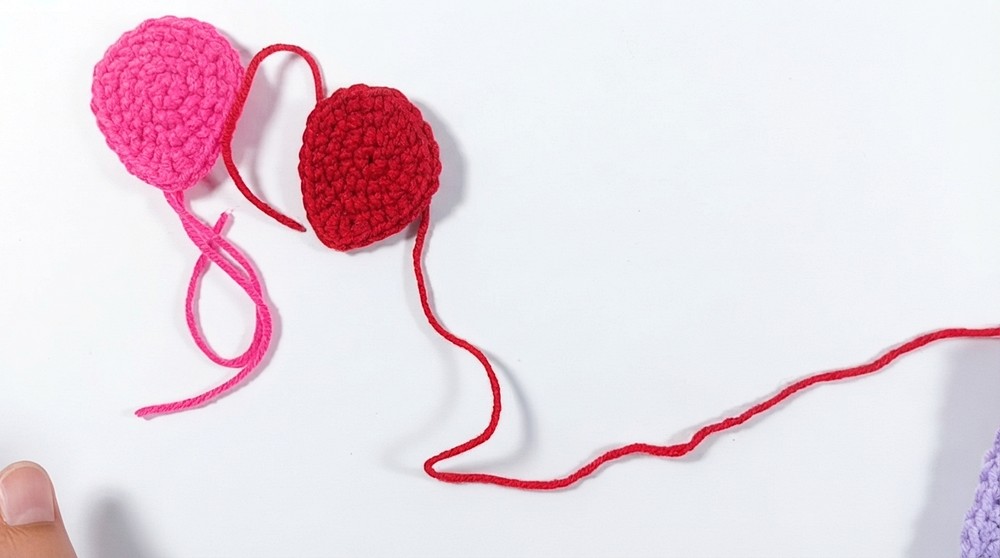
- Then increase by working 2 SC in the next stitch.
- Repeat this pattern of 1 SC, then increase until you reach the point where you need more shaping.
- In designated corner/side areas, work 3 SC in one stitch to widen and round the strawberry.
- Continue the pattern: 1 SC, increase, 1 SC, 3 SC in one stitch, 1 SC, increase, and finish the round ensuring you have a consistent shaping that leads to a strawberry-like outline.
- Work 1 SC in the next stitch.
- Sl St to join.
- Round 4 (Final Strawberry Shape):
This round refines the strawberry and introduces taller stitches in the center to create a gentle point:- Ch 1.
- Work:
- 1 SC,
- another 1 SC,
- then increase (2 SC in the next stitch),
- then 4 SC across the following stitches.
- In the center stitch (this will be the lowest point of the strawberry):
- Work 1 HDC, 1 DC, and 1 HDC into the same stitch. This forms a slight point.
- Then work:
- 1 HDC,
- 4 SC,
- 2 SC,
- and another 4 SC to complete the round, maintaining the strawberry shape.
- Fasten off the strawberry color and weave in the end, or leave a short tail to secure later.
2. Turning the Strawberry into a Granny Square
Attach the background color or continue with the same yarn, depending on your design preference.
- Round 1 (Square Foundation):
- Join yarn in the center DC stitch from Round 4, working into the back loop only of that DC.
- Ch 1, then work 2 SC into that back loop.
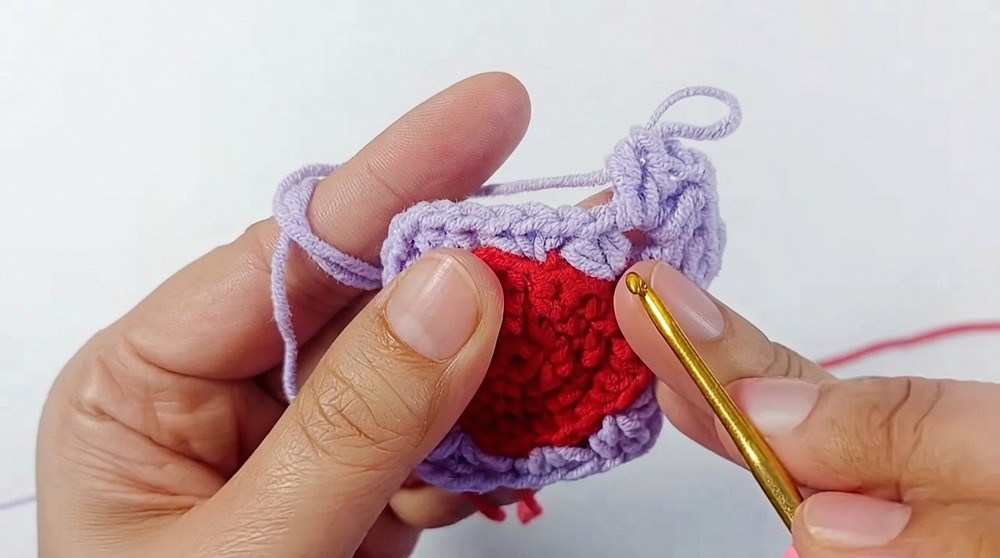
- Square build pattern:
- Skip 2 stitches, then into the 3rd stitch, work a corner: 2 HDC, Ch 2, 2 HDC in the same stitch.
- Continue around the strawberry:
- Skip 2 stitches,
- Work side clusters of 2 or 3 SC (depending on spacing and shaping needed) into the next stitch or space,
- When you reach each corner position, again work 2 HDC, Ch 2, 2 HDC to form the corners.
- Adjust stitch placement to ensure you form four corners, evenly spaced around the strawberry.
- Sl St to join. The strawberry should now sit centered inside a roughly square outline.
- Round 2 (Expanding the Granny Square):
- Work this round into the spaces between the clusters from Round 1.
- In each corner space (Ch-2 space):
- Work 2 HDC, Ch 2, 2 HDC to maintain the corner structure.
- Along each side, work 2 or 3 HDC stitches into each space between clusters, depending on how full you want each side.
- Continue all the way around, working corners and sides consistently.
- Sl St to join the round.
- Round 3 (Final Granny Round):
- Continue working into spaces between clusters, similar to Round 2.
- Maintain the same corner pattern: 2 HDC, Ch 2, 2 HDC in each corner space.
- Work HDC clusters (2 or 3 HDC) in each side space to extend the square evenly.
- Once the square reaches your desired
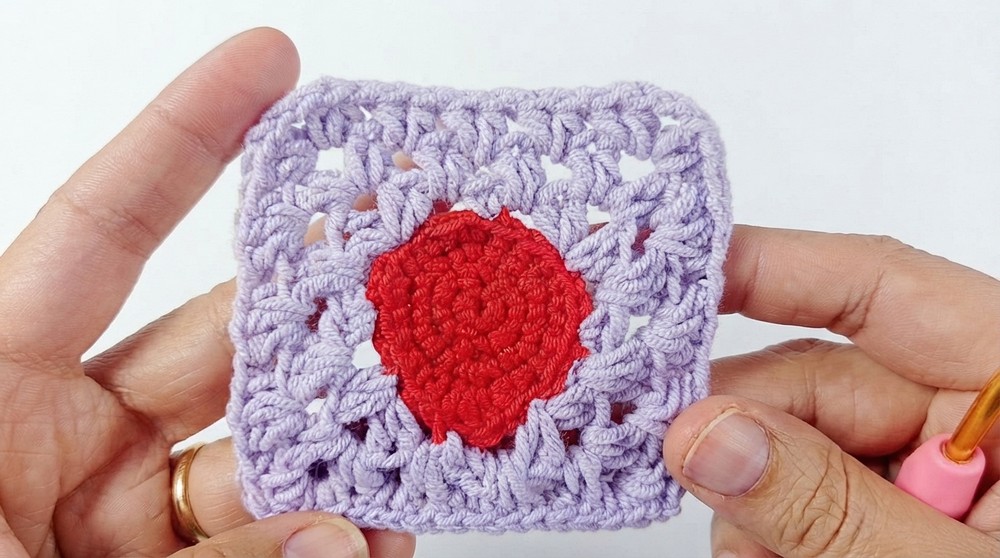 size or the specified round count, Sl St to join and fasten off.
- Weave in any remaining ends.
3. The Leaves and Stem
This small piece is made separately in green and sewn to the top of the strawberry to complete the look.
- Stem:
- Create a slip knot with green yarn.
- Ch 5.
- Skip the 1st chain from the hook.
- Work Sl St into the back bumps of the next 4 chains, forming a short, neat stem.
- Leaf Pattern (Leaf Cluster):
- From the base of the stem, Ch 4.
- Skip the 1st chain, then Sl St into the next 3 chains (working into back bumps for a tidy finish).
- Sl St back into the base of the stem to anchor the first leaf.
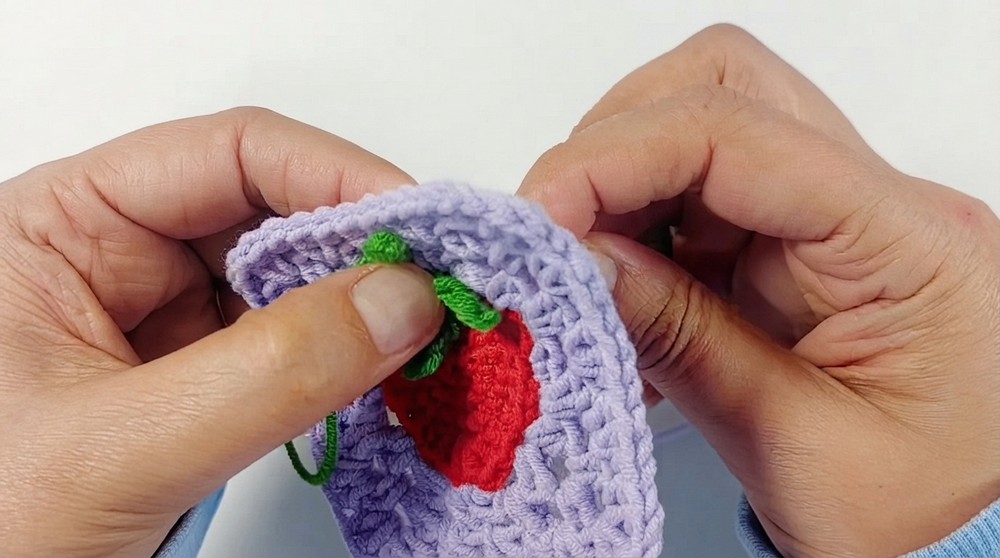
- Repeat this leaf sequence 3 times total:
- Each repeat: Ch 4, skip 1, Sl St in next 3 chains, Sl St into base.
- This creates a cluster of small leaves radiating from the top of the stem.
- Fasten off, leaving a long tail for sewing.
- Attaching Leaves and Stem:
- Position the leaf and stem piece at the top of the strawberry motif, centered above the pointed end.
- Using the tail and a yarn needle, sew the stem and leaf base securely onto the strawberry portion of the granny square.
- Weave in remaining ends on the back side of the square.
Conclusion
This strawberry granny square pattern combines a textured central motif with a classic granny square structure, creating a versatile and decorative piece. The distinct strawberry shape and simple leaf-and-stem addition provide a playful yet refined design suitable for many projects. By working carefully through the shaping rounds and maintaining consistent corners and clusters, the finished square will be visually balanced and ready to be joined into larger items such as blankets, bags, or home décor accessories.