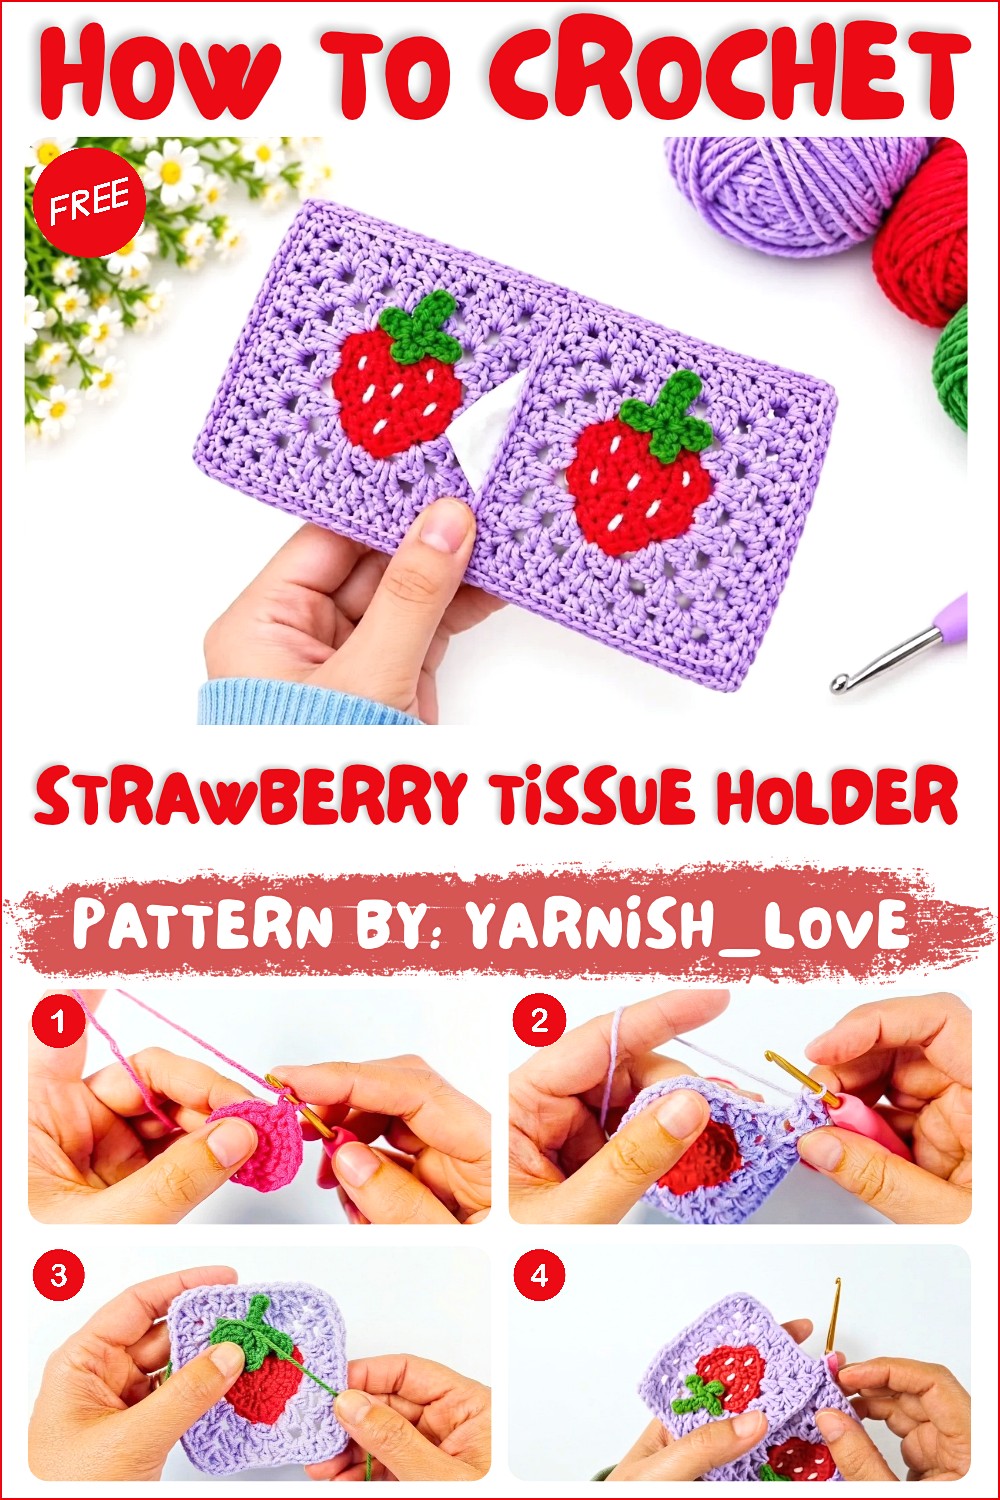
Strawberry Tissue Holder Crochet Pattern + Full Tutorial

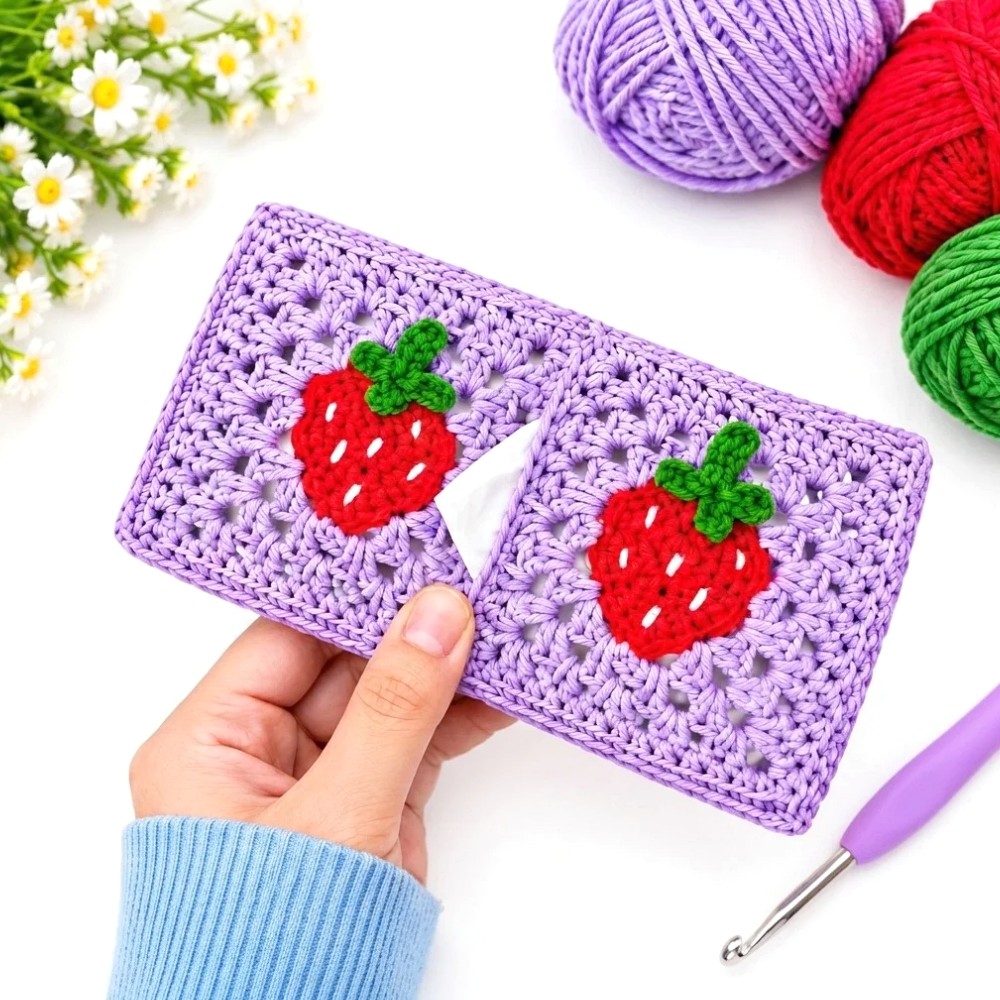
Keep tissues within reach with the Free Crochet Strawberry Tissue Holder Pattern and give your bedside table a playful touch with a fruit-themed cover.
Tissues often end up next to alarm clocks, books, or keys, so their packaging is usually right where you can see it. With the Free Crochet Strawberry Tissue Holder Pattern, that spot can have a bit of fruit-themed color while the tissues stay handy.
Crochet Strawberry Tissue Holder Pattern Keep Tissue Handy
On a bedside table, place it toward the front so you can reach it easily past the lamp or your glasses. In the entryway, it could sit beside a dish for loose change or near a basket of clean hand towels. Fruit colors also work nicely with simple surroundings. Cream, pale wood, and warm pink all give the strawberry detail space to stand out.
Behind the Channel
Tissue box covers show the practical side of yarnish_love. In one project, Neda starts with individual granny squares and shows how she joins them to cover the box. She also talks through color combinations and how to hide yarn ends, details that shape how the cover looks on a table.
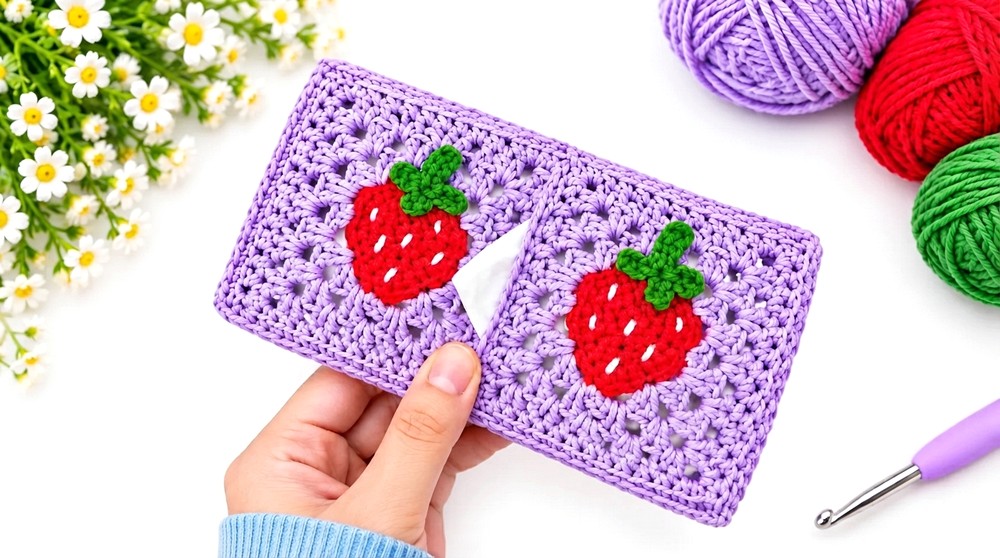
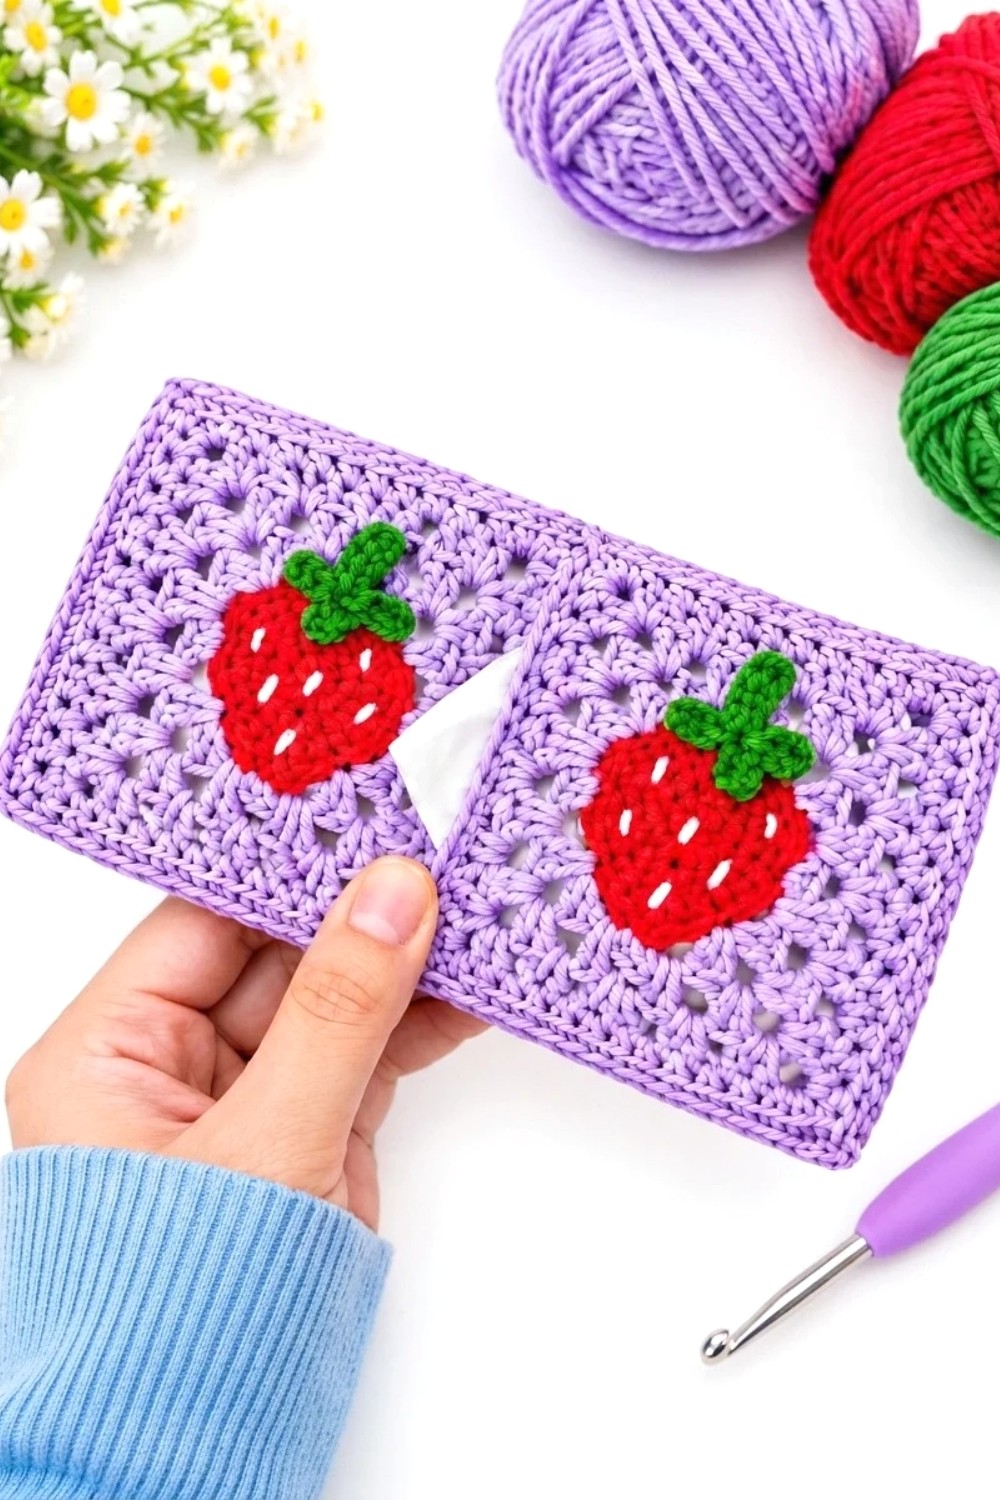
Think about the tissues you reach for most before choosing where the holder will live. The berry detail is the first thing you’ll notice, and the opening is the part you’ll use every day. Check that you have room to reach it and refill the holder when it’s empty.
On a desk, it can sit beside a small tray so the rest of the surface stays free for your work. As a gift, it feels especially thoughtful for someone setting up a room or study space of their own. Tuck in a fresh pack of tissues and it’s something they can put to use the same day.
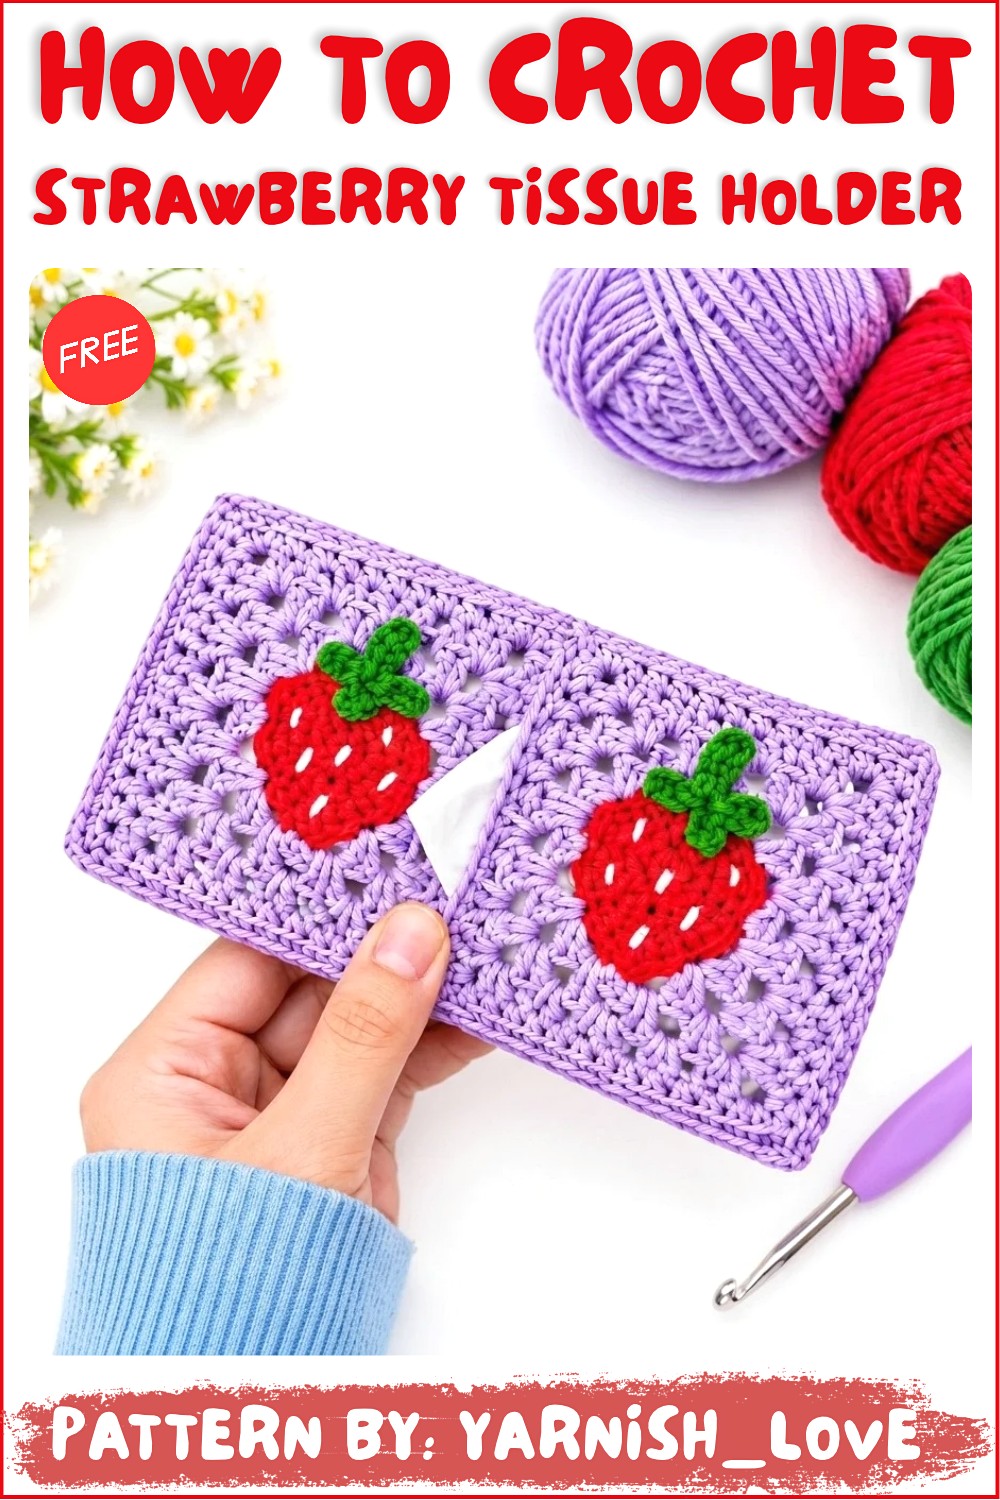
Strawberry Pocket Tissue Cover
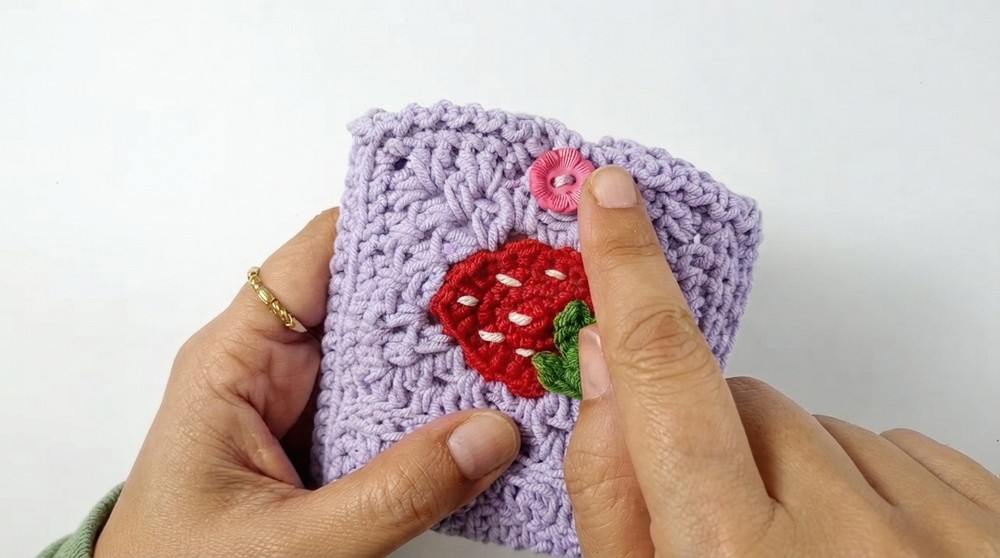
This pattern creates a delightful strawberry-themed pocket tissue cover using crochet techniques. The design incorporates a textured strawberry motif as part of a granny square, complete with a practical tissue dispenser opening. The decorative leaves and stem add a whimsical touch, making this project functional and fun. Suitable for a beginner or intermediate crocheter, the pattern emphasizes the importance of texture and clean finishing.
Skill Level
Intermediate
This pattern combines basic crochet stitches (such as SC, HDC, and DC) with shaping techniques and motif construction, making it perfect for crocheters who are comfortable working in rounds, joining motifs, and assembling pieces for functional designs.
Materials
- Yarn: YarnArt Jeans (or a similar lightweight yarn) in at least two colors:
- Red/pink for the strawberry motif.
- Green for the leaves and stem.
- A neutral or complementary color for the granny square panels (e.g., white, cream, or light green).
- Hook: 2.5 mm crochet hook.
- Notions:
- Yarn needle for weaving in ends and assembly.
- Scissors.
- Optional button for securing the back panel opening.
Stitch Abbreviations
Only stitches mentioned in the transcription are included:
- Ch: Chain
- MR: Magic Ring
- SC: Single Crochet
- HDC: Half Double Crochet
- DC: Double Crochet
- Sl St: Slip Stitch
Useful Tips
- Magic Ring Technique: Keep your magic ring adjustable while working the first round so you can pull it tight for a neat, closed center.
- Count Stitches: Regularly check your stitch count after completing a round, particularly during increase and corner rounds. This ensures the motif forms correctly.
- Corners and Alignment: Pay attention when working the corner spaces in the granny square to ensure your rectangle shape remains even and symmetrical.
- Neat Joining: Use a ladder or whip stitch while assembling the motifs for a clean, seamless look, or single crochet for a more decorative edge.
- Blocking: Lightly block your squares before joining them for an even and professional finish.
Pattern Instructions
Phase 1: Crochet Strawberry Appliqué
This section creates the center strawberry motif, which will serve as a decorative focal point for the cover.
- Magic Ring (Center Start):
- Make a MR.
- Ch 1, then work 6 SC into the ring.
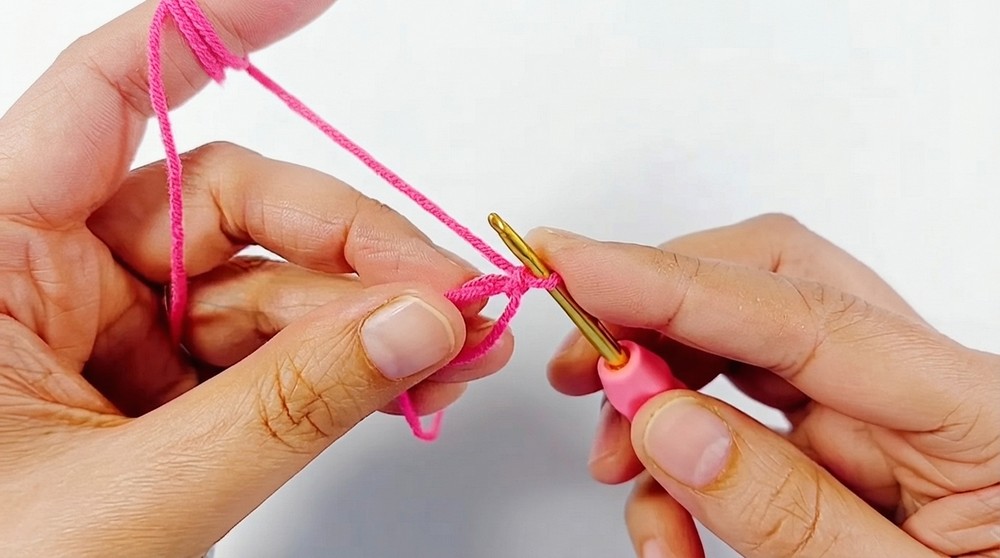
- Close the ring by pulling the tail tight, then Sl St to join the round.
- Round 2:
- Ch 1.
- Work 2 SC in each stitch around for a total of 12 stitches.
- Sl St to join the round.
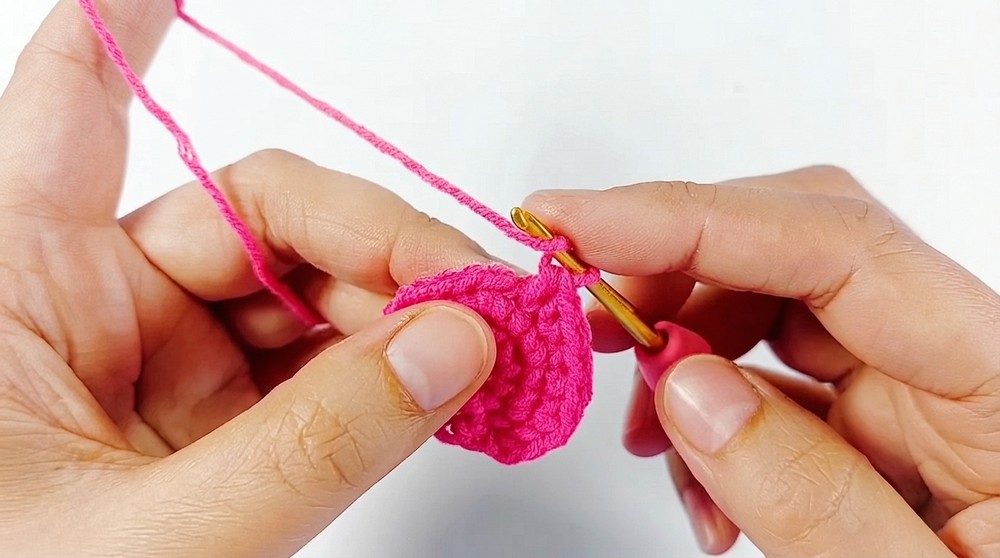
- Round 3:
- Ch 1, work 1 SC in the same stitch, followed by 2 SC in the next stitch (increase).
- Repeat this pattern around: SC, increase, with shaping to define the strawberry form.
- Specifically, place 3 SC in the center stitch to broaden the shape of the motif.
- Finish with an additional 3 SC in the remaining stitches.
- Sl St to join.
- Round 4 (Final Shape):
This round defines the strawberry’s curved edges and pointed tip.- Ch 1, work:
- 1 SC in the same stitch,
- 1 SC in the next stitch,
- 2 SC in the next (increase),
- 1 SC in the next 4 stitches.
- In the center stitch:
- Work 1 HDC, 1 DC, and 1 HDC into the same stitch to form the strawberry’s pointed end.
- Then continue:
- 1 HDC in the next stitch,
- 1 SC in the next 4 stitches,
- 2 SC in the next (increase),
- 1 SC in the remaining 4 stitches.
- Fasten off at the end of the round.
- Ch 1, work:
Phase 2: Motif Construction
This phase turns the strawberry motif into a rectangular granny square.
- Round 1 (Square Foundation):
- Join your chosen granny square yarn to the center DC stitch of the strawberry motif (work into the back loop only).
- Ch 1, then work 2 SC into the same stitch.
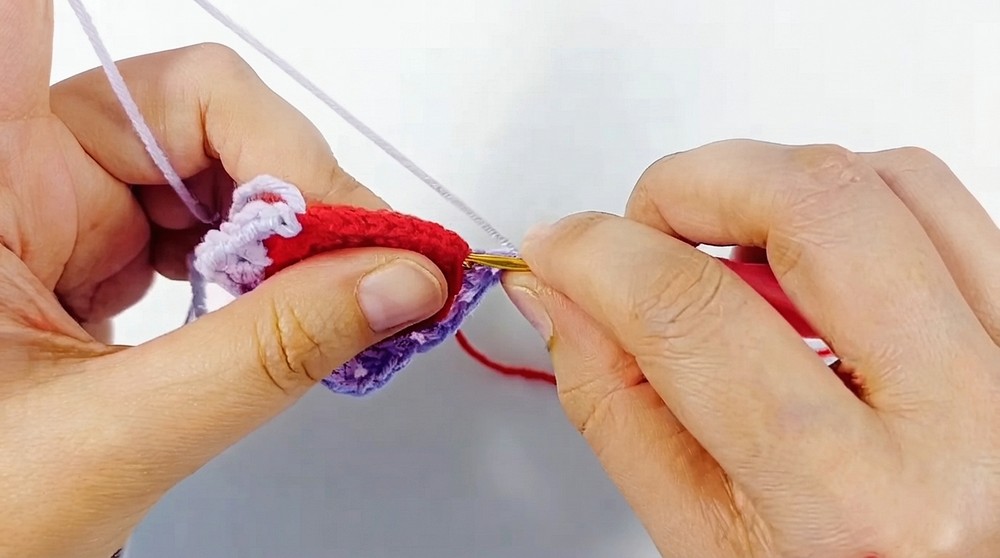
- Skip 2 stitches, then create a corner by working 2 HDC, Ch 2, 2 HDC into the next (3rd) stitch.
- Repeat the following pattern around to transform the strawberry into a rectangular shape:
- Skip 2 stitches,
- Work SC clusters (2 or 3 SC) in the spaces between stitches,
- Create corners (2 HDC, Ch 2, 2 HDC) in the designated areas.
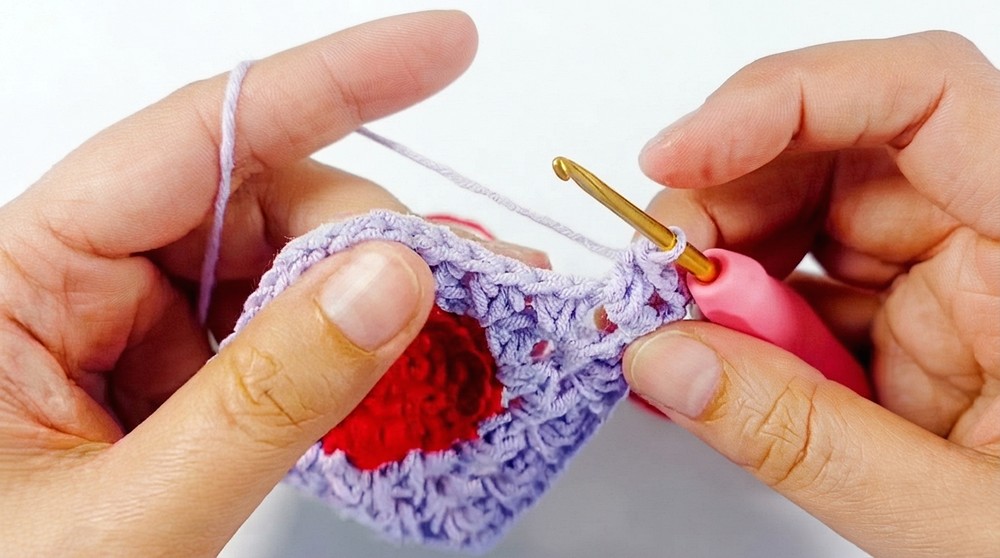
- Once the square/rectangle is formed, Sl St to join.
- Round 2:
- Work this round into the spaces between clusters of stitches from Round 1.
- To form each corner: 2 HDC, Ch 2, 2 HDC in the corner Ch-2 space.
- Work 3 HDC along the side spaces, keeping the stitch density even.
- Sl St to join the round.
- Round 3 (Final Border Round):
- Repeat the stitch pattern from Round 2, maintaining:
- Corners: 2 HDC, Ch 2, 2 HDC in each corner space,
- Sides: 3 HDC in each side space.
- Finish the round and Sl St to join, ensuring a neat, square edge.
- Repeat the stitch pattern from Round 2, maintaining:
Phase 3: Leaves and Stem
This step adds a decorative finishing touch with a stem and leaves to complete the strawberry motif.
- Leaf and Stem Construction:
- Create a slip knot with green yarn.
- Ch 5, then work backward along the chain:
- Skip the 1st chain, and Sl St into the back bumps of the next 4 chains to form the short stem.
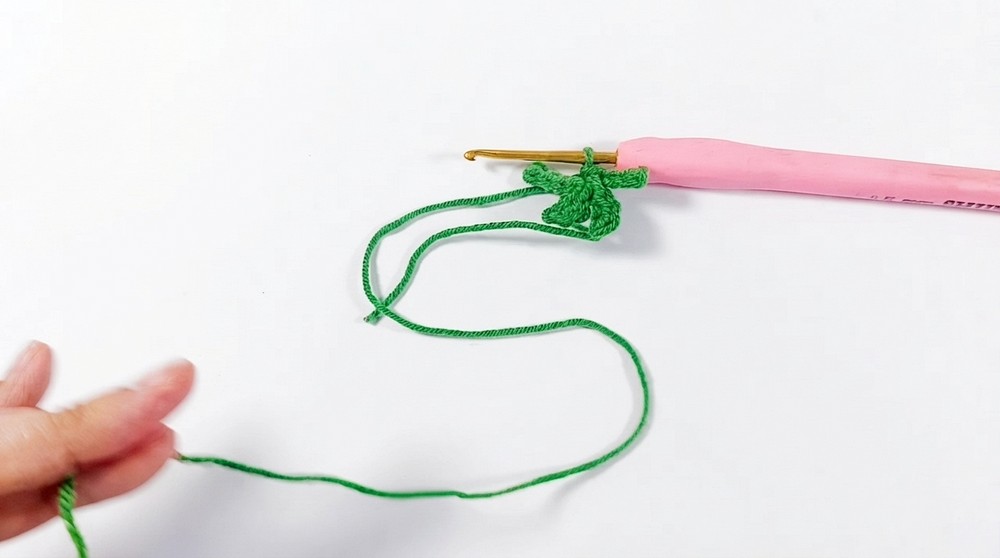
- Skip the 1st chain, and Sl St into the back bumps of the next 4 chains to form the short stem.
- Begin the first leaf cluster:
- Ch 4, skip the 1st chain from the hook, and Sl St into the next 3 chains.
- Sl St into the stem’s base stitch to secure the first leaf.
- Repeat the leaf sequence to create 3 leaves in total:
- Each consists of: Ch 4, skip 1, Sl St in 3, Sl St into the base.
- Fasten off, leaving a long tail for sewing.
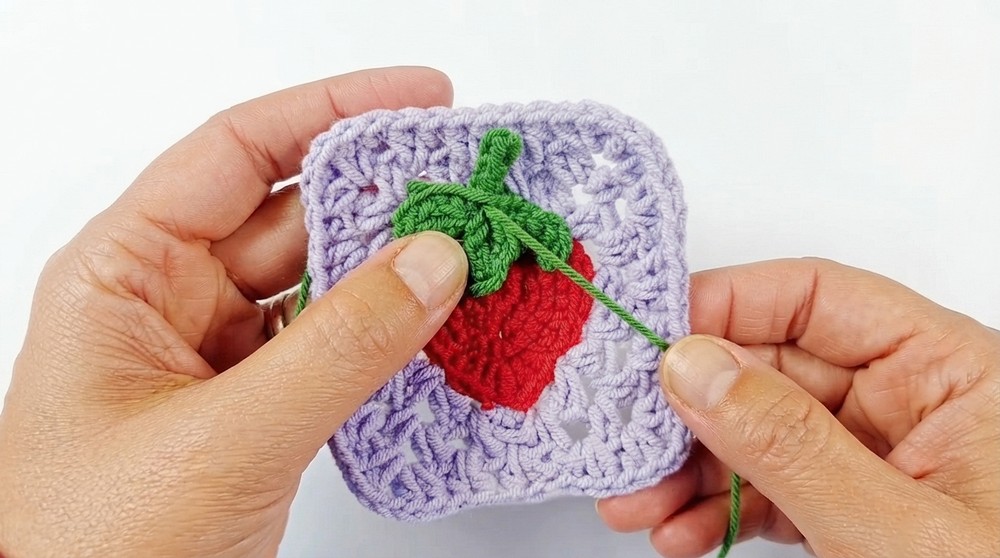
- Attachment:
- Sew the leaves and stem to the top of the strawberry motif using the tail and a yarn needle.
Joining & Constructing the Tissue Cover
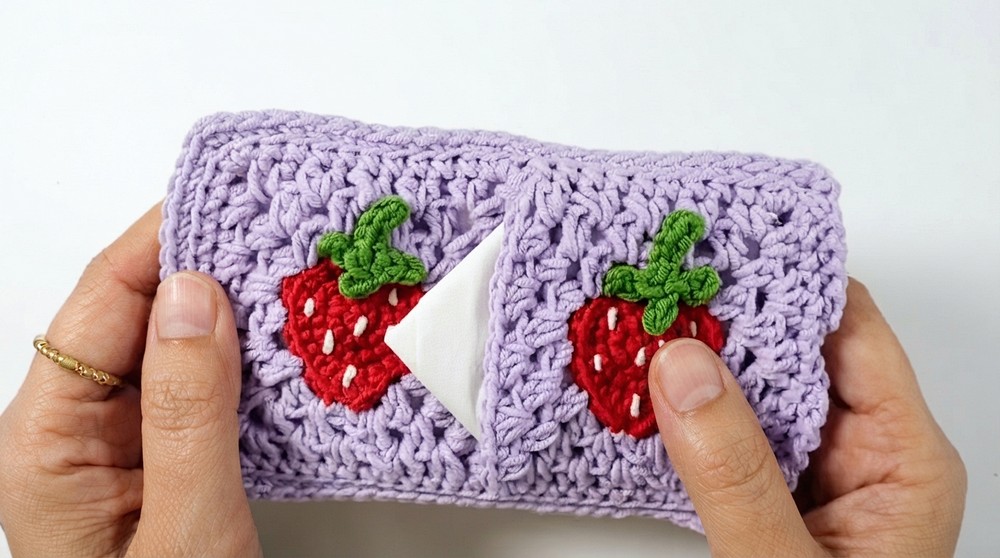
- Create two granny square panels with strawberry motifs and set one aside for the back panel.
- Join Panels with SC (or Needle):
- Hold the panels together with the right sides facing outward.
- Use SC in the back loops of both panels to join the edges together.
- Leave an unworked gap for the tissue dispenser opening on the front panel.
- Create Side Opening:
- At the center of one side, leave an opening for tissues.
- Bridge this gap by working 8 chains across the opening.
- Secure the chain on both ends, ensuring it is taut but visible.
- Finishing Touches:
- Add a final row of SC stitches around the border to create a polished edge.
- Add a button at the back opening for an easy and secure closure.
Conclusion
This strawberry pocket tissue cover combines utility and charm, offering both a decorative and practical storage solution. The textured strawberry appliqué transforms into an eye-catching granny square, while the green leaves and stem add a creative flair. Assembling the front and back panels into a pocket tissue cover is a thoughtful way to showcase this motif, and a button closure adds functionality. Customize the colors, size, or embellishments to suit your needs and style.