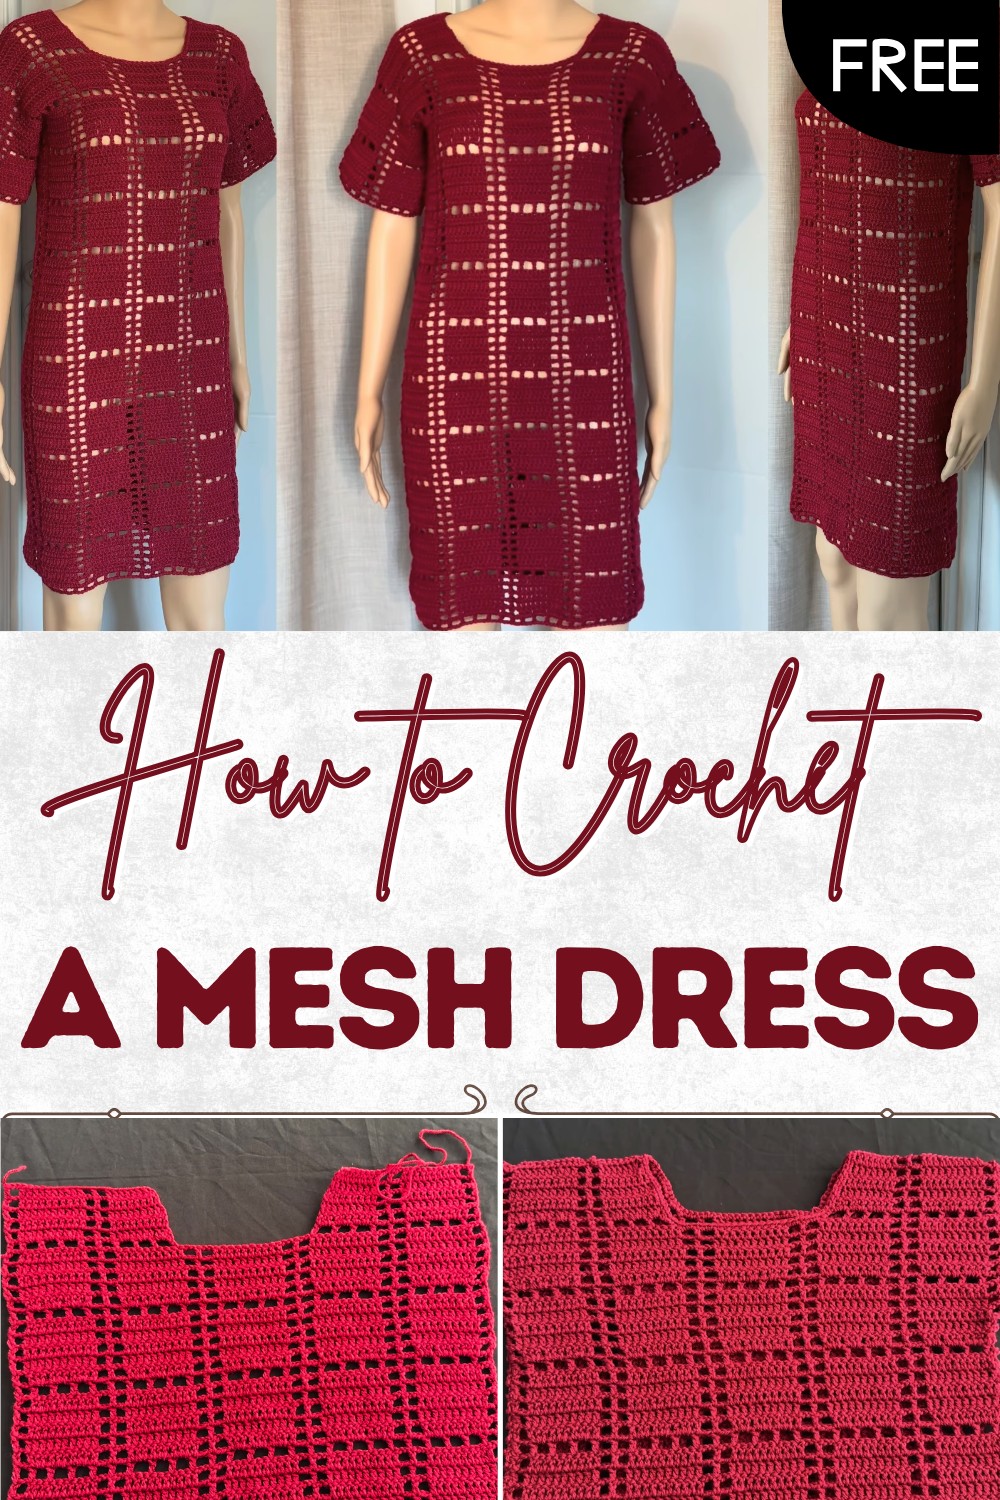
Free Crochet Mesh Dress Pattern with Step-by-Step Guide
Enjoy easy-to-follow steps with Free Crochet Mesh Dress Pattern and watch your wardrobe bloom with breezy comfort and stylish summer flair.
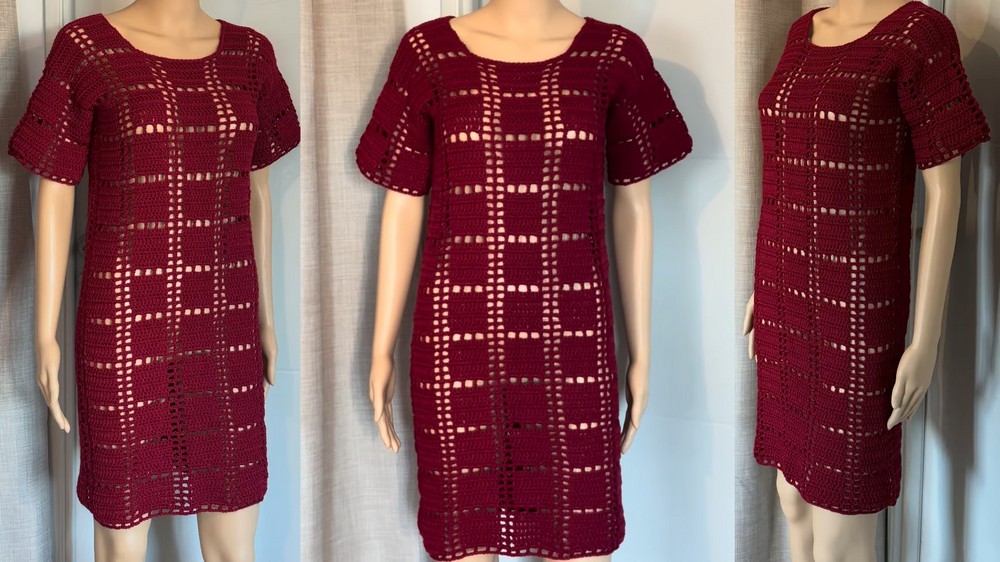
People gather around admiring a dress that stands out with its open airy style and gentle drape. Soft yarn and open stitchwork make it perfect for hot days keeping you cool while still looking beautiful. With the Crochet Mesh Dress pattern everyone can enjoy a unique piece that feels light as a feather and lets the skin breathe. This dress flatters every body shape and moves with you whether you are walking through a busy market or relaxing under a shady tree.
Breezy Free Crochet Mesh Dress Pattern for Summer
Its mesh design means it can be worn over a swimsuit at the beach or layered with a slip for a fun outing with friends. Timeless and easy to create this dress brings color and texture to your wardrobe. Making your own gives a sense of achievement and a truly personal touch. Simple details and clear steps make it even friendly for first-time makers young and old.
Mesh Cinch Tank Dress Crochet Pattern
Materials
- Yarn: Lightweight (3) yarn — Example: Timitz “Azurite,” 100% acrylic, 50g/140m
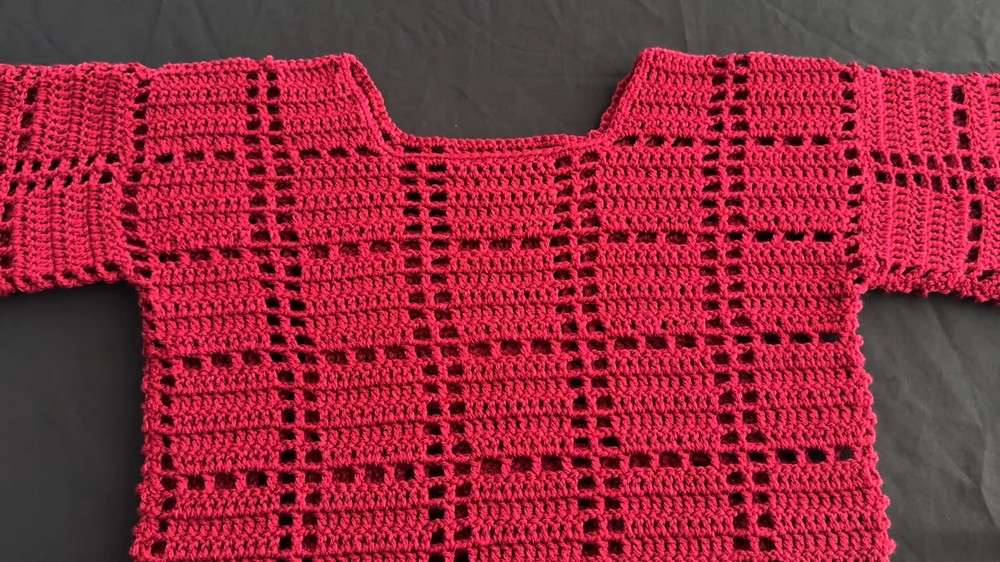
- Color used in sample: Color No. 3025 (dark red)
- Amount: 4-8 skeins, depending on desired dress length and size
- Hook: 4.0mm (G-6 US) crochet hook (or size recommended on yarn label)
- Notions:
- Yarn needle (for sewing panels and weaving ends)
- Scissors
- Stitch markers (for marking neckline and panel edges)
- Measuring tape
Abbreviations (US Crochet Terms)
| Abbreviation | Meaning |
|---|---|
| ch | Chain |
| dc | Double crochet |
| sc | Single crochet |
| sl st | Slip stitch |
| st(s) | Stitch(es) |
| rep | Repeat |
| sk | Skip |
Special Notes
- The pattern is made of two identical panels (front and back), which are later seamed together.
- Stitches for the mesh and solid sections are worked in multiples of 15 + 10, with extra chains for turning.
- The sleeve is created as a rectangular panel, also seamed into the armhole opening.
Pattern Instructions
Step 1: Sizing and Initial Foundation
- Measure the widest part of your hips (or bust, if preferred).
- Determine panel width: Divide hip measurement by 2 to get the width for one panel.
- For a slightly looser fit, add 2-4 inches to this measure.
- For a slightly looser fit, add 2-4 inches to this measure.
- Foundation Chain:
- Your chain should be a multiple of 15, starting and ending with 10.
- Example: For a 20-inch panel, you may start with 70 chains.
- (10 + 15 + 15 + 15 + 15 + 10 = 70)
- Add 3 ch (for starting dc) and add 6 ch at the end (for turning chain).
- Total foundation chain: e.g., 70 + 3 + 6 = 79 chains.
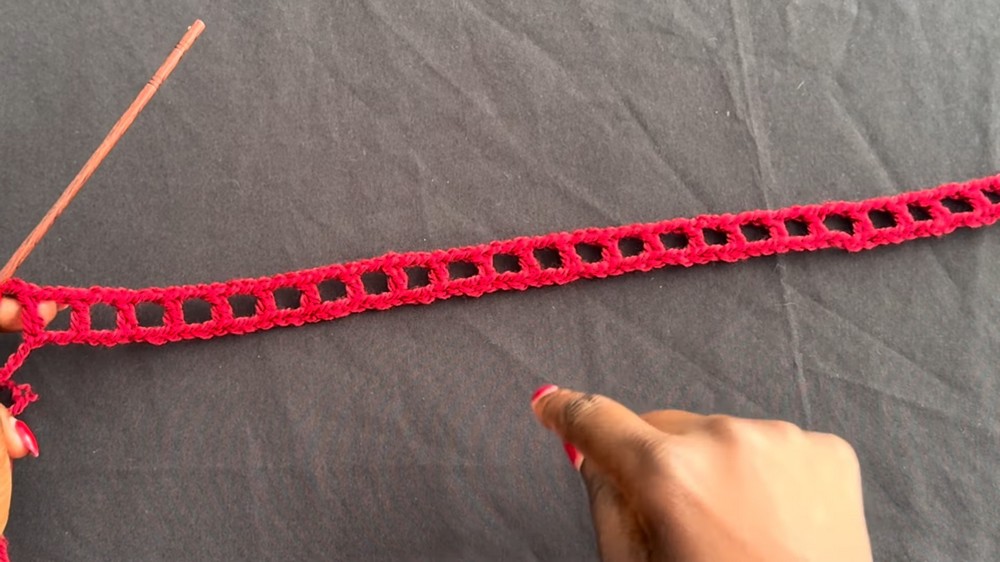
Step 2: Mesh Foundation Row
- Row 1:
- Dc in 7th ch from hook (first 6 ch count as turning ch: 3 for dc and 3 to skip for mesh).
- **Ch 2, sk 2 ch, dc in next ch. Rep from ** across until last ch.
- At end, ch 3, turn.
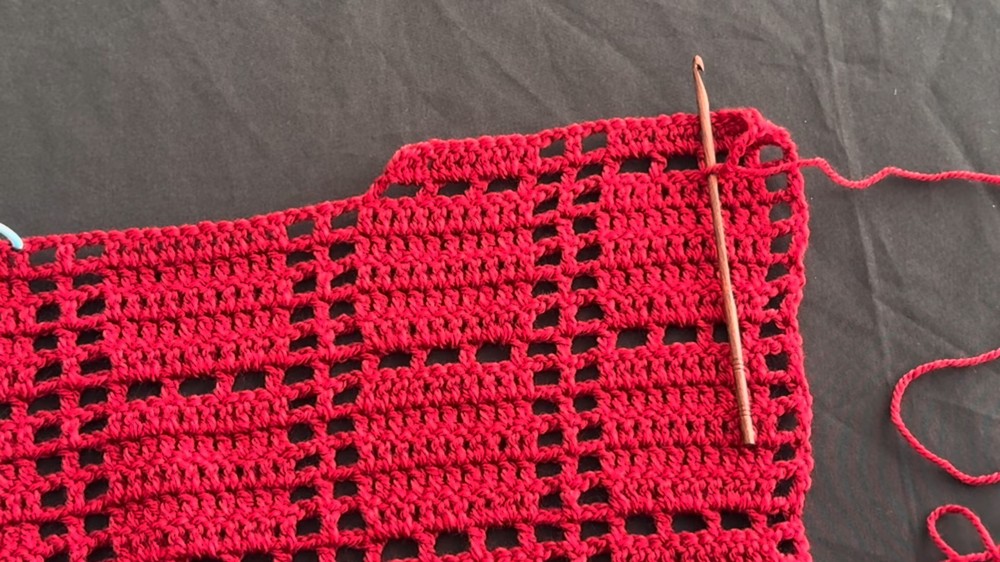
Step 3: Solid & Mesh Construction
- Row 2 (Solid blocks and mesh):
- Ch 4 (counts as 1 dc + ch 2), turn.
- Dc in next dc, (2 dc in next ch-2 sp, dc in next dc) until 10 dc are made.
- Ch 2, sk ch-2 sp, dc in next dc; (this is the mesh section of 5 sts), rep mesh as needed.
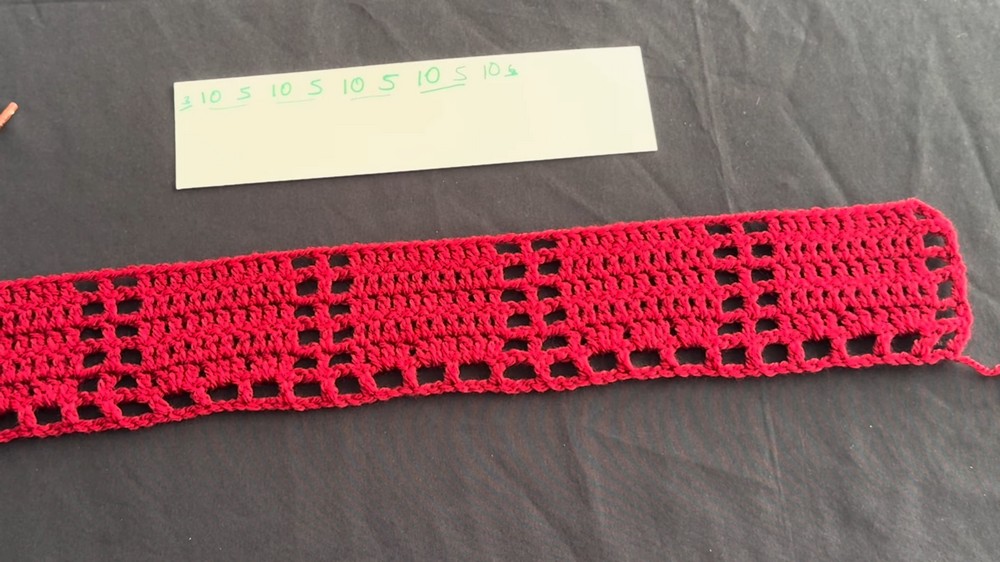
- Work in established pattern:
- 10 dc (solid section), mesh (5), 10 dc, mesh (5), etc., ending with a 10 dc section.
- At end, ch 2, dc in 3rd ch of turning ch.
- Row 3 (Repeat row):
- Ch 4, turn.
- Dc in each dc of previous solid section (10 total), mesh over previous mesh section (ch 2, sk sp, dc in dc), rep across.
- Continue pattern as established.
- Tip: Ensure solid sections always have 10 dc between mesh sections.
Step 4: Repeats for Length
- Rows 4–6: Repeat Row 3.
- Each set consists of 1 mesh row at the start, followed by 5 rows of solid/mesh patterning.
- Continue alternating sets until the desired dress length is achieved.
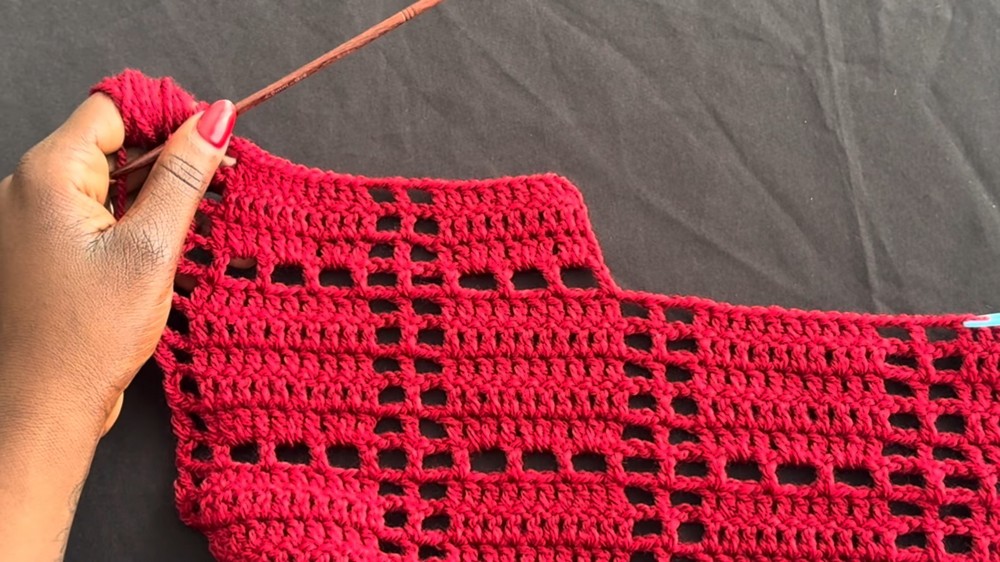
Step 5: Shaping the Neckline
- Mark neckline positions with stitch markers according to your personal fit (try garment against yourself for best placement).
- Work up to marker in pattern from one side; stop at marker for neckline opening.
- Decrease shaping for scoop:
- Each return row, ch 2 (instead of ch 4), turn, and omit working the last st to create a gentle inside curve.
- Continue maintaining stitch count on the edge’s outside seam so the armholes remain even.
- Work 5 rows in this manner for shoulder shaping.
- Fasten off.
- Repeat for second side of neckline in mirrored fashion.
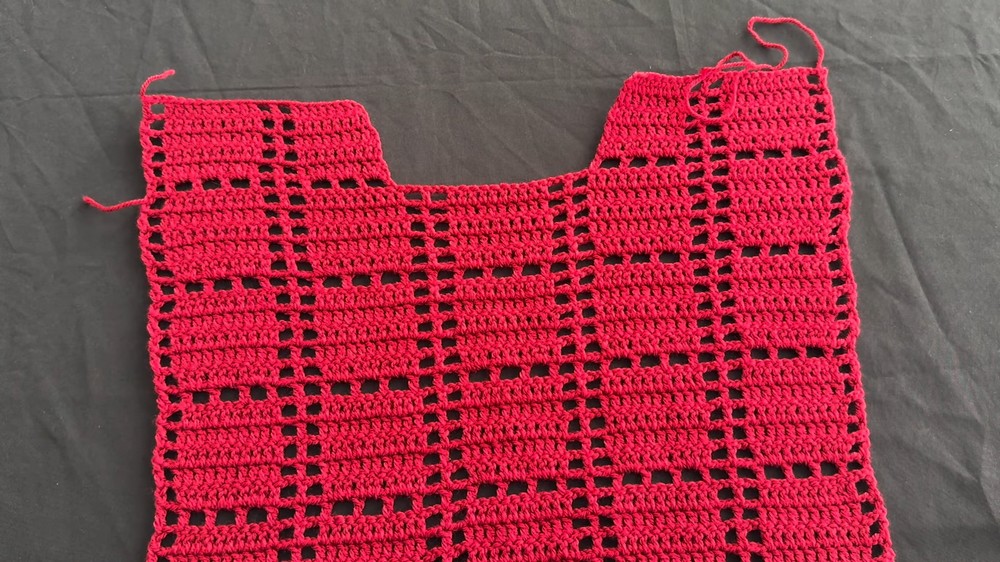
Step 6: Back Panel & Assembly
- Repeat Steps 1–5 for the second (back) panel, ensuring you match stitch count, rows, and neckline shaping if desired.
- Lay panels face-to-face with right sides together.
- Seam shoulder edges with yarn needle and mattress or whip stitch.
Step 7: Sleeves (Optional)
- Measure your upper arm for sleeve fit.
- Foundation chain: (e.g., 55 ch for a short sleeve, plus 9 ch for turning).
- Work Rows 1–7: As per dress body, alternating mesh and solid/mesh blocks for desired sleeve length.
- Sample: 2 mesh/solid sets for a tee-length sleeve.
- Make 2 identical sleeves.
- Leave a long tail for seaming.

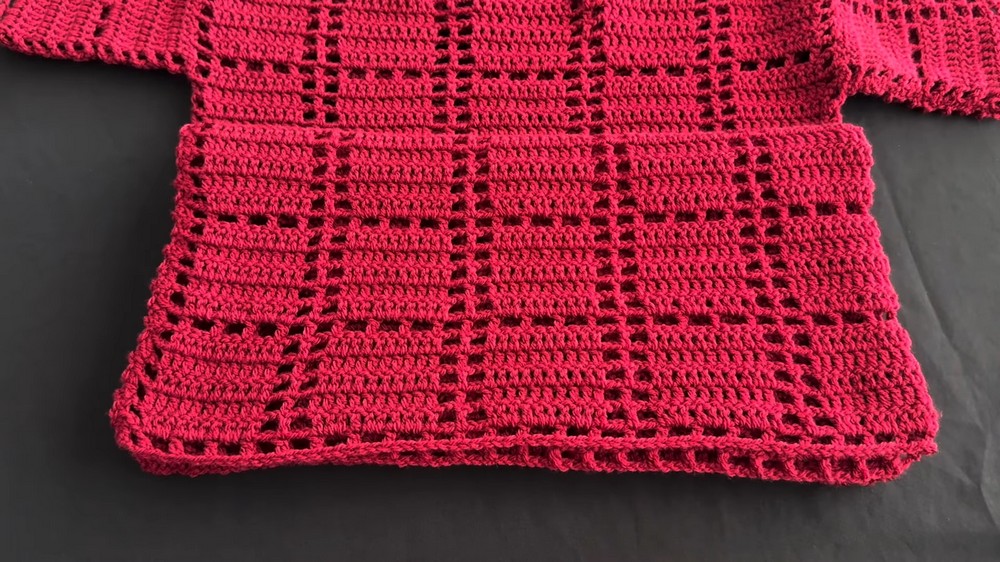
Step 8: Finishing & Assembly
- Sew shoulders (if not already done).
- Attach sleeves: Center the sleeve panel at the shoulder seam, matching the midpoint of the sleeve to the shoulder seam; use stitch markers to hold, then sew sleeve to armhole.
- Sew side seams and sleeve seams continuously (start at bottom hem, sew up to underarm, then finish along sleeve to cuff).
- Weave in all ends with yarn needle.
Step 9: Neckline Finishing (Optional But Recommended)
- With RS facing, join yarn at back neck.
- Ch 1, sc evenly around neckline, placing extra stitches in curves as needed for a smooth finish.
- Sl st to first sc, fasten off, weave in end.
Pattern Correction & Tips
- Important Correction: Foundation chain is a multiple of 15 with an additional 10 on both ends for correct panel width, and you must always begin and end with 10.
- Keep careful note of your stitch counts as you work each solid and mesh section.
- Check frequently that both panels match exactly in stitch and row count to ensure easy seaming.
- When working neckline shaping, adjusting decreases as needed for your desired scoop depth.
Tips:
- Mark your mesh/solid section repeats with stitch markers until you are confident in the sectioning.
- Try the dress on (or measure against a favorite top) before shaping necklines for best fit.
Conclusion
Enjoy your beautifully ventilated, mesh tank dress—a wonderfully cool and stylish piece perfect for warm days. The modular nature and simple repeats make this a beginner-friendly project, while panel construction offers custom fit potential. Add sleeves or leave sleeveless as you prefer, and try color-blocking or stripes for custom looks!