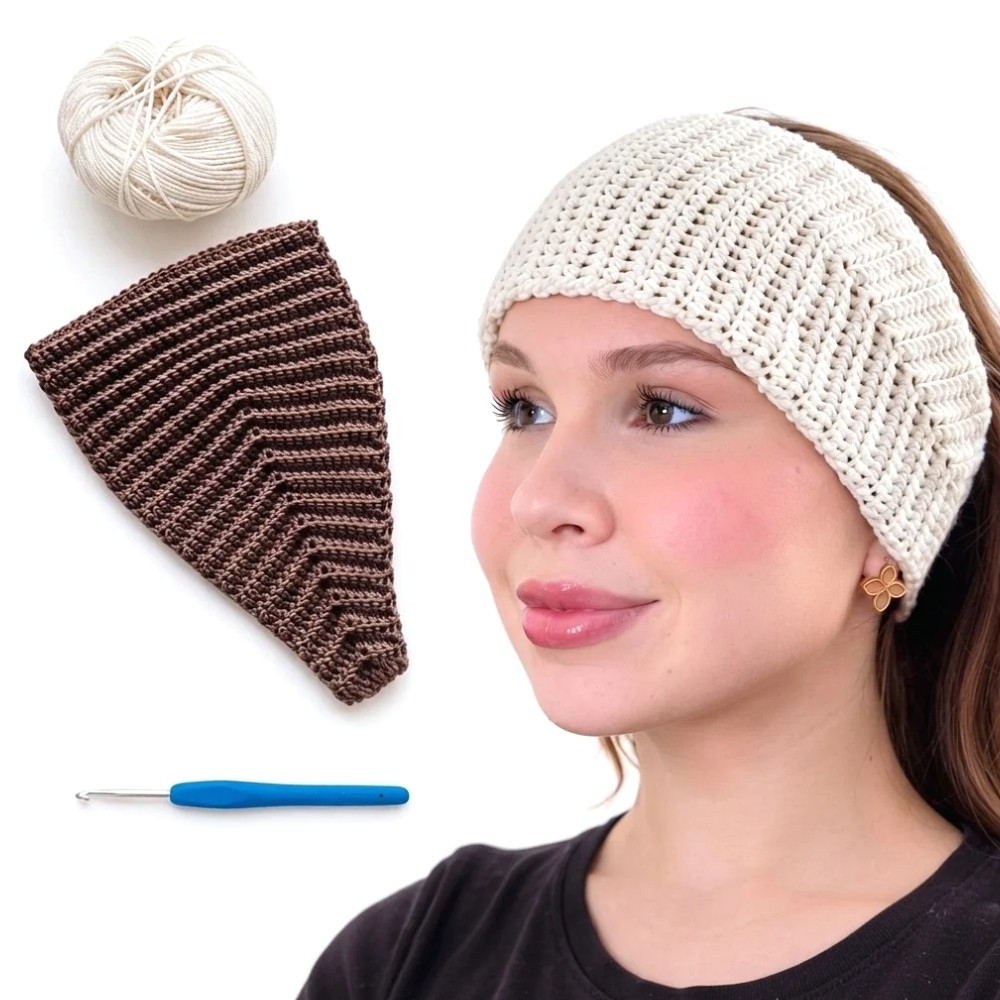
Free Crochet Headband Pattern for Stylish Look

Say Thanks & Support: Творча на всю голову
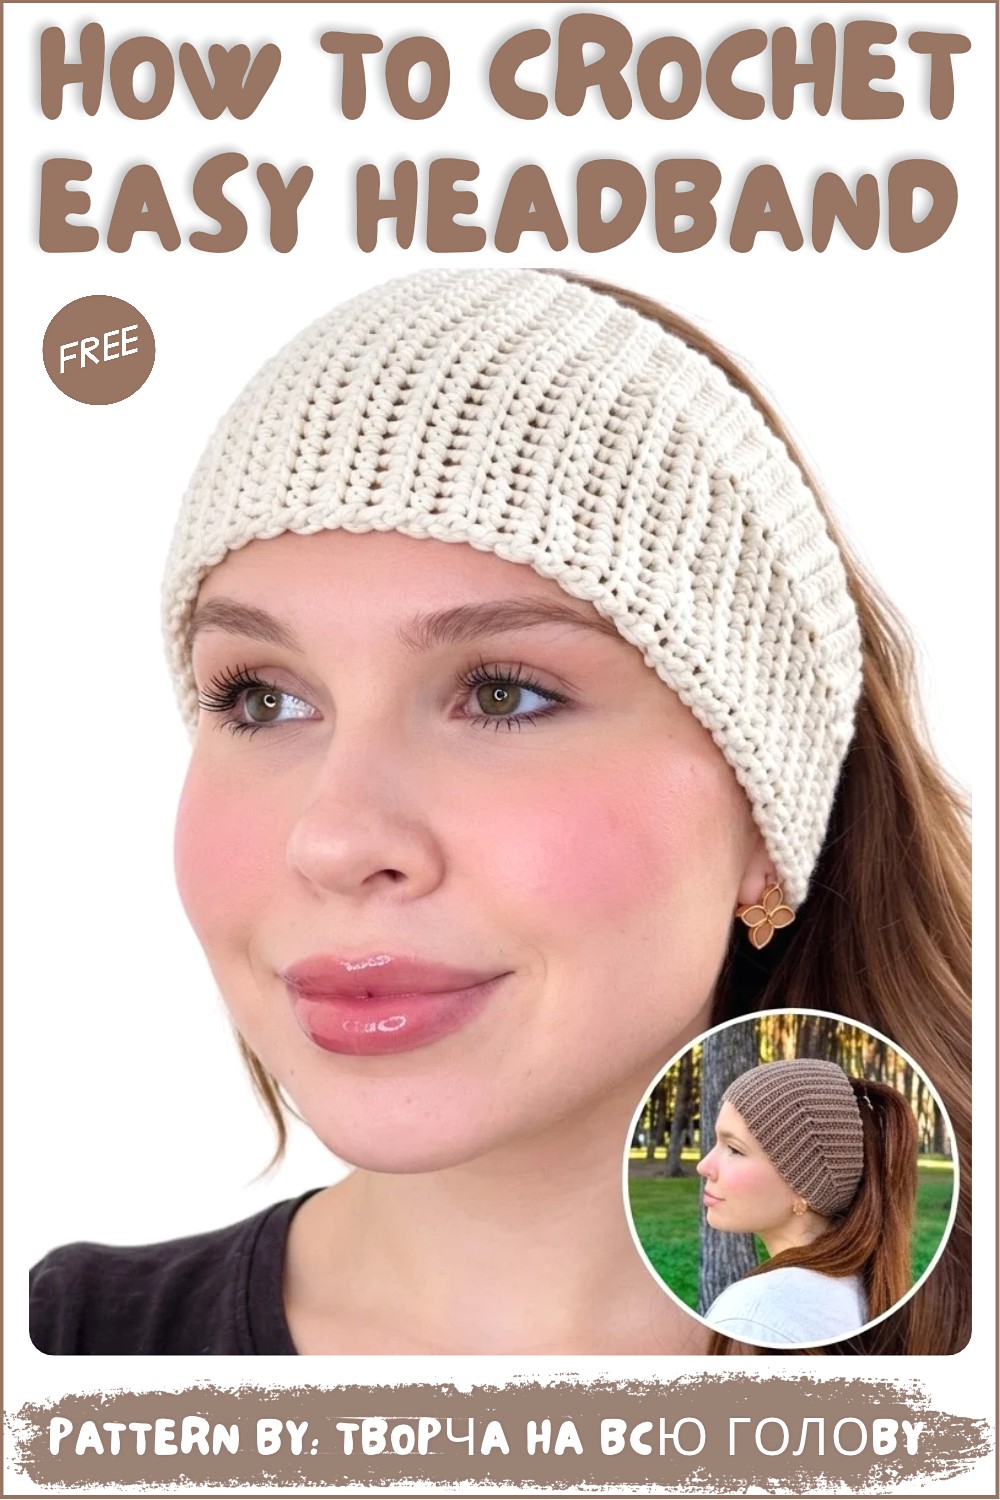
Stay stylish effortlessly with this free crochet headband pattern that’s offering a blend of elegance and practicality to complete your favorite looks.
A crochet headband is not only stylish but also a practical accessory. The Free Crochet Headband Pattern allows you to make a beautiful and functional piece that suits all seasons. With clear instructions and a gorgeous design, this is a project anyone can enjoy.
This headband stands out with its neat shape and textured “Christmas tree” stitch pattern. It tapers slightly for a snug, comfortable fit around the head. Made using yarn options like YarnArt Jeans or Alize Superlana Maxi, you can choose colors ranging from neutral tones for everyday wear to vibrant shades for a fun statement. The texture is soft yet firm, ensuring durability and a polished finish.
Free Crochet Headband Pattern for Beginners
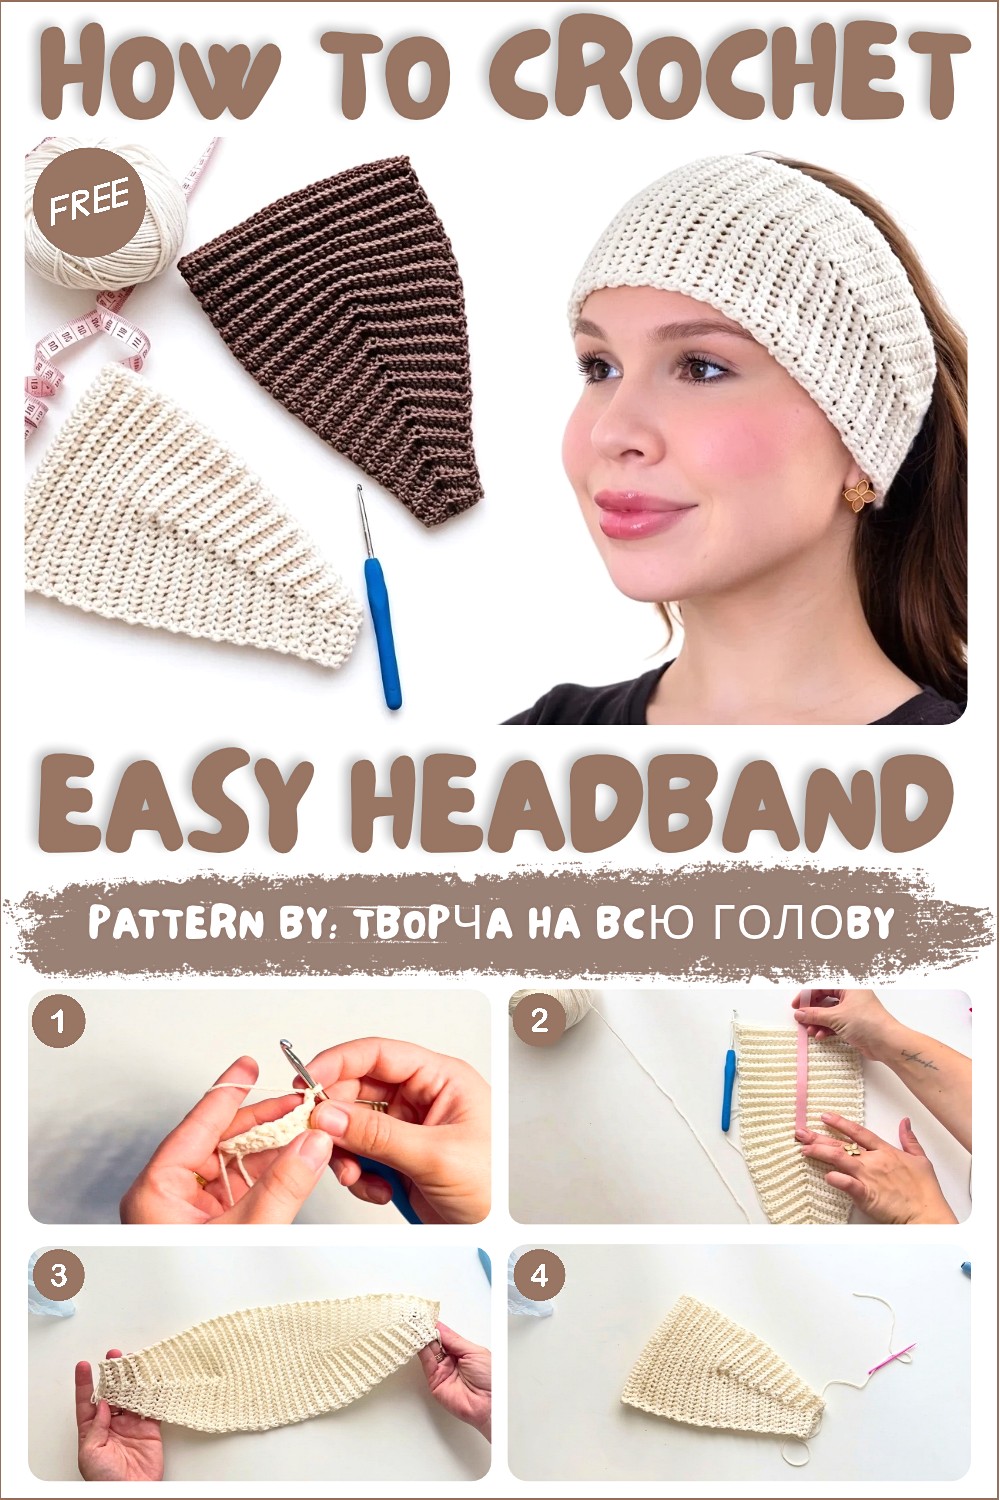
About The Channel:
The YouTube channel Творча на всю голову provides a detailed and easy-to-understand tutorial on how to make this crochet headband. The video is beginner-friendly yet insightful, offering valuable tips at every step to help you bring this project to life.
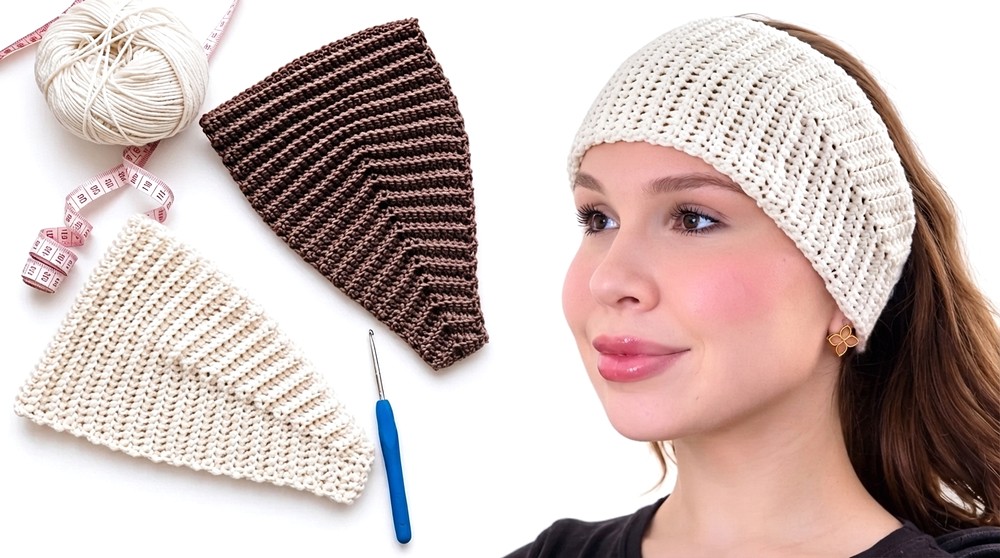
Ideal for keeping warm during colder months or as an everyday fashion statement, this headband is both decorative and practical. It makes a perfect handmade gift and pairs beautifully with other accessories. Plus, its size and simplicity make it great for experimenting with patterns or colors.
Easy Beginner-Friendly Crochet Headband Pattern
Welcome to this step-by-step crochet tutorial on making a comfortable and stylish headband! Designed with beginners in mind, this headband can be completed effortlessly within a few hours, whether you use thin or thick yarn. This pattern features a simple stitch motif enhanced by increases and decreases to create a flattering tapered shape that fits snugly around your head. Whether you choose a thin cotton blend yarn or a thicker acrylic-wool blend, this tutorial will guide you through every stage of the process, including measurements, stitch details, and assembly.
Quick Overview of Pattern
- Start with a foundation chain of 8 air loops (chains).
- Work single crochet stitches (sc) in the back loop only to create a ribbed texture.
- Increase stitches in the middle of certain rows to form a tapered “Christmas tree” shape.
- Continue increasing until the band fits comfortably around your head; then work several rows without increases.
- Begin decreasing symmetrically until narrowing the piece down to the end.
- Join the two short edges by sewing them together, completing the headband.
Notes
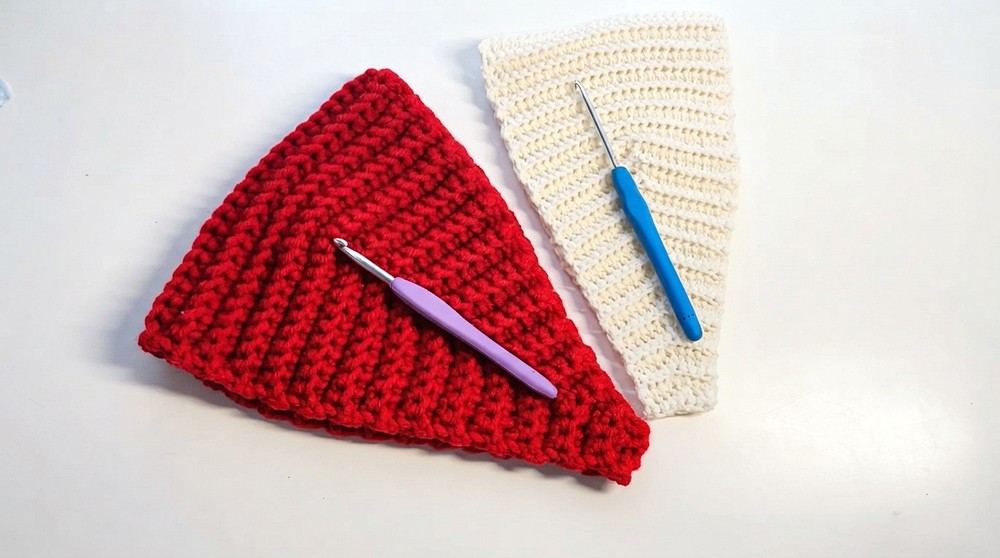
- The headband uses two different yarn weights: thin yarn for a delicate, lightweight band and thicker yarn for a warmer, chunkier one.
- The pattern is worked flat, back and forth, only from one side (no turning over the work).
- The increases and decreases are worked by inserting two single crochets into the same loop or by crocheting two stitches together, respectively.
- Measurements are important; try on the band during the process to ensure perfect fit.
- Use a yarn needle for neat seaming.
- The stitch texture is created by crocheting into the back loops only, giving a stretchy ribbed structure.
Skill Level
Suitable for Beginner crocheters familiar with the following:
- Chain stitch (ch).
- Single crochet stitch (sc).
- How to work into back loops only.
- Increase (two stitches in one loop).
- Decrease (crocheting two stitches together).
- Basic sewing for assembling the final piece.
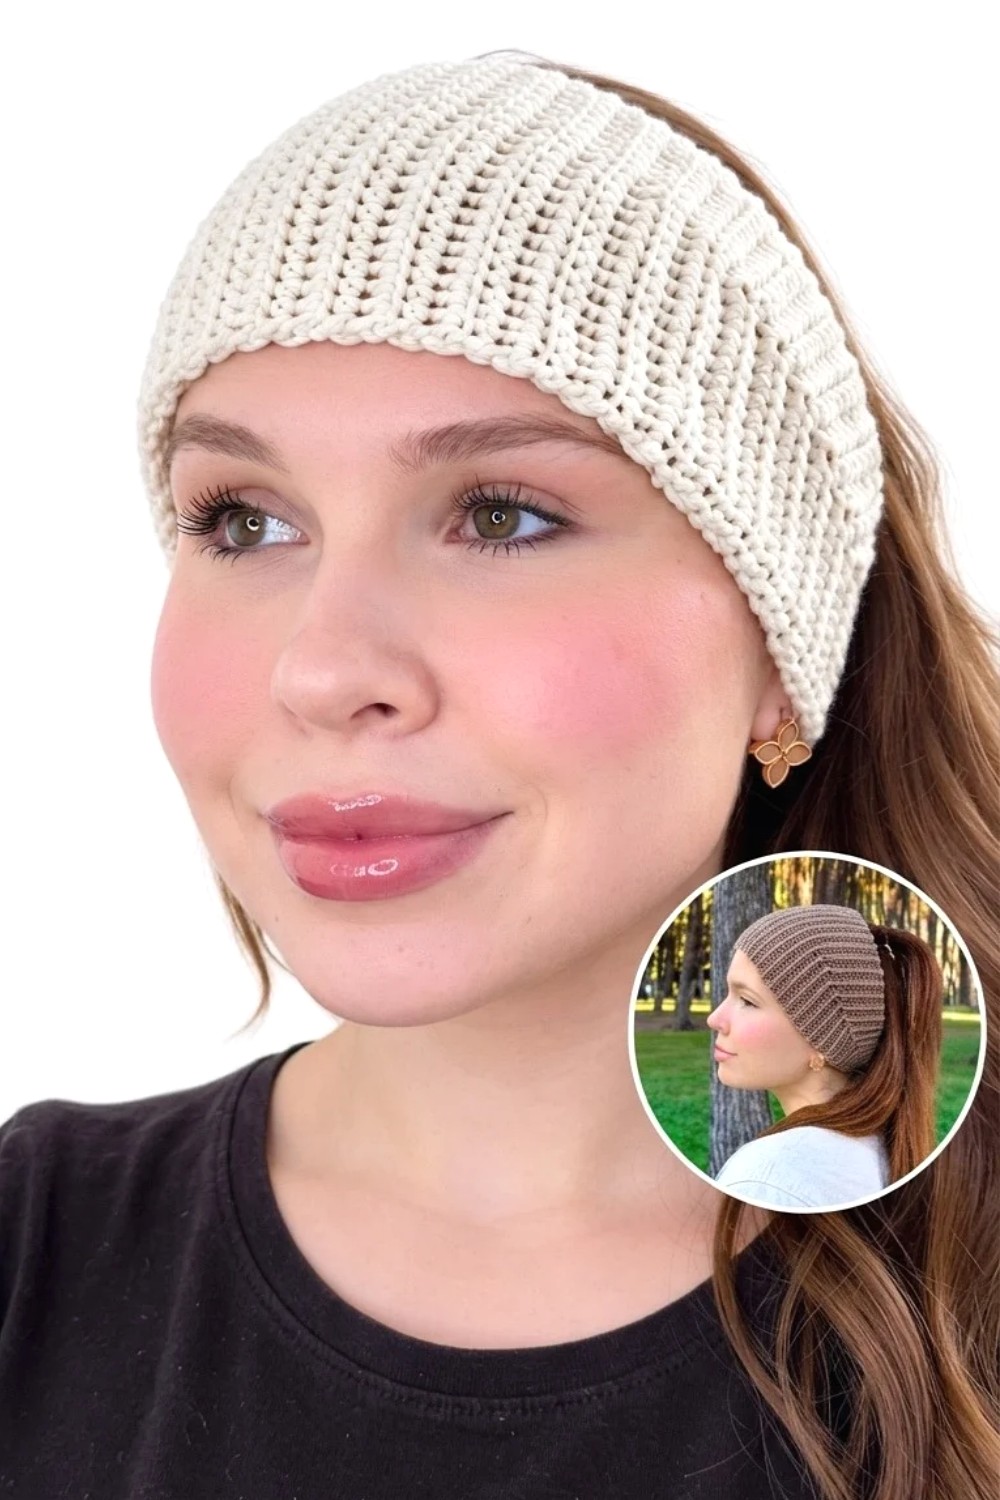
Materials
- Thin headband: Yarn Art Jeans (50g/160m, 45% polyacrylic, 55% cotton) — approximately half a skein.
- Thick headband (optional): Aliz Superlana Maxi (75% acrylic, 25% wool) for a warmer texture.
- Crochet hook size 4 mm for thin yarn; 5 mm for thick yarn.
- Yarn needle for sewing ends.
- Scissors.
- Measuring tape to check fitted size.
Measurements / Sizing
- Starting chain length: 8 loops.
- The working band grows by increasing stitches in the middle rows until it fits comfortably around the head (typically around 15 cm wide at its widest).
- Length is adjusted through increments on the middle “Christmas tree” section during increases, followed by straight rows without increases, and finally tapered decreases.
- Final stitch count after increases is approximately 27 stitches before starting decreases.
Gauge & Stitch Pattern
- The pattern texture comes from working single crochet stitches into the back loops only, producing a ribbed, elastic fabric.
- Rows alternate between increases, straight single crochets, and decreases to shape the tapered headband.
- Each increase adds one stitch by working two single crochets into one loop; decreases join two stitches into one.
- Edge stitches are worked carefully, sometimes through two loops for stability.
Stitch Abbreviations
| Abbreviation | Stitch | Explanation |
|---|---|---|
| ch | Chain | Yarn over, pull through loop |
| sc | Single Crochet | Insert hook, yarn over, pull through loop twice |
| inc | Increase | Two single crochet stitches worked in one stitch |
| dec | Decrease | Single crochet two stitches together |
Special Techniques
Working into Back Loops Only:
- Insert the hook under the back loop (the loop furthest from you) of the stitch only, skipping the front loop, to produce a ribbed texture.
Increase (Single Crochet Twice in One Loop):
- Insert hook into stitch, yarn over and pull up a loop, yarn over and pull through two loops (1st sc).
- Insert the hook into the same stitch again and repeat to make another sc (2nd sc), increasing the stitch count by 1.
Decrease (Single Crochet Two Together):
- Insert hook into first stitch, yarn over and pull up a loop.
- Insert hook into next stitch, yarn over and pull up a loop.
- Yarn over and pull through all three loops on hook, completing one stitch from two.
The Crochet Pattern!
Step 1: Foundation Chain
- Start by making a slip knot on your hook.
- Chain 8 air loops (ch 8) loosely, enough for a comfortable width at the narrowest part.
- Chain one extra loop (ch 9) to begin your first row’s turning chain.
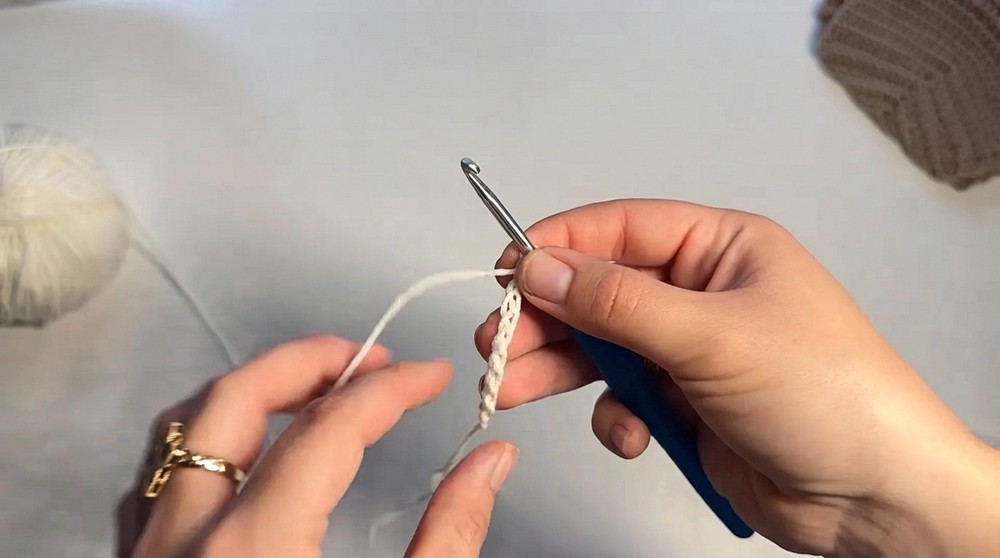
Step 2: Row 1 — Single Crochet Along Back Loops
- Insert hook into the second chain from the hook, working single crochet (sc) only into the back loops of each chain across.
- Continue working 8 single crochets in back loops.
- Chain 1 (for the turning row). Turn your work.
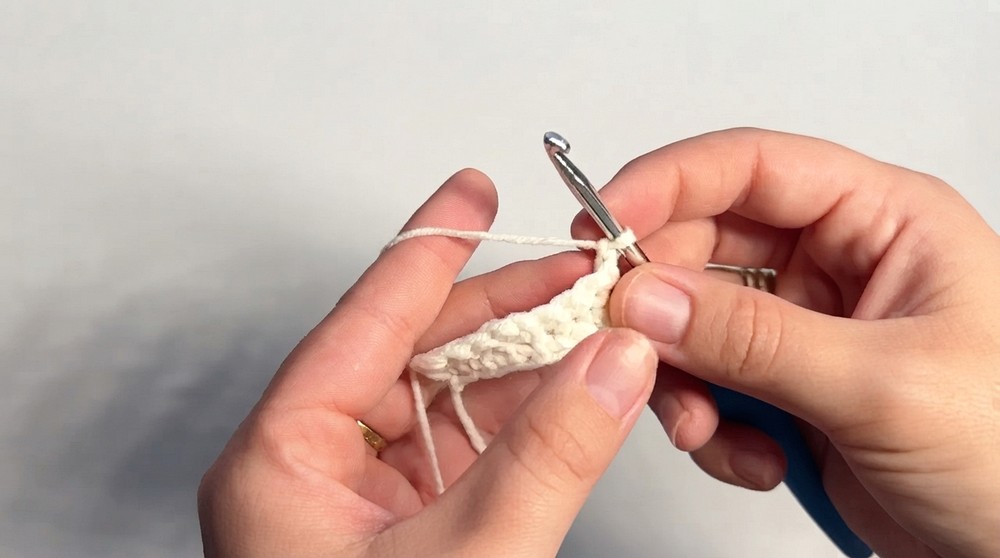
Step 3: Row 2 — Begin Increase Pattern (Forming Tapered “Christmas Tree” Shape)
- Skip first stitch, working into back loops as before:
- Make sc in next 3 stitches (3 sc).
- Increase: In the 4th stitch, work 2 single crochets (inc) to create an addition.
- Work sc in next 4 stitches (4 sc), ending the row with a total of 9 stitches now.
- Chain 1. Turn work.
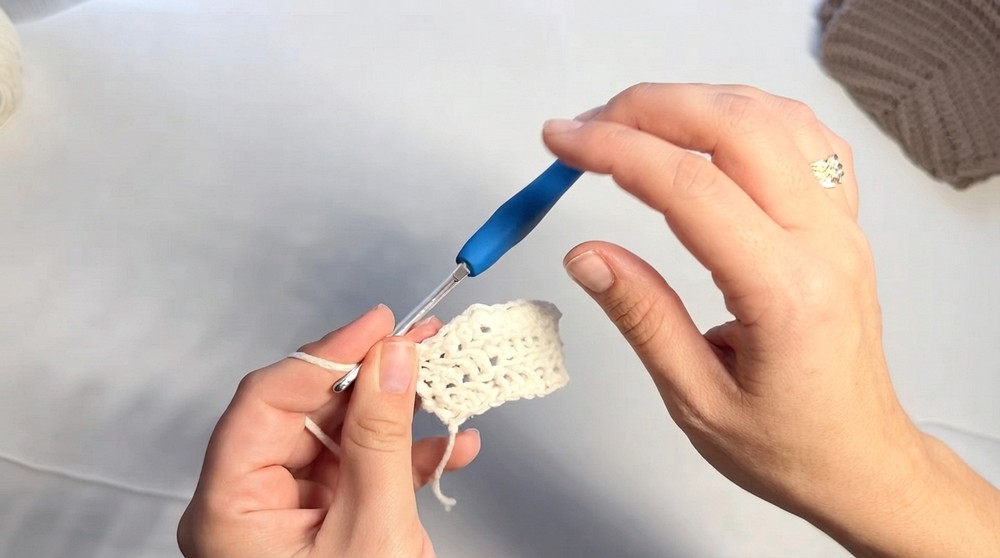
Step 4: Rows 3 and Onward — Continuing Rows with Increases
- Repeat the process, increasing one stitch in the middle of the row each time by working two sc stitches in the same middle stitch.
- Work the rest of the row as single crochets in back loops.
- The total number of stitches increases by 1 in each row.
- Continue until the band measures approximately enough to fit your head comfortably (around 15 cm wide).
- Try on the band frequently to check the width.
Step 5: Middle Section — No Increases
- Once the desired width is reached (around 27 stitches), work several rows of single crochet in back loops without any increases or decreases to build the length.
- Maintain chain 1 at the end of each row and turn.
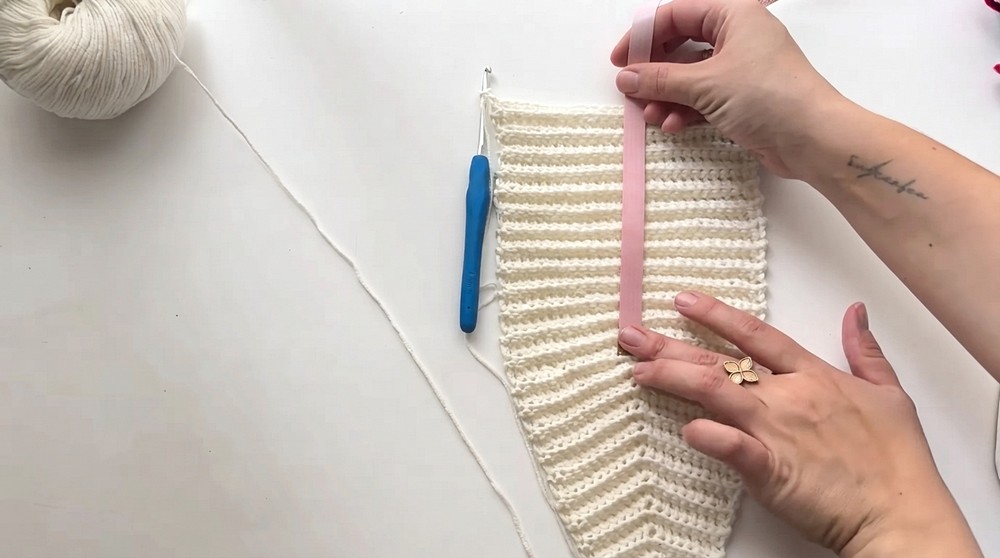
Step 6: Decreasing Rows — Tapering the Band’s End
- Begin decreasing stitches symmetrically to taper the band.
- For each decreasing row:
- Work a set number of single crochets, then decrease by crocheting two stitches together (dec), and complete the row with single crochets.
- For example:
- Row 1 of decrease: 12 sc, dec, 12 sc (25 stitches total).
- Row 2: 11 sc, dec, 12 sc (24 stitches).
- Continue decreasing by one stitch before or after the dec to keep symmetrical shaping.
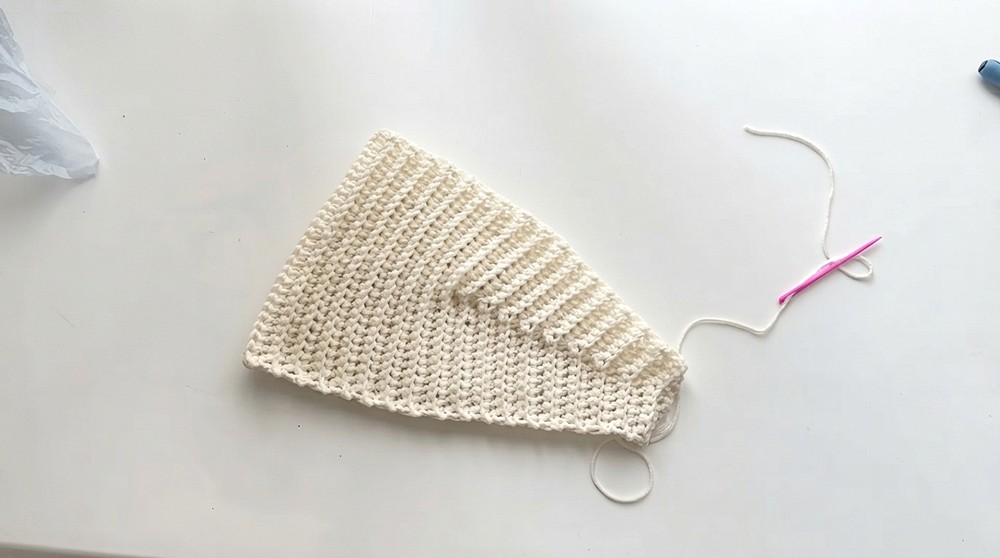
- Continue until the end is narrowed to about 8 stitches.
Step 7: Finishing the Band
- After last row (approx. 8 stitches), cut the yarn leaving a long tail for sewing.
- Fasten off.
Assembly & Finished Size
- Lay the band flat with right sides facing each other, matching edges lengthwise.
- Thread the yarn needle with the long tail left from finishing.
- Sew the two short edges together using a zigzag or whipstitch seam, carefully matching the textured ribs.
- Weave in any remaining yarn ends securely.
- The finished headband should measure approximately 15 cm wide and long enough to fit comfortably around the head, with a soft stretch from the ribbing.
Conclusion
This beginner-friendly crochet headband pattern is simple, quick to make, and uniquely shaped through strategic increases and decreases. Its stretchy ribbed texture, created by working into back loops only, ensures a snug but comfortable fit suitable for all day wear. With just basic single crochet skills, you can customize the width, length, and color of your headband. Whether using a delicate cotton blend yarn or a cozy acrylic-wool yarn, this practical accessory can be tailored to your style and comfort needs. Give it a go, and don’t hesitate to reach out with questions or share your finished headbands online.