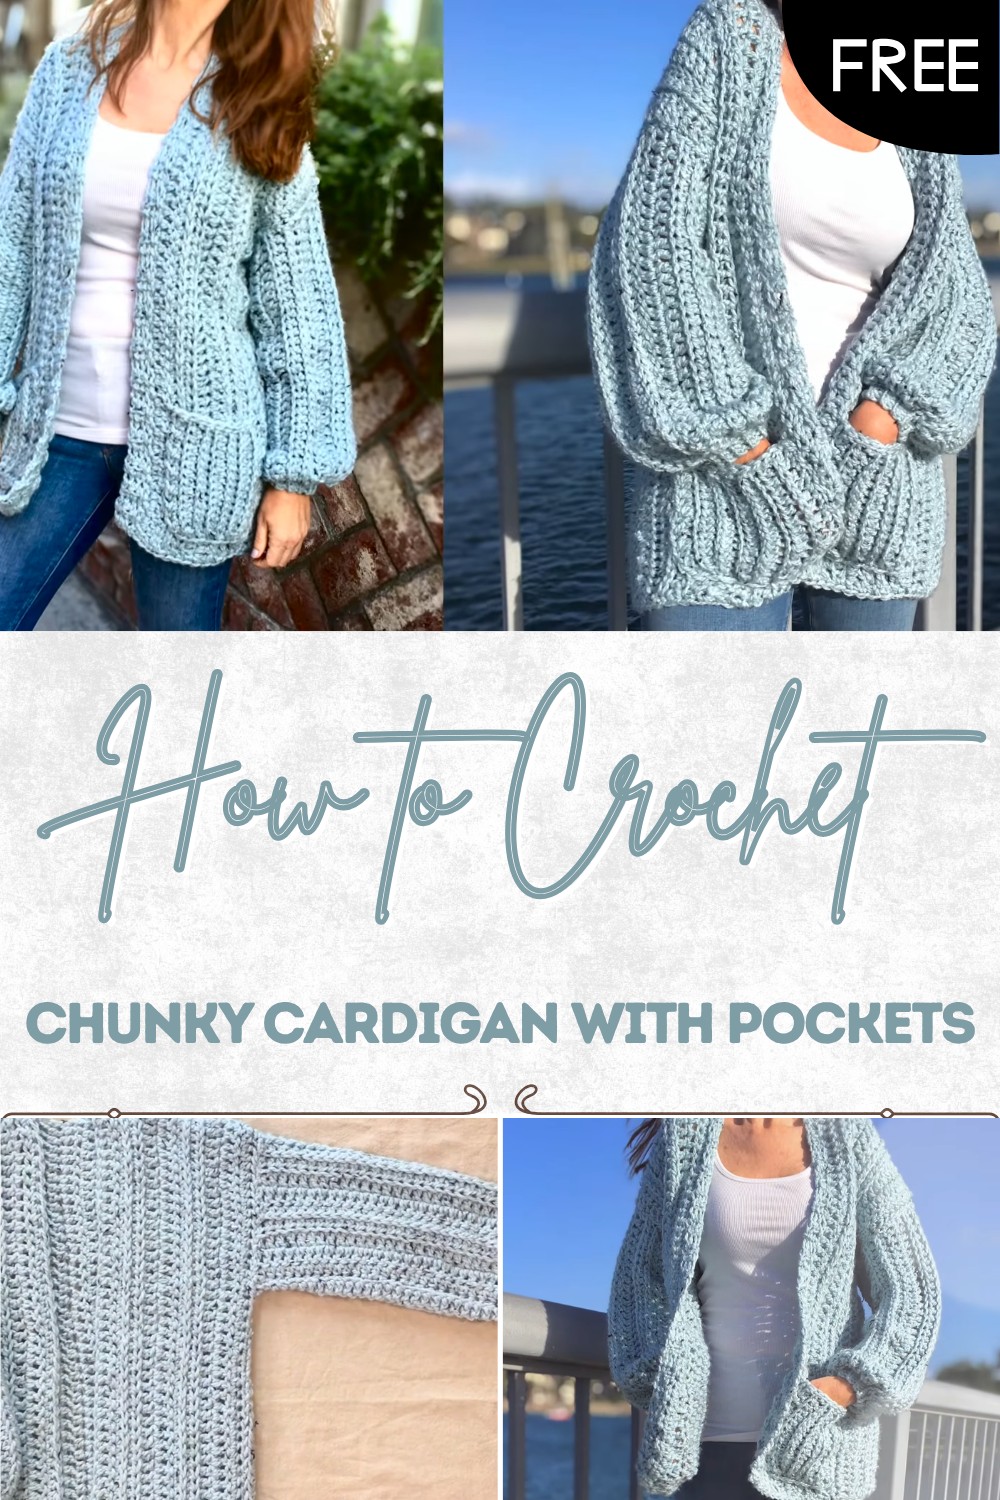
Free Crochet Cardigan With Pockets Pattern for Ultimate Comfort
Stay cozy and practical with this free crochet cardigan with pockets pattern, that offers comfort holds essentials and suits everyday wear.
A soft layer can change how you feel and move through your day. The Crochet Cardigan With Pockets pattern creates a cozy and stylish piece that wraps the body with warmth and comfort. It has a relaxed shape that looks beautiful on all body types and feels gentle on the skin. The pockets add a special touch making it easy to keep small items or rest your hands in a warm place. This cardigan is perfect for daily wear travel outings or quiet time at home.
Easy Pocket Cardigan Crochet Pattern is Free
Its strong stitches help it keep its shape and last for a long time. You can choose calm shades or bright colors to match your style and mood. One of its best benefits is how easy it is to follow which helps beginners learn with confidence. It also makes a thoughtful handmade gift filled with care. Crochet Cardigan With Pockets pattern turns simple yarn into a useful and lovely piece that brings warmth beauty and comfort to everyday life in a very easy and enjoyable way.
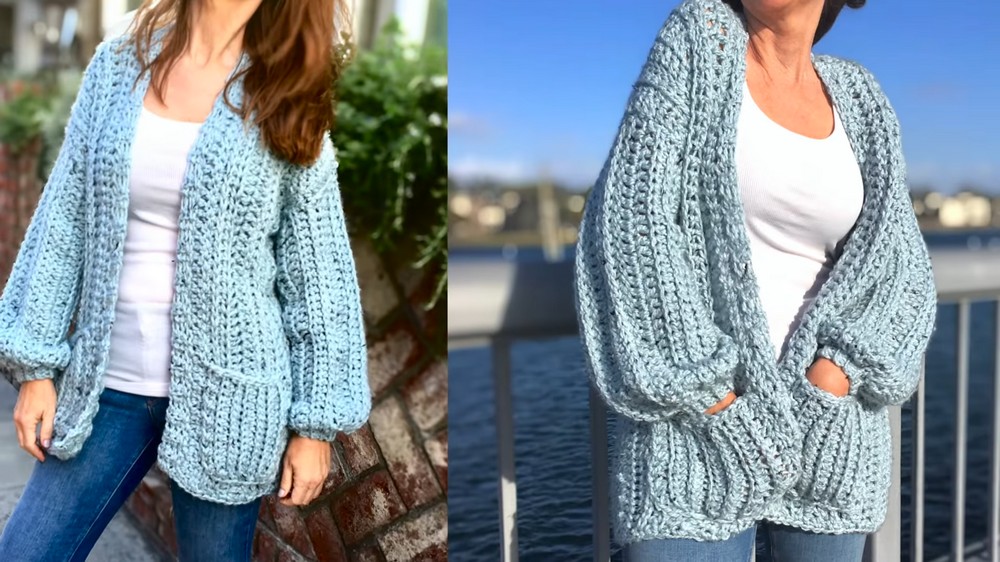
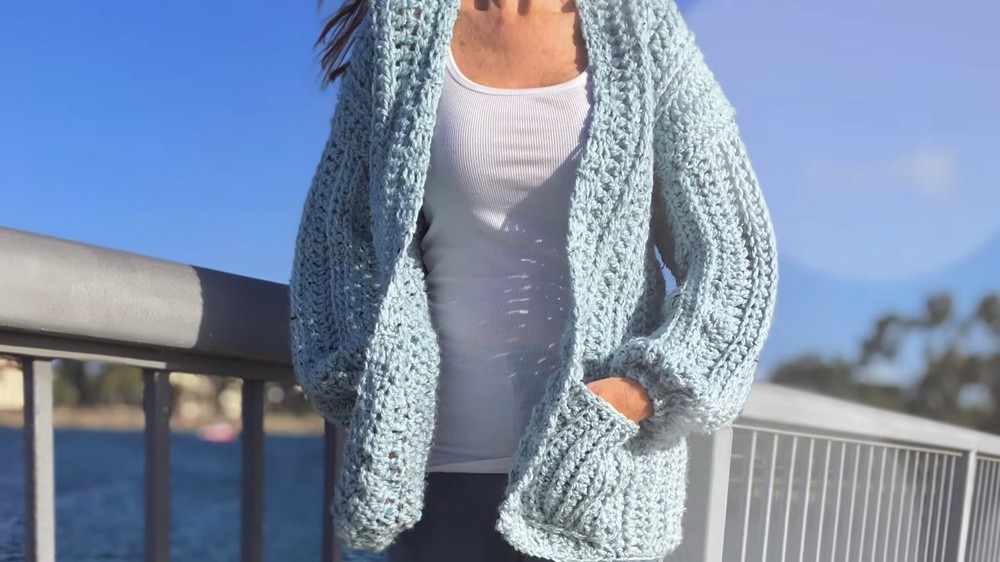
Chunky Ribbed Pocket Cardigan
Materials
- Yarn: Size 5 bulky weight yarn, approx. 744 yards (about 8 balls, sample color: “Sky Tweed” from Michael’s)
- Hook: Size M/N (9 mm) crochet hook
- Notions:
- Yarn needle (for seaming and weaving ends)
- Scissors
- Stitch markers (optional)
- Measuring tape
Key Abbreviations (US Terms)
| Abbreviation | Meaning |
|---|---|
| ch | chain |
| sc | single crochet |
| dc | double crochet |
| hdc | half double crochet |
| sl st | slip stitch |
| BLO | back loop only |
| FLO | front loop only |
| rep | repeat |
| st(s) | stitch(es) |
Special Notes
- Chainless Double Crochet: Work 1 sc in first st, rotate, work 1 sc in 2 side bars—this counts as the first dc.
- Camel Stitch: Hdc in the third loop at the front (not the top “V”), for a deep ribbed look.
- To Adjust Size:
- For wider back/front panels, add more starting chains (always chain a multiple allowing for symmetry).
- For wider/longer sleeves, adjust beginning chain or number of rows.
- Maintain Loose Slip Stitches on cuffs to ensure stretchiness.
- Custom Fit: Try on after seaming shoulders and adjust sleeve/side seam for your fit.
Pattern
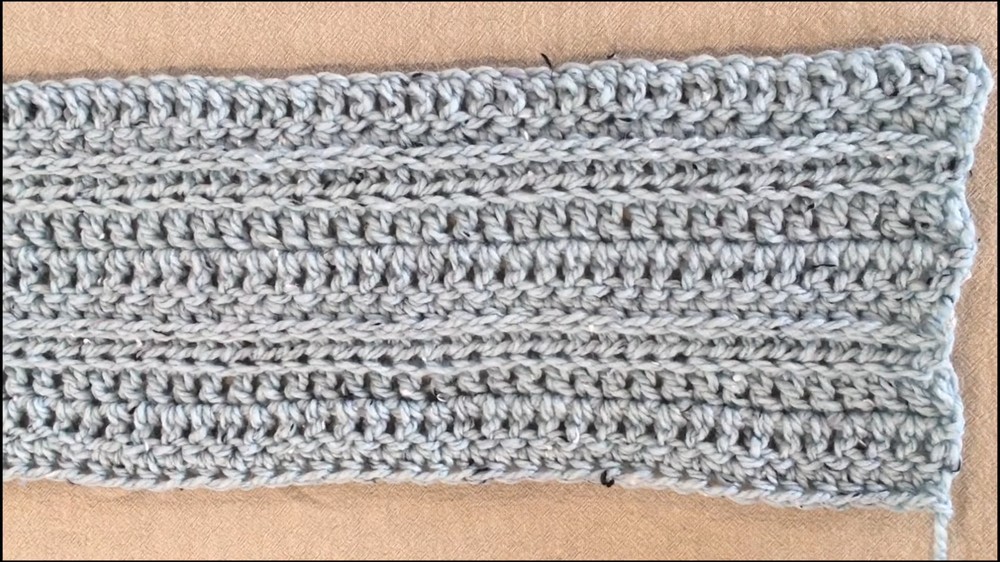
Back Panel
- Foundation:
Ch 53 loosely. - Row 1: Work into back bumps of chain.
- In 2nd ch from hook: Work a chainless double crochet (see Special Notes).
- Dc in each ch to end (total 52 dc including the chainless dc).
- Row 2: Ch 1, turn.
Hdc in first st and each st across.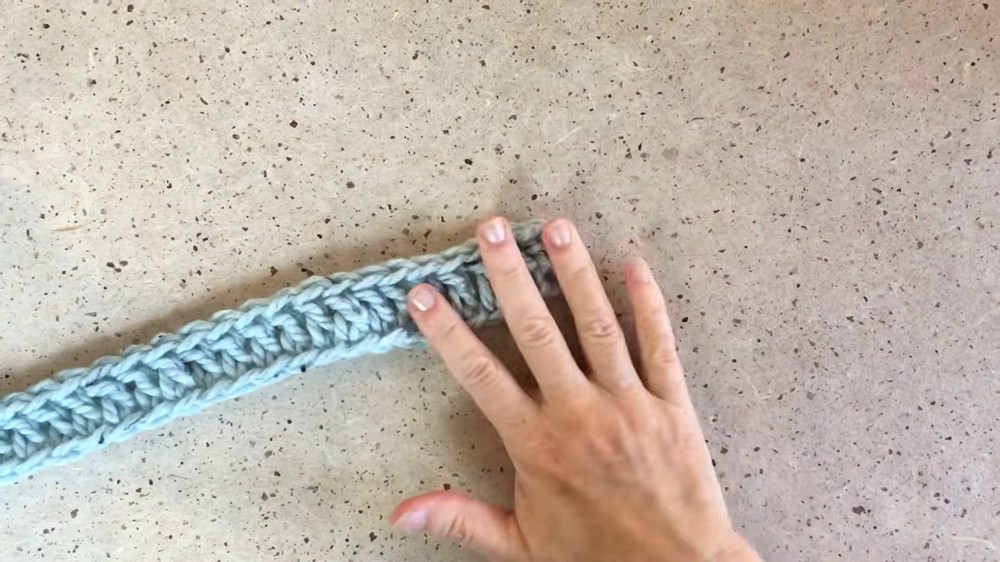
- Row 3: Ch 1, turn.
Hdc in the third front loop of each st (Camel Stitch) across. - Row 4: No turning ch, turn.
Create a chainless dc in BLO of first st.
Dc BLO in each remaining st across.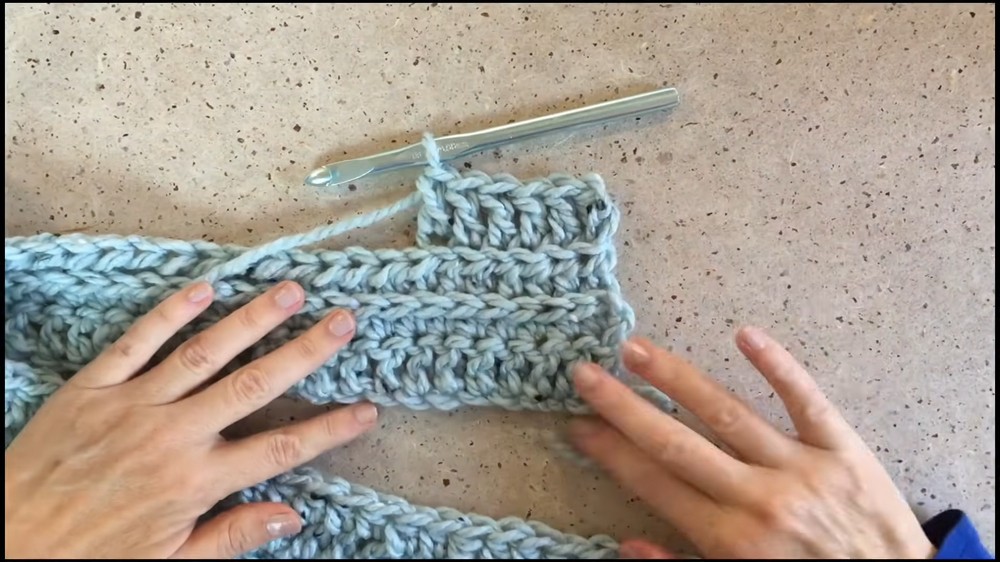
- Row 5 and on: Chainless dc in first st, then dc in both loops across.
- REPEAT ROWS 2–5 (the 4-row repeat), continuing until you have 22 rows total. End with Row 2 (a hdc row).
- Should measure approx. 20″ wide × 30″ long (adjust to fit as needed).
Front Panels (Make 2)
- Begin as for back panel; ch 27 (half the back panel width).
- Work as for back panel, following the same 4-row repeat, ending with 10 rows (should finish with a Row 2/hdfrow).
- If you added rows to your back panel, split evenly between front panels (e.g., +2 rows each side if you added 4).
Shoulder Seams
- Lay front panels on the back panel, wrong sides together. Align evenly at the top.
- Sew shoulder seams.
Sleeves (Make 2)
- Foundation:
Ch 35. - Work into the back bumps.
- First 4 sts: Work slip stitches (for ribbed cuff; keep loose).
- St 5 to end: Work dc in each ch to end.
- Row 2: Ch 1, turn.
Work hdc in each st across (through both loops).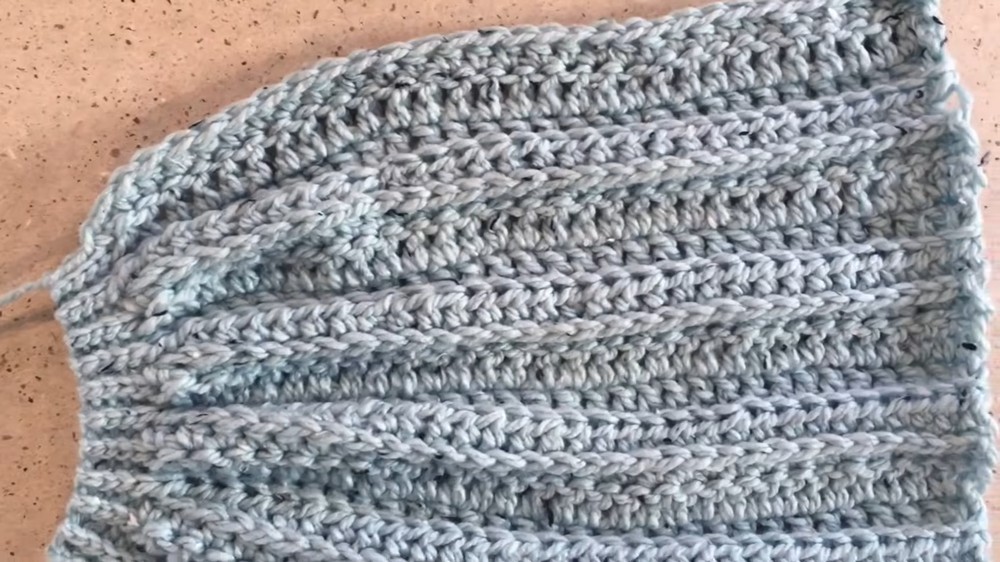
- Last 4 sts: sl st in BLO for cuff section.
- Row 3: Ch 1, turn.
Work sl st in BLO for first 4 sts, then hdc in third/front loop across (Camel Stitch). - Row 4: Turn (no ch), sl st in BLO for first 4 sts, then dc in BLO across.
- Row 5 (Repeat pattern): Chainless dc in first non-cuff st, dc in both loops across, finish with sl st in BLO for last 4 sts (cuff).
- Continue the 4-row pattern repeat (slst, hdc, camel stitch, dc blo) until you have 22 rows per sleeve.
- If you desire a longer sleeve, make a longer beginning chain.
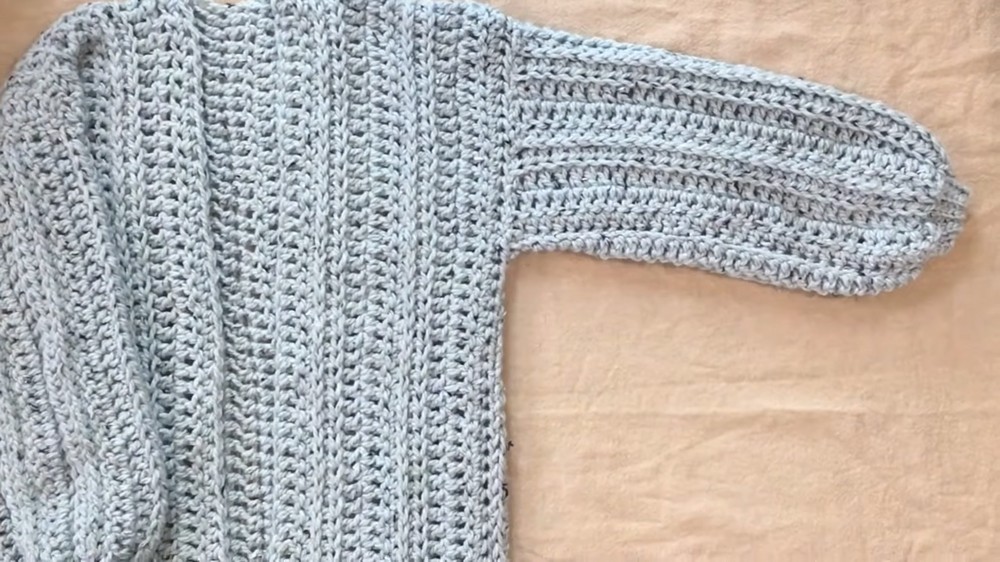
Assemble and Seam
- With RS together, pin and sew each sleeve evenly to the body, centering over the shoulder seam.
- Fold garment as shown in video, sew side and underarm seams.
Bottom and Front Ribbing
- With RS facing, join yarn at bottom edge.
Ch 1, sc evenly across entire bottom edge.
(Do not work stitches too close together—snugging helps ribbing lay flat.) - Turn, ch 4.
Sc in 2nd ch and next 2 ch (3 sc total down ch).- Sl st into next 3 unworked edge sts.
- Turn (no ch), skip 3 sl sts, sc BLO in 3 sc.
- Ch 1, turn, sc BLO in 3 sc.
- Continue: Sl st into next 3 unworked edge sts, turn, skip sl sts, sc BLO… Repeat around first front edge, neckline, and second front edge to the hem.
- Fasten off.
Pockets (Make 2)
- Ch 15.
- Hdc in 2nd ch from hook and in each ch across (14 hdc).
- Row 2: Ch 1, turn, hdc in third/front loop across (Camel Stitch).
- Row 3: Ch 1, turn, hdc BLO across.
- Repeat Rows 2 & 3, for a total of 7 rows, ending with a Camel Stitch row.
- Pivot and sc evenly across the bottom raw edge.
Turn, sc evenly up first side edge. - Top edge: Ch 1, turn, sl st across top for a sturdy, decorative finish.
- Make a second pocket.
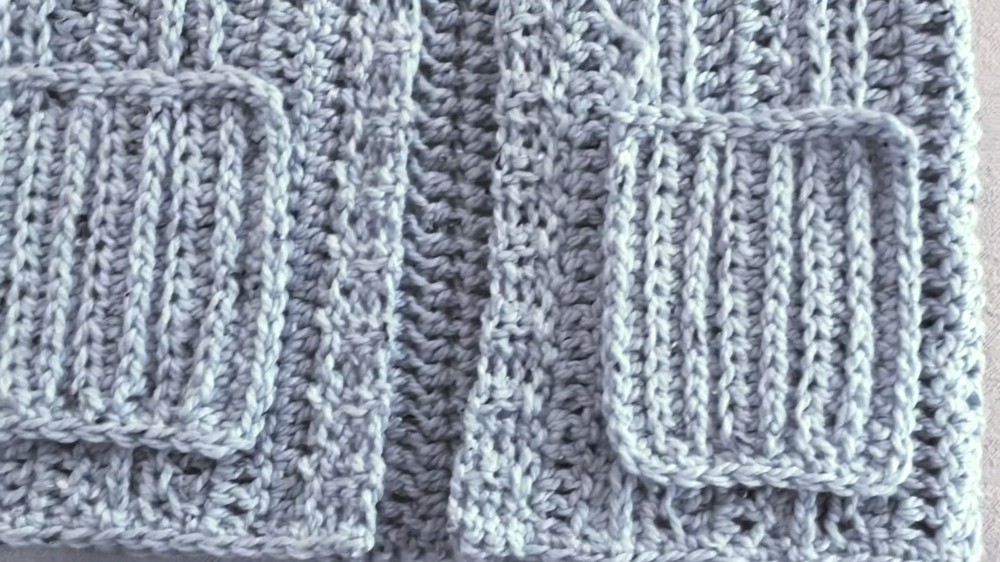
Attach Pockets and Finish
- Position pockets equally to your liking (e.g., approx. 2–3″ above ribbing and toward center edge of front panel).
- Pin and hand-sew bottom and sides of pocket to cardigan front.
- Weave in all ends neatly.
- Block lightly if necessary for shape.
Conclusion
This ribbed pocket cardigan is chunky, warm, and sophisticated—with vertical ribbing, sturdy cuffs, and generous pockets. The four-row texture repeat ensures interest and a professional finish. The project is easy to customize for width, length, and fit.
Pattern Corrections & Tips
- Correction: Always maintain row count and ensure each row begins/ends properly—watch for missed stitches, especially when working slip stitches for cuffs.
- Tips:
- Keep slip stitches loose so the cuffs, hem, and collar stretch and do not pucker.
- Try on your cardigan before sewing side seams to ensure sleeve and body length are to your comfort.
- For a customized fit, add chains for width or rows for length as desired.
- If you have added rows to the back panel, distribute extra rows evenly to both front panels for symmetry.