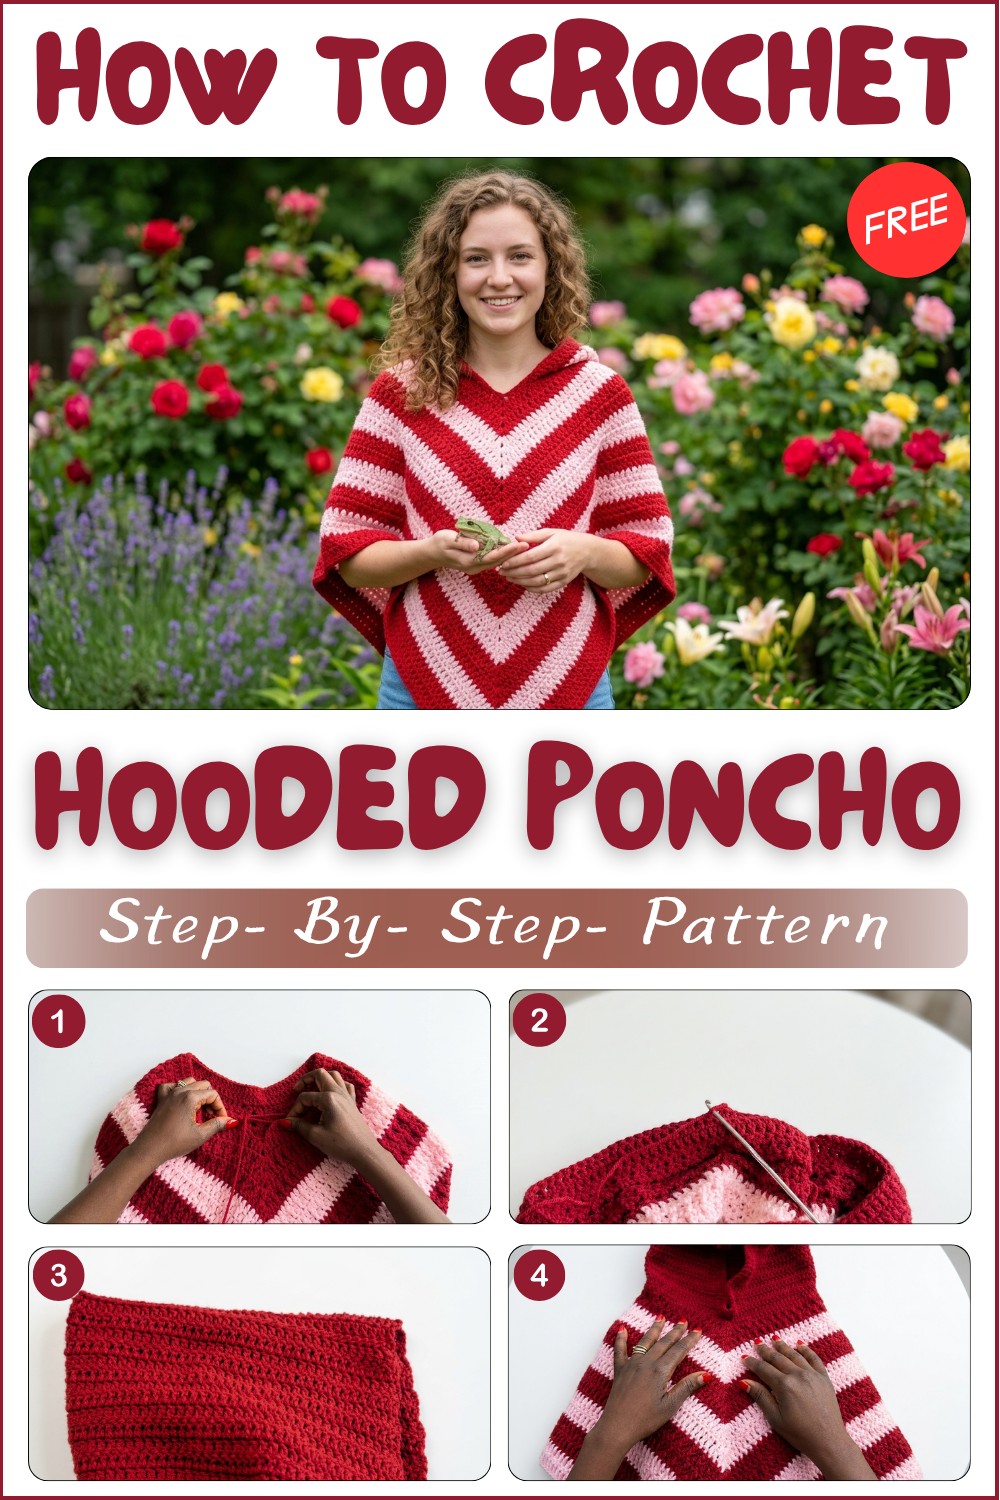
Free Hooded Poncho Pattern – Easy Crochet Project
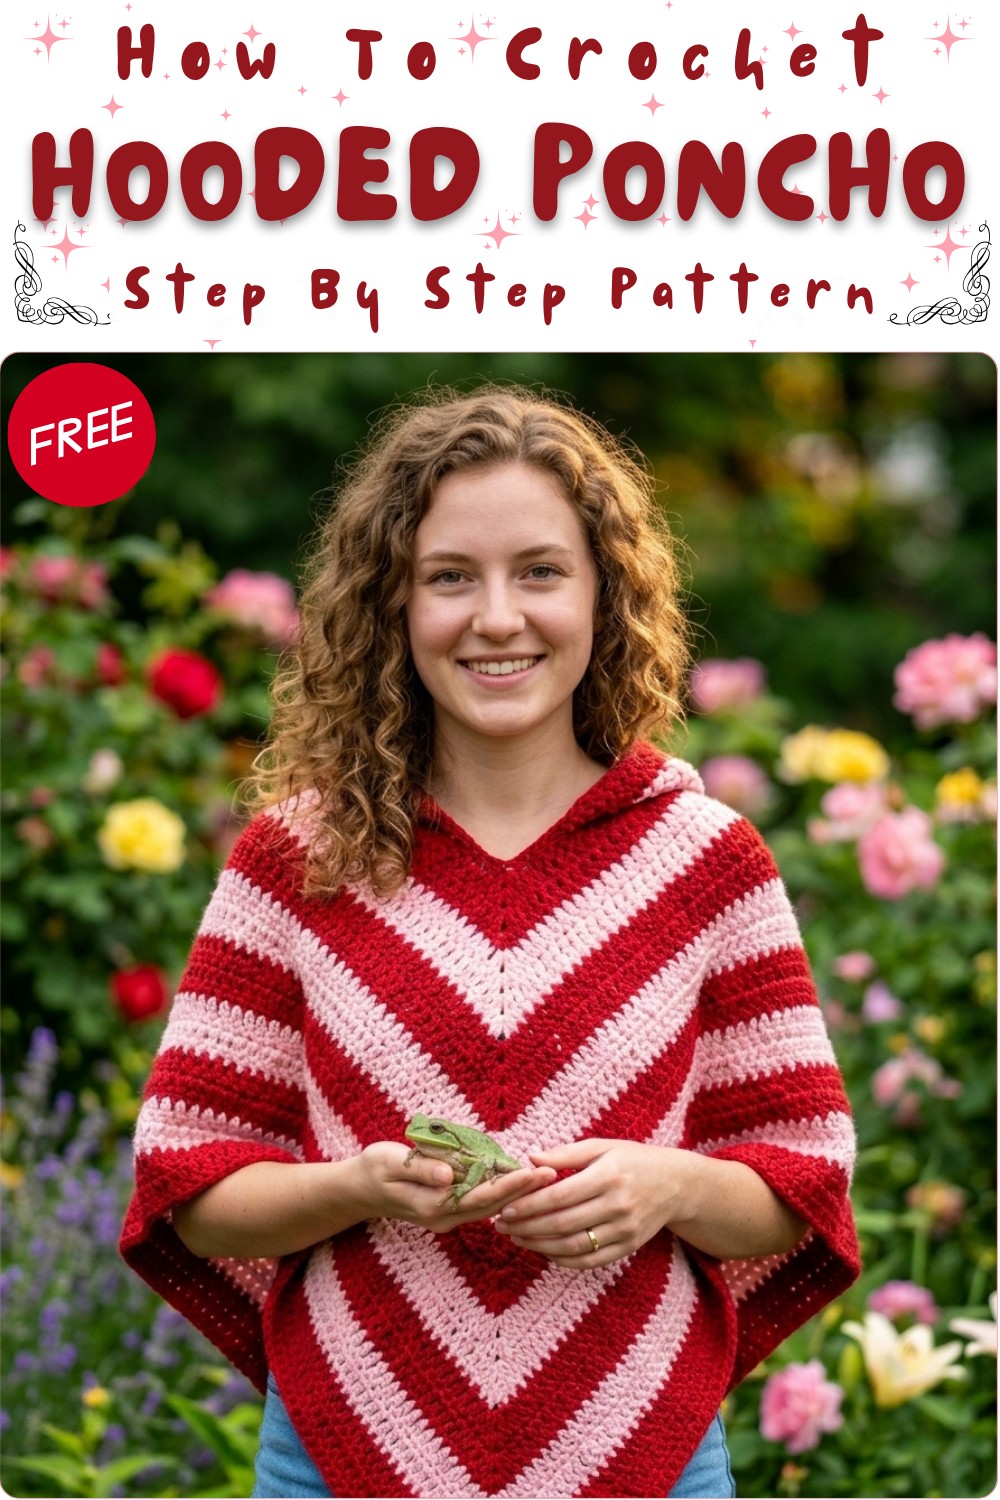
Complete any outfit with cozy comfort and style by following a Free Crochet Hooded Poncho Pattern that is simple fun and perfect for all ages.
There is a special garment that brings warmth comfort and effortless beauty to people of all ages—a hooded poncho made with crochet is just that piece. The Crochet Hooded Poncho pattern offers a way to make a stylish cover-up that feels like a soft shield against chilly air and shines with personal flair. Easy to slip over your head it drapes gently around the body giving you freedom to move while keeping you cozy whether at home in your yard or out in town.
Free Hooded Poncho Crochet Pattern You’ll Love
With its roomy hood for extra protection and its open sides for a relaxed fit this poncho can be worn by anyone and suits every season. You can use it to stay warm during a breezy walk or for an extra layer at night. This simple pattern brings happiness to both the maker and wearer making it perfect for sharing with family and friends.
Easy Crochet Hoodie for Poncho — Step-by-Step Pattern
This pattern guides you through adding a cozy, classic hoodie to the neckline of any finished crochet poncho. The construction is straightforward and keeps the focus on simple double crochet (dc) stitches. The hoodie can be made in any color to match or contrast with your poncho and includes steps for a neat finishing edge. Instructions are suitable for adults, teens, or children—just adjust the number of rows for fit. You will need to already have a poncho to attach the hood.
Pattern Notes
- This is an add-on project; complete your poncho body before beginning the hood.
- Work in rows, turning after each row.
- The hoodie is crocheted flat from the neckline edge and then seamed at the top.
- Edges are evened up with half double crochet rows.
- You may use one solid color or alternate as desired.
- The neckline’s center stitch should remain unworked, forming the hood’s front-center split.
Skill Level
- Confident Beginner
- If you know how to double crochet and seam with a yarn needle, you’re ready for this project.
Materials
- Yarn: Lightweight (category #3) acrylic yarn (Azurite or similar, 100% acrylic, 50g = ~140m/skein)
- 2–3 skeins, depending on desired hood size
- Color to match or contrast your poncho
- Hook: 5 mm crochet hook (or size used for your poncho)
- Notions: Darning/yarn needle, scissors, measuring tape or ruler for fit adjustment

Measurements / Sizing
- Hood: Adjustable—measure from the top of your shoulder, over your head, to the opposite shoulder for a loose, comfortable fit.
- Sample used: 22 rows (adult), but measure as you go.
Gauge (and Stitch Pattern)
- Gauge: Approximately 16 dc x 9 rows = 4″x4″ (10×10 cm) in dc stitch with 5mm hook.
- Stitches: Double crochet (dc) for hood, half double crochet (hdc) for trim.
Stitch Abbreviations
- ch: chain
- dc: double crochet
- hdc: half double crochet
- sl st: slip stitch
- st: stitch
- RS/WS: right side / wrong side
Special Stitches
- Double Crochet (dc): Yarn over, insert hook in stitch, yarn over and pull up a loop, yarn over and pull through two loops, yarn over and pull through remaining two loops.
- Half Double Crochet (hdc): Yarn over, insert hook, yarn over and pull up a loop, yarn over and pull through all three loops on hook.
- Joining/seaming: Use a yarn needle and whip stitch as described, or your preferred joining method.
The Crochet Pattern!
PREPARATION
- Identify the Right Side:
- Spread your poncho out on a flat surface, with the right side up (the side you’d like facing out when worn).
- Select the color(s) for your hood. Continue with one color or alternate as desired.
HOOD BASE FOUNDATION
- Attach Yarn:
- Make a slip knot with your chosen yarn and 5 mm hook.
- Locate center neckline; skip the center stitch and join yarn in the stitch IMMEDIATELY right (or left) of center.
- Leave the front center stitch unworked for a neat split: this forms the front “V” of your hoodie.
- Setup Row:
- Ch 2 (counts as first dc).
- Dc in each st (or space/gap) across the neckline, to the shoulder edge.
- You may work into stitches or use the chain spaces if easier.
- At center/shoulder edge: work 2 dc in corner gaps for fullness.
- Leave the very center unworked on both front and back.
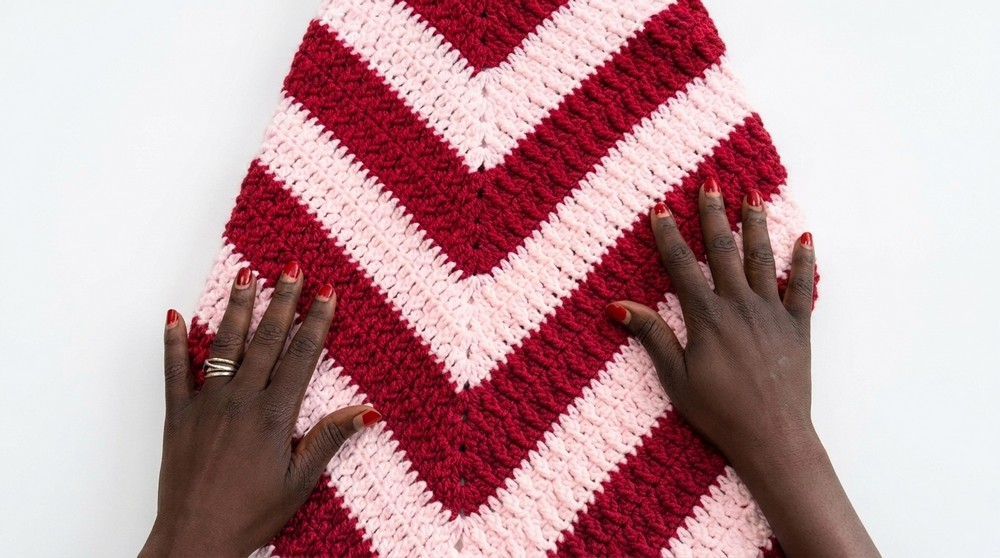
HOOD BODY
- Rows 2+ (Build Height):
- Ch 2, turn (counts as dc in all rows).
- Dc in each st across, stopping BEFORE the last dc (do not work into ch-2 or last dc for a gentle angled edge).
- Repeat: ch 2, turn, dc in each st until the other side.
- Continue until the fabric reaches your desired height (top of shoulder to top of head),
- Sample: 22 rows for adult-sized hood.
- Try on as you go, or measure between shoulder and head.
SHAPING & FINISHING THE HOOD
- Fasten Off:
- When you reach the desired length, cut yarn leaving a long tail (for joining the top seam).
- Pull end through last loop to fasten off.
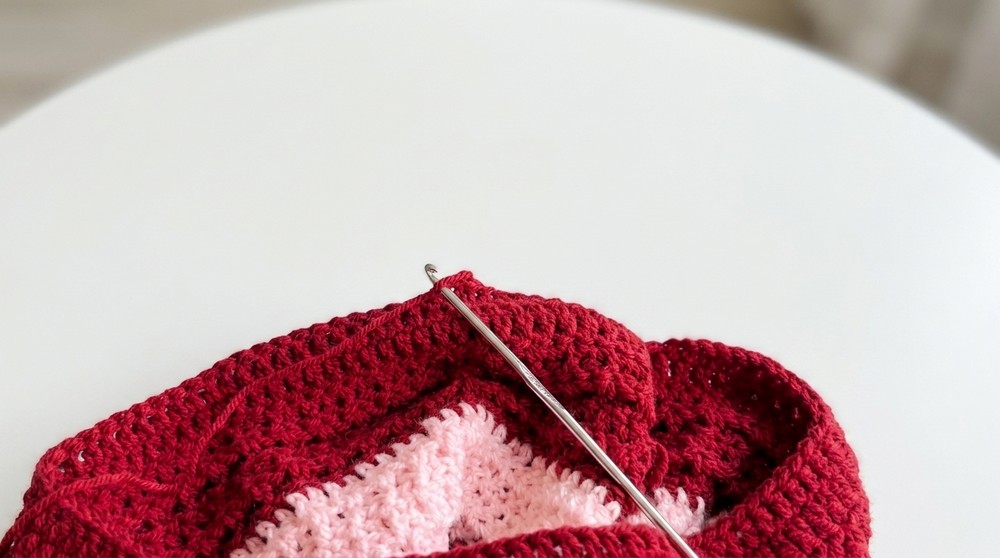
JOINING THE HOOD SEAM
- Line Up and Sew:
- With RS facing in, fold the hood flat; align top corners.
- Thread darning needle with yarn tail.
- Beginning at the front edge, whip stitch (or preferred method) through BOTH loops of each stitch, joining the top edges of the hood together.
- Do not pull too tightly—just enough for a flat, even join.
- Reinforce the last few stitches and knot to secure.
- See Pattern Notes if you prefer to slip stitch the seam.
- Secure Ends:
- Weave in ends on inside (WS).
- For extra durability, split yarn and weave in different directions, tying a knot if desired (especially for acrylic yarn).
HOOD TRIM (Optional but Neat!)
- Edging:
- With WS or RS facing (as you prefer for finishing), join yarn at hood edge.
- Ch 1 (does not count as stitch).
- (Row 1) Hdc evenly around the entire hood opening, working 2 hdc in larger gaps to close up uneven spaces.
- Sl st to first hdc to close round.
- If you want a wider or more finished edge, repeat for 1–2 more rows:
- Ch 1, turn, and hdc in each hdc around.
- Join at end of round with sl st.
- Finishing:
- After completing 1–3 rows (sample uses 3), fasten off, weave in the ends on the inside.
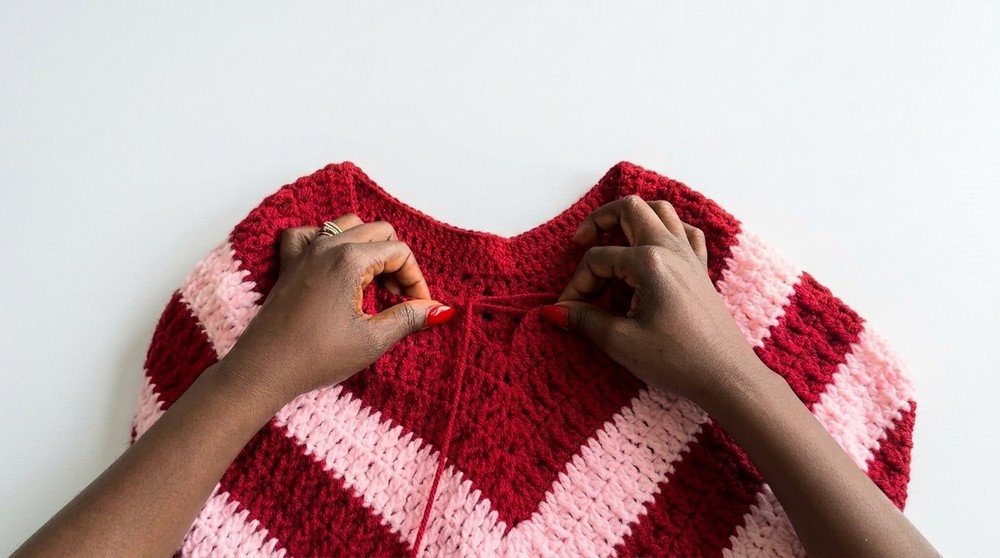
Assembly & Finished Size
- Sew top seam carefully and reinforce ends.
- Flip hood RS out to hide seam; gently block if needed.
- Weave in all ends securely on inside of hood.
- Ensure hood fits comfortably over head and sits flush to neckline.
- Optional: Add pompom, tassel, or drawstring if desired.
- Try on and admire your new hoodie poncho!
This hoodie add-on uses only double crochet and half double crochet stitches, which makes it an excellent step up from a basic poncho—perfect for warmth and style!
You can adjust the fit by working more or fewer rows; always try on as you go for a custom fit.
Add your preferred finishing touches, and you’re ready for cozy days ahead.