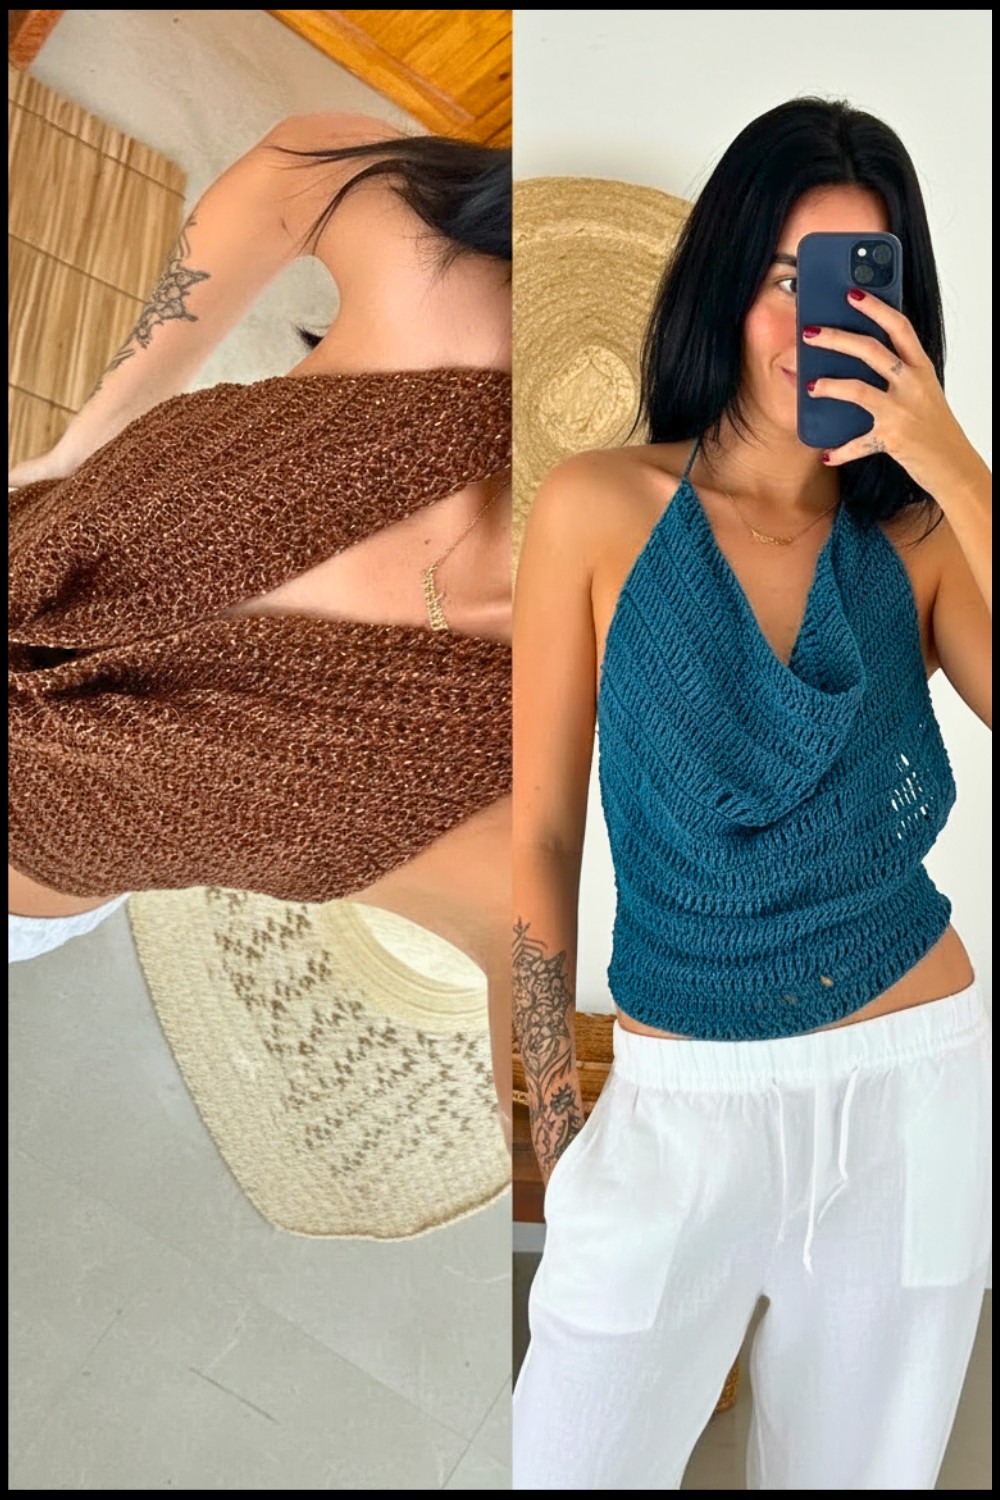
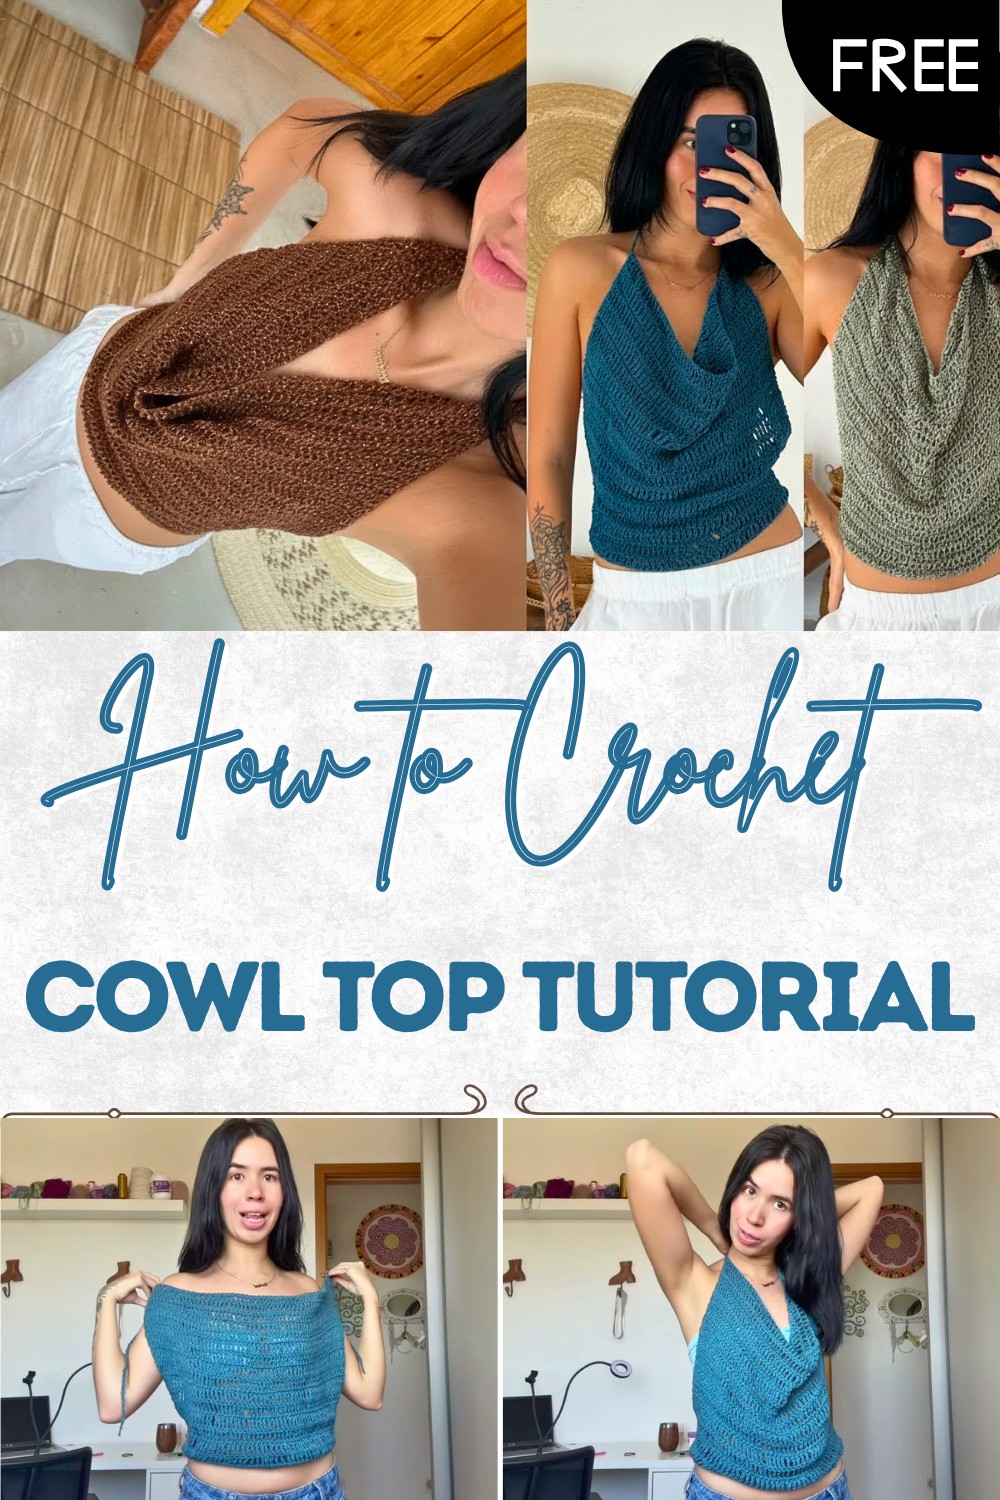
Free Crochet Pattern for Feminine Cowl Top
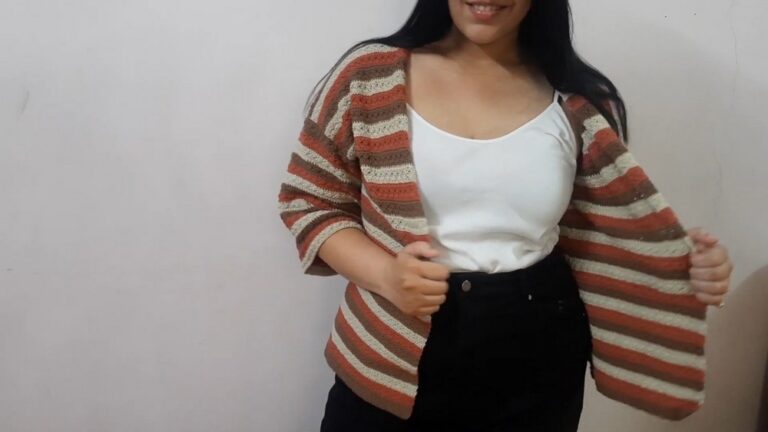
Elevate your outfit with this free crochet cowl top pattern that offers cozy, adds stylish texture and complements casual or dressy looks.
A warm and stylish piece forms from simple yarn that flows beautifully around the neck and shoulders giving comfort and charm. The Crochet Cowl Top pattern turns this yarn into a wearable piece with a gentle drape that adds elegance and style to any outfit. Its light texture and graceful design make it perfect for daily use, layering over casual or formal clothing, or gifting to someone special who enjoys unique clothing.
Crochet Cowl Top Free Pattern for Any Wardrobe
The instructions are simple to follow so anyone can enjoy making a top that looks delicate and stylish. Each stitch adds personality, shape, and a sense of satisfaction as the garment takes form. This top not only provides warmth but also brings a subtle handmade charm to the wardrobe, offering both practicality and beauty in one attractive piece that can brighten everyday fashion and add a touch of personal flair.

Easy Free Crochet Rectangle Tie Top Pattern
Materials
- Yarn:
- 85% cotton yarn, Medium Weight (#4), or
- 100% polyester, Medium Weight (#4)
- Maximum yarn size: #4 (not recommended to use yarn over #4 for drape)
- Hook:
- 3 mm, 3.5 mm, or 3.12 mm hook (choose based on yarn and drape)
- Tape Measure
- Scissors
- Optional: Nipple covers (for wearing), yarn needle (for weaving in ends)
Abbreviations
- ch = chain
- dc = double crochet
- tr = treble crochet (sometimes called triple crochet)
- st = stitch
- sl st = slip stitch
Special Notes
- Pattern is a simple rectangle.
- For more drape, make the starting chain wider than your shoulder width.
- Keep stitches somewhat loose; avoid tight foundation chains or tight stitches for better drape.
- Four chain straps are made at each corner for easy tying.
- The drape at the neckline comes from excess rectangle width.
- Entire top is stitched “row by row,” no shaping/increases/decreases.
- You may choose dc or tr for your stitch – tr makes the top grow faster and appear airy.
Instructions
1. Measurement & Foundation
- Measure from one shoulder to the other. Add extra width for drape—rectangle should be wider than your shoulders.
- (Example: For XS size, 70 chains were used.)
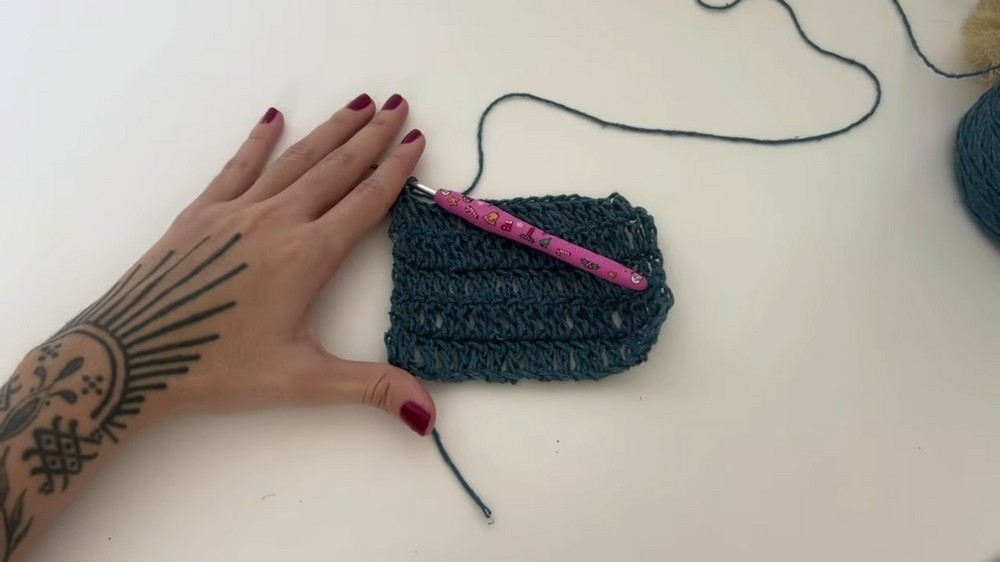
- Make a slip knot, then ch the number needed for your chosen width (ex: 70 ch).
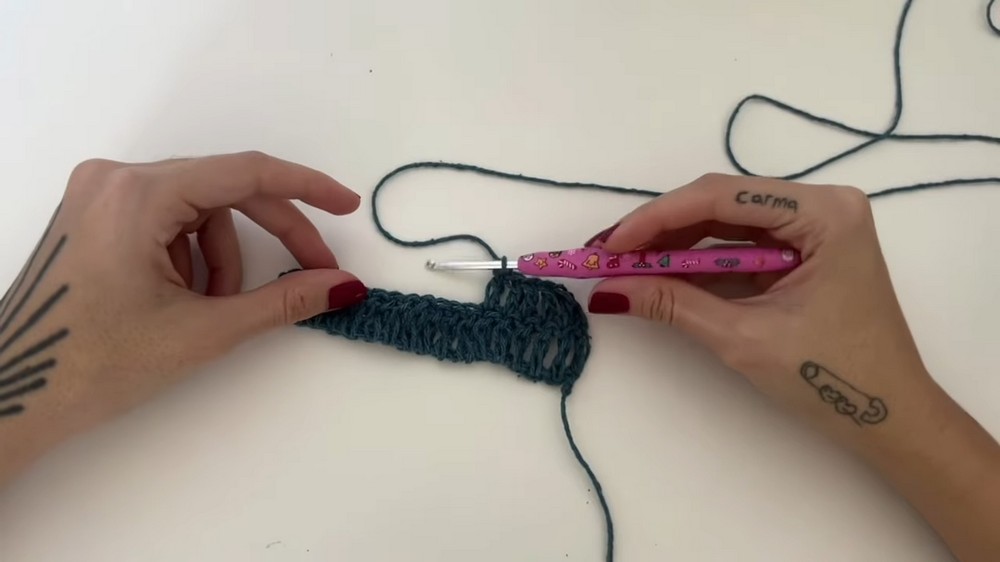
2. Row 1 (Foundation Row)
- If using dc:
- ch 2 additional (for turning).
- dc in the 3rd ch from hook.
- If using tr:
- ch 3 additional (for turning).
- tr in the 4th ch from hook.
- Work 1 dc or tr in each ch across.
- Do not make more than one stitch per chain to avoid increasing.
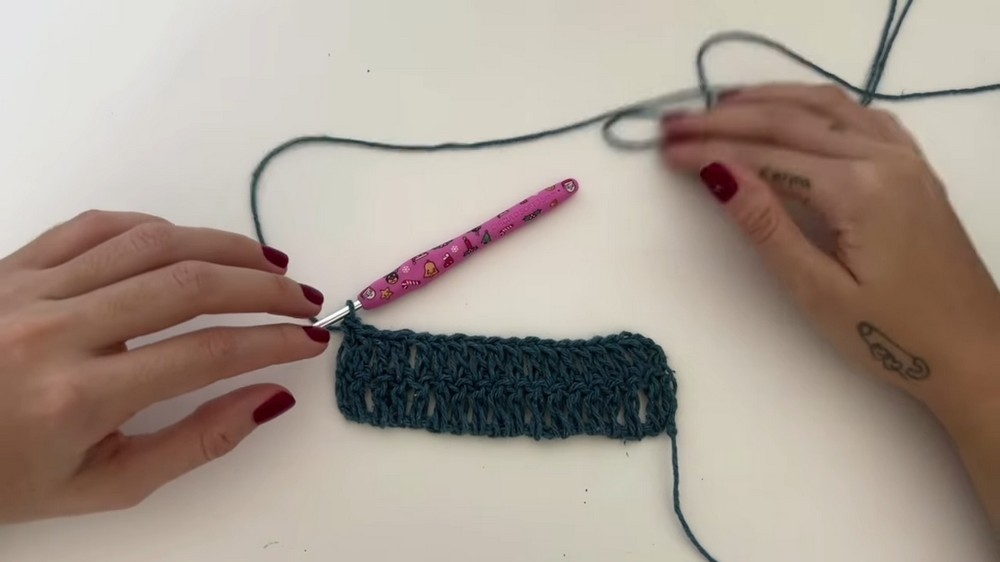
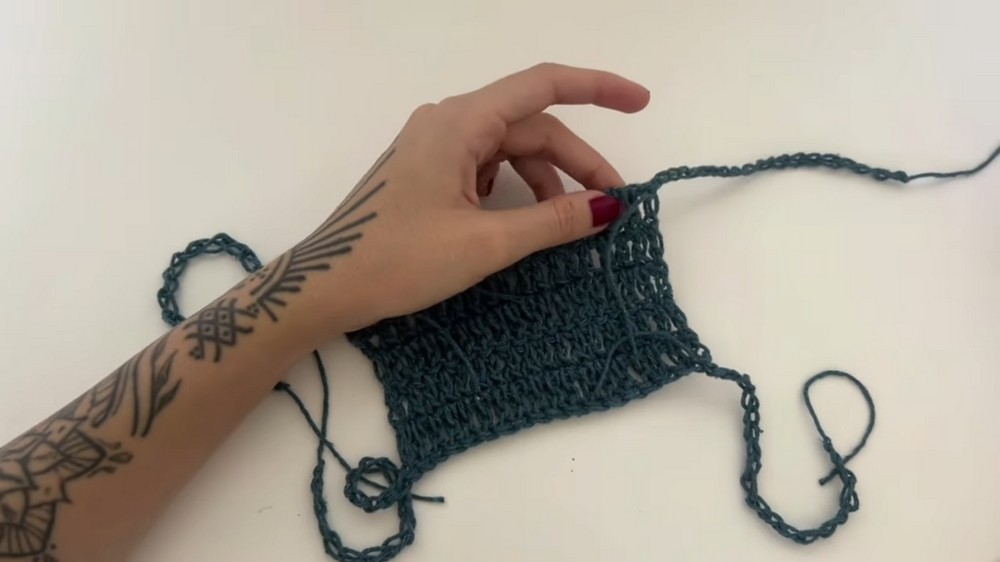
3. Rows 2–End (Rectangle Body)
- At the end of each row:
- If using dc: ch 2, turn.
- If using tr: ch 3, turn.
- Work 1 dc or tr in each st across (stitch over stitch).
- Key tip: The turning chain at the start of the row counts as the first stitch.
- Ensure to place your last stitch in the top of the turning chain at the end of each row.
- (Avoid missing a stitch – count to ensure consistent row length.)
- (Avoid missing a stitch – count to ensure consistent row length.)
- Continue until the rectangle reaches your desired length (example: 16 rows, 37 cm for XS; customize for your size and coverage preference).
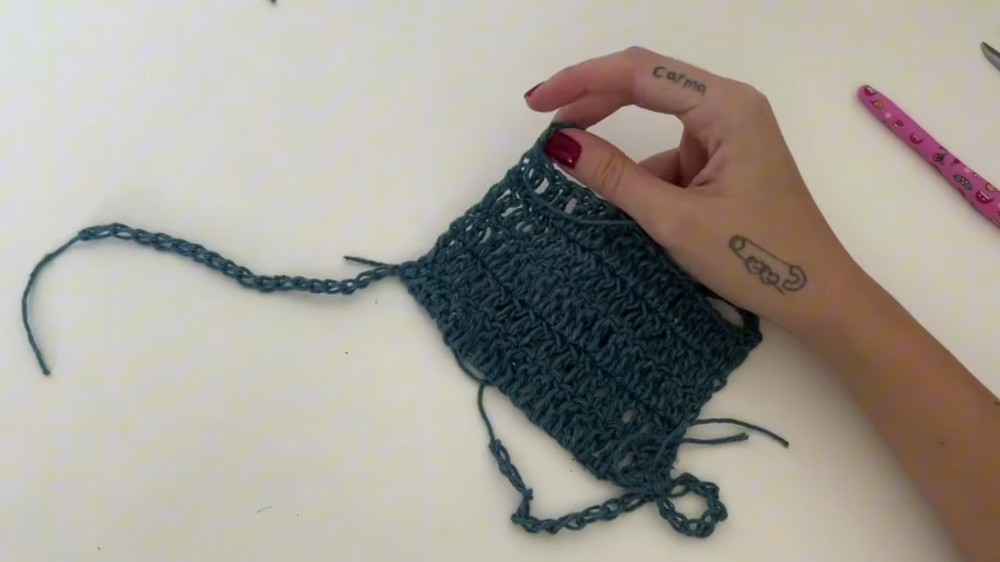
4. Making the Ties
- You will make four ties, one at each corner of your rectangle.
- From the final stitch of the rectangle, ch (ex: 33 cm or desired length).
- Fasten off and pull through.
- Repeat at the other three corners:
- Attach yarn to the corner with a slip knot
- Insert hook at corner stitch, pull slip knot through, and ch same length
- Fasten off
- Leave a yarn tail for weaving in ends.
- Optional: Tie a small knot at the tie’s end for a neat finish.
5. Finishing
- Weave in all thread tails using a yarn needle or hook.
- Fasten off securely:
- Pull tail behind a stitch, make a chain to secure, repeat as needed, weave through several stitches, and trim excess.
- Do not use glue unless preferred (the woven method is secure and durable).
Pattern Correction & Additional Tips
- Consistency: Always count stitches at row ends to avoid accidental increases/decreases.
- Turning Chain: Remember the turning chain counts as the first stitch.
- Drape: Rectangle width is key for beautiful neck drape—wider than shoulders.
- Customization: Adjust number of chains and rows for size and coverage.
- Stitch Tip: Use treble crochet for speed and airy look; double crochet for a tighter, classic style.
- Tie Length: Customize tie chain length as desired; ties should be comfortable for neck and back.
Conclusion
This easy rectangle tie top is both versatile and stylish, perfect for beginners and experts alike. With simple “stitch over stitch” construction and customizable measurements, you can tailor it to your preferred fit and coverage. Elegant drape is achieved by making the rectangle wider than your shoulders.