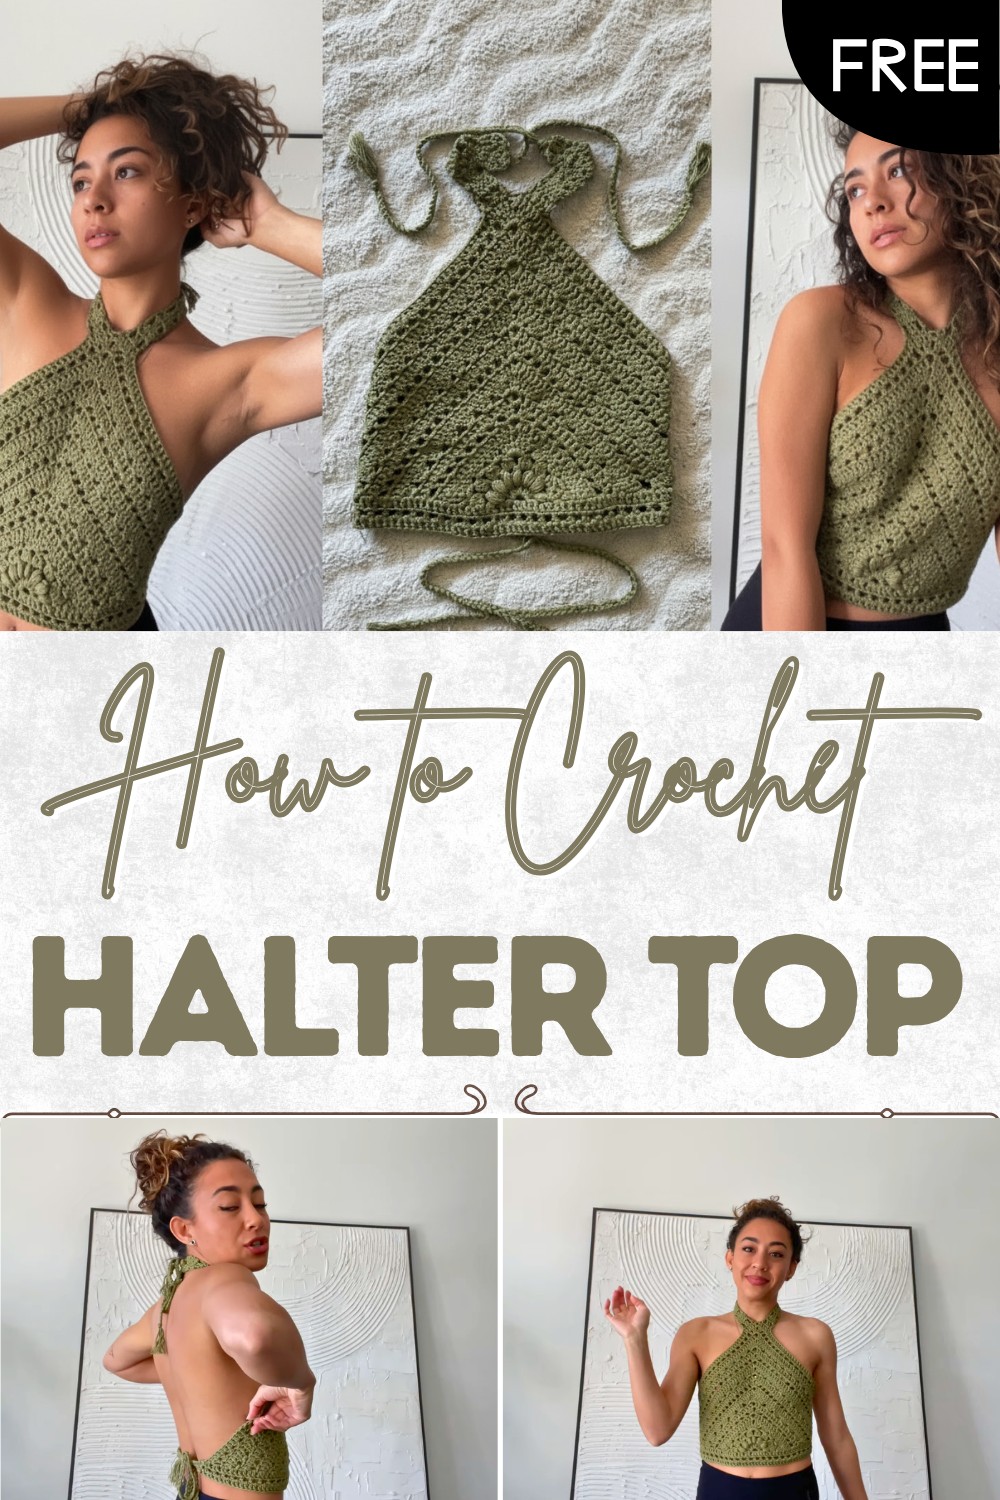
Easy Free Crochet Halter Top Pattern With Modern Style
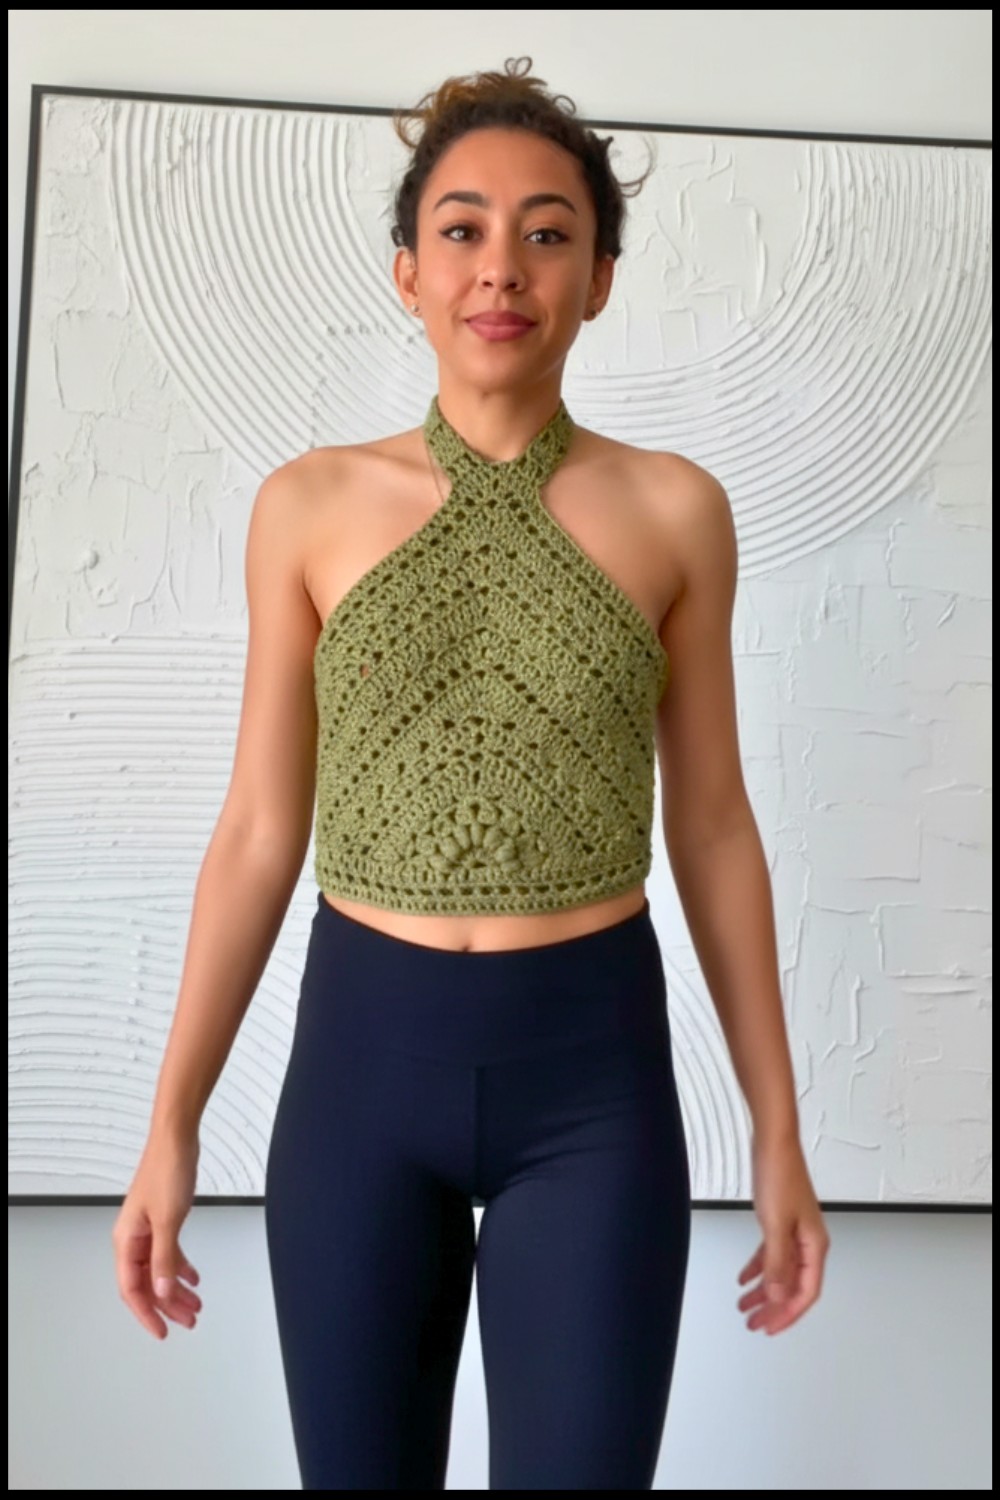
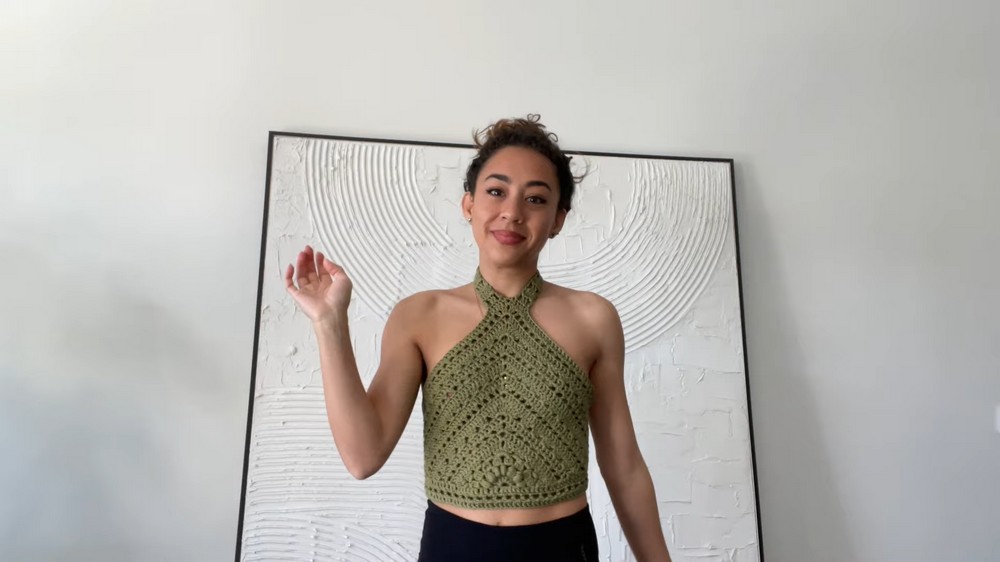
Feel cool and confident all season long with this free crochet halter top pattern, offering cheerful style for beach days or casual outings.
Looking for something beautiful that adds flair and comfort to your wardrobe? The crochet halter top pattern brings out vibrant styles and playful designs while offering a fit that suits every body. Flexible ties make adjusting easy so anyone can feel confident and relaxed. Airy details keep you cool during busy moments or sunny days making this top ideal for gatherings, casual outings, or simply unwinding at home.
Must-Try Free Crochet Halter Top Pattern for Your Wardrobe
Every piece reflects personality through unique shapes and pattern turning ordinary outfits into something special. This pattern gives everyone a chance to create or share handmade style and warmth effortlessly. Wearing or gifting a halter top made with this clever approach invites smiles and makes any occasion feel brighter and more memorable.
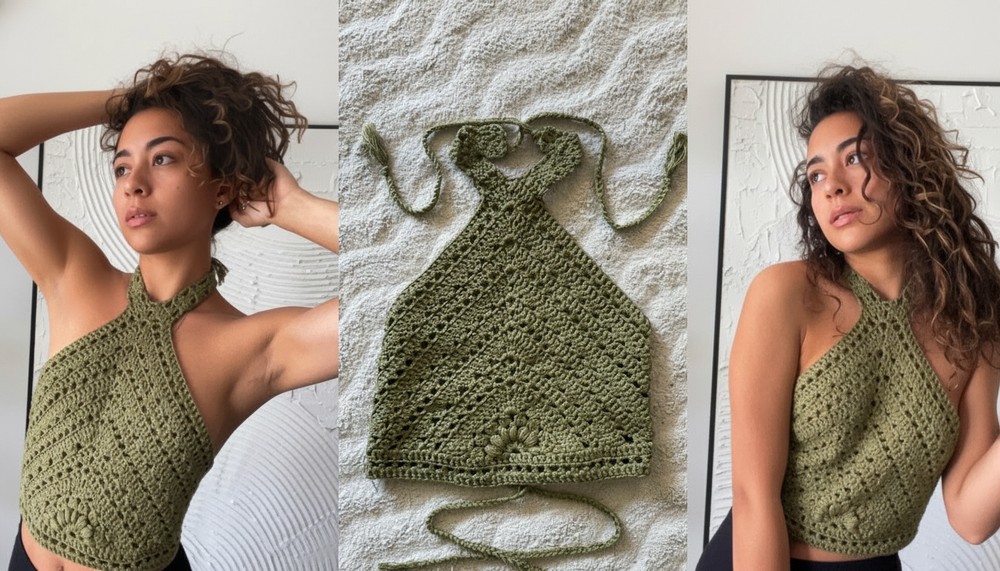
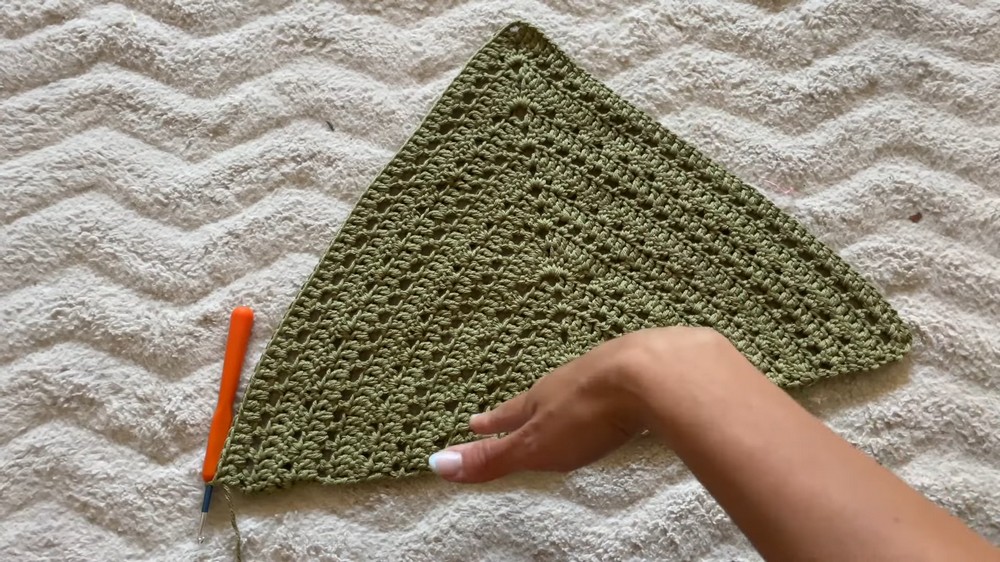
Sunburst Granny Triangle Crop Top
Materials
- Yarn: Worsted weight (#4) cotton or cotton-blend yarn in medium green or any color of your choice (approx. 150–200g; add more for larger sizes/extra length)
- Hook: 4.0 mm (G/6) crochet hook, or size needed for gauge
- Notions:
- Yarn needle (for weaving in ends)
- Stitch markers
- Measuring tape
- Scissors
Key Abbreviations (US Terms)
| Abbreviation | Stitch Name |
|---|---|
| ch | chain |
| st(s) | stitch(es) |
| sl st | slip stitch |
| sc | single crochet |
| dc | double crochet |
| sp | space |
| rep | repeat |
| BLO | back loop only |
Special Notes
- This pattern is written to be customizable. Adjust the repeat sections as needed for length and coverage.
- Begin with a completed Sunburst Granny Triangle (or other granny triangle/half motif). This is your cup/base.
- If color-blocking or adding a border, ensure yarn ends are well woven for durability.
Pattern Instructions
1. Start With Your Sunburst Granny Triangle
- Complete one Sunburst Granny Triangle motif.
- Steam or block your triangle for ease of working if necessary.
2. Build Out the Bodice
a. Row 1: Solid Double Crochet Row
- With new yarn, attach to any lower edge corner of the triangle (not the tip/point).
- Ch 2 (counts as dc), dc in each st across to the first corner.
- In the corner sp:
- Dc, ch 2, dc (this maintains the point).
- Continue dc in every st across the next edge.
- If working across foundation edge, work dc in each st and ch-2 spaces as needed.
- Double check you end at the correct point for symmetry.
- Work final dc into first st/ch used for starting the row.
b. Row 2: Space (Mesh) Stitch Row
- Ch 2, turn (counts as dc).
- Ch 1, skip next st, dc in next, ch 1, rep … across to corner.
- In corner sp: dc, dc (two dc in the corner sp, no ch between), ch 2, 2 dc in same sp.
- Resume: ch 1, skip next st, dc in next pattern across.
- Make sure to end with a dc in the last st/ch.
c. Row 3: Solid Double Crochet Row
- Ch 2, turn.
- Dc across every sp and every dc below (place dcs into the ch-1 spaces as well).
- In the corner: dc in each dc and ch-2 sp, ch 2, dc in same sp to form corner.
- Continue dc across.
d. Row 4: Cluster Row
(Clusters of 3 dc separated by sk 2 sts.)
- Ch 2, turn.
- Dc in same st (counts as first dc of cluster), then dc in next st (3 dc cluster).
- Skip 2 sts, 3 dc in next st; repeat across.
- At the corner: 2 dc, ch 2, 2 dc in corner sp.
- Resume skip 2, 3 dc pattern across.
- End with 3 dc at the end.
e. Repeat Rows for Length & Coverage
- Continue repeating these 4 rows (double crochet, space stitch, double crochet, cluster stitch) until the triangle/half is large enough to adequately cover your bust and provide the length you desire.
- Emma demonstrated four lots of the mesh stitch, which means four cycles of the above group.
- Tip: After each repeat, place the tip at your collarbone/neckline and check that the fit/coverage is what you want.
f. Final Row Modification
- After finishing your last space stitch row, Emma complete a final row of double crochets so the bottom edge is straight and solid.
- Then add rows along the bottom only for the waistband.
3. Bottom Edging (Waistband Preparation)
a. Row 1: Double Crochet Along Raw Bottom Edge
- With RS facing, ch 2, and work dc evenly along the raw edge (create your own insertion points where needed). Ensure spacing is even so there are no large holes/gaps.
- Turn.
b. Row 2: Space (Mesh) Stitch
- Ch 2, turn, ch 1, skip 1, dc in next, repeat across.
- Turn.
c. Row 3: Double Crochet
- Ch 2, turn, dc across (going into all dcs and ch-1 sps).
- Try on your top. If desired, add more sets of [dc, mesh, dc] rows to reach your preferred length.
4. Halter Neck Piece
a. Placement
- Identify the six stitches/space stitches at the top center tip of the triangle.
- Attach in a way that centers the strap neatly.
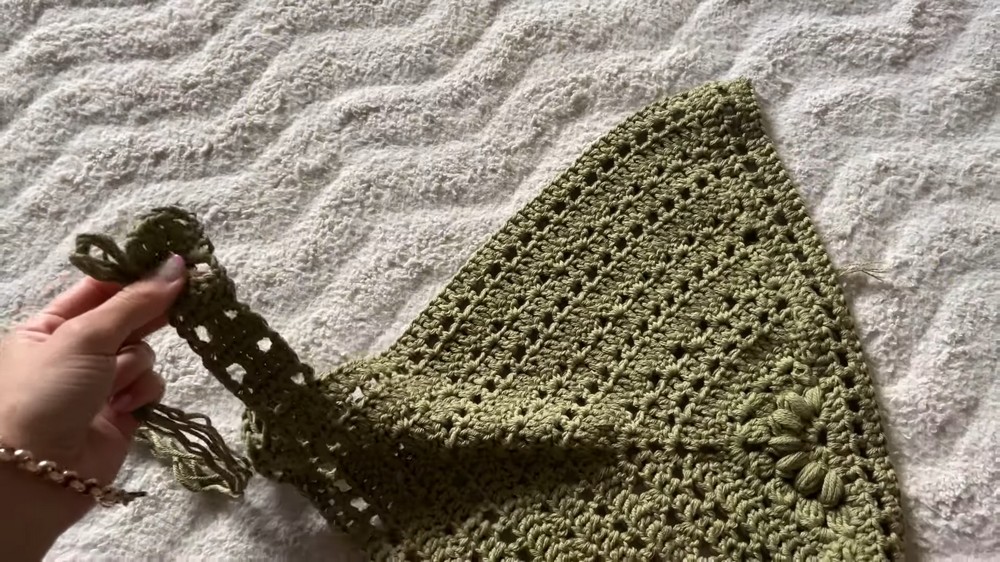
b. Strap Pattern
- Attach yarn to first of 6 sts at triangle tip.
- Foundation Row: Ch 1 (counts as first dc), dc in next st, ch 1, skip 1, dc in next across these 6 sts (ending with dc).
- Row 2: Ch 2, turn, dc in each st and ch-1 sp (6 dc).
- Row 3: Ch 2, turn, ch 1, skip 1, dc in next across (6 sts total, maintaining mesh look).
- Row 4: Ch 2, turn, dc across.
- Repeat Rows 3 and 4 until the halter neck piece is long enough to reach the back of your neck when tried on. Emma made 8 rows total.
- Fasten off and weave in end on strap.
5. Ties & Drawstrings (Neck and Waist)
a. Neck Drawstrings (make 2)
- Cut 6 long strands of yarn for each side.
- Attach strands to end of halter strap with a slip knot and secure with a slip stitch.
- Divide yarn into three even groups and braid firmly.
- Tie a knot at the end and (optional) fray the remaining yarn for a tassel effect. Trim evenly.
b. Waist Ties
- At either bottom corner, cut 6 strands of yarn, fold in half, and attach in three separate locations (e.g., 3 at the very tip, and across 2–3 adjacent stitches for extra security and width).
- Treat as three groups of two strands for a thick, secure cord.
- Pull all yarn through and braid loosely, knot at the end, and fray for a nice finish.
- Repeat for both sides.
6. (OPTIONAL) Single Crochet Top Border
- Designer’s note: This version was tried and undone, but if you like a little contrast, work a round of sc across the top edge with a contrasting color before weaving in ends.
7. Finishing
- Sew in all yarn tails with a yarn needle.
- Block your top for the best drape, shape, and professional appearance.
- Try on, tie the halter behind your neck, and tie the waist cords around your body. Adjust as required!

Pattern Correction & Tips
- Correction: Carefully count your stitches at the ends of rows. Each row should increase evenly to maintain a triangle shape. Always check your work at the corners to keep edges straight and points sharp.
- Tip: Seamless color changes and frequent try-ons ensure perfect custom fit.
- Drawstring Note: Separate the drawstring into three attachment points for even tension and extra hold.
- Customization:
- Add or subtract rows for desired length and style.
- Add an optional decorative edge in a contrast color if desired.
Conclusion
You have finished your stylish, eye-catching Sunburst Granny Triangle Crop Top with Poison Ivy vibes! Adjustable for every size, bust, and body, this piece showcases the beauty of granny triangles in a modern, wearable way. Add more rows for a longer top, or experiment with colors for your own unique creation.