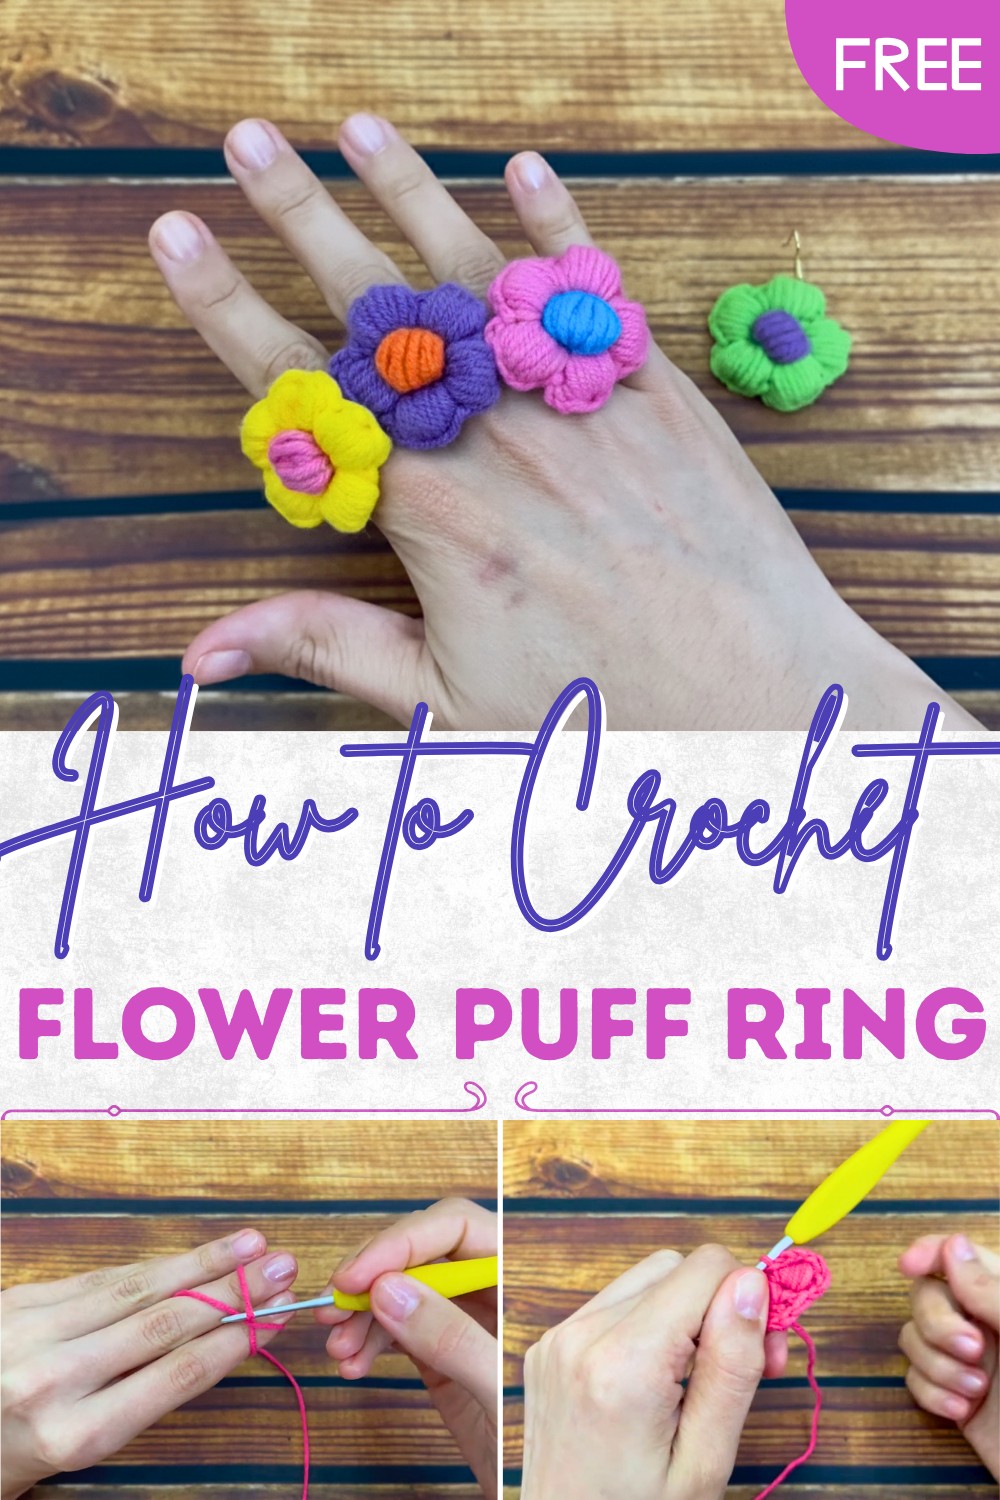
Charming Crochet Flower Puff Ring Pattern for ring lovers
Slip a pop of color onto your finger with this Crochet Flower Puff Ring Pattern for a fun accessory that’s quick to make and lifts your style.
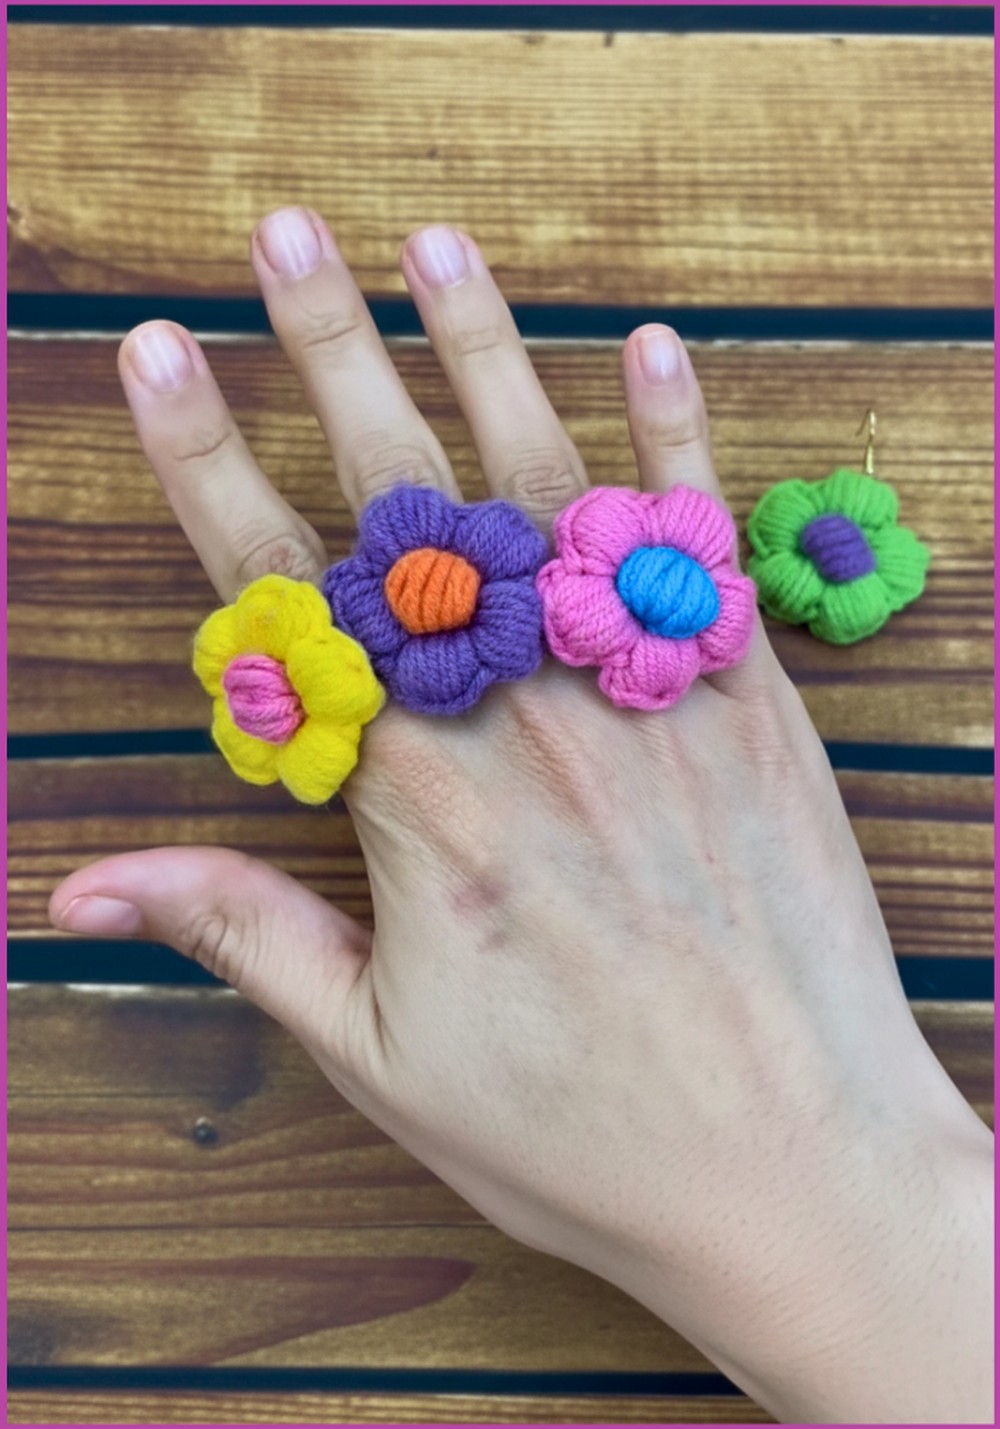
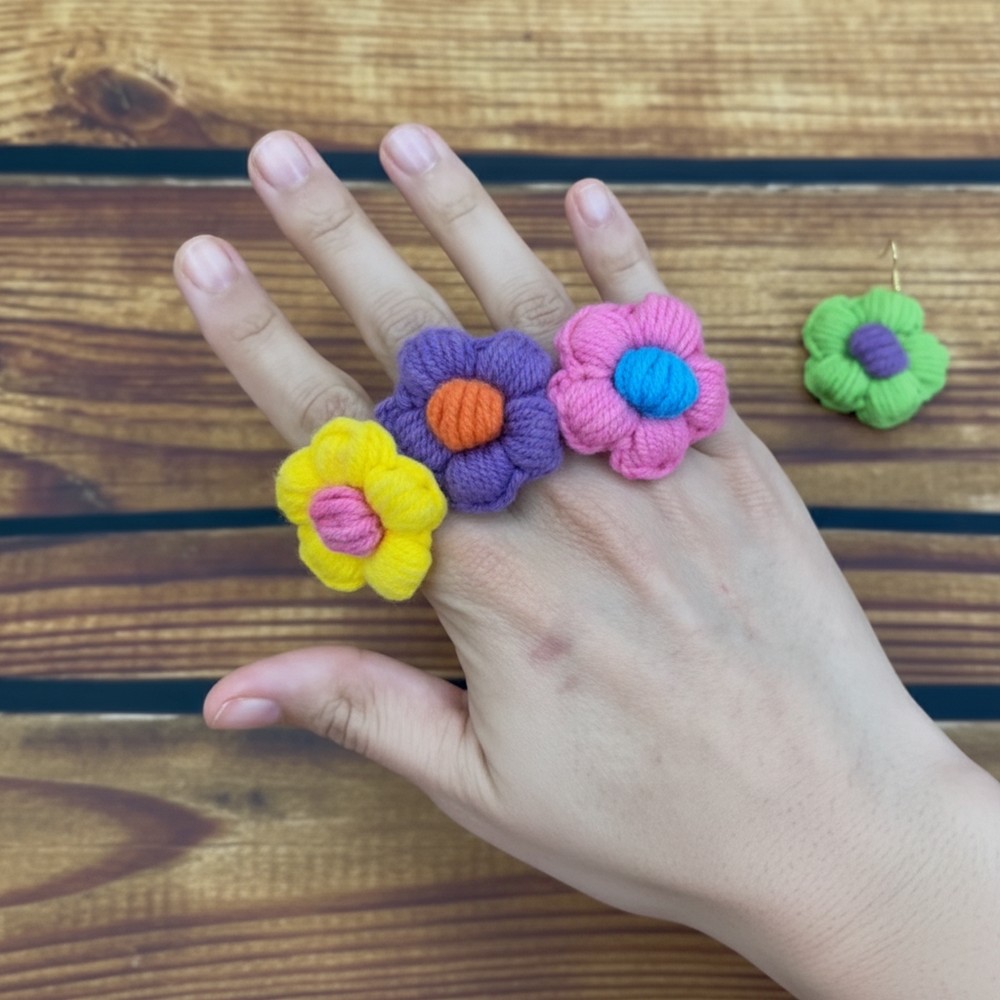
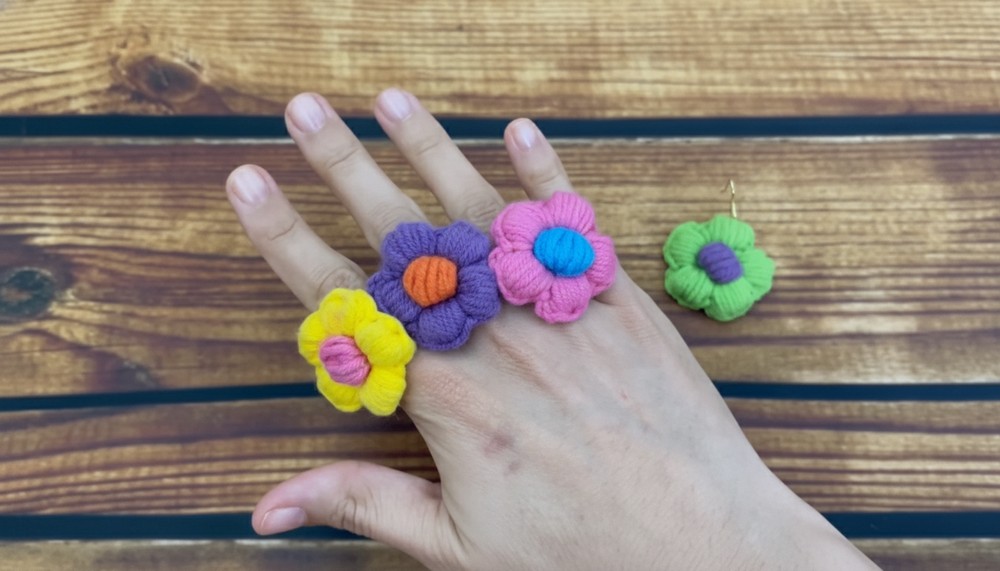
A small ring made from yarn can look just like a tiny flower blooming on your finger and brighten up your day. The crochet FLOWER PUFF RING pattern creates a soft and colorful ring that adds charm to any outfit. You can wear this beautiful ring to a party, as a gift for a friend, or just to make your everyday look happier. A child might enjoy wearing this cozy ring, and it is so light you might forget you are wearing it. .
Minimal Crochet FLOWER PUFF RING Pattern for simple yet beautiful jewelry
With the crochet FLOWER PUFF RING pattern, you can pick any colors you love and make a style that is all your own. This little ring can be given out at a holiday or birthday, making every celebration more special. The pattern is easy to try and does not need many tools, so anyone can join in. Soon, your hand will bloom with a bright and pretty blossom that makes people smile.
Materials
- Yarn: Amigurumi Soft by Círculo (or another soft sport/DK weight cotton yarn)
- Hook: 2.5 mm crochet hook
- Ring Base: Adjustable ring blank (metal or plastic)
- Glue: Universal glue/craft adhesive (e.g., Circulo Universal Glue)
- Tapestry needle (for weaving in ends)
- Scissors
- Optional: Contrasting color yarn for flower center
Key Abbreviations (US Terms)
| Abbreviation | Meaning |
|---|---|
| MR | Magic ring/loop |
| ch | chain |
| sl st | slip stitch |
| sc | single crochet |
| dc | double crochet |
| puff st | puff stitch (see Special Notes) |
| st(s) | stitch(es) |
Special Notes
- Puff Stitch (as used here): Yarn over, insert hook into the indicated space, yarn over and pull up a loop. Repeat this sequence until you have the required number of loops on the hook, then yarn over and pull through all loops. Secure if indicated with a ch 1.
- Adapt this flower for earrings, appliqué, etc., by attaching with glue or sewing as needed.
- When making the flower’s center, use 6 loops for a smaller center, 8 for petals.
- Carefully secure and glue so the flower stays centered and secure on the ring.
Pattern Instructions
1. Flower – Main Motif
Using main flower color:
- Magic Ring (MR):
- Begin with a MR. (Wrap yarn around two fingers, cross, and insert hook under front loop. Draw up a loop, ch 1 to secure.)
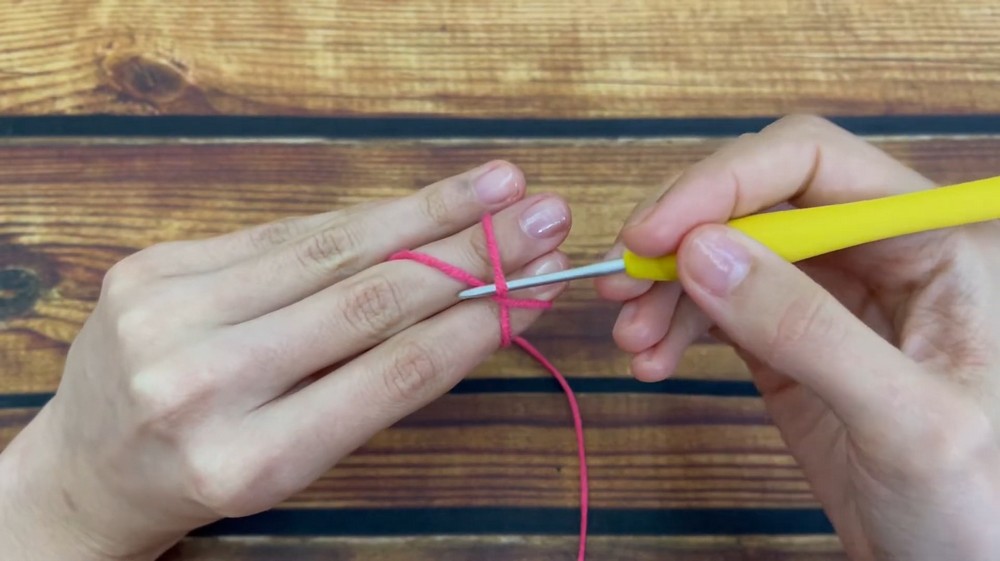
- Begin with a MR. (Wrap yarn around two fingers, cross, and insert hook under front loop. Draw up a loop, ch 1 to secure.)
- Foundation Round:
- Ch 2 (counts as part of first dc), (dc, ch 1) 4 times into the MR (so you’ll have 5 dc each separated with a ch-1).
- Ch 1. (You should now have: [dc, ch 1] x5).
- Pull MR tail tightly to close the center.
- Join:
- Sl st into 2nd ch of starting ch-2.
2. Petals – Puff Stitch Rounds
For each petal (work in each ch-1 space from the round just made):
- Ch 2 (elongated for height).
- Make a puff st with 8 loops:
- (Yarn over, insert hook into the space, yarn over and pull up a tall loop) repeat 8 times (until 9 loops on hook).
- Yarn over, pull through all loops,
- Ch 2 (elongated).
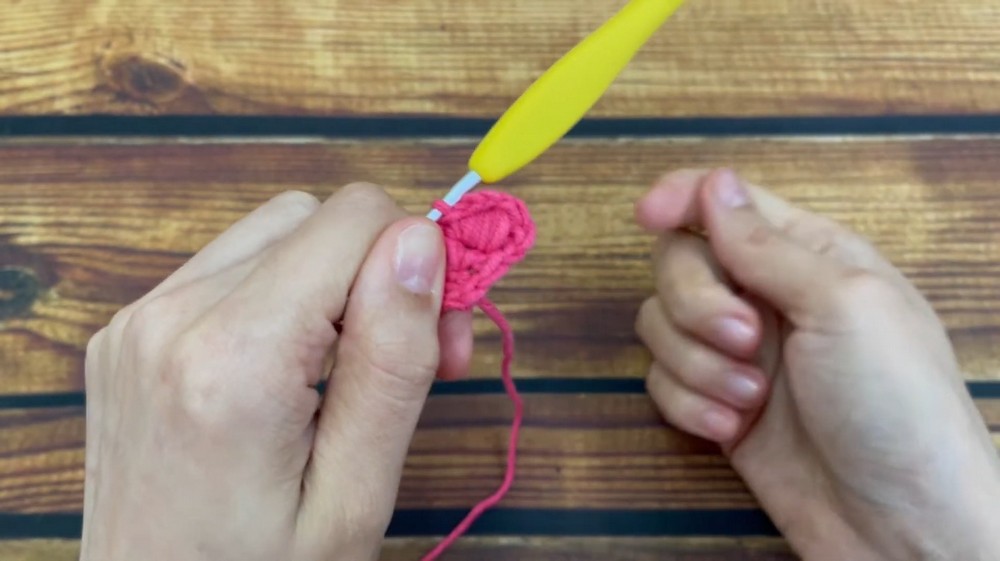
- Insert hook back into the same ch-1 space, sl st to join (anchors the petal).
- Tip: After each petal, gently push it forward for a more “puffy” look.
- Repeat petal instructions in each ch-1 space for a total of 5 petals.
- Fasten off, leaving a tail for weaving in.
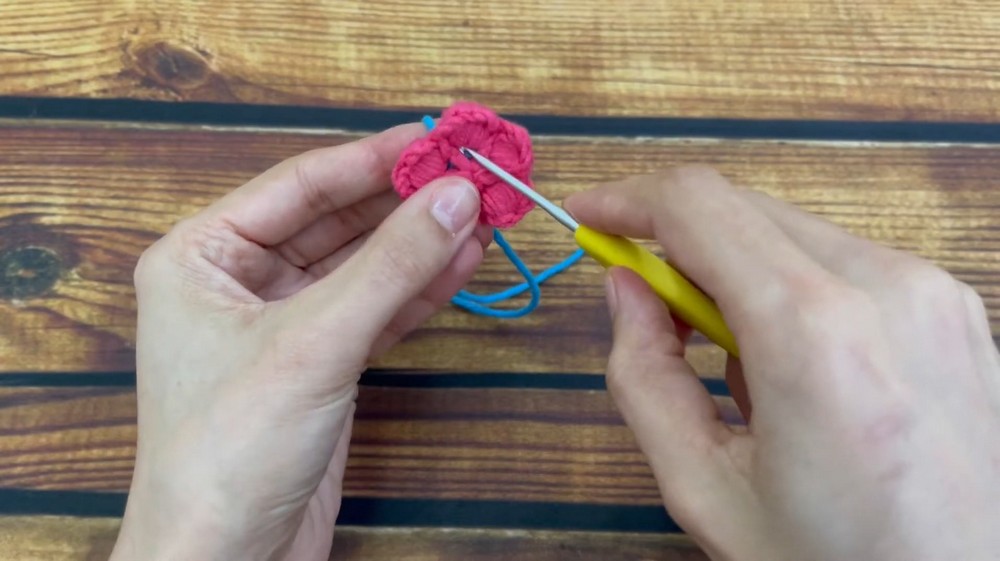
3. Flower Center (optional, for two-color flower)
Use a contrasting color:
- With new color, make a MR.
- Ch 1 (elongated), then make a puff st with 6 loops into MR (as above).
- Yarn over, pull through all loops, sl st to secure, ch 1.
- Fasten off, leave a tail. Gently pull magic ring tightly to close.
- Push your puff center to be 3D.
4. Assembly
- Attach center:
- Thread ends of flower center with tapestry needle and sew into the middle of flower firmly, pulling to back. Knot and trim excess.
- Weave in all ends.
- Attach flower to ring base:
- Apply a small amount of universal glue to the front pad of the ring.
- Press the back center of your crocheted flower firmly onto the glue spot.
- Hold in place or set aside to dry thoroughly before wearing.
- Tip: Place the knot from the center at the base, against the ring, to hide it.
5. Shaping
- Fluff and adjust each petal, pushing them forward with a fingertip or a crochet hook for maximum puffiness.
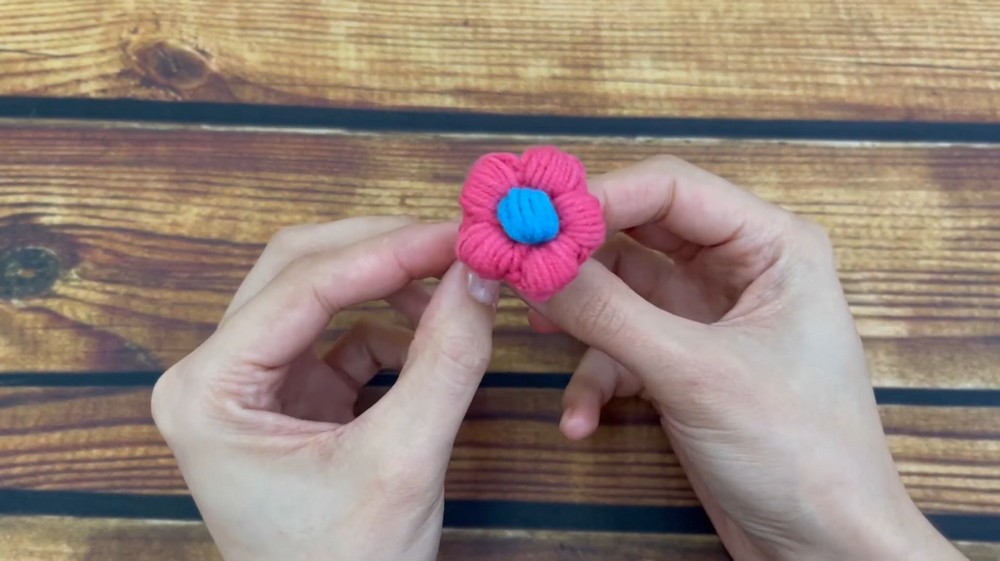
Conclusion
You now have a fun, fluffy, and puffy crochet flower ring! Experiment with colors and sizing for a variety of accessories. These flowers are perfect as rings, earrings, bag charms, appliqués for garments, or even as party favors.
Pattern Correction & Tips
- If petals are too floppy: Consider using a slightly smaller hook or a yarn with more structure.
- For a secure bond: Allow glue to cure for the recommended time and do not wear until fully set.
- General Tip: Make a batch of flowers in different colors for sets or quick gifts.
- For earrings: Attach a jump ring to the flower and connect to an earring hook, or glue onto stud bases.