Adorable Crochet Flower Pattern That Brightens Any Project
Bring vibrant charm to your projects with this Crochet Flower Pattern that add beauty and cheerful elegance to clothing accessories and decor.
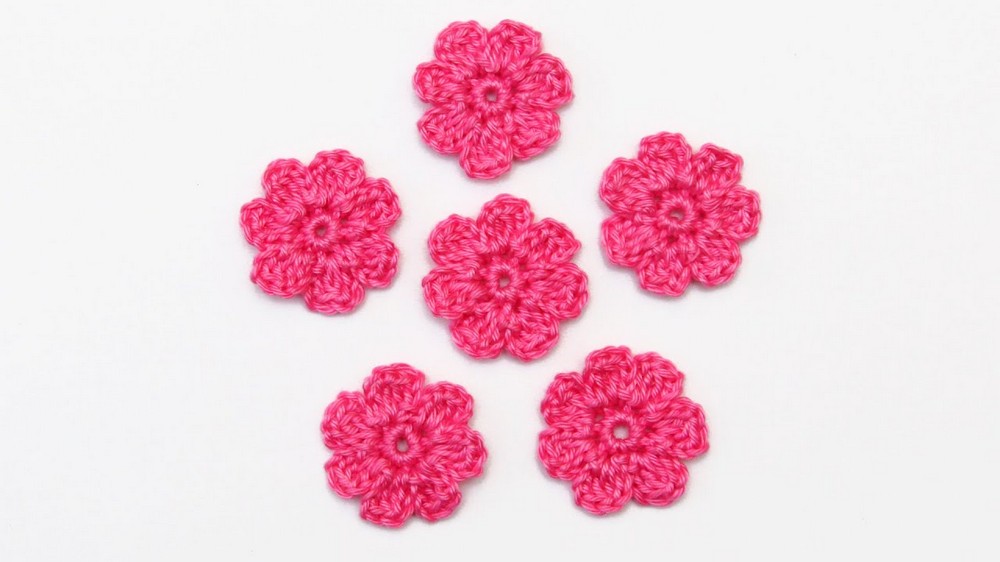
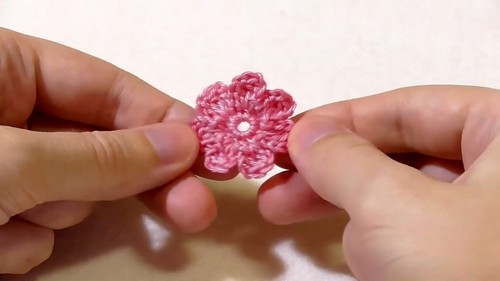
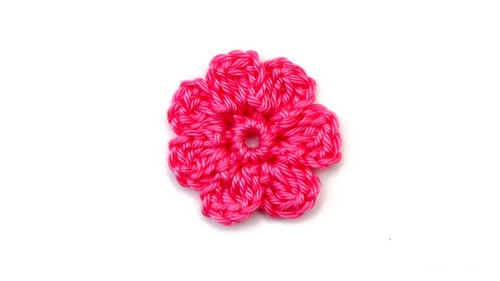
A handmade flower can brighten any space or outfit with its simple beauty. Its delicate design brings charm and makes everything it touches look lively and attractive. With a Crochet Flower pattern you can create a flower for many purposes. It can decorate a piece of clothing, a hat, a bag, or even a home space like a table, wall, or shelf. The flower can be small and simple for daily use or large and fancy for a special celebration.
Delicate Crochet Flower Pattern That Adds Elegance Everywhere
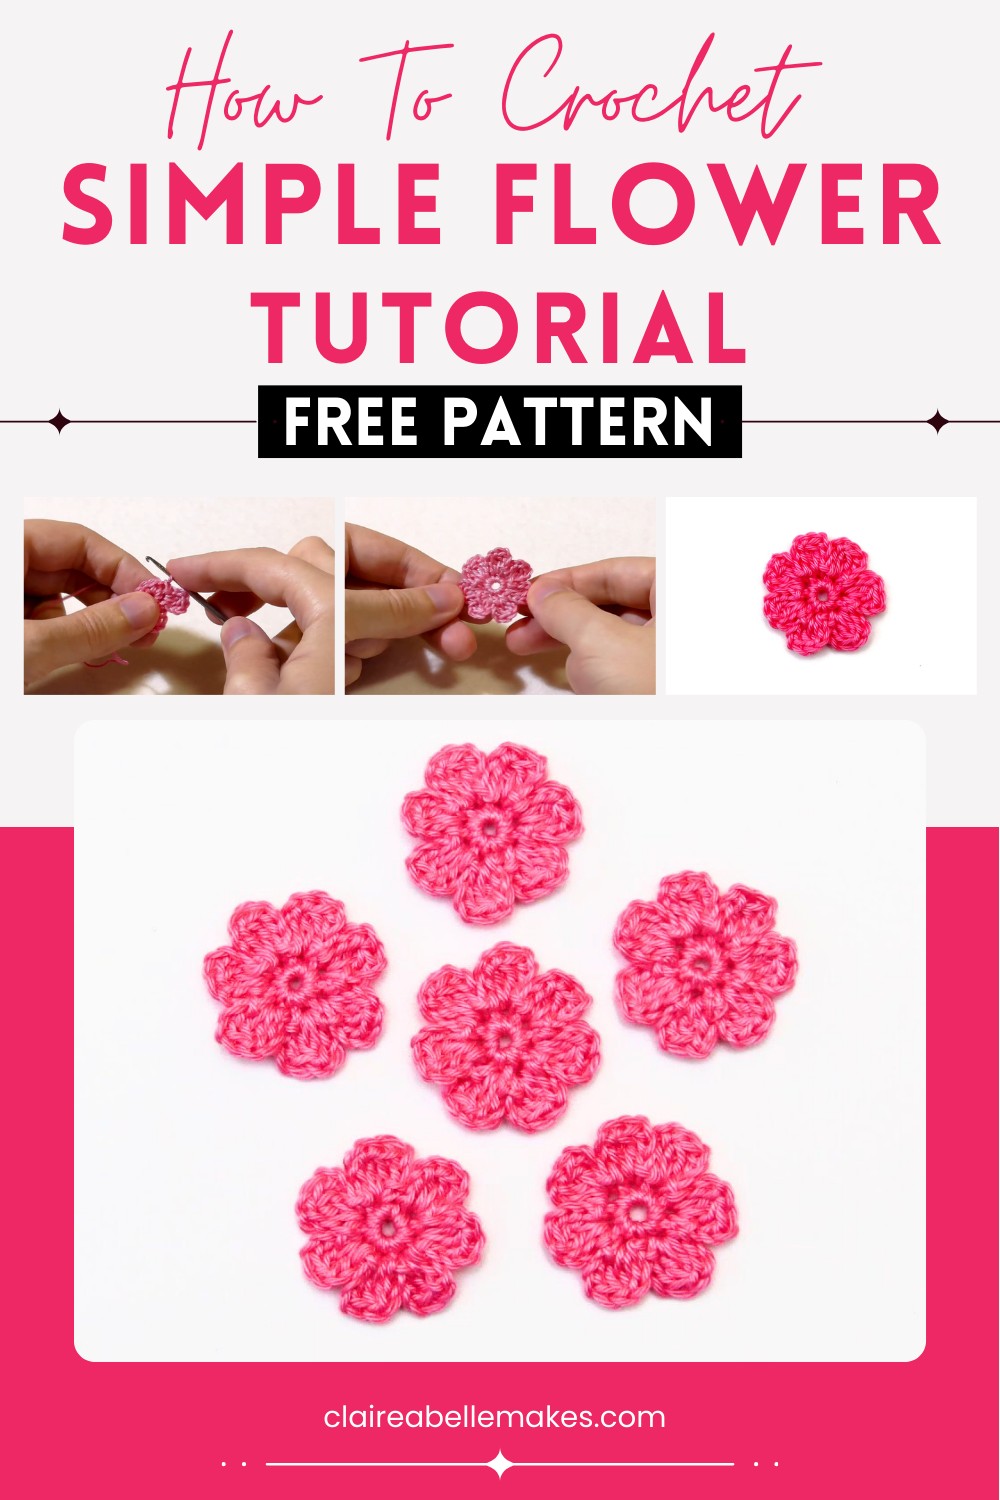
It feels light and easy to use, allowing you to place it wherever you like. You can choose a bright color to make it cheerful or a soft shade for a gentle and calm effect. Each flower is unique because it is carefully made by hand with patience and love. A Crochet Flower pattern lets you make something simple, beautiful, and special that spreads charm and joy everywhere.

Materials List
- Yarn: Any light or medium weight yarn suitable for crochet flowers (acrylic, cotton, or blends)
- Hook Size: Size recommended for your yarn (commonly US D/3 (3.25 mm) or E/4 (3.5 mm) for baby items)
- Notions: Scissors, yarn needle (for weaving in ends)
- Optional: Stitch marker for beginners
Key Abbreviations (US Terms)
| Abbreviation | Meaning |
|---|---|
| ch | chain |
| sl st | slip stitch |
| sc | single crochet |
| dc | double crochet |
| st(s) | stitch(es) |
| rep | repeat |
| rnd | round |
| cluster | two dc worked together |
Special Notes
- This pattern is suitable for beginners and is worked in continuous rounds.
- The flower can be used to decorate baby bonnets, hats, or any crochet project.
- Tension is not critical for this flower.
Step-by-Step Pattern
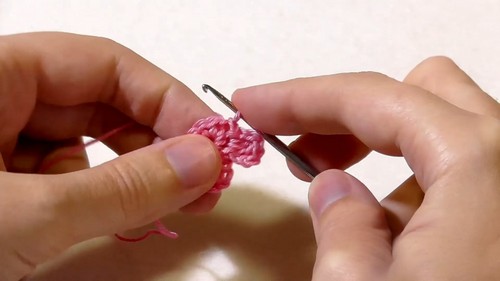
1. Make the Center Ring
- Begin with a magic ring (adjustable ring) or
ch 4, sl st to first ch to form a ring.
2. Round 1 – Create the Flower Base
- Ch 1.
- Work 7 sc into the ring.
- Pull the ring tight.
- Sl st into the first sc to close the round.
3. Round 2 – Form the Petals
- For each petal (worked in the same stitch):
- Ch 3 (counts as a turning chain).
- Cluster:
- Yarn over, insert hook into same st, pull up a loop, yarn over, draw through two loops (leaving two loops on hook).
- Yarn over, insert hook into same st, pull up a loop, yarn over, draw through two loops (three loops now on hook).
- Yarn over, draw through all three loops (cluster made).
- Ch 3.
- Sl st into the same stitch to finish the petal.
- Sl st into the next stitch to begin next petal.
- Repeat steps 1–5 until you have 7 petals in total, one in each sc from previous round.
4. Finishing
- After the last petal, insert the hook from the back (wrong side),
pull the last loop through to the back of the work. - Ch 1 to secure.
- Cut yarn, pull through, and weave in ends with yarn needle.
Conclusion
You have created a simple, versatile crochet flower, ideal for adding to baby bonnets or other accessories. This project is quick and requires only basic stitches, making it perfect for beginners or as a decorative accent for any crocheter.
Pattern Correction & Tips
Correction:
- Ensure you begin Round 1 with 7 sc (not 6 or 8) for symmetry.
Tips:
- Use a stitch marker to keep track of your starting point, especially if you are new to crochet in the round.
- For larger flowers, use a thicker yarn or larger hook, and increase the number of petals by adding more sc in the ring.
- Block lightly if petals curl for a flat finish.