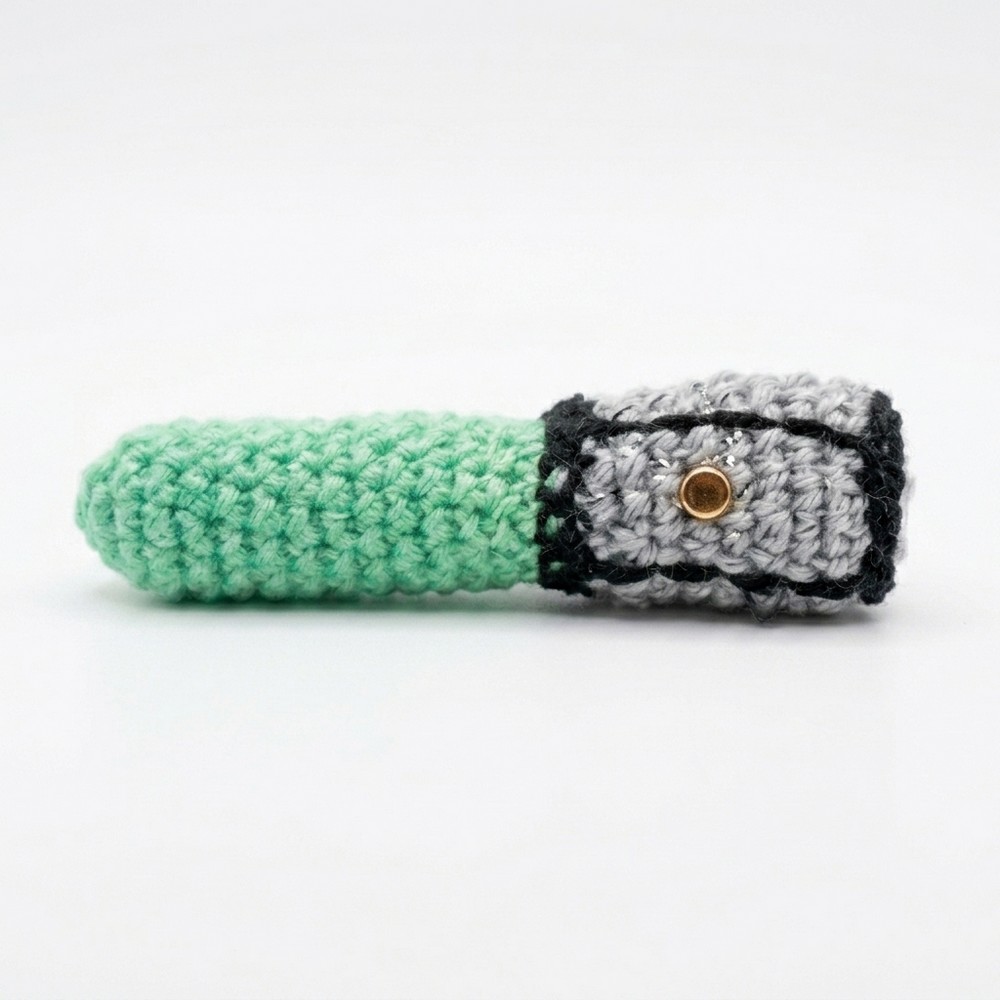
Quick Free Crochet Mini Lightsaber Pattern With Easy Tutorial

Bring the galaxy closer to home with this free crochet mini lightsaber pattern, perfect for crocheting fun keychains, gifts, or decor for any sci-fi enthusiast.
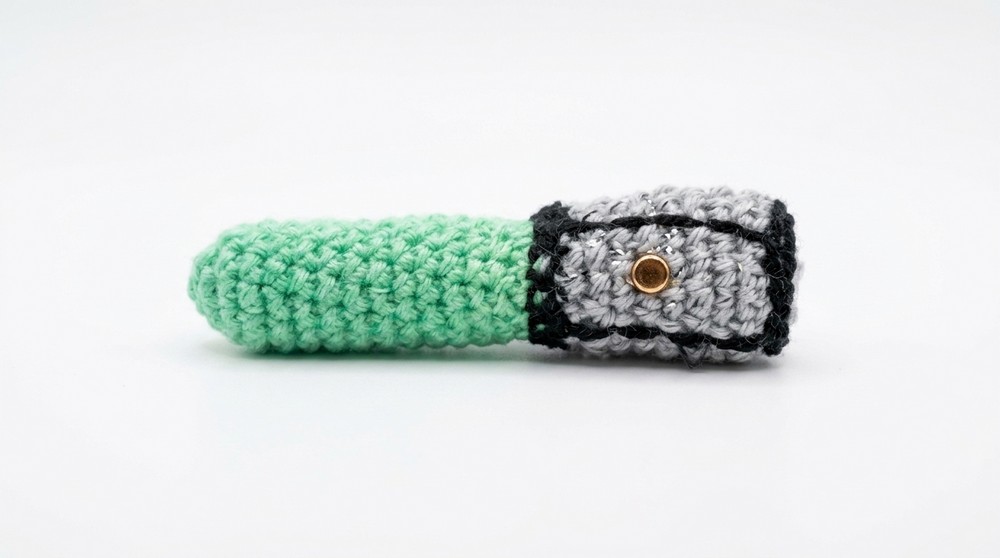
If you’re a fan of Star Wars and enjoy creating fun, small crochet projects, this idea from Enchanted Yarn Works will surely delight you. The Free Crochet Mini Lightsaber Pattern is a charming way to combine your love for crochet with your favorite galaxy far, far away. This mini lightsaber is designed to fit perfectly on a flute, making it a wonderful accessory for musicians playing Star Wars tunes or for collectors who adore unique hand-crocheted items.
Free Crochet Mini Lightsaber Pattern – Step-by-Step Instructions
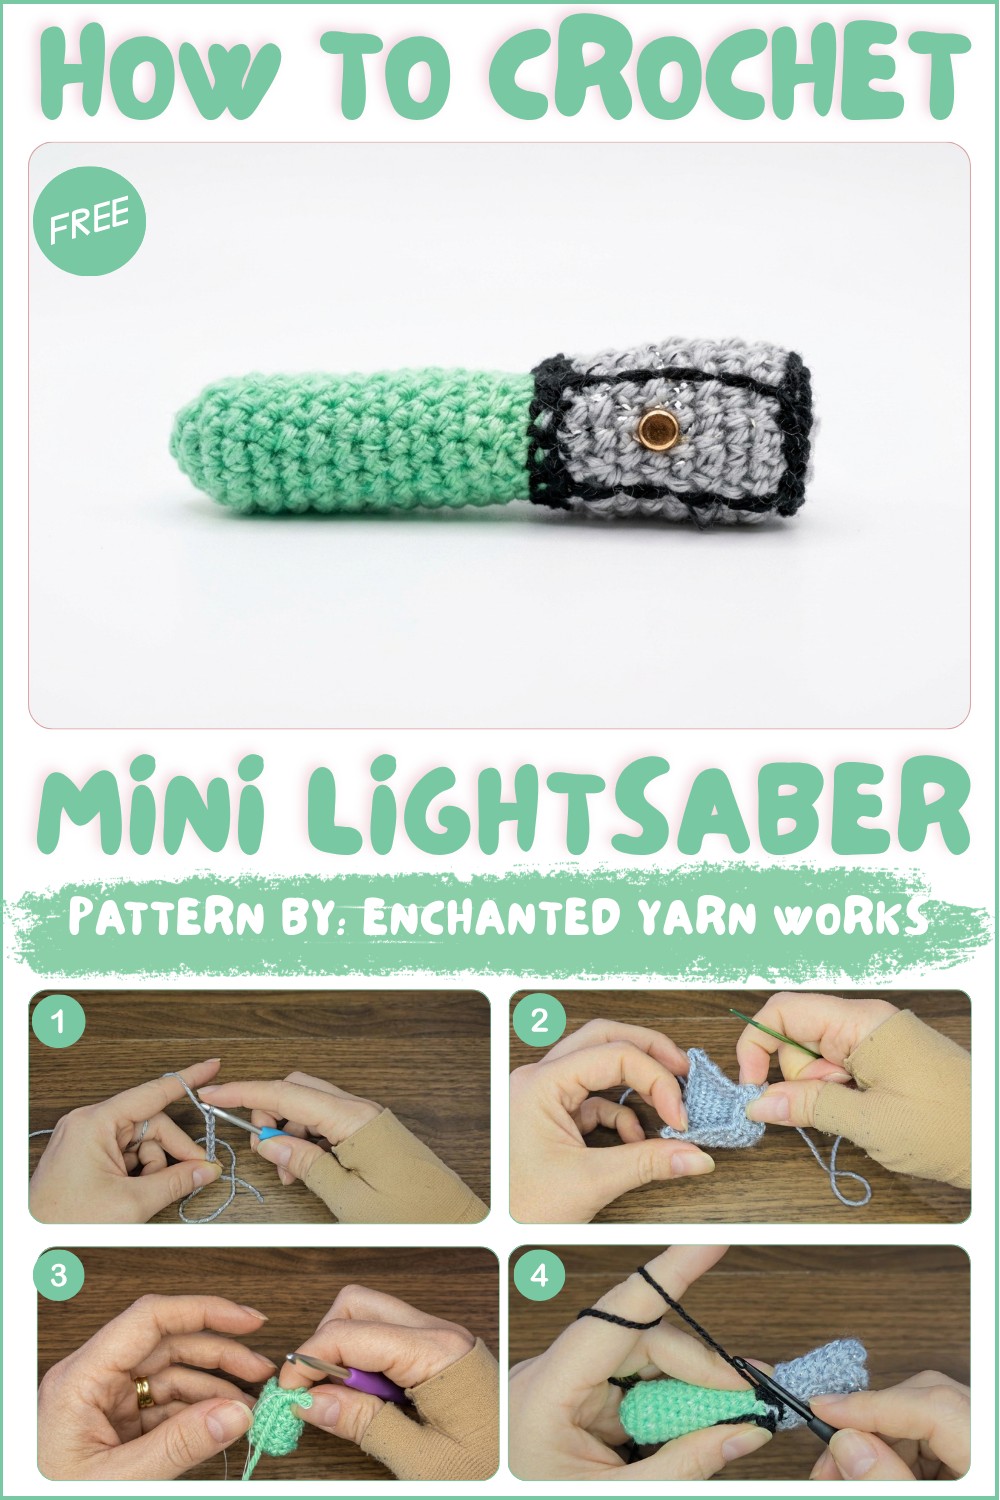
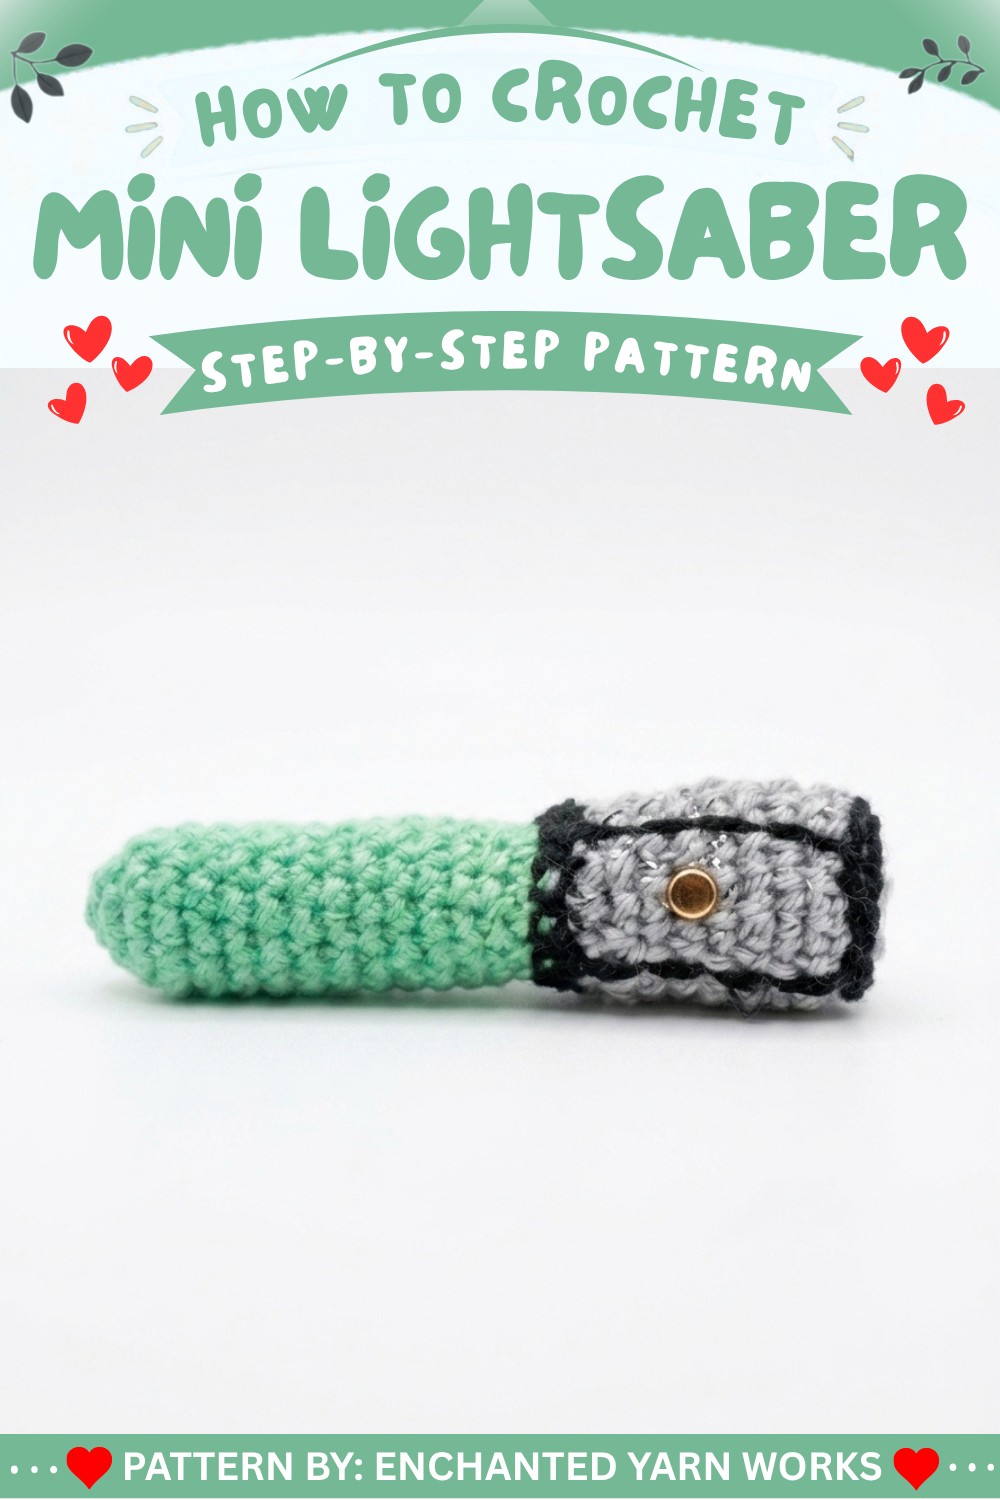
The design stands out with its neat, rounded shape and a smooth texture that mimics the look of a real lightsaber hilt and blade. It uses a bright green yarn with black edging and a metallic silver yarn for the hilt, giving it a realistic and striking appearance. One of its most captivating features is the glow-in-the-dark thread woven into the blade, which adds an eye-catching effect when the lights go down. The small button detail adds a nice finishing touch and brings the whole piece together with personality.
This project is ideal for those who know basic crochet stitches but want something quick and enjoyable to make. It’s perfect for Star Wars Day celebrations, concerts, or special gifts for flute players and fans. You can also customize it by choosing different yarn colors or adding your own creative accents. This mini lightsaber is a playful, decorative piece that brings a bit of the Force into your handmade crochets.
Flute-Saber Crochet Pattern
The Flute-Saber brings together the elegance of a flute and the iconic silhouette of a saber in a unique, soft prop, perfect for imaginative play and cosplay. This pattern features a shimmering silver hilt with a sturdy, knit-like texture, and a glow-thread-infused blade that is customizable in color. Details such as surface lines and a bead or button provide a finished, authentic touch.
Pattern Basic Points
Key Features
- Hilt worked flat with waistcoat stitch for metallic density.
- Blade crocheted in the round, using a glow-in-the-dark thread for a luminous effect.
- Seamless join between blade and hilt for strength.
- Surface crochet for details and stability.
- Stuffed throughout for plush feel and durability.
Construction Sequence
- Hilt is created as a rectangular panel, shaped, and seamed into a tube.
- Blade is crocheted in spiraling rounds and stuffed as you go.
- Edges are stabilized and decorated using Black yarn.
Special Notes
- Maintain tight stitches, especially for the blade, to avoid stuffing showing through.
- Keep the glow thread and main yarn aligned for a consistent blade appearance.
- Seam edges carefully for structural integrity and neatness.
- Plan surface details before working them to ensure placement is correct.
Skill Level
Intermediate
Proficiency in amigurumi rounds, waistcoat (knit) stitch, surface crochet, seaming, and handling multiple strands is recommended.
Materials
- King Cole Glitz DK (Silver) – hilt
- Stylecraft Special DK in blade color of choice (e.g., Bright Green)
- Black DK yarn – edging and details
- Glow-in-the-dark sewing thread
- Bead or button (for hilt detail)
- Polyfill stuffing
- 4.5 mm and 4 mm crochet hooks
- Scissors
- Yarn needle
Measurements / Sizing
- Length: approx. 10–12 inches (25–30 cm)
- Width: approx. 1–1.5 inches (2.5–4 cm)
Gauge
- Tight amigurumi gauge; 9 sc (or waistcoat) = 2 in., 10 rows = 2 in.
Stitch Abbreviations
- ch – chain
- sc – single crochet
- st(s) – stitch(es)
- sl st – slip stitch
- inc – increase (2 sc in same st)
- dec – decrease (sc2tog)
- BLO – back loop only
- FLO – front loop only
Special Stitches
- Waistcoat Stitch (Knit Stitch): Insert hook between vertical bars (“legs”) below, pull up loop, complete as a sc.
- Surface Crochet: Drawing up yarn with hook through existing fabric to create slip stitch designs on the surface.
The Pattern
(King Cole Glitz DK, 4.5mm & 4mm hooks)
Flat Panel
- Foundation: With 4.5mm hook, ch 13.
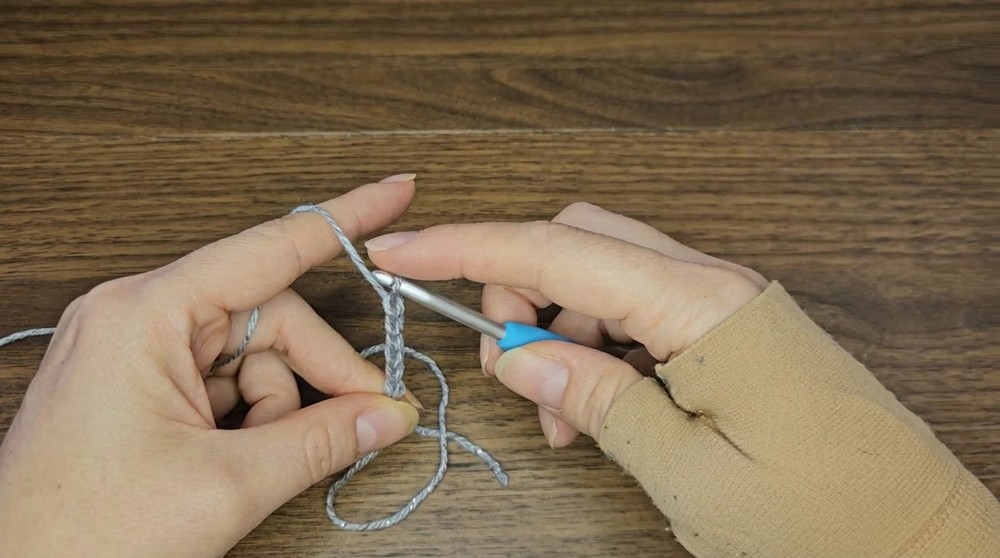
- Row 1: Sc in 2nd ch from hook and in each back bump across. (12 sts)
- Rows 2–8: Turn, work 11 waistcoat stitches (see above), 1 regular sc in last turning space. Do NOT chain at start of row. (8 rows total)
- Switch to 4 mm hook for a tighter top edge.
- Row 9: Turn, 12 waistcoat stitches across. (12 sts)
- Row 10: Sc BLO in each st across to create assembly edge. (12 sts)
- Row 11 (Base Shaping): [Sc2tog] 6 times across (6 sts total).
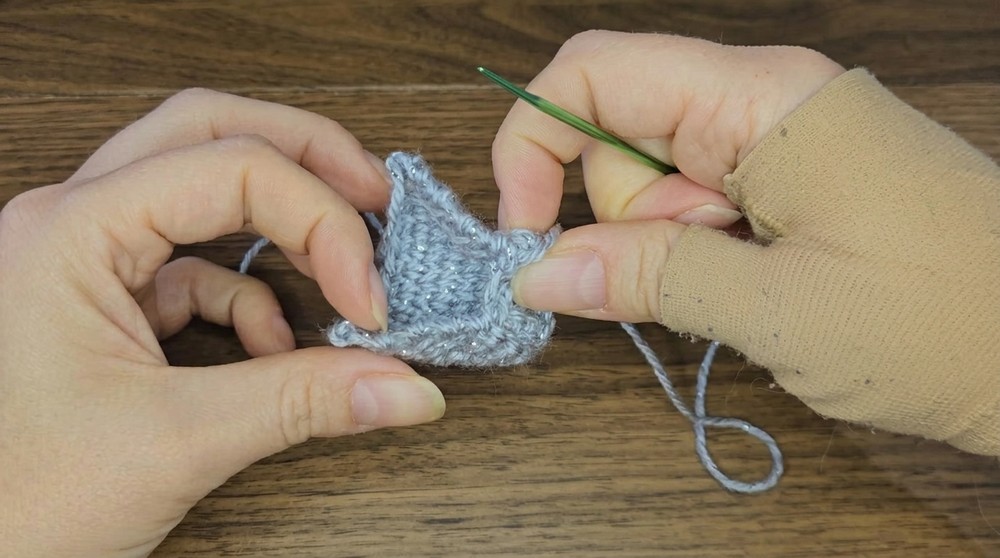
- Fold in half lengthwise, seam short edges together with sc or whipstitch to form a tube. Fasten off and weave in ends.
The Blade
(Blade DK color + Glow thread held together, 4mm hook)
- R1: Magic ring, 6 sc in ring. (6 sts)
- R2: Inc in each st around. (12 sts)
- R3: Sc in each st around. (12 sts)
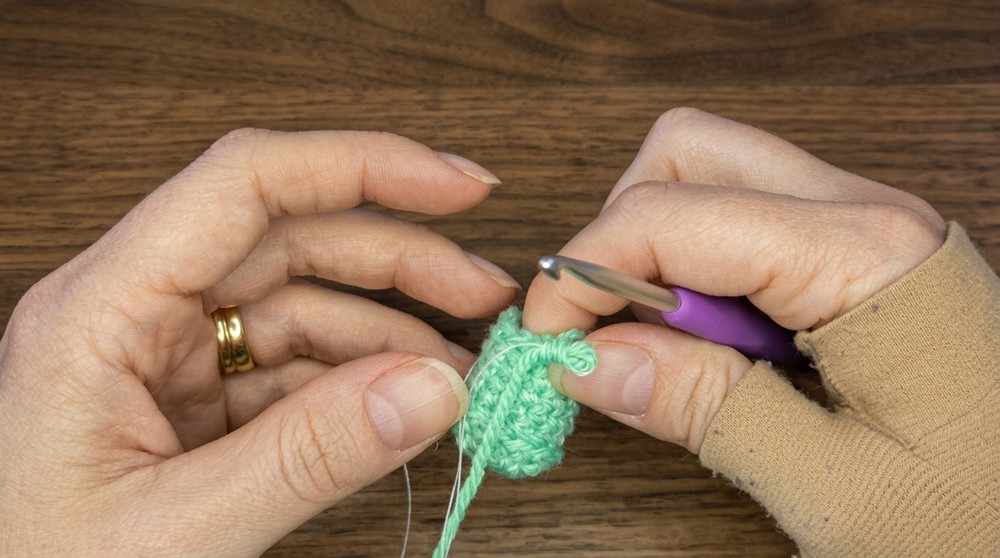
- R4: Sc BLO in each st around. (12 sts) Creates seam for joining.
- R5–R15: Sc in each st around for 11 rounds. (12 sts/round)
- Stuff blade as you go.
- R16 (Tip): [Sc2tog] 6 times. (6 sts)
- Cut yarn, close hole with yarn needle, secure, and weave in end.
Assembly & Edging
1. Attach Blade to Hilt:
With Black DK and 4mm hook, position blade’s open end (FLO stitches) to hilt’s opening.
- R1 (Join Edges): Insert hook through corresponding FLO all around; sc blade and hilt together evenly (12 sts).
- Fasten off and weave in ends.
2. Hilt Base:
With Black DK, surface crochet a tight slip-stitch ring around the bottom of the hilt for stability and a finished look.
3. Detailing:
Using Black or Silver, add lines or dots with surface crochet or whip stitches for “button” and “panel” effect. Plan placements before stitching.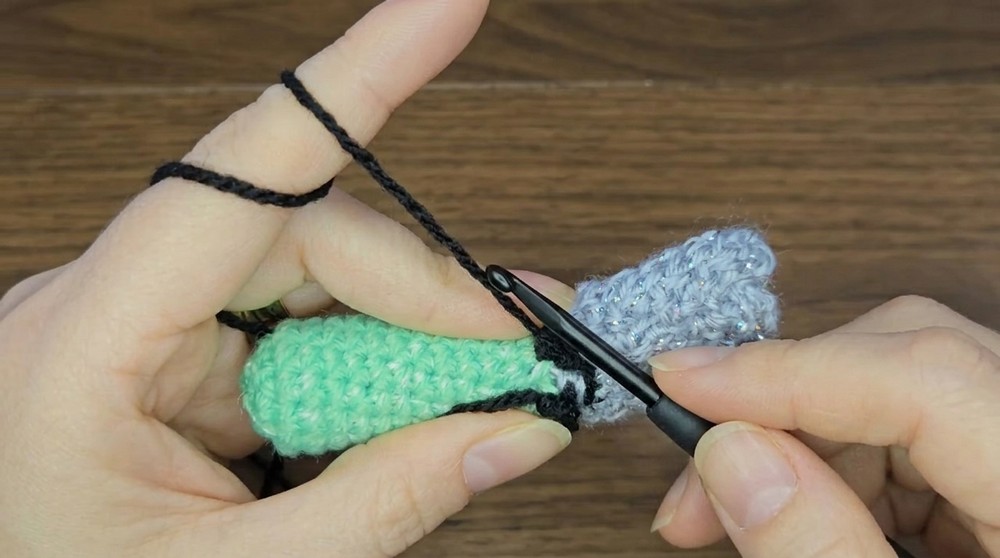
4. Add Hilt Button:
Sew bead or special button securely on the hilt for authenticity.
Finished Size
- Approximately 10–12 inches (25–30 cm) in length, 1–1.5 inches (2.5–4 cm) across.
- Weight and proportions will depend on yarn thickness, hook size, and stuffing firmness.
Conclusion
The Flute-Saber showcases a creative blend of texture and function through clever use of stitches, novelty threads, and seam techniques. Dense waistcoat stitches and sturdy single crochet guarantee a robust, child-safe prop with tactile appeal. Embellishments using surface crochet and well-placed buttons bring the playful piece to life—perfect for themed play or geek décor. Extra attention to neat assembly and stuffing ensures a lasting, polished finish that will be enjoyed for years to come.