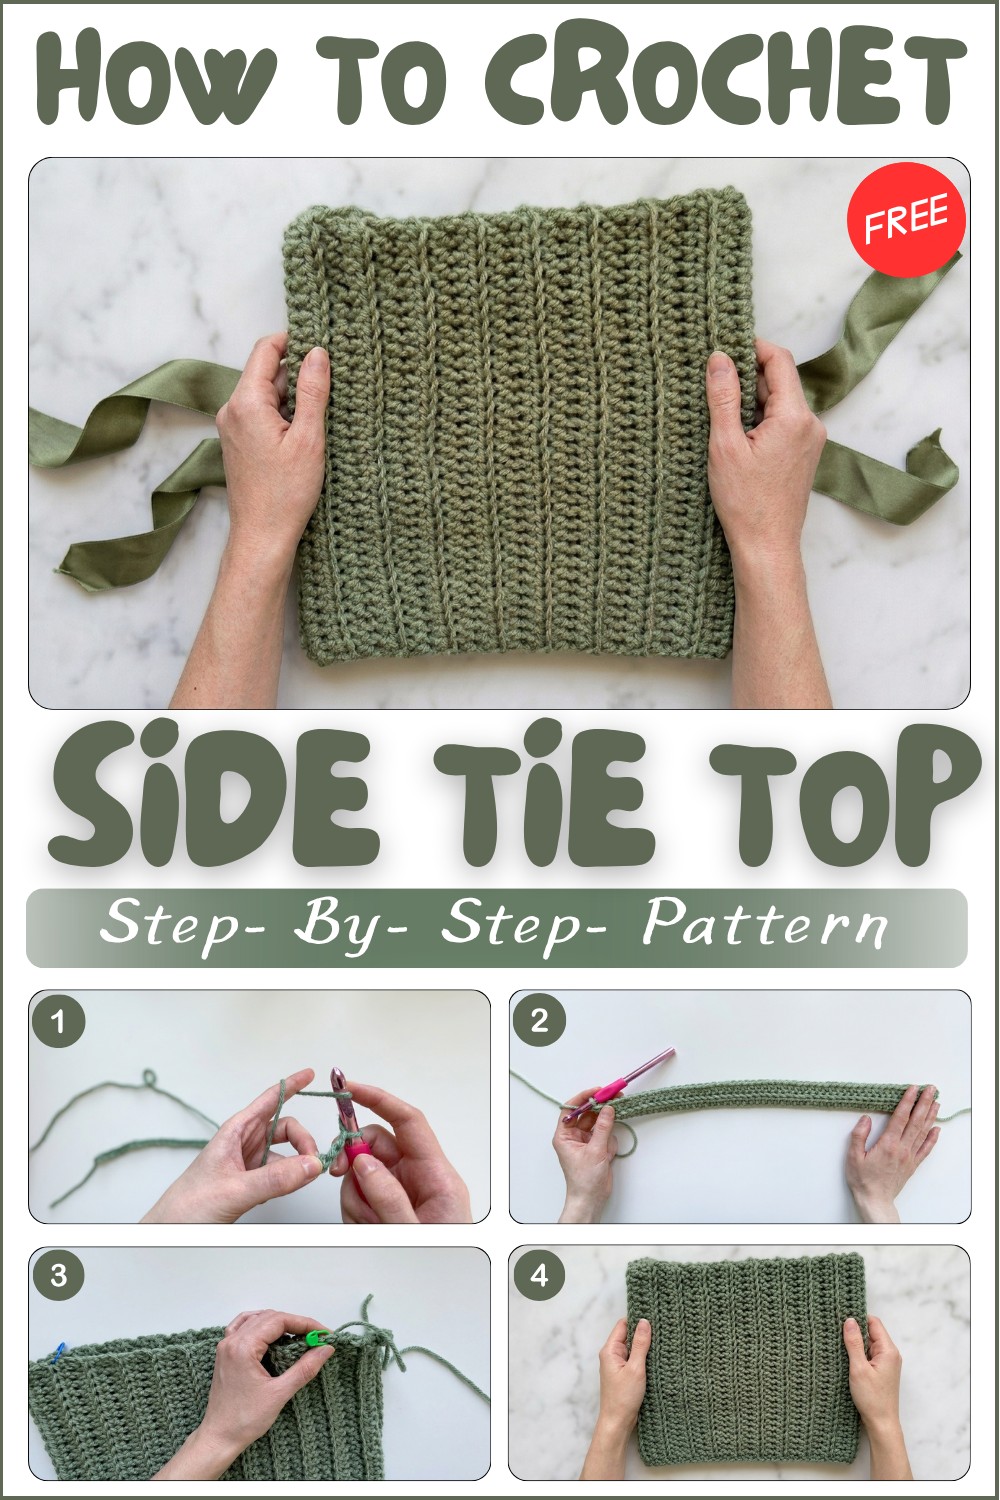
Free Crochet Side Tie Top Pattern For Summer Outfits
Style your go-to outfits with this Crochet Side Tie Top Pattern that’s an easy project featuring adjustable tie sides and endless styling potential.
The versatility of handmade fashion shines when practicality meets style. A perfect example is the Crochet Side Tie Top Pattern, designed to complement a wide range of wardrobes. This beautiful top features a trendy tie detail on the sides, giving it a playful edge while ensuring a customizable fit. Whether styled for summer outings or paired with layers during cooler months, its lightweight and airy texture makes it ideal for day-long comfort. By choosing your preferred yarn colors, this design transitions effortlessly from casual to dressy.
Stylish Crochet Side Tie Top Free Pattern
Quick Summary
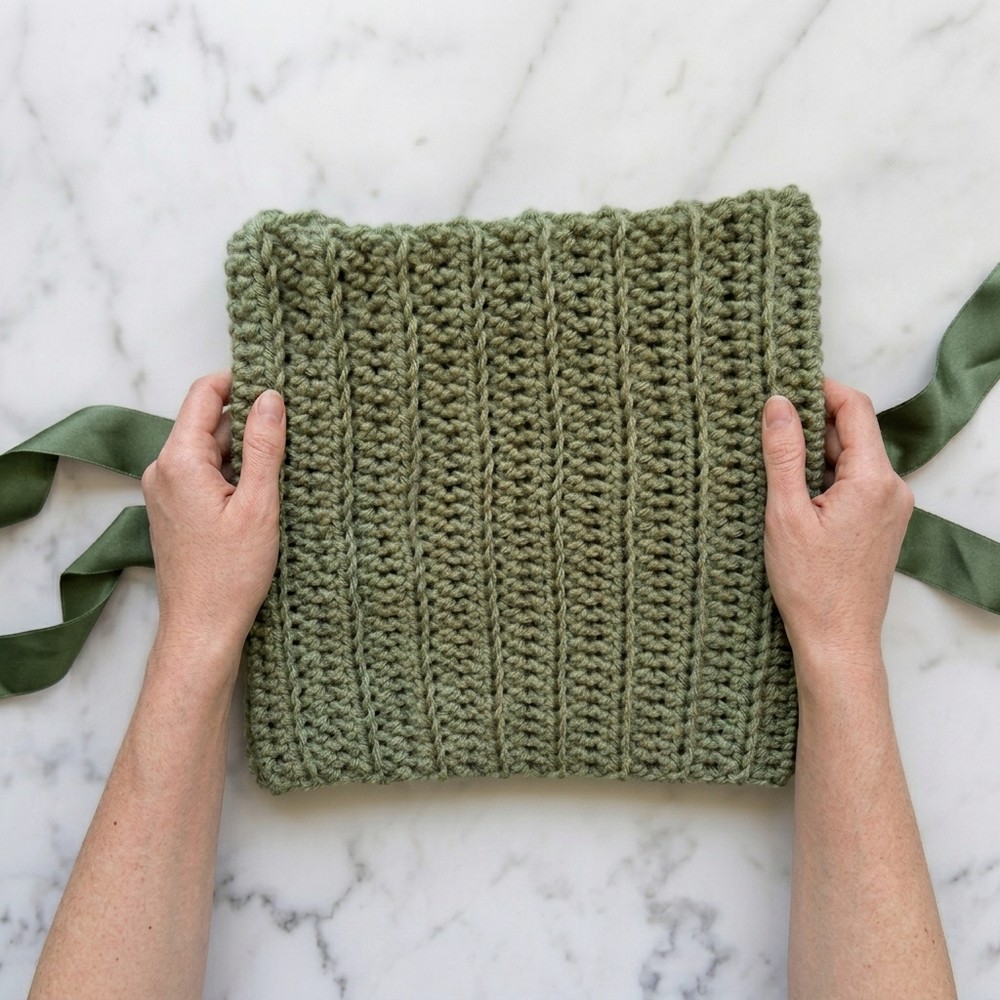
This easy crochet top features classic half double crochet worked row-by-row in two identical rectangular panels. The panels are joined at the top, with armhole and neckline openings finished with ribbon ties or sewn for a casual, customizable fit. The construction is simple, the pattern is flexible, and the textured fabric is both comfortable and stylish. Suitable for beginners, this top works up quickly and can be adapted for cropped or longer styles.
Back Loop Only (BLO) in Crochet Side Tie Top : Is It Difficult?
No, working in the back loop only (BLO) is not difficult, especially once you’re comfortable with basic crochet stitches like single crochet or double crochet.
What is BLO?
Instead of inserting your hook into both loops at the top of each stitch, you insert your hook just under the back loop (the loop furthest from you). This creates a ridged or textured effect in your fabric.
Why use BLO?
- It adds stretch and flexibility to your project.
- It can create a raised line or defined texture.
Is it hard?
Most beginners pick up BLO quickly. The only trick is to make sure you’re consistently picking up the correct loop and not splitting the yarn. If you’re comfortable with regular stitches, BLO is just a small adjustment to where you place your hook.

Simple Half Double Crochet Bow Top Pattern
Pattern Notes
- This crochet top is made with two rectangular panels worked in rows, using only half double crochet stitches (hdc).
- The pattern uses a one-row repeat, making it quick and approachable for all skill levels.
- Panels are attached at the top, with bow-tied or sewn armholes for a fresh and adjustable look.
- Back loop only (BLO) technique is used to create subtle texture and stretch.
- You can customize length and width by adjusting the foundation chain and the number of rows worked.
- The ribbon can be replaced by sewn seams if preferred.
Gauge (and Stitch Pattern)
- Gauge: Not critical; adjust lengths to fit measurements.
- Sample stitch pattern: Rows of hdc worked into back loop only.
- To check for size, measure your chain’s length and panel’s width as you work.
Materials
- Four-weight acrylic yarn (for sample, any color preference)
- 8 mm crochet hook
- Scissors
- Ribbon (for bows) or additional yarn (if sewing seams)
- Darning/yarn needle
- Measuring tape
- Stitch markers
Skill Level
Beginner
Only basic stitches and easy seaming are used.
Stitch Abbreviations
- ch – chain
- hdc – half double crochet
- BLO – back loop only
- st(s) – stitch(es)
- rep – repeat
Measurements / Sizing (Optional Schematic)
- Sample size (Extra Small):
- Length (shoulder to hem): 16 in (40.5 cm)
- Width (side-to-side): 12 in (30.5 cm)
- Armhole opening: 8 in (20 cm)
- Neck opening: 10 in (25.5 cm)
- To resize, add or subtract chains for length and rows for width.
Special Stitches
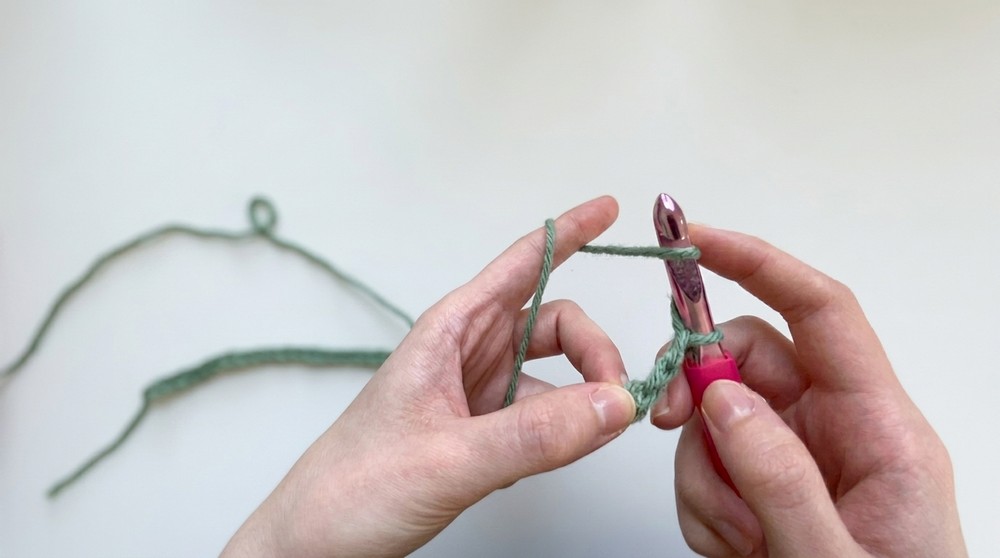
- Half Double Crochet (hdc): Yarn over, insert hook in stitch, yarn over, pull through, yarn over, pull through all three loops.
- Back Loop Only (BLO): Instead of both loops, insert hook under the back loop only and complete stitch as usual.
Creating your own crochet top is both rewarding and enjoyable, especially with a pattern focused on simplicity and wearability. This project uses just half double crochets and basic seaming, making it accessible to everyone—even beginners. Selecting your yarn and colors adds a personal touch right from the start.
The Crochet Pattern!
Panel (Make 2)
1. Foundation Row
- Make a slip knot, then chain 51 to desired length (for sample, “16” length).
- You can adjust the chain number for a shorter or longer top.
- Any number of chains is acceptable.
2. Row 1
- Hdc in third ch from hook (first two skipped chains count as turning chain).
- Continue: hdc in each ch across row.
- At row’s end, you should have (chains minus 2) stitches. For sample, 49 hdc.
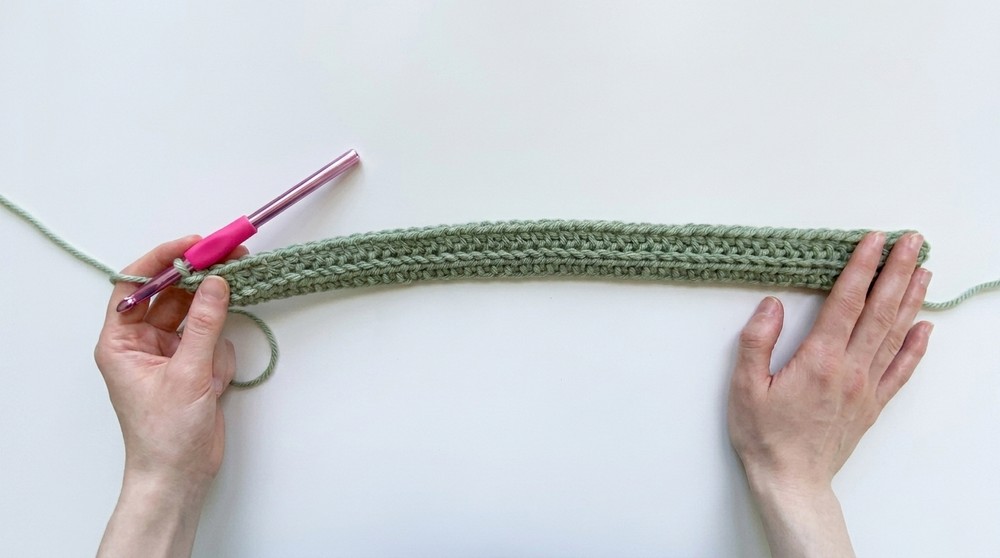
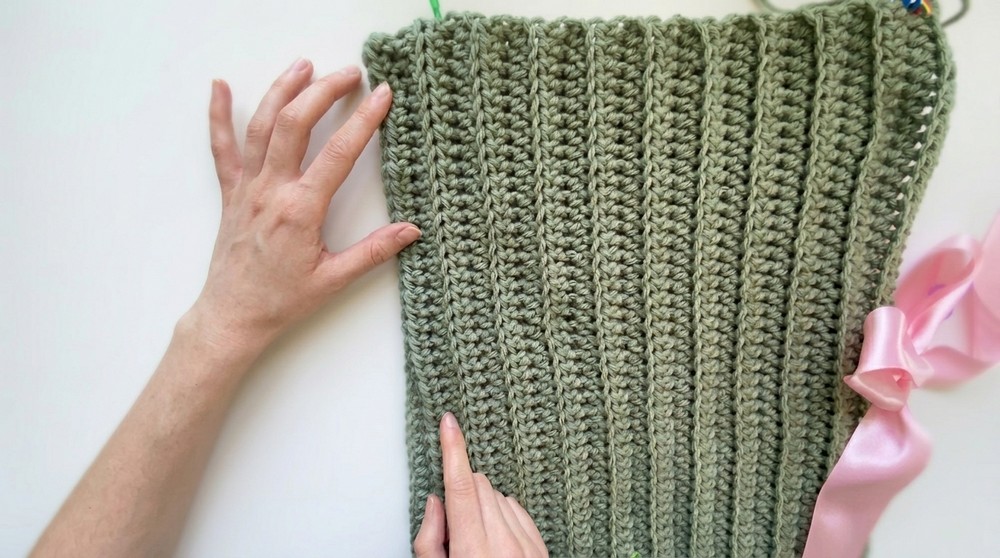
3. Rows 2–21 (or as wide as desired)
- Ch 2, turn work.
- Hdc BLO in each st across.
- Repeat for 21 rows in total (or until desired width is achieved).
After making the first panel repeate it same to second panel.
NOTE:
- For cropped or longer tops: add/subtract chains for length and rows for width.
- Continue with hdc BLO for every row.
As you crochet each row, you’ll see the ribbed, stretchy texture take shape, offering not only comfort but a modern, stylish appearance. Working two identical panels and joining them is straightforward, giving you plenty of flexibility to adjust length and fit. The step for aligning and joining the pieces allows for a custom, flattering finish.
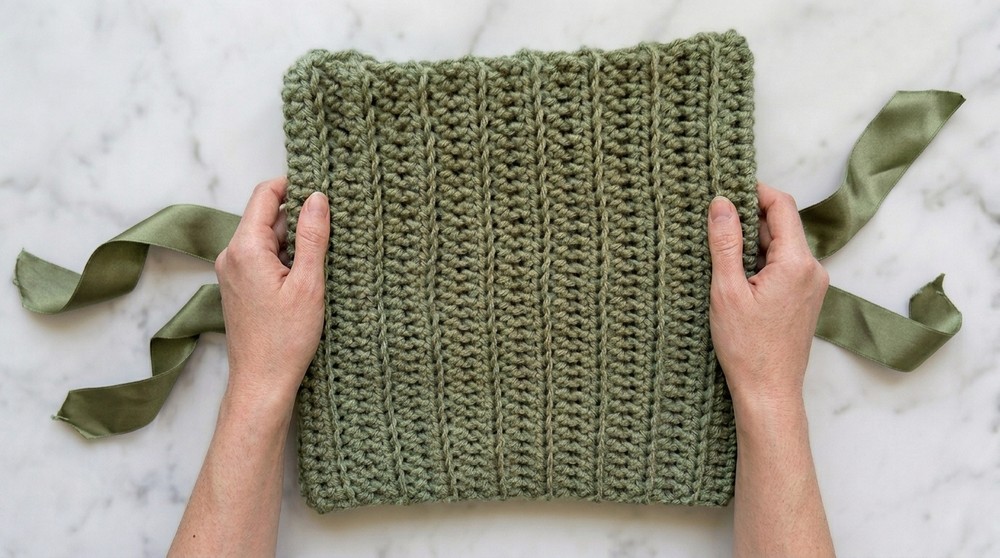
Assembly & Finished Size
- Make two identical rectangular panels.
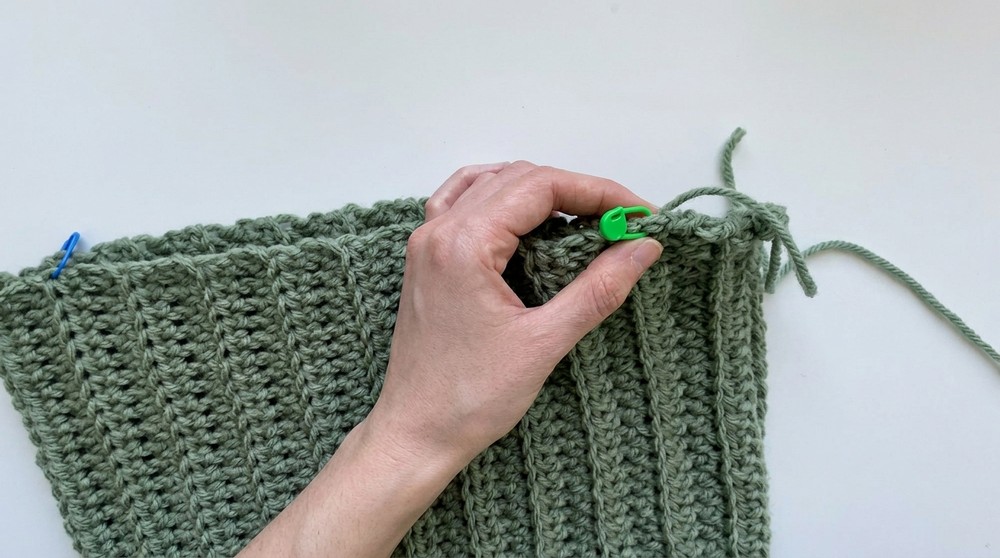
- Align panels, right sides facing out.
- At top edge, mark 1.5 in (4 cm) from each edge, using stitch markers.
- With yarn needle and appropriate yarn, seam from each marked edge toward the middle, leaving neck hole of 10 in (25 cm).
- Secure seam by weaving back and forth and tying a knot, weave in ends.
- Try on your top; mark armholes on each side, about 24 stitches down from the top/shoulder seam (or about 8 in / 20 cm, adjust as desired).
- Insert ribbon (sample uses pink, but color is up to you) through the stitches at the armhole marker, tying a bow to secure. Repeat for other side.
- Alternatively, seam up to the armhole marker if you prefer a sewn rather than tied opening.
- Weave in all remaining ends, trim.
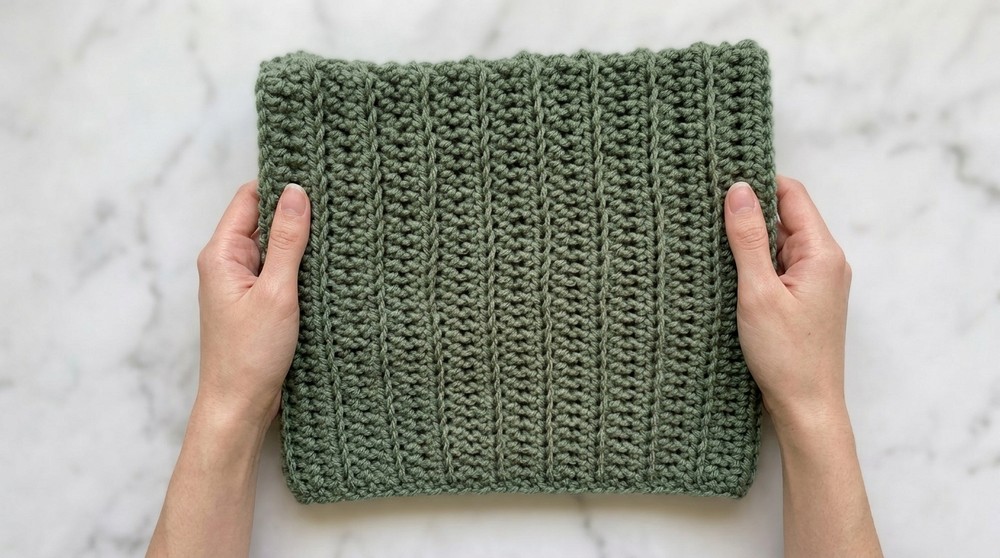
Finished Size
- Panel: 16 in (40.5 cm) long × 12 in (30.5 cm) wide; 21 rows, 51 chains for XS sample.
- The finished top will have two bows at the armholes (if not sewn), a comfortable neckline, and a relaxed fit.
- Adjust dimensions as needed for your intended size.
Once assembled, the final details—seaming shoulders and threading ribbon or bows—truly personalize your top. With every stitch, you’re creating a garment that’s as unique as you are, ready to wear or gift proudly, and certain to become a favorite in any wardrobe.
Congratulations!
Your simple, fast crochet bow top is complete. Style it as you like—cropped or longer, tied or sewn. The classic texture and easy construction mean you can make it in an afternoon. Enjoy your handmade garment and experiment with colors, ribbons, and lengths to make it truly your own.