Free Crochet Heart Flower Pot Pattern for Stylish Home Décor

Build a beautiful heart flower pot with this free crochet pattern, simple directions that add warmth and charm to any room or present.
Brightening up any space with a touch of creativity is always rewarding, especially when you have a charming decorative item made with simple materials and easy techniques. Special thanks to the channel Cute Crochet for sharing clear and helpful instructions that make this project enjoyable to follow. This flower pot design is not only decorative but also functional, serving as a lovely accent to rooms, tables, or gift presentations. Its simple working style involves basic stitches that anyone can learn step by step, making it accessible for beginners and experienced makers alike.
Crochet Heart Flower Pot With Free Pattern With Detail
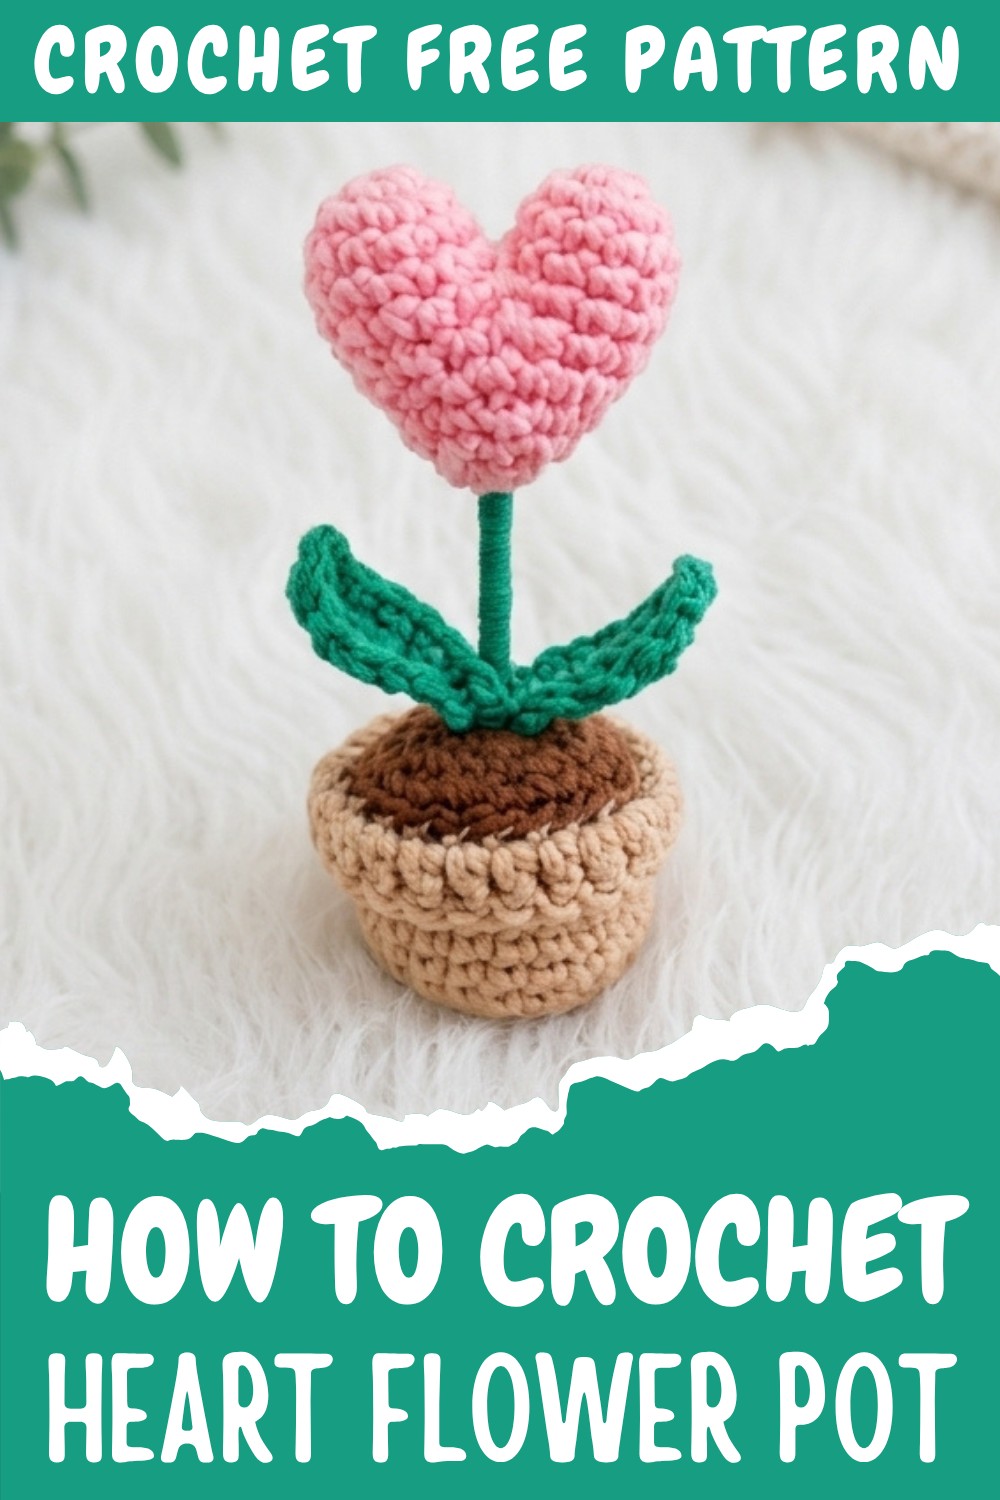
What makes this piece truly stand out is the heart-shaped flower that sits atop the pot, bringing warmth and cheerfulness to the design. The charming shape and neat edges add a professional feel, making it perfect to display around the house or to give as a thoughtful present. The structure is sturdy enough to hold small items or just shine as a cute ornament.
Using soft yarn with bright colors enhances the texture and brings the flower pot to life, while the step-by-step guidance ensures the final item looks neat and well-formed. This project can be completed fairly quickly, offering a satisfying sense of accomplishment and a lovely decoration that brightens up everyday life with a handmade touch. For anyone wanting to add a sweet, colorful piece to their home or share something special, this pattern comes highly recommended.
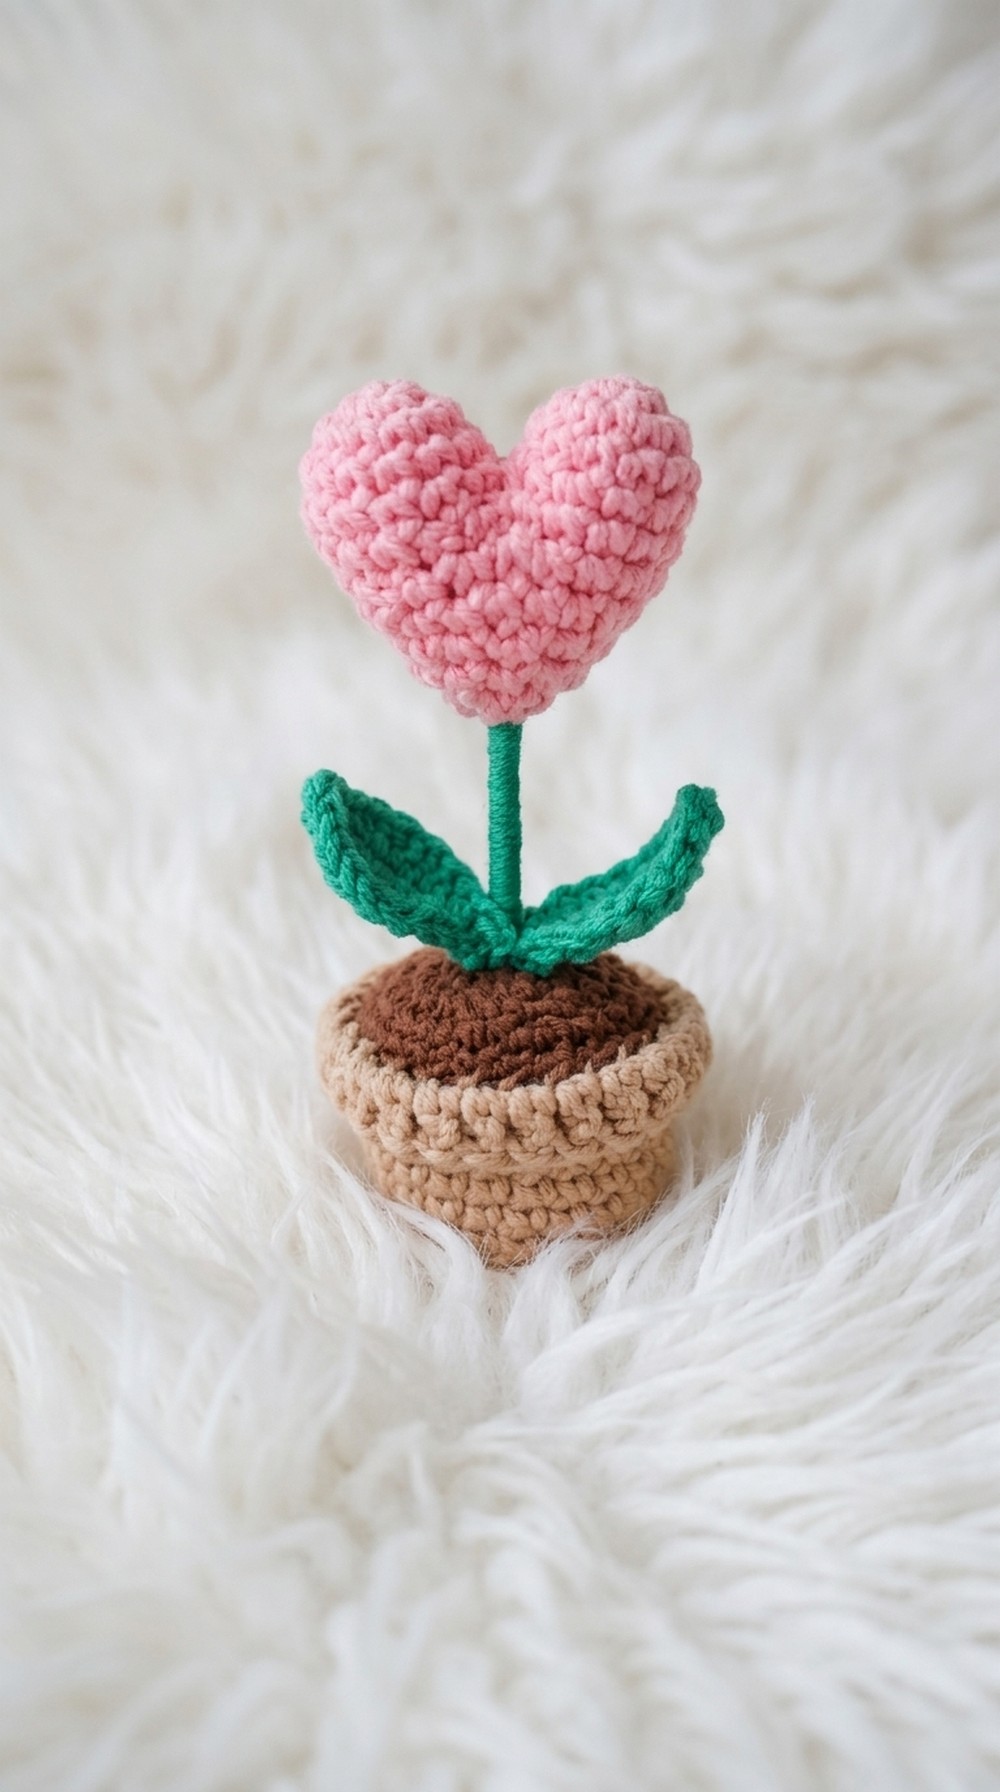
Heart Flower Pot Amigurumi Crochet Pattern
This heart flower pot amigurumi is a charming crochet project that combines a delightful heart with a flower pot, adding a whimsical touch to your home decor. The pattern is carefully crafted for experienced beginner and intermediate crocheters, offering clear instructions and assembly guidance.
Skill Level
Intermediate: While parts of this pattern are simple, crafting the heart and assembly details require some experience and attention to detail.
Materials
To create this amigurumi project, you will need:
- Yarn in the following colors:
- Heart color: Pink
- Leaf color: Green
- Pot color: Clay
- Soil color: Dark Brown
- 3mm Crochet Hook
- Stuffing material (polyester pillow fluff)
- A glass bead (to weigh down the pot for stability)
- Approximately 6 inches of aluminum wire (for the stem structure)
- Tools: Yarn needle, stitch marker, and scissors
Special Stitches Used
- Magic Circle (MC): A loop used to create a tightly closed center.
- Back Loop Only (BLO): Work stitches into the back loop of each stitch only.
- Front Loop Only (FLO): Work stitches into the front loop of each stitch only.
Stitch Abbreviations
- sc: Single crochet
- inc: Increase (2 sc in the same stitch)
- dec: Decrease (invisible dec is recommended for a neater finish)
- ch: Chain stitch
- sl st: Slip stitch
- hdc: Half double crochet
- dc: Double crochet
Useful Tips
- Use a stitch marker to mark the first stitch of each round. This will help you track your progress.
- Stuff the pot, soil, heart, and leaves as you go for greater ease. Avoid overstuffing to maintain the shape.
- Use invisible decreases for smoother results. A tutorial can be helpful if you are unfamiliar with this technique.
- Wire wrapping the stem ensures better support for the heart when attached.
Pattern Instructions
1. The Pot
- R1: Make a Magic Circle (MC), crochet 6 sc into the circle. {6}
- R2: Inc in each stitch around. {12}
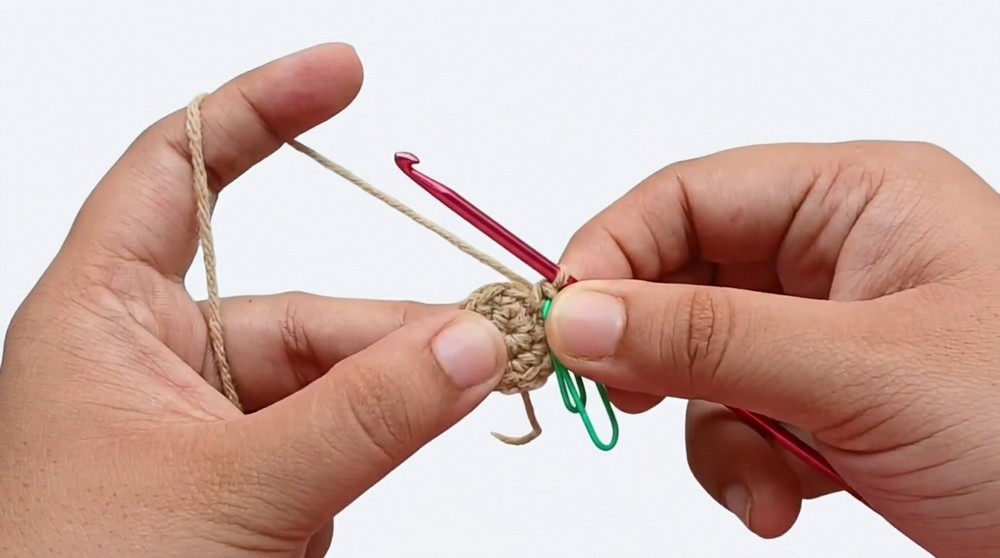
- R3: (1 sc, inc), repeat 6 times. {18}
- R4 (BLO): Work 1 sc in each stitch around. {18}
- R5: (5 sc, inc), repeat 3 times. {21}
- R6: Work 1 sc in each stitch around. {21}
- R7: (6 sc, inc), repeat 3 times. {24}
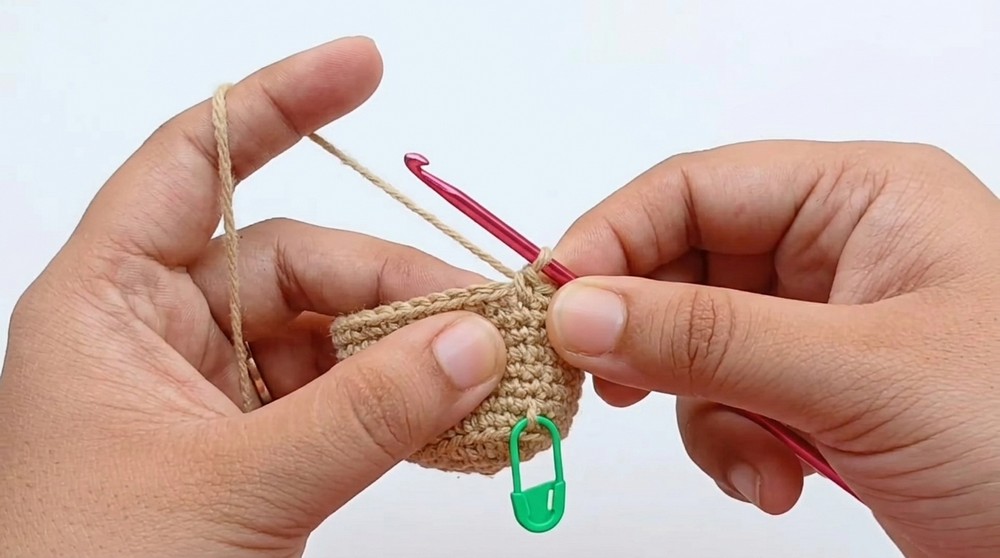
- R8-9: Work 1 sc in each stitch around. {24}
- R10 (FLO): Begin with a sl st in the next stitch. Ch 3, then work 1 dc into each front loop around. Join with a sl st. {24}
2. The Soil
- R1: Make a Magic Circle (MC), crochet 6 sc into the circle. {6}
- R2: Inc in each stitch around. {12}
- R3: (1 sc, inc), repeat 6 times. {18}
- R4: 1 sc, inc, then (2 sc, inc), repeat 5 times, 1 sc. {24}
3. The Heart
Make Two Parts:
- R1: Make a Magic Circle (MC), crochet 6 sc into the circle. {6}
- R2: Inc in each stitch. {12}
- R3-4: 1 sc in each stitch around. {12}
Joining the Two Parts:
- R5: Join the two pieces. Crochet 6 sc in the first piece, then 12 sc around the second piece, and finish with 6 sc in the remaining stitches of the first. {24}
- R6: (2 sc, dec), repeat 6 times. {18}
- R7: 1 sc in each stitch around. {18}
- R8: (1 sc, dec), repeat 6 times. {12}
- R9: Work 1 sc in each stitch. {12}
- R10: Dec in each stitch. {6}

Stuff the heart thoroughly but ensure it doesn’t lose its shape.
4. The Leaves
- Leaf 1:
- Ch 8, then work 1 sc, 1 hdc, 3 dc, 1 hdc, and 3 sc in the last chain. Continue working on the opposite side: 1 hdc, 3 dc, 1 hdc, and 1 sc. Close with a sl st to join.
- Leaf 2:
- Ch 8, then work 1 sc, 1 hdc, 3 dc, 1 hdc, 1 sc, and turn to work on the opposite side. Work 1 sc, 1 hdc, 3 dc, 1 hdc, 2 sc, and join with a sl st.
5. Stem and Assembly
- Stem:
Take a piece of 6-inch aluminum wire and insert it through the bottom of the heart. This helps the heart stay upright. Reference the recommended method demonstrated at 43:32 in the tutorial (optional but helpful). Wrap the wire with green yarn until fully covered to resemble a stem. - Assembly:
- Attach the heart-shaped flower to the soil. Use a yarn needle and green yarn to firmly sew the wrapped wire (stem) into place.
- Sew the soil to the pot using the BLO of the pot’s rim. Stitch all around for a secure attachment. Time your stitches evenly for a polished finish.
- If using a glass bead, place it at the base of the pot before attaching the soil to add weight and keep the flower pot upright.
- Make a dimple at the base by tightening the stitches at the bottom (as shown in the video at 47:46) for added stability.
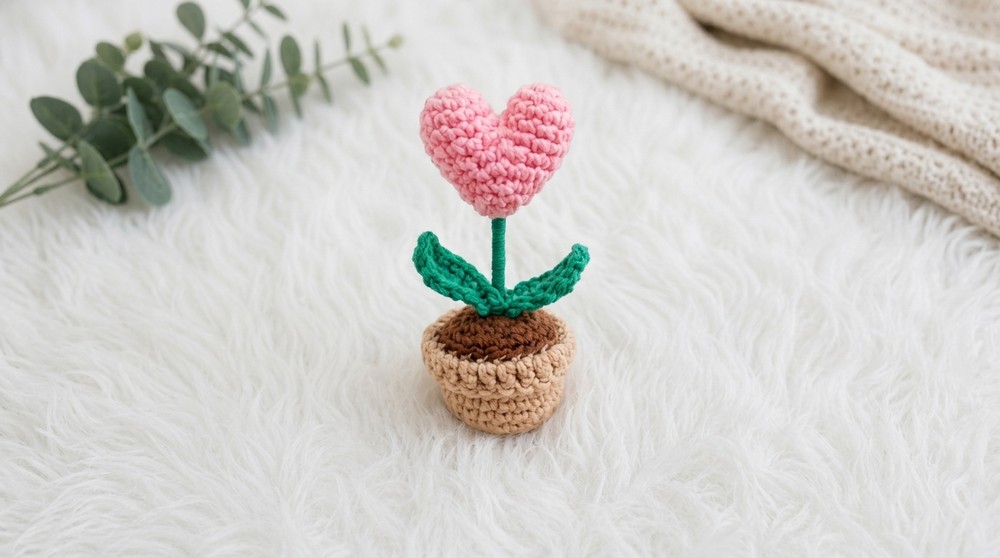
Assembly and Sizing
When fully assembled, the heart flower pot amigurumi will measure approximately 4-5 inches tall (depending on the tightness of your stitches and stuffing). The weighted pot ensures the flower stands upright, creating a beautiful display piece.
Conclusion
This heart flower pot amigurumi is the perfect project to enhance your amigurumi skills while making a decorative and meaningful craft. With its simple yet versatile design, it can be gifted to loved ones or displayed in your favorite corners. Take your time with each step, enjoy the handcrafted process, and delight in your finished creation. Happy crocheting!