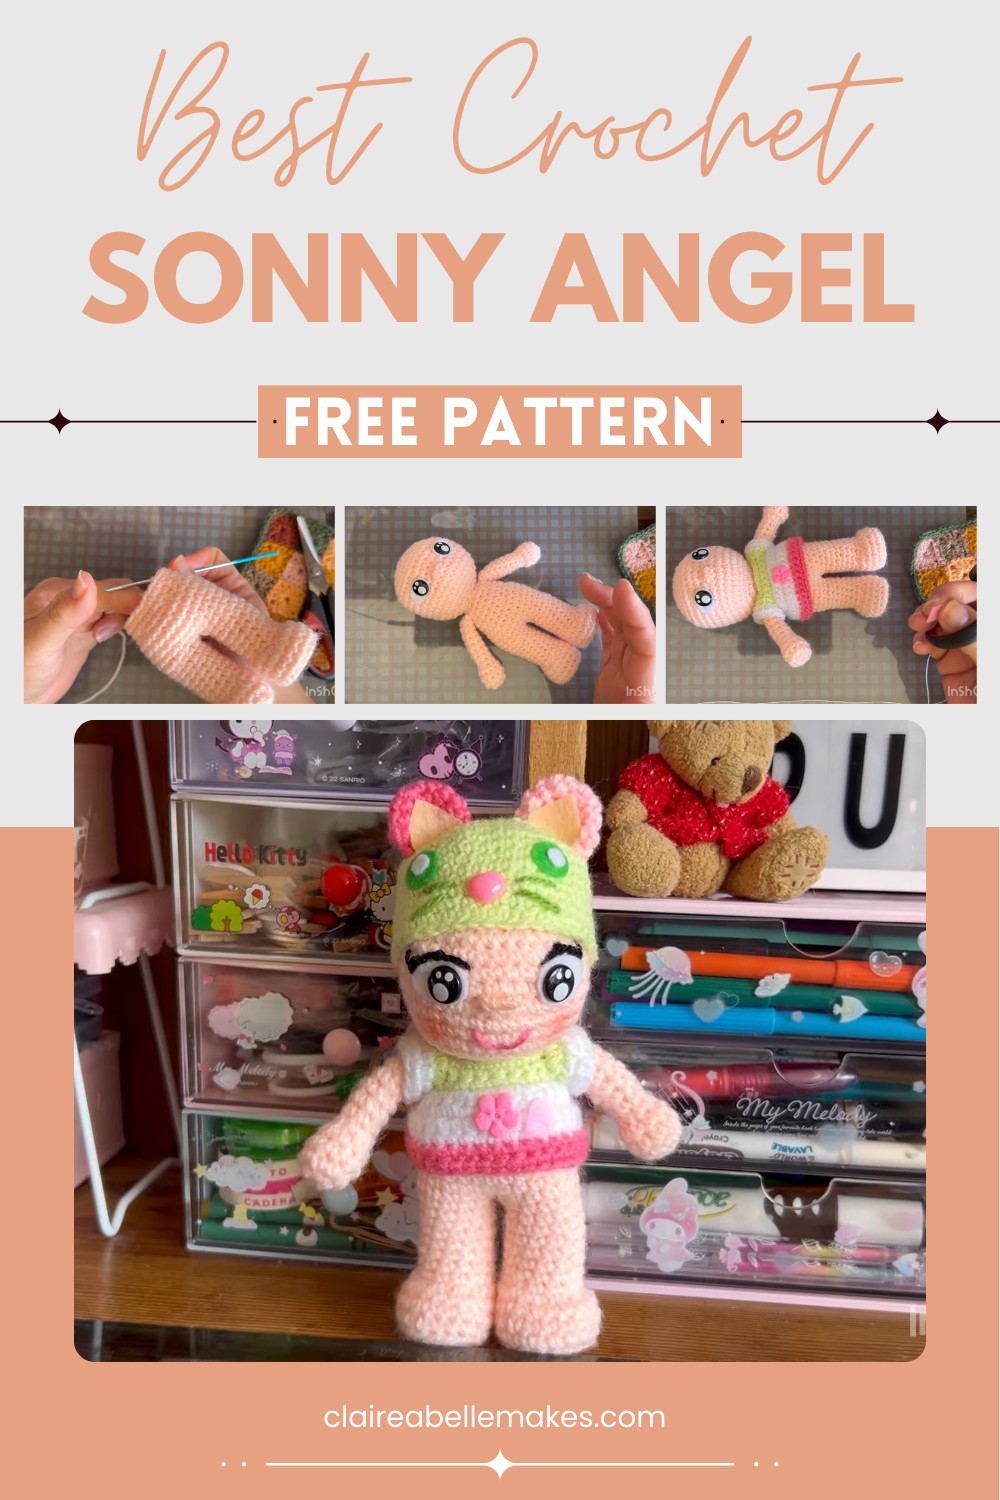
Easy Free Crochet Sonny Angel Pattern for Doll Lovers
Experience joy with this Free Crochet Sonny Angel Pattern for a delightful, playful piece that adds charm, cheer and happiness to any space.
A tiny figure full of charm and cuteness can bring joy to any space. Soft, colorful, and cheerful it brightens shelves, desks, or small corners of your home. The Crochet Sonny Angel pattern lets you make this sweet figures with simple yarn and a hook giving each piece a playful personality and unique look. Its tiny details and adorable expressions make it perfect as a gift, keychain, or festive decoration.
Free Crochet Sonny Angel Pattern for Collectors
Everyone can enjoy its beauty whether young or old, and creating it is both fun and relaxing. This little treasures add a handmade touch to any room and spread happiness wherever they sit. From playful poses to sweet faces each figure is carefully crocheted to delight the eyes and warm the heart.

Materials List
Yarn:
- Flesh/Tan color (body)
- Bright green (shirt, hat, cat eyes)
- Two shades of pink (ears, blouse trim, mouth)
- White (shirt, felt)
- Optional: light pink, hot pink (ears, blouse trim)
Type: Thin “Angorita” or similar lightweight acrylic yarn recommended for small, detailed dolls. Avoid thick yarn for scale.
Hook: 2.5 mm crochet hook
Notions:
- Two pieces of wood/cardboard (2.4 cm diameter) for foot soles
- Polyfill stuffing
- Silicone glue/hot glue gun
- Sewing needle, pins
- Stitch markers
- Scissors
Accessories:
- 2 safety eyes (1.2 cm diameter)
- White felt (for eye background)
- Green felt (for cat eyes)
- Pink felt (optional for nose, flower décor)
- Small flower ornament (optional for blouse)
Key Abbreviations
- ch: Chain
- sc: Single crochet
- sl st: Slip stitch
- inc: Increase (2 sc in same st)
- dec: Decrease (sc two stitches together)
- sts: Stitches
- […]: Repeat instructions as indicated
Special Notes
- All rounds are worked in a continuous spiral unless stated (closed with sl st).
- Change colors as directed; tie off old color and secure ends.
- Use lightweight yarn and smaller hook for best doll proportions.
- When joining limbs, split stitches evenly and join as per instructions.
- For felt and glued details, refer to assembly section.
- Safety warnings: small parts not intended for children under 3.
Pattern
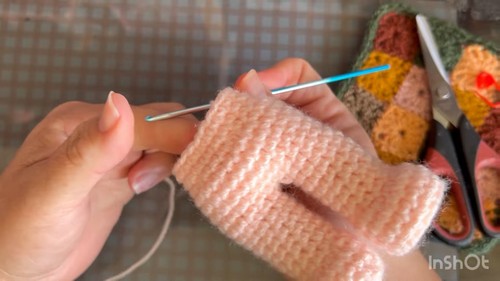
1. Arms (Make 2)
With pink yarn
- Ch 2, 6 sc in second ch from hook. (6)
- Close round with sl st.
Round 2: Ch 1, [sc, inc] x 3, total 9 sc. Close round with sl st.
Rounds 3–4: Ch 1, sc in each st (9). Close each round with a sl st.
Round 5: Ch 1, [sc, dec] x 3, total 6 sc. Close with sl st; stuff lightly as you go.
Round 6–12: Ch 1, sc in each st (6). Close each round with a sl st.
- Finish off and leave a tail for sewing.
2. Legs (Make 2)
With flesh/tan yarn
- Ch 2, 6 sc in second ch from hook. (6)
- Close round with sl st.
Round 2: Ch 1, inc in each st around (12). Close with sl st.
Round 3: Ch 1, [sc, inc] x 6 (18). Close with sl st.
Round 4: Ch 1, sc in BLO (18). Close with sl st.
- Insert cardboard/wood circle for sole if desired.
Round 5–6: Ch 1, sc in each st (18), working in both loops. Close each round with sl st.
Round 7: Ch 1, dec x 4, sc x 10 (14). Close with sl st.
Round 8: Ch 1, [sc x 5, dec] x 2 (12). Close with sl st.
Rounds 9–14: Ch 1, sc in each st (12). Close each round with sl st.
- Stuff as you go. Finish one leg off, leave second open for body join.
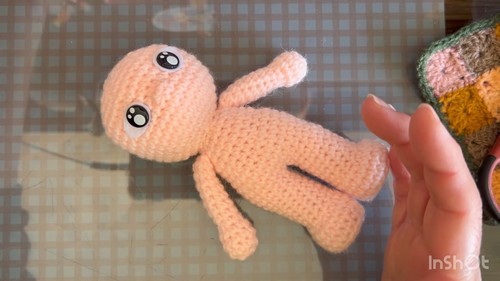
3. Body
Joining legs:
- With flesh yarn, ch 1, sc x 9 on first leg, ch 1, sc x 12 on second leg, sc into chain, sc x 3 on first leg to end. (Total: 26 sts) Close with sl st.
Round 16: Ch 1, sc x 9 (first leg), sc in floating ch, sc x 12 (second leg), sc into previous sc, sc x 3 (first leg). (26) Close with sl st.
Rounds 17–20: Ch 1, sc in each st (26). Close each round with sl st.
Round 21: Ch 1, [sc x 3, dec] x 5, sc x 1 (21). Close with sl st.
Rounds 22–23: Ch 1, sc in each st (21). Close each round with sl st.
Round 24: Ch 1, [sc x 5, dec] x 3 (18). Close with sl st.
Round 25 (Join Arms):
- Ch 1, sc x 2, align and join arm with (sc x 2 across split stitches), sc x 7, join second arm (sc x 2), sc x 7 to finish (total: 18 sts). Close with sl st.
Round 26: Ch 1, [sc, dec] x 6 (12). Close with sl st.
Round 27: Ch 1, sc in each st (12). Close with sl st.
Round 28: Ch 1, inc in each st (24). Close with sl st.
Round 29: Ch 1, sc x 8, inc x 6, sc x 10 (30). Close with sl st.
Round 30: Ch 1, sc x 8, [sc, inc] x 6, sc x 10 (36). Close with sl st.
Rounds 31–38: Ch 1, sc in each st (36). Close each round with sl st.
4. Head
Round 39: Ch 1, [sc x 4, dec] x 6 (30). Close with sl st.
Round 40: Ch 1, [sc x 3, dec] x 6 (24). Close with sl st.
Round 41: Ch 1, [sc x 2, dec] x 6 (18). Close with sl st.
Round 42: Ch 1, [sc, dec] x 6 (12). Close with sl st.
Round 43: Ch 1, dec x 6 (6).
- Sew hole closed, finish off, leave tail for weaving.
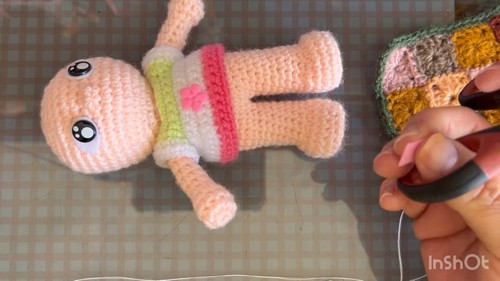
5. Blouse
With bright green yarn:
- Ch 25, turn.
Row 1: Starting in 2nd ch from hook, sc in each ch across (24). Turn.
Row 2: Ch 1, sc x 4, ch 5 (add armhole), skip 5, sc x 8, ch 5, skip 5, sc x 4.
Row 3: Ch 1, sc x 4, sc x 5 in ch-5 space, sc x 8, sc x 5 in ch-5 space, sc x 4 (26).
Switch to white yarn:
- Ch 1, [sc x 2, inc] around.
- Rows 5–7: sc in each st (in white).
- Switch to hot pink: Rows 8–9: sc in each st (in pink).
Optional: Decorate blouse with flower ornament or felt. Sew/blind stitch closed at back.
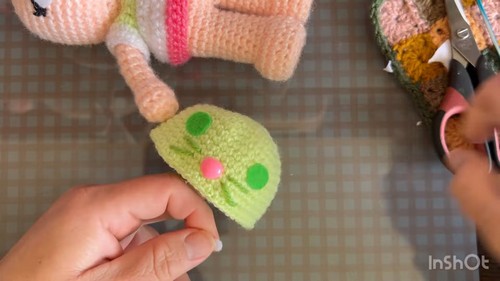
6. Hat
With green yarn:
- Ch 2, 6 sc in second ch from hook. (6)
- Close round with sl st.
Round 2: Ch 1, inc in each st (12). Close with sl st.
Round 3: Ch 1, [sc, inc] x 6 (18). Close with sl st.
Round 4: Ch 1, [sc x 2, inc] x 6 (24). Close with sl st.
Round 5: Ch 1, [sc x 3, inc] x 6 (30). Close with sl st.
Round 6: Ch 1, [sc x 4, inc] x 6 (36). Close with sl st.
Round 7: Ch 1, [sc x 5, inc] x 6 (42). Close with sl st.
Rounds 8–14: Ch 1, sc in each st (42).
- Try hat on doll; add more rounds for desired depth (up to round 14).
- Finish off and weave ends.
7. Ears (Cat) (Make 2)
Ear Base (in flesh or white yarn):
- Cut two small rounded felt triangles for inner ear.
Hot Pink/Light Pink Ear:
- Ch 2, 6 sc in second ch from hook, sl st to close.
- Ch 1, [sc, inc] x 3 (9), sl st to close.
- Ch 1, [sc x 2, inc] x 3 (12), sl st to close.
- Ch 1, sc in each st (12), sl st to close.
- Leave long tail for sewing.
Assembly: Curve ear slightly and sew to hat between rounds 2 and 3. For a kitten, one ear is light pink, one is hot pink.
8. Cat Eyes (Felt)
- Cut two droplet-shaped white felt for eye background (approx. 1.5 x 2 cm).
- Cut two small green felt rounds for iris.
- Cut tiny white circles for highlights; glue to iris.
- Attach safety eyes (1.2 cm) centered on felt droplets between rounds 9 and 10.
- Glue eyes to head.
9. Facial Features
- Nose: Embroider or glue a small pink felt spot between eyes, two rounds below.
- Mouth: Embroider with hot pink yarn two rounds below nose, create tiny upside down arch.
- Eyebrows/Eyelashes: Embroider or glue brown or black thread above eyes; add tiny black stitches for eyelashes.
Assembly Instructions
- Stuff and sew limbs and head tightly.
- Dress doll in blouse, secure at back.
- Attach hat with pins and glue.
- Sew ears to hat, curve inward.
- Glue felt eyes, green iris, white highlights, then attach safety eyes.
- Embroider nose, mouth, lashes, and eyebrows as desired.
- Attach flower and leaf ornament to blouse.
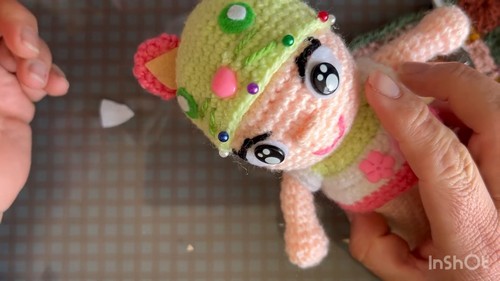
Pattern Conclusion
This Sony Angel Cat Doll is modeled after popular collectible dolls. Standing 19 cm tall, it features detailed clothing and facial features. Customization is easy: vary ear shapes and colors for other animals, or accessorize with different blouse designs. Felt and glue allow for crisp, clean facial features.
Pattern Corrections
- If any round counts do not match as you work, ensure increases or decreases are evenly spaced.
- The blouse instructions are simplified; adjust armhole placement if needed for fit.
- When joining limbs, count stitches carefully for symmetry.
Tips
- Use stitch markers for round tracking, especially on limbs and body.
- Stuff firmly but avoid overstuffing to keep shape.
- Use lightweight yarn and small hook for a miniature look.
- Glue felt pieces only after all stuffing and shaping are complete.
- Allow glued parts to dry thoroughly before removing pins.
- For more animal variations, alter hat, ear, and color combinations.